Related Tags
Amp FAQ: Refurbishing a Fender black-panel Bassman (Part Two)
Rift’s Chris Fantana returns to the vintage Bassman he worked on last time out and gets ready to fire it up.
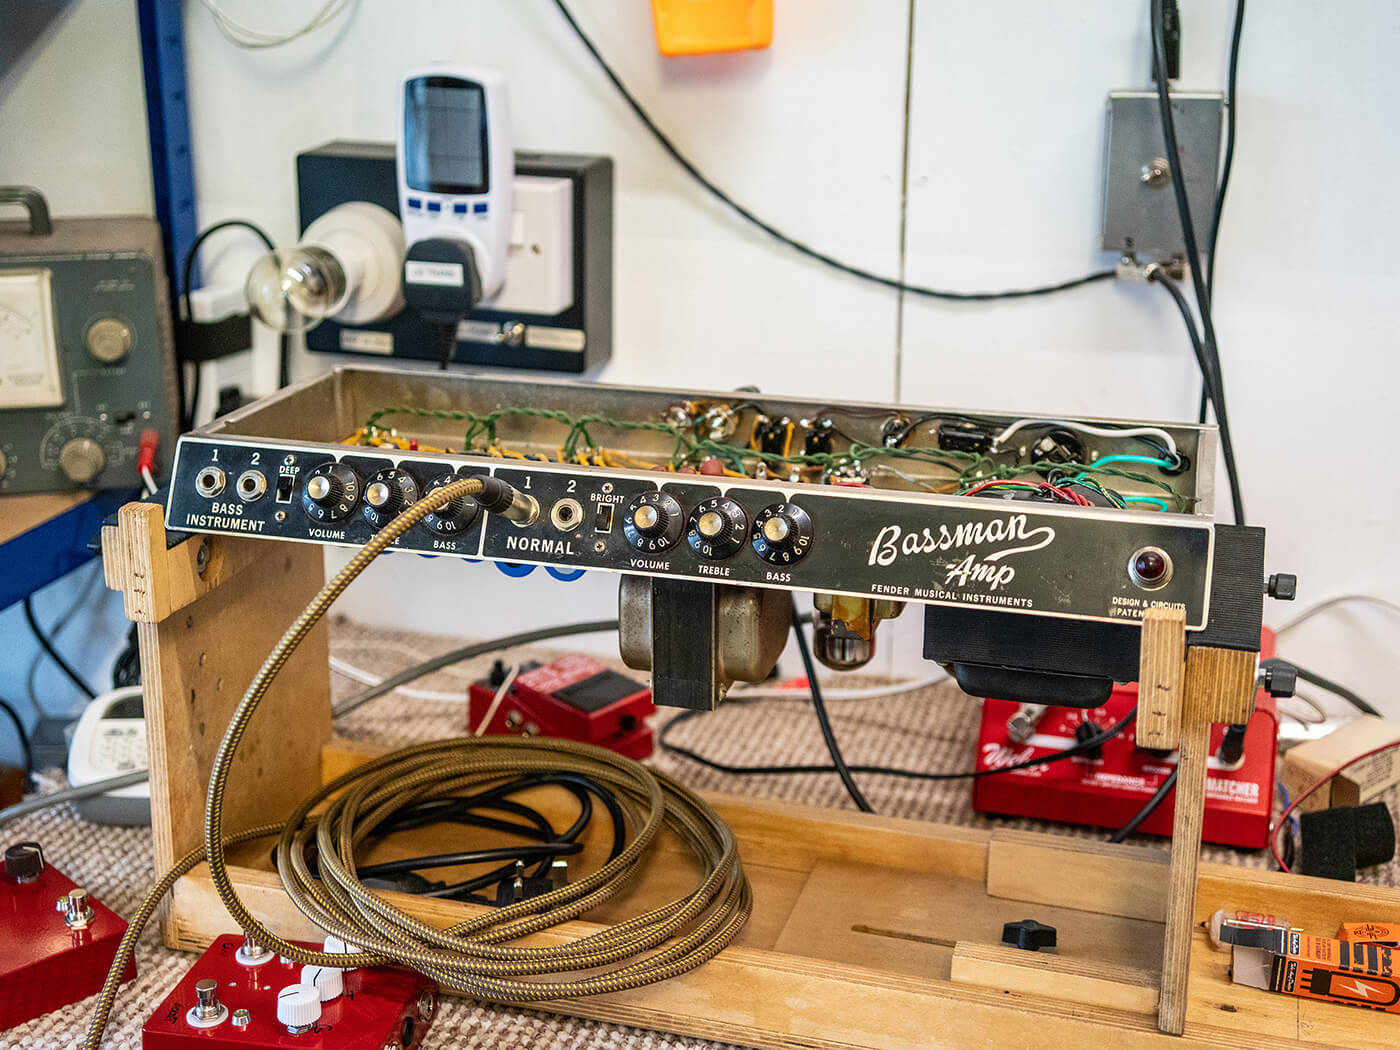
Securely mounted on the bench, we can now fire up the this Bassman. All images: Chris Fantana
With this 1966 Bassman now on the bench and in a much safer condition than when I first found it, I am happy to apply mains voltage and see how it sounds. I’ve talked about using a current-limiting device previously, and this is the perfect time to do so. We often call this procedure a soft-start and this allows the amplifier to turn on slowly with a critical safety net in place should there be a problem. This particular Bassman is a USA model, so a step-down transformer is required to drop 240v mains down to the 117v that it requires.
With the amplifier plugged into the step-down transformer, then into the current-limiting device, I apply mains voltage and watch the lightbulb carefully to see if it indicates anything untoward. Fortunately, there’s no such issue and after a few voltage checks throughout the chassis, I’m happy enough to continue.
Firstly, I drive the amplifier with a signal-generator and using an oscilloscope I can view the output signal. I can immediately see noise, crackles, and other artefacts that would indicate that something isn’t performing as it should. The bass channel is the better of the two, but still exhibits some issues that I’d like to rectify. I take the opportunity to measure the output power of the amplifier, as this will give a good indication of any major issues.
With the amplifier turned up to just below the point of clipping, I use Ohm’s Law (power in watts = (voltage x voltage) / resistance) to calculate the output power across the four-ohm dummy load that it is connected to. In this case, we measure 12v AC across the load, giving us an output of around 36 watts. Not great, not terrible. For reference, this amplifier should do 50 watts with relative ease. Time for some investigation, then.
Watts going on
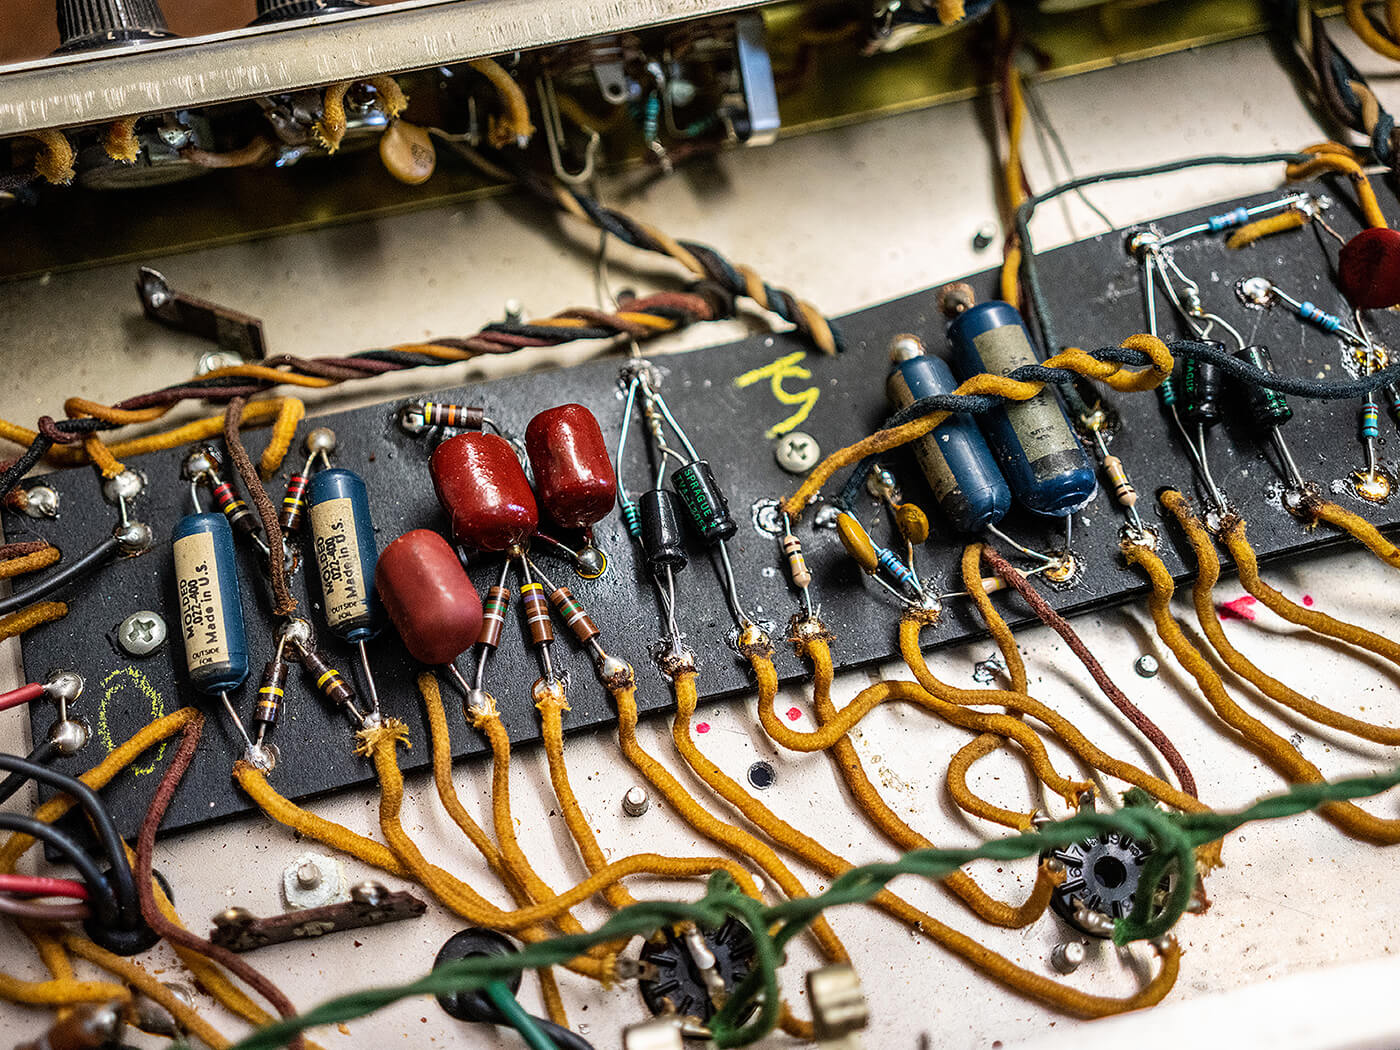
Just like the filter capacitor board, the central one has had its fair share of shoddy repair work that’ll want sorting before it goes out of the door. Not just because it might be causing problems, but because my name is now on this amplifier, and my reputation with it! Starting with a copy of the original schematic, I compare the values of each resistor and capacitor, noting if any are different from the published values. As expected, I find that the previous tech has confused his resistor colour bands and installed the wrong values by a multiplier. For example, a 1.5k cathode resistor in the normal channel has been replaced with a 15k, and a 100k anode resistor became a 10k. This wouldn’t be a tone mod by any stretch of the imagination, just a mistake.
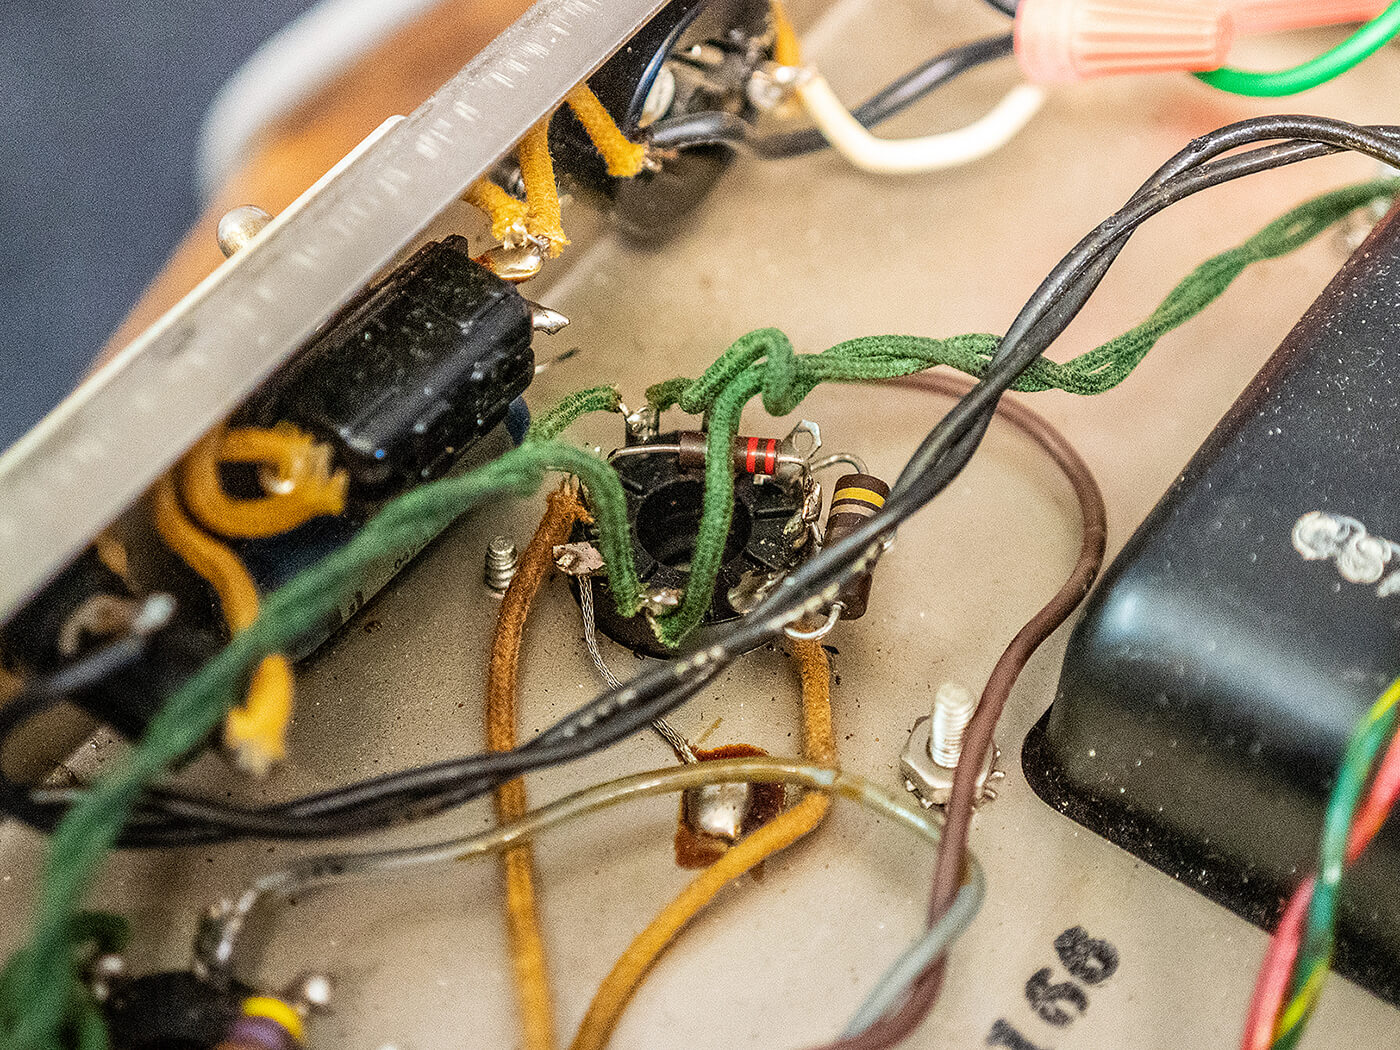
I decide my best course of action now is to simply work my way down the board and rectify any issues that are found. It’s also a good time to measure any components that are known to have a hard life, and swap if they are out of tolerance. With the board back to spec, I can move onto the valve sockets, potentiometers, switches, and inputs.
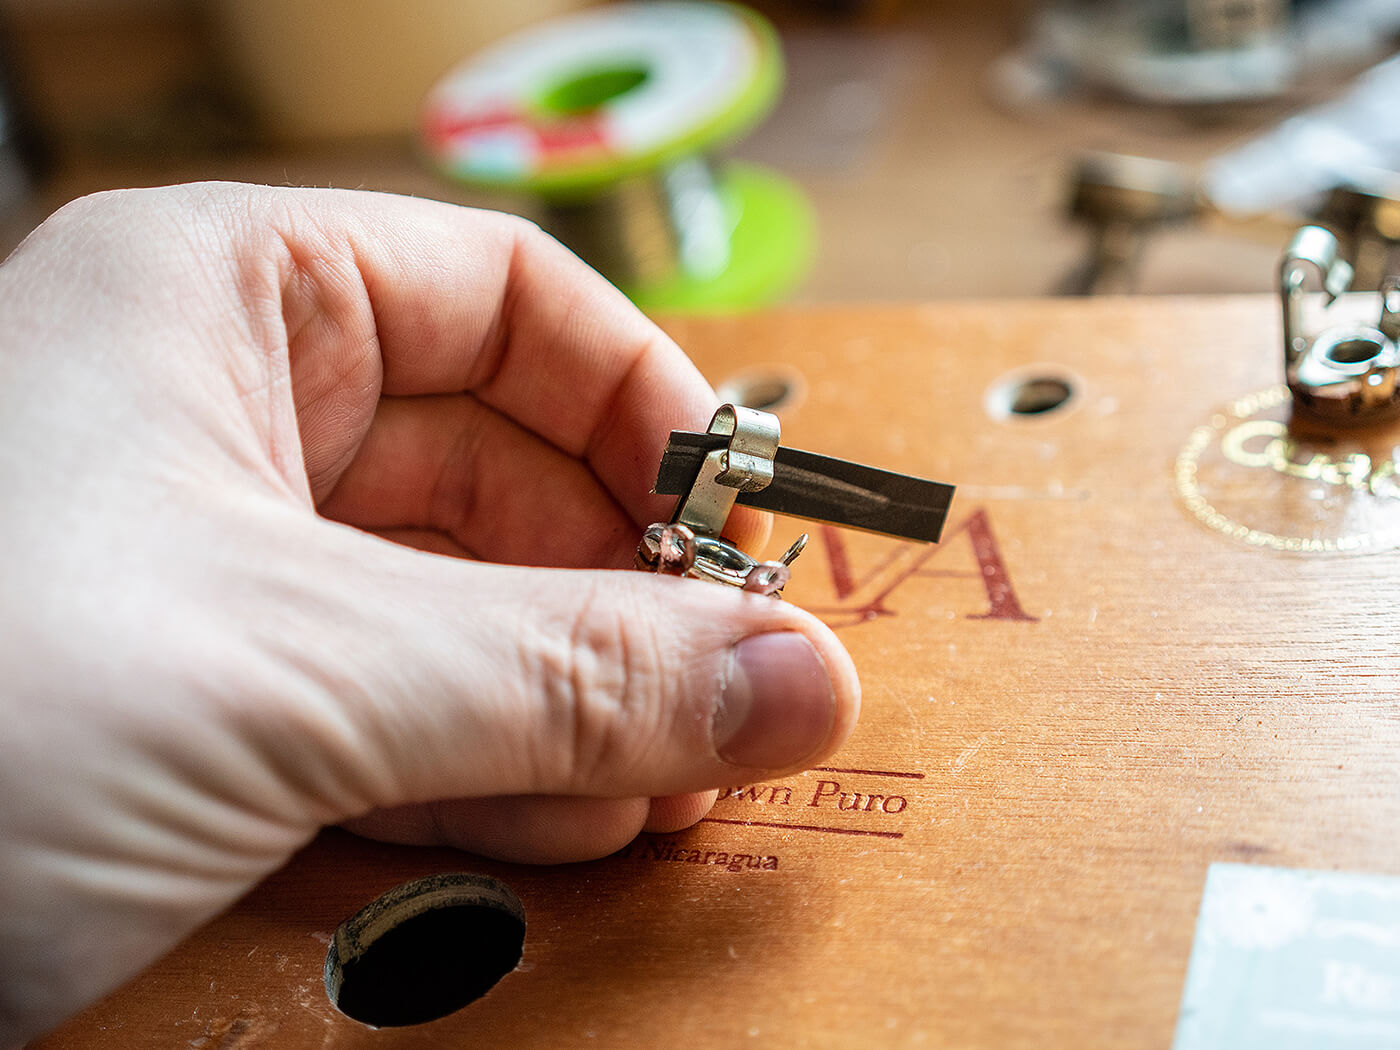
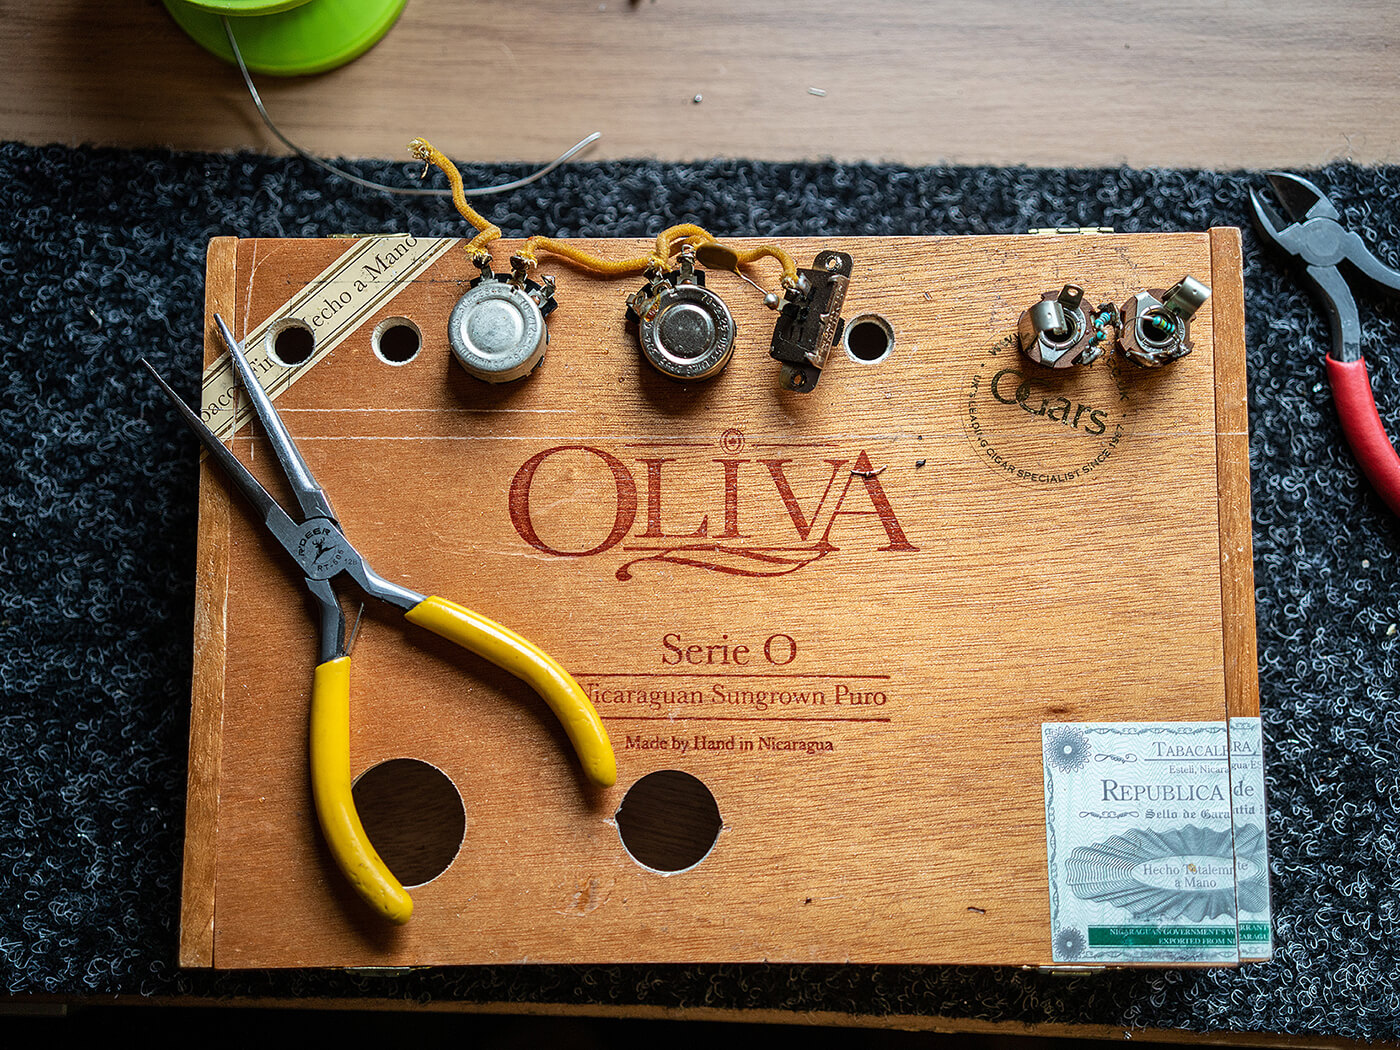
When it comes to servicing the front control-panel components, I often find it both quicker and more thorough to remove them from the chassis and work on them separately. In this case, I’ve chosen to do so and use an old cigar box drilled with the correct hole spacing to mount the components to. Now I can see the condition of the parts and the solder joints that are usually hidden by the chassis lip. Cleaning the inputs sockets is easy with a small piece of 2000-grit sandpaper that I pull through the contacts a few times. The pots are cleaned with Servisol spray, and then everything is reinstalled back into the chassis.
Firing the Bassman up again reveals a drastic improvement to noise, tone, volume, and output power, with it now producing 50 watts clean and just over 80 watts at full crank. A quick tweak of the bias and a two-hour soak test finishes off the project. I can confirm that the customer’s complaints are now sorted, and this Bassman is back to its best.
Visit riftamps.com to check out Rift’s range of UK-built boutique amplifiers.