Related Tags
DIY Workshop: Converting a 1989 Greco into a 1954-style Les Paul Goldtop
An eight-part series documenting a worn single-cut’s journey to becoming a relic’ed Goldtop.
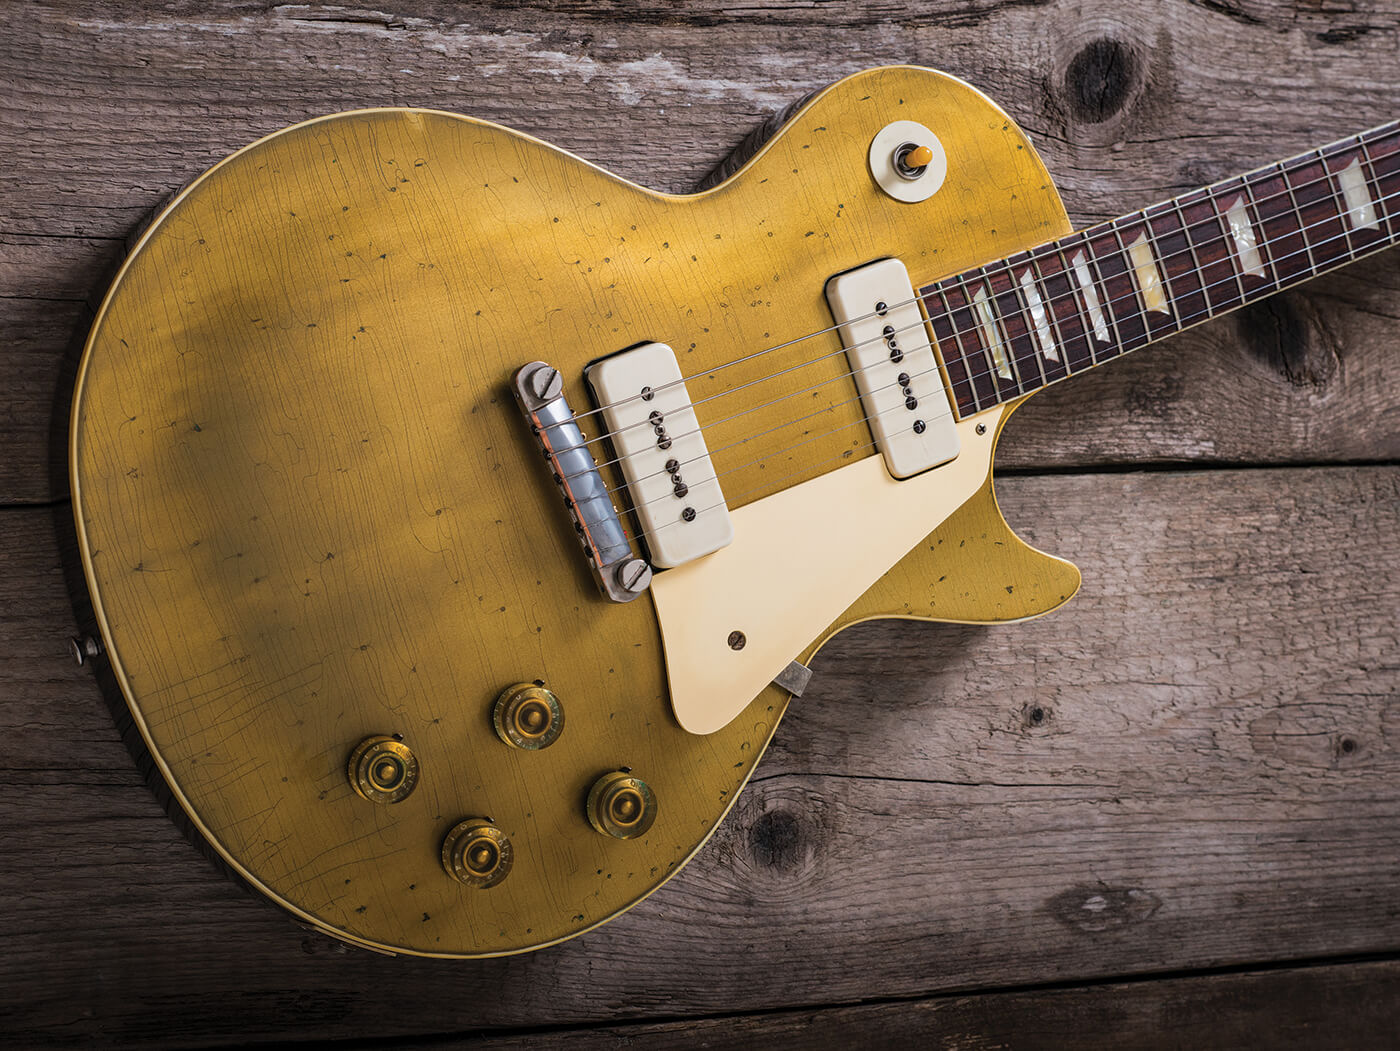
As the first Les Pauls wheeled out of Gibson’s factory, Goldtops hold a special place in the electric guitar canon. The mid-50s models, in particular, saw a distinct change in bridge and pickup designs, gradually evolving towards the iconic Les Paul Standard model we know today.
In this DIY project, we take a 1989 Japanese-made Greco and turn it into a 1954-style Goldtop Les Paul furnished with soapbar P-90s and a wrapover bridge.
The planning
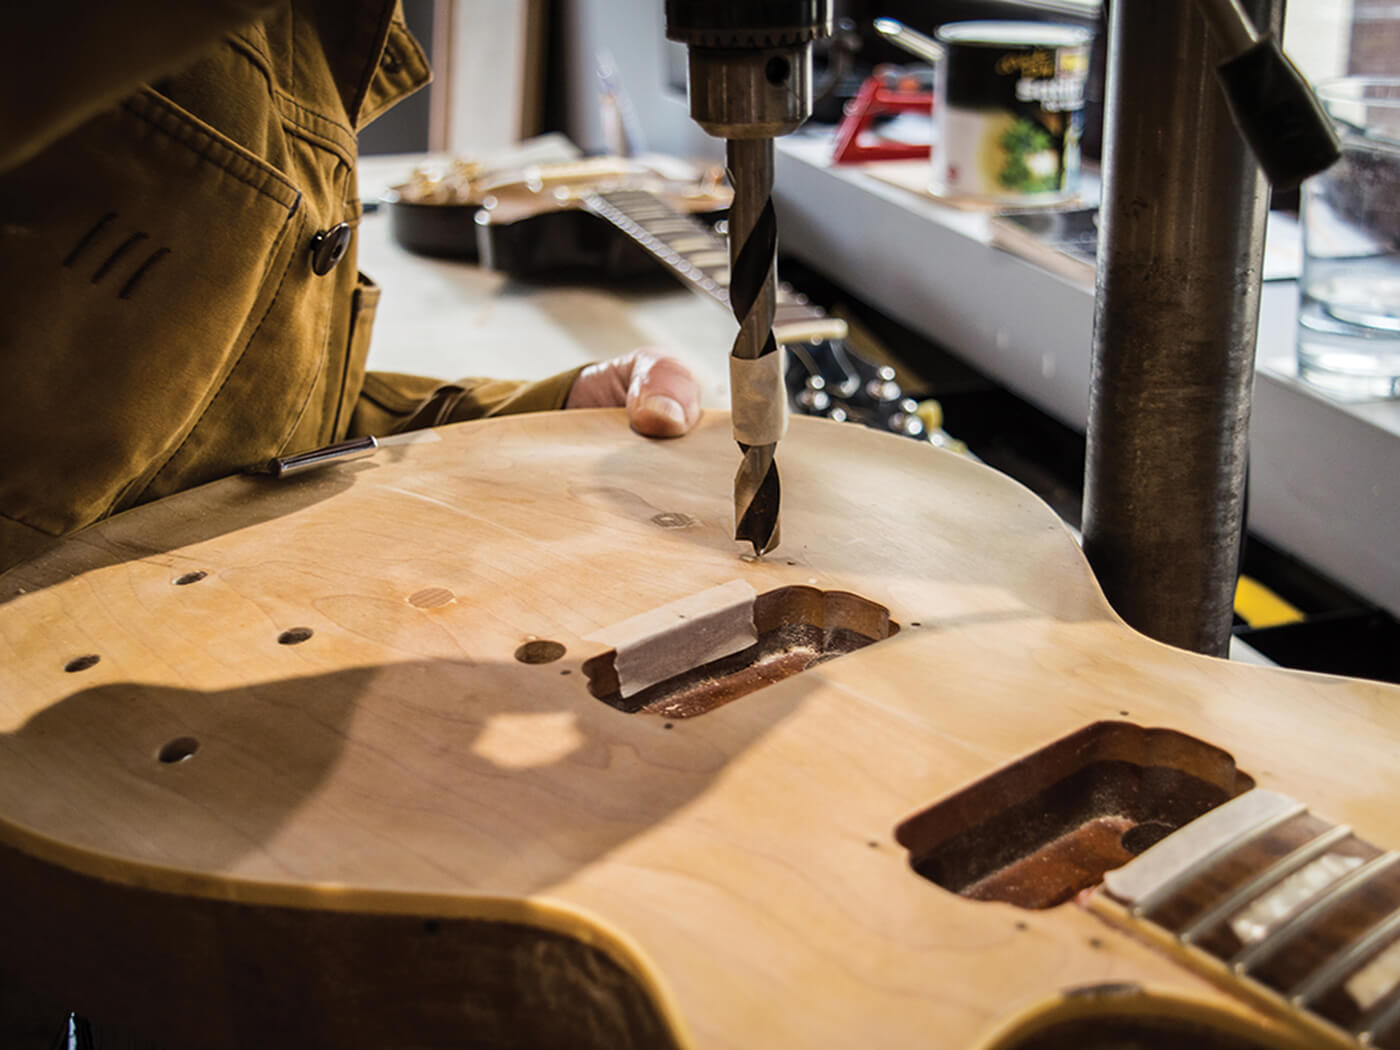
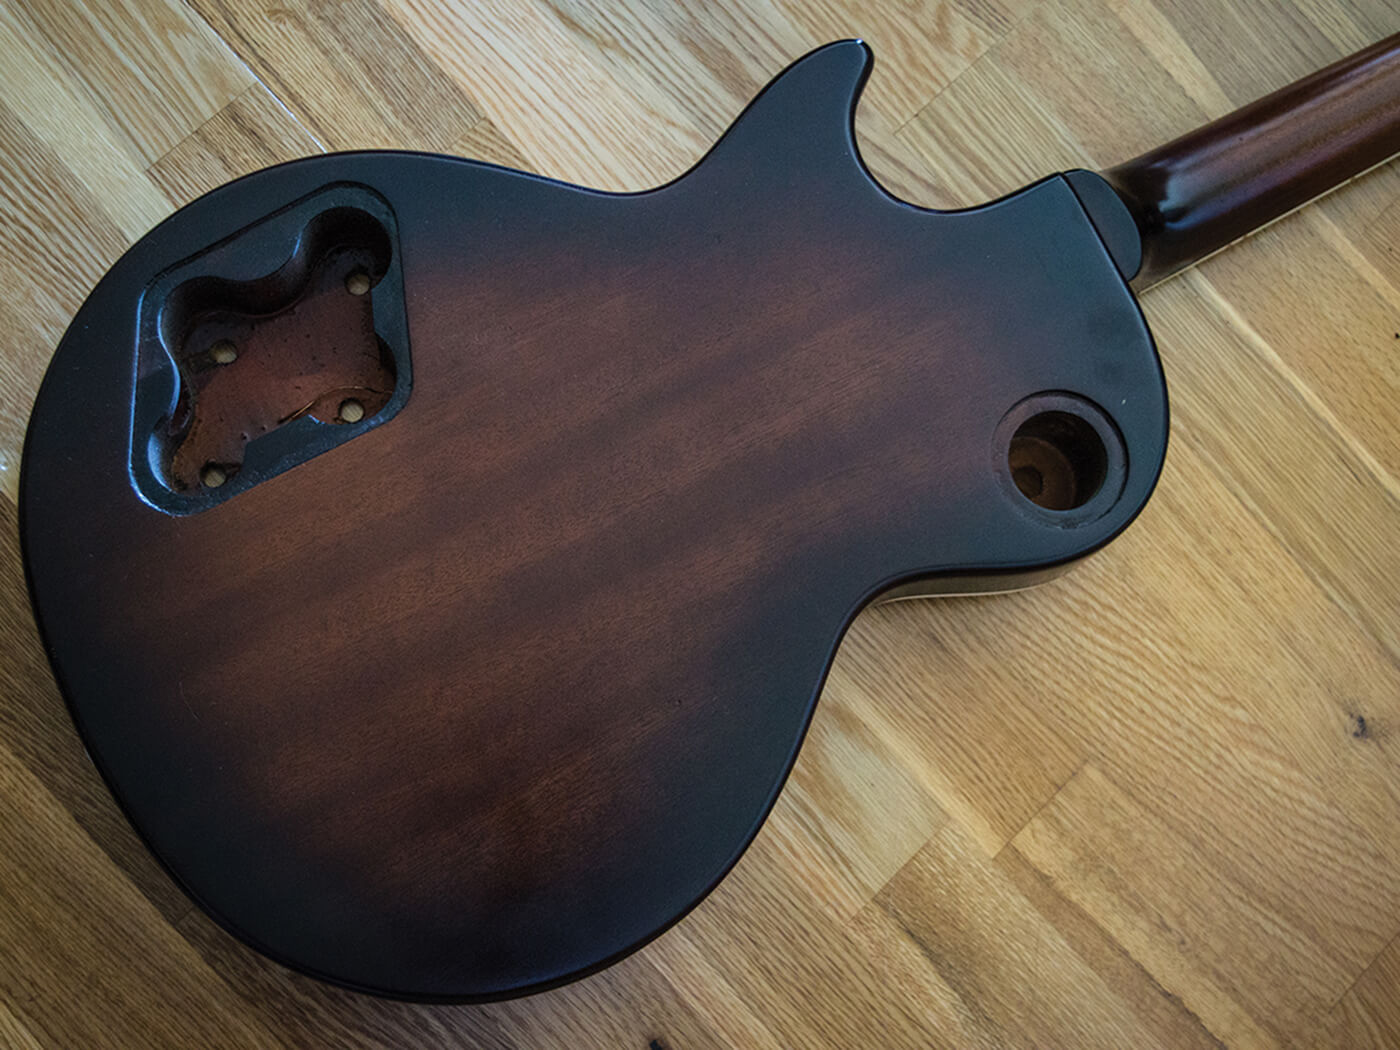
This first instalment gets to grips with the scope of the project. Having acquired a well-worn LP-style Greco, we mark out the parts that need a makeover. These include a fingerboard that requires a backing veneer as well a neck that’s in need of re-binding. Another major modification that needs to be made is the pickup routing. The Greco comes with pickup cavities suited for PAF-style humbuckers, so we’ve laid out a plan to plug the holes…
Measuring the original

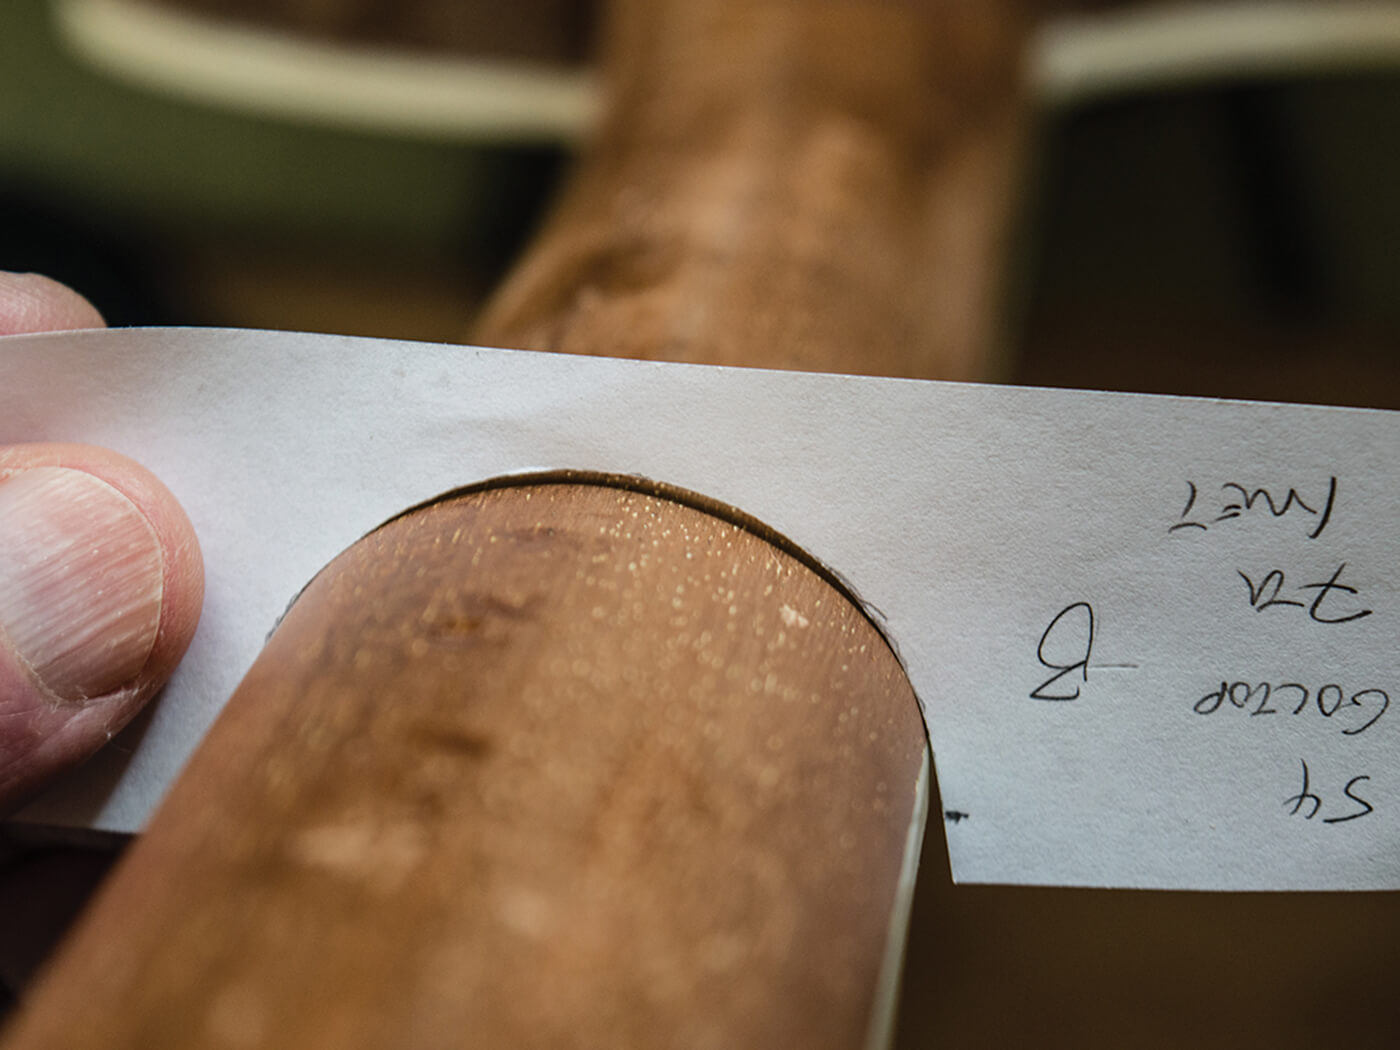
To get a better idea of the specifics, we take reference from a genuine vintage 1954 Goldtop Les Paul. We map out the exact contour of the guitar’s neck profile and the ‘blueprint’ is then converted to diagrammatic templates to guide us on this conversion. Additionally, we also inspect the ’54’s bridge studs and bushings, figuring out how to get our conversation project as close as possible to vintage specifications.
The bridge and pickup cavities

This segment deals with the bridge and pickup cavities. For starters, the correct bridge position needs to be determined. To do this, we string the guitar up and tune it to pitch before moving the bridge to a position that provides ideal string intonation. We then decide on the type of bushings to be used: a Mojo Axe relic’d part. Once the dust settles on the bridge, we turn our attention to the bridge pickup rout, ensuring that it is ready for the P-90s we’re about to install.
The luthiery begins
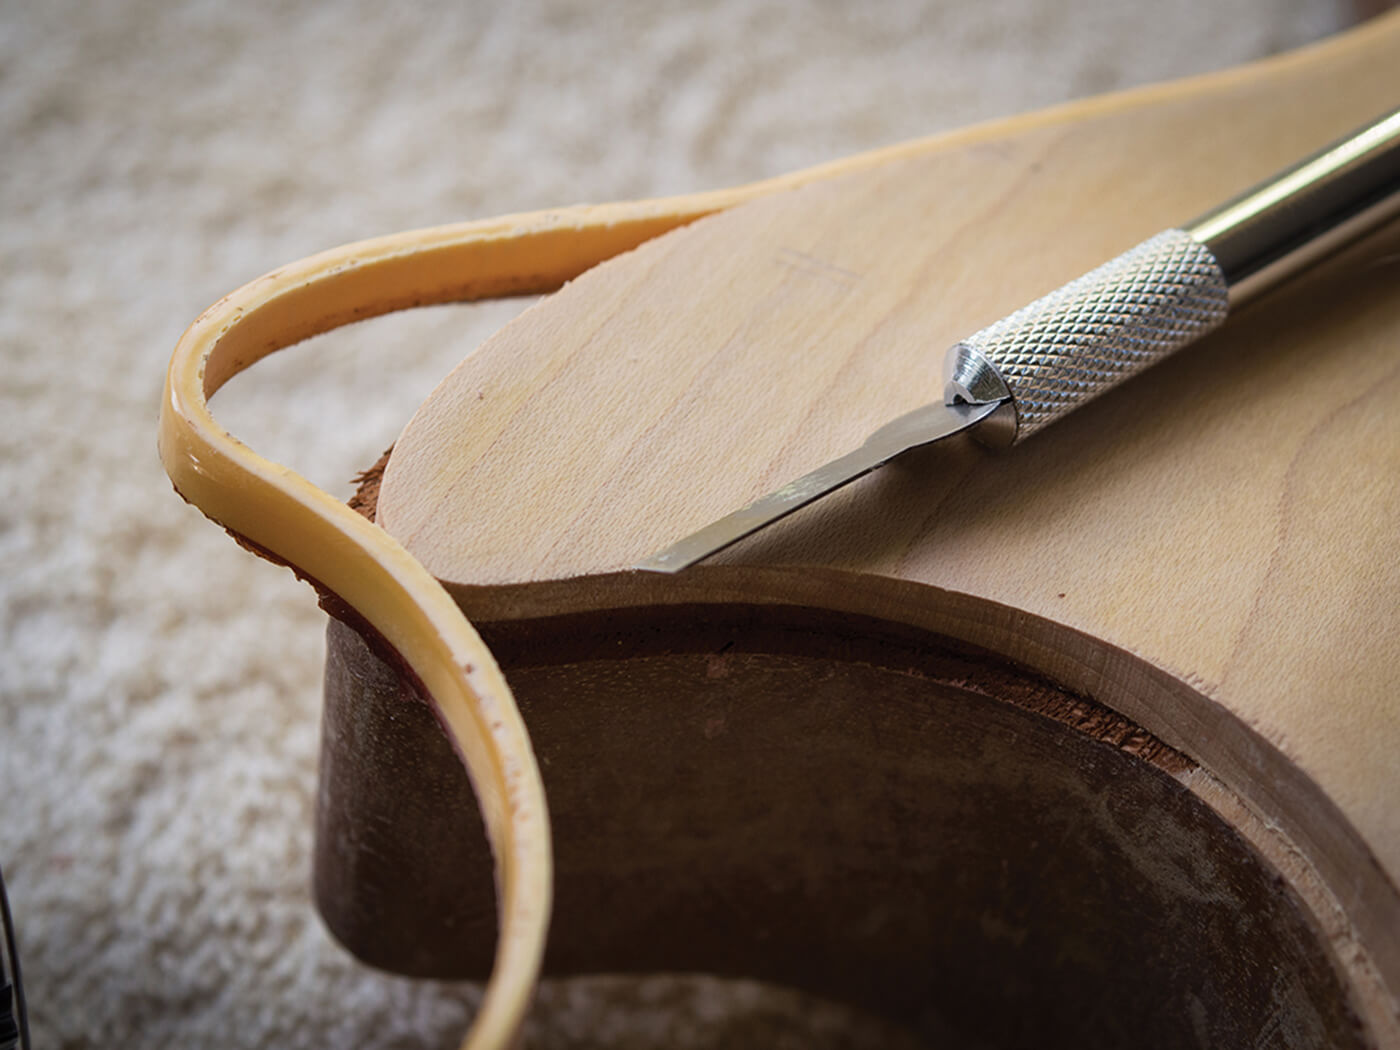
In this fourth part, our luthiery is in full swing as we move into fretting, binding and body veneering. The first course of action is to remove the fingerboard with a view to increasing neck depth. Next, it’s all about re-fretting, and our choice of wire is one that has skinnier dimensions. For binding, we start off by creating fret nibs along the fingerboard before re-binding the fretboard altogether. Lastly, we append a maple veneer to the top of the guitar’s body.
Carving the neck and routing pickups
Section five involves re-attaching the fingerboard to the neck, altering the neck profile, and creating routes for the P-90s.
The first order of business is to carve out marker dots for the fingerboard edge, which is executed by punching holes through a plectrum. When the dots are correctly positioned, the fingerboard is glued back to the neck. We move on to tackle neck depth, re-carving parts of the neck to achieve an appropriate profile.
And finally, we progress to pickup routing, ensuring that the routes match the back angle on the neck. Our routing template sketched in the outset comes in handy at this point, helping us to get an accurate recreation of the ’54’s pickup routing positions.
Applying lacquer
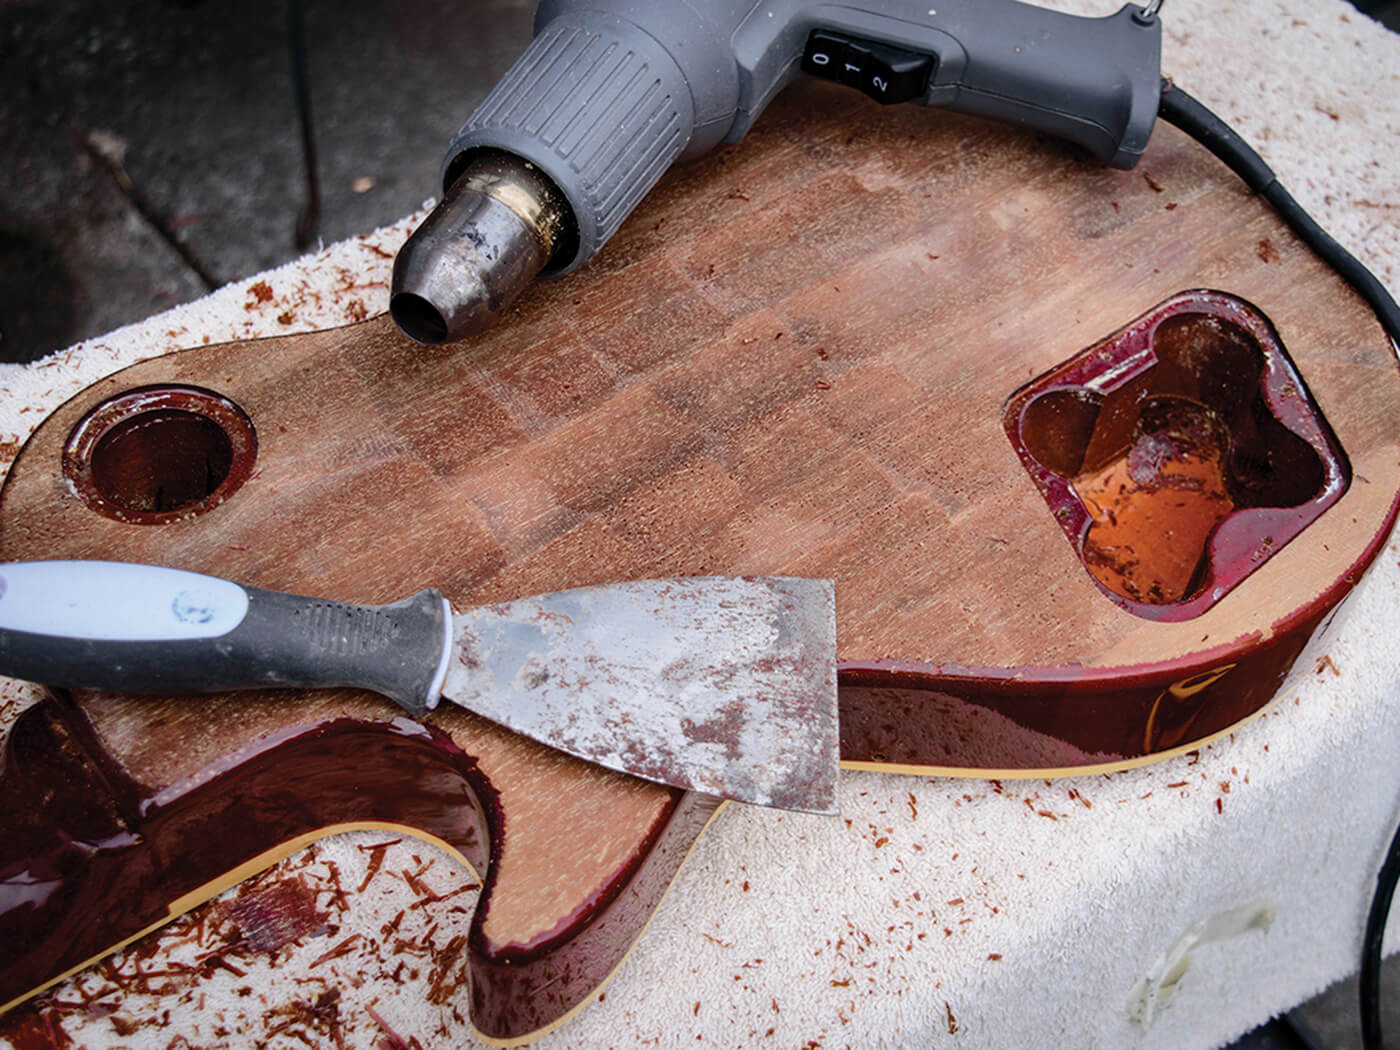
This portion zooms in on a crucial remodelling aspect: lacquering. The process starts with stripping the guitar to its bare bones through some vigorous sanding. A paper shield is then constructed and used to mask off the fingerboard, binding and top of the body. The back of the guitar’s finish is concocted from a mixture of burnt umber powder pigment and ‘teak’ grain-filler, which results in a chocolate-brown colour. This mixture is then spread onto the mahogany body and pressed into the wood with the help of a cotton rag. The maple veneer on the front is treated with Colron antique pine stain for a vintage look, before being sprayed with gold lacquer.
Ageing and relic’ing
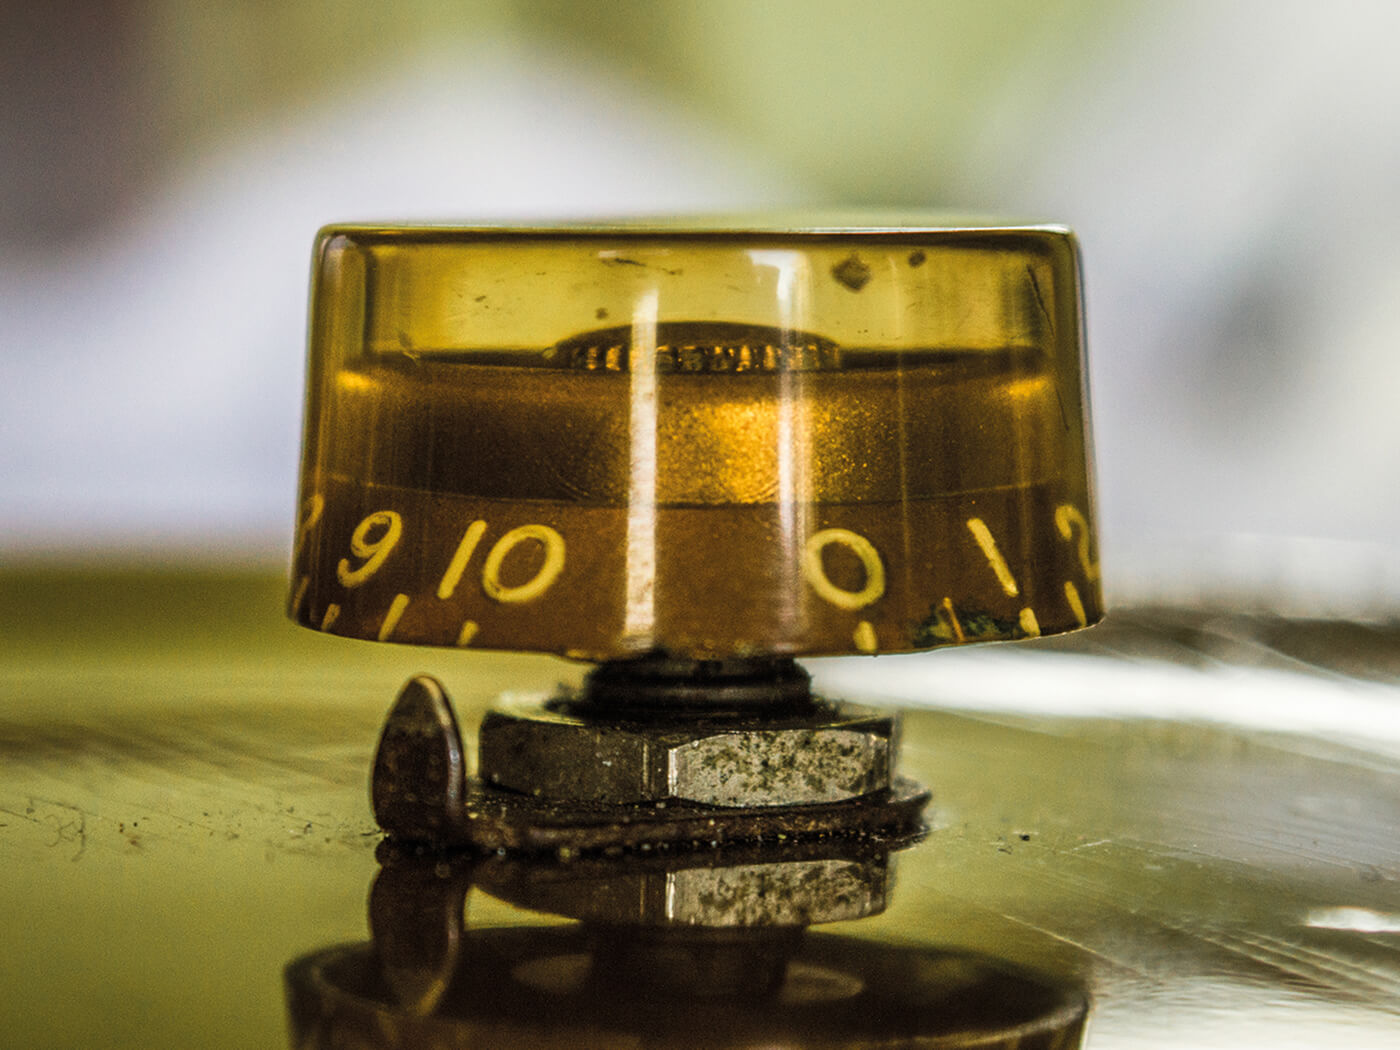
As we near the end of this project, it becomes imperative to ensure that the guitar is period-specific. We attempt to recreate the binding’s yellow-orange hue by spraying on some light tint clear lacquer. Getting up to speed with relic’ing, our first goal is to recreate the amber hue present in vintage control knobs. To do this, we set to work on some modern knobs, wiping clean their insides and re-painting them with the correct hues. The next step is to create classic-looking capacitors, which involves processes such as wax-potting, stuffing and of course, relic’ing.
The finishing touches
This eighth and final instalment involves putting the final touches to our project guitar. We first simulate lacquer checking on the instrument with the help of a craft knife, before soaking the gold lacquer in salty vinegar solution to create a classic greenish hue. We then move on to plastic relic’ing, which involves some work on a newly acquired pickguard and bone-white P-90 covers. The last act requires us to relic the metal components, including a repro wrapover bridge along with the visible screws and knob pointers.
For more DIY projects, check out this page.