Related Tags
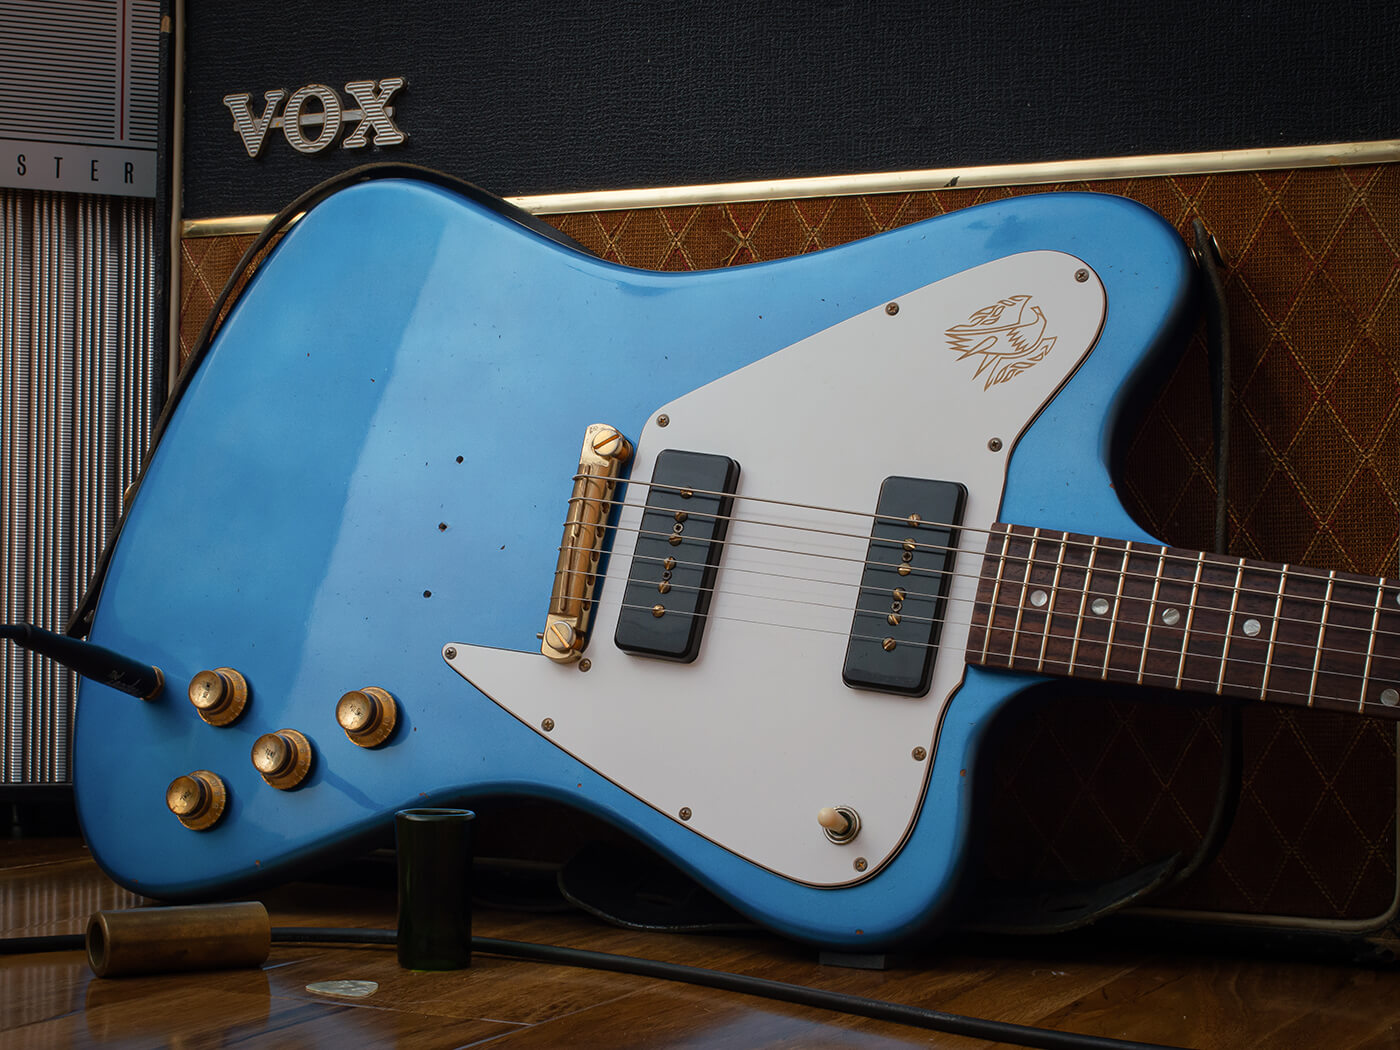
DIY Workshop: 1965 Gibson Firebird restoration (Part 3)
It started out as a simple refret and respray but turned into a full restoration. Finally this 1965 Gibson Firebird I is ready to fly again.
All images: Huw Price
When restoring vintage guitars, my approach is always to get the finishing as close to factory standard as possible and work backwards, rather than skimping on the cutting and polishing. Maybe that explains why I always feel apprehensive about starting the relic’ing process, but once things get underway it’s something I really enjoy. Part of the excitement is the randomness and unpredictability, which means that you can never be entirely certain how things will turn out.
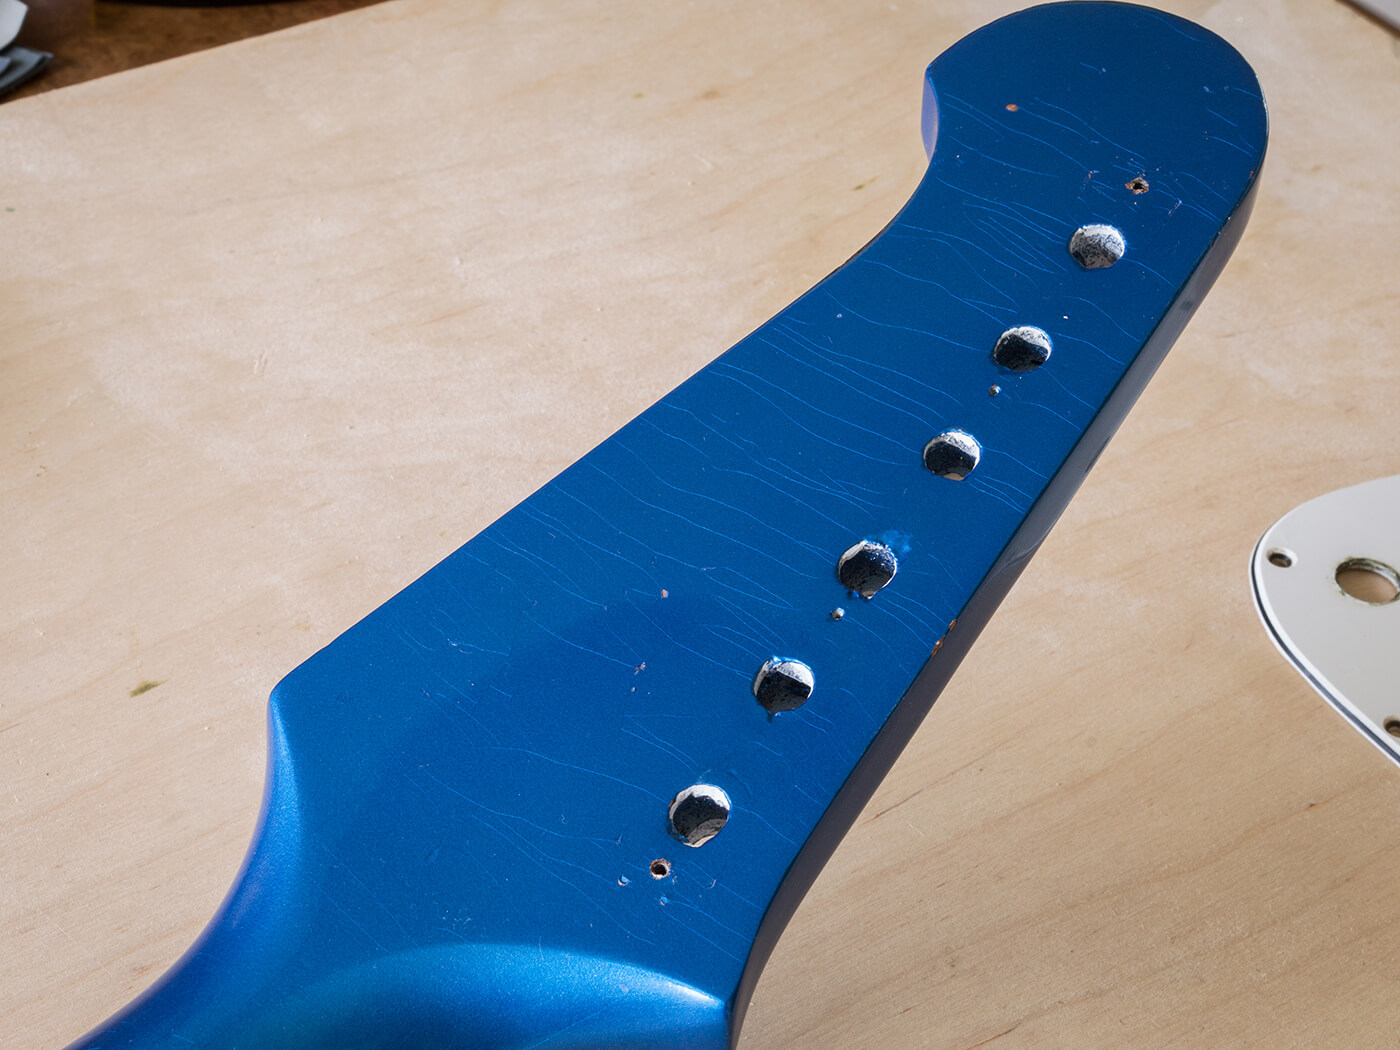
I start by refitting the pickguard to protect the body with the bridge still in place. Since the aim is a fairly light level of distress, I use medium sized bolts rather than bunches of keys, and I drop them onto the body from about 10cm. This is done all over the body, neck and headstock, and although I do create a couple of larger chips that expose the mahogany, for the most part I’m left with lots of very small dents and chips.
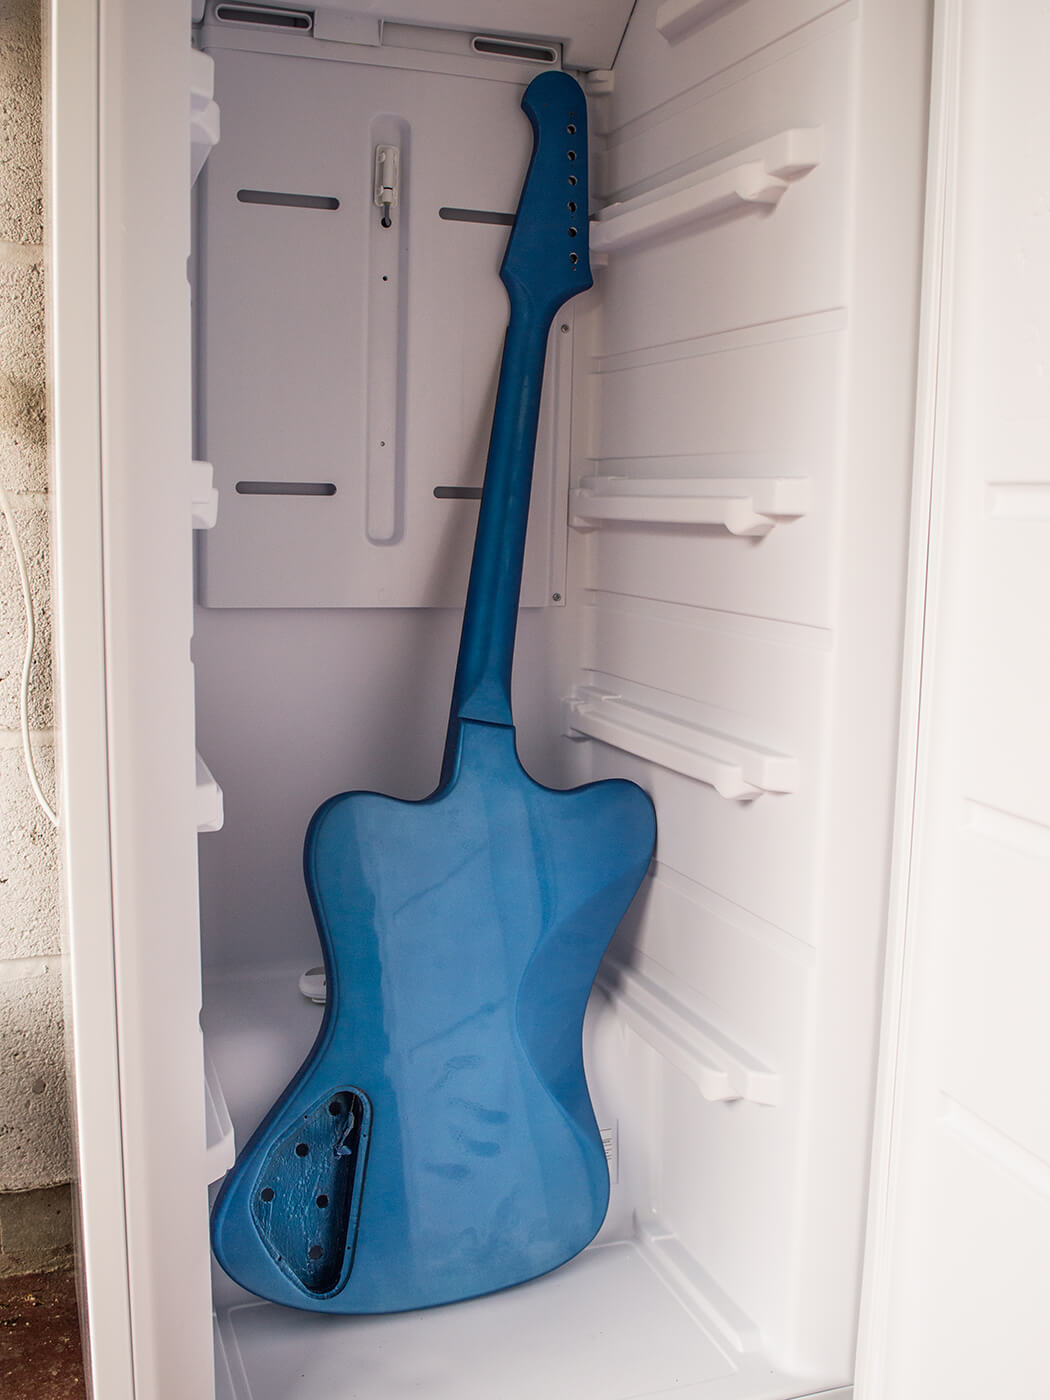
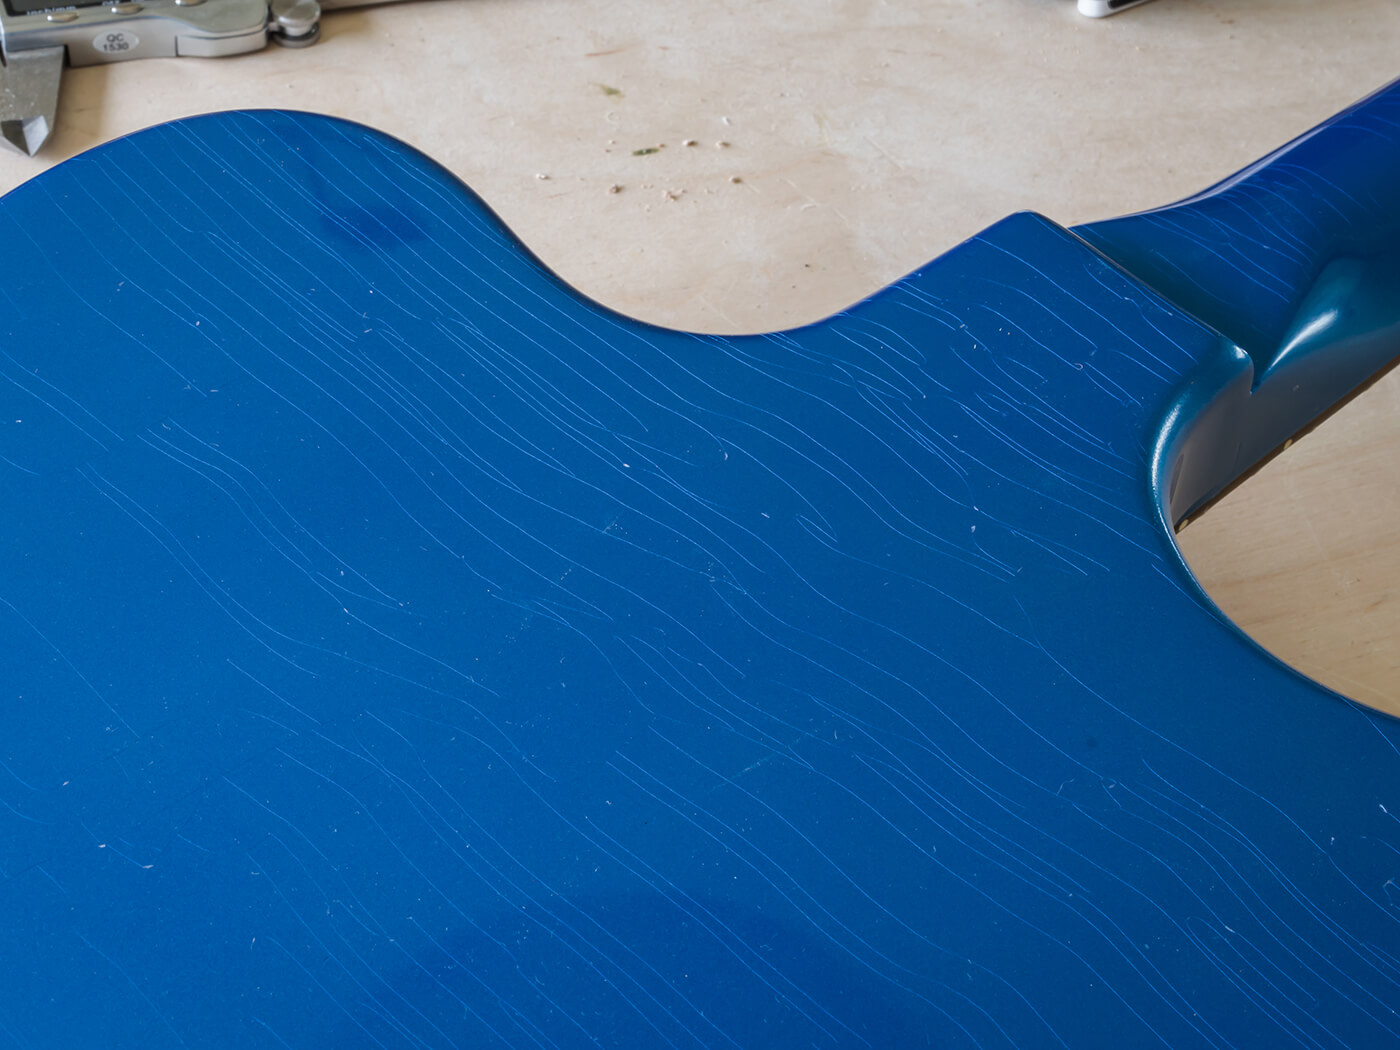
At the end of this process guitars always look worse, but the lacquer checking comes next and the idea is to get the checking lines to form around the dents – which is what you see on real vintage finishes. Having previously used inverted air-dusters to induce lacquer checking and also indulged in razor work, I’ve had some recent success using a deep freeze. Overall, I think it’s the method that produces the best results, but you need a pretty big and empty freezer to accommodate set-neck guitars – and Firebirds in particular.
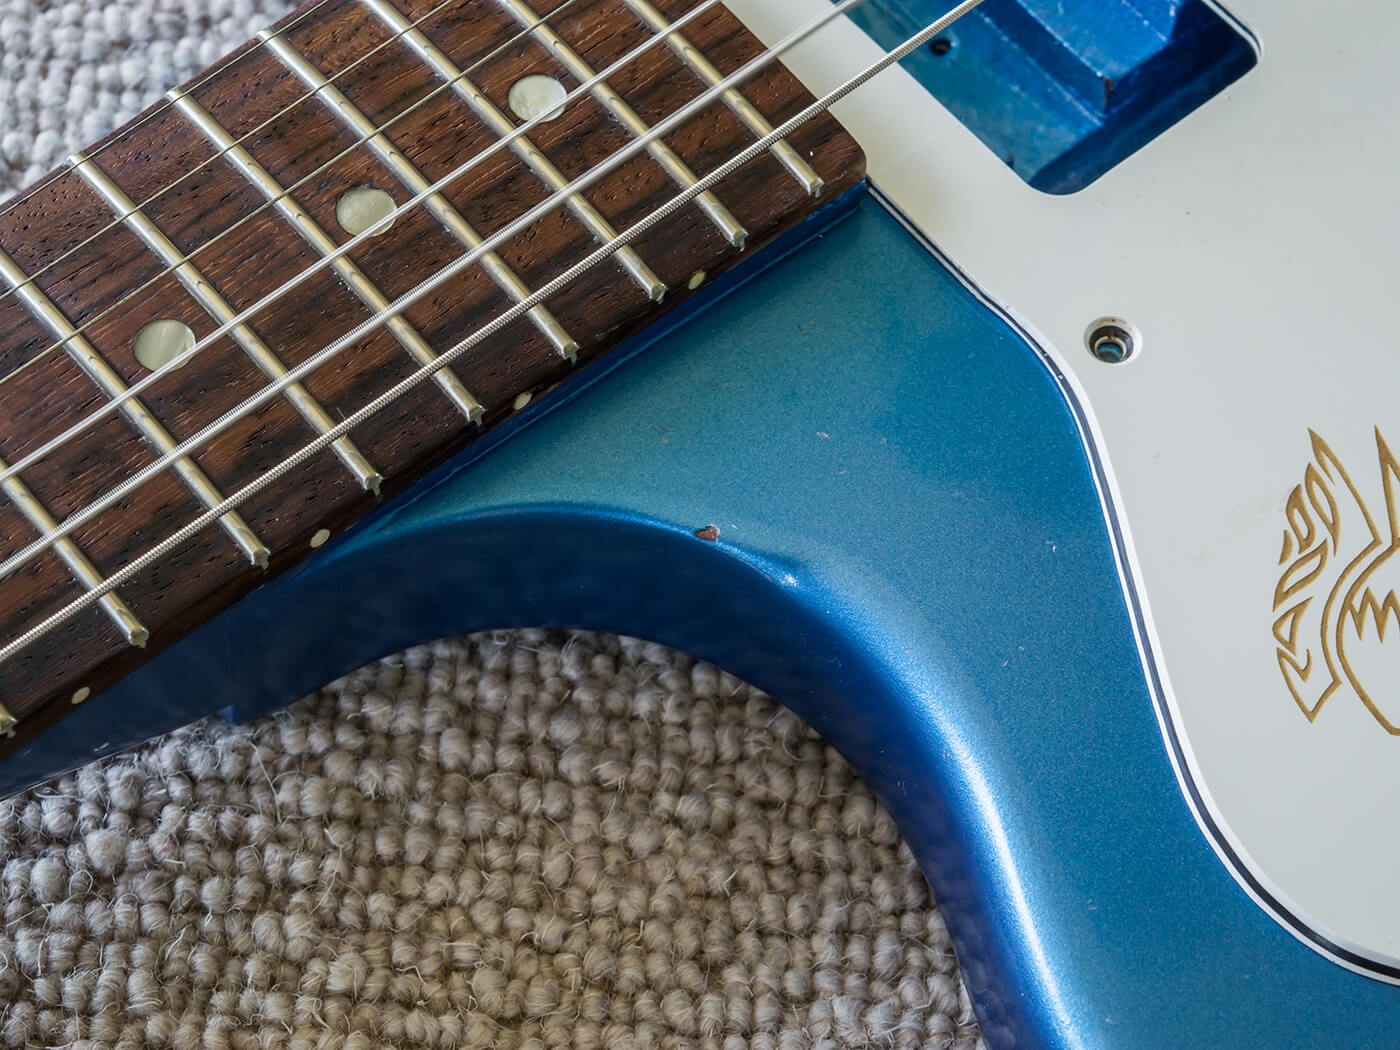
Having allowed this Firebird’s lacquer over a month to harden, the checking forms very quickly. I put it in the freezer for two hours, let it thaw, and then repeat the process twice more. As hoped, the checking lines form around the dents and predominantly run from side to side rather than lengthways – something that rarely happens with inverted air-duster sprays.
To add some patina I use water thin stain. The checking lines are too tight for the stain to wick in, but it does a good job at ageing the dents – the checking lines will open up and become more visible over the next few months. With the finish relic’ing complete, the Firebird is ready for reassembly, but first I need to age the hardware and pickup covers.
Gold standards
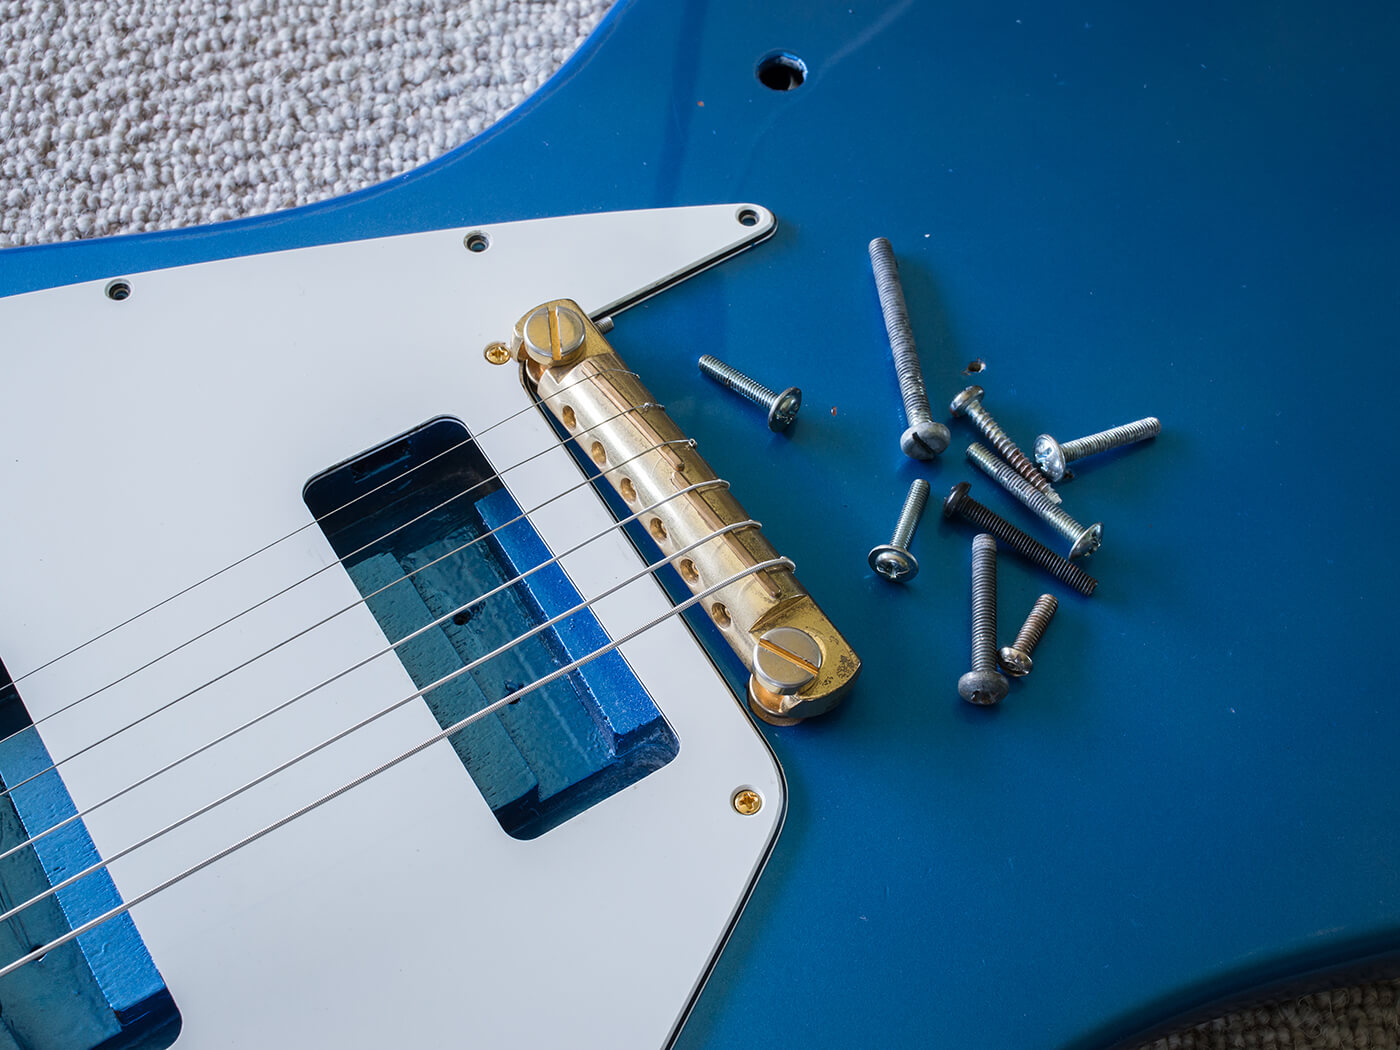
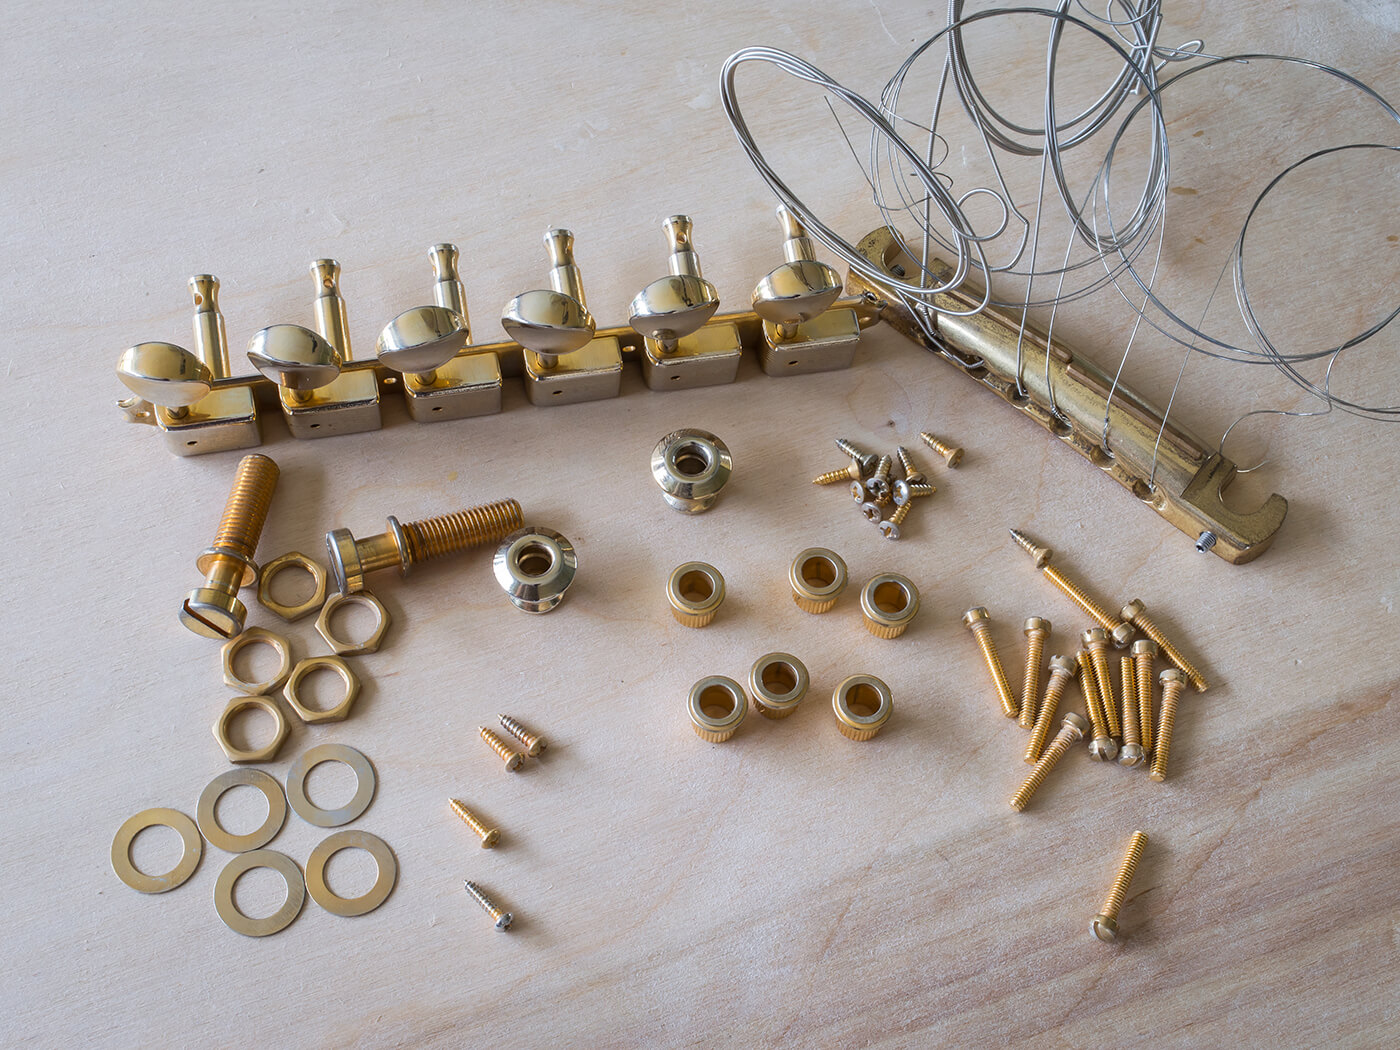
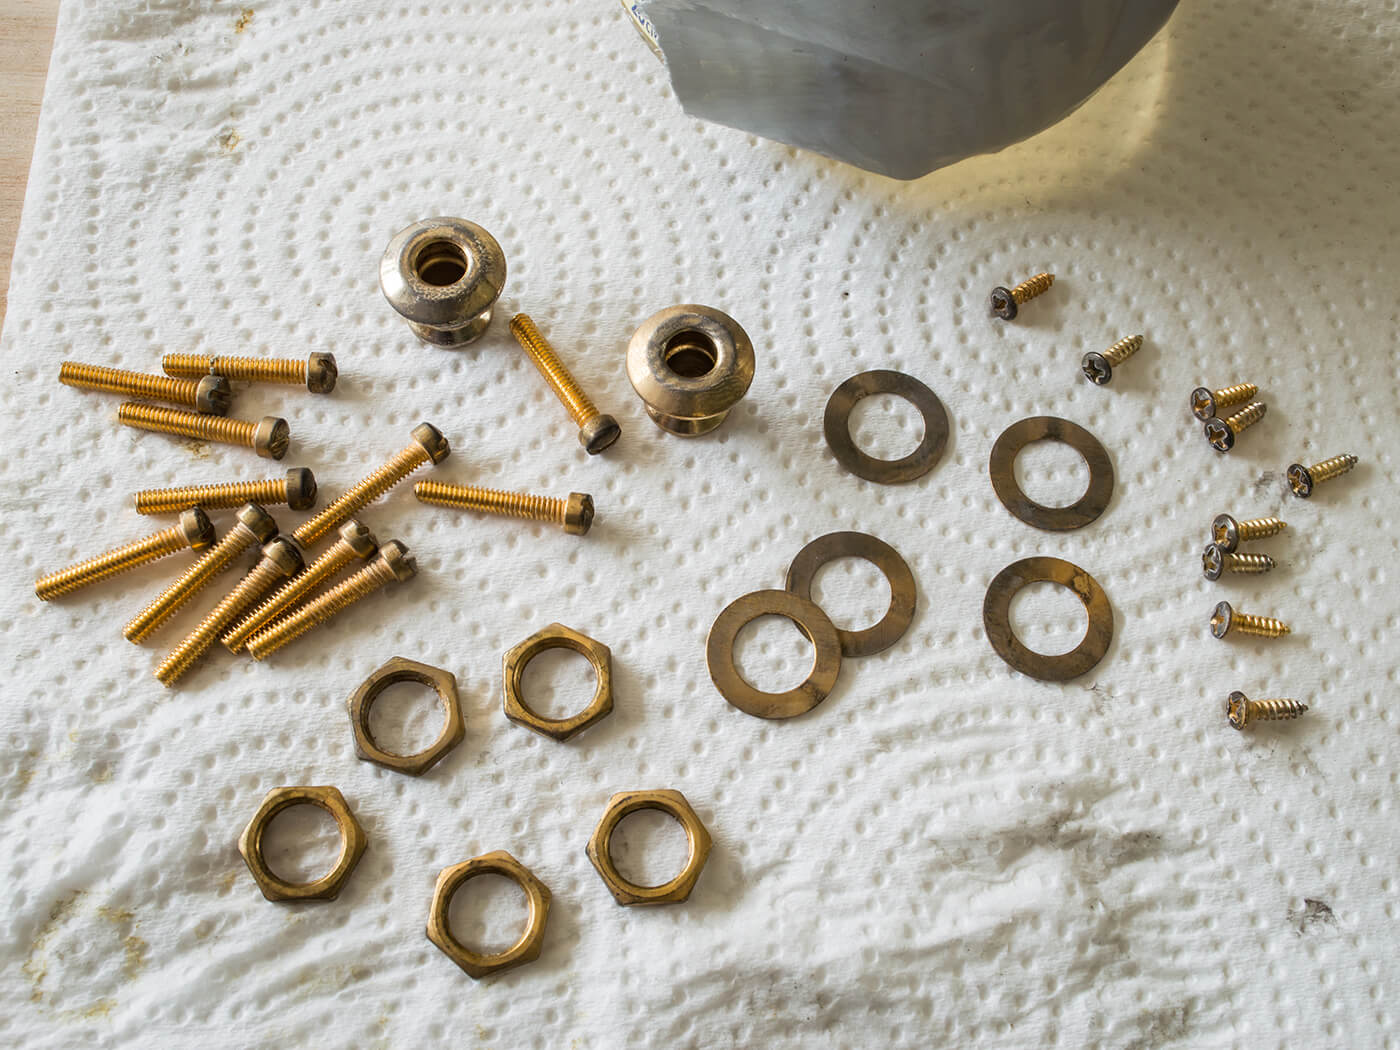
Most gold-plated hardware has a deep and strong colour when it’s new and the parts supplied with this guitar are no exception. I age gold hardware in three stages, and the first task is to put all the parts into a bag and shake them up. I then pull out a small piece of Brasso wadding to rub through the gold and expose the nickel layer beneath. It’s a fast process, so care is needed to avoid eliminating the gold completely.
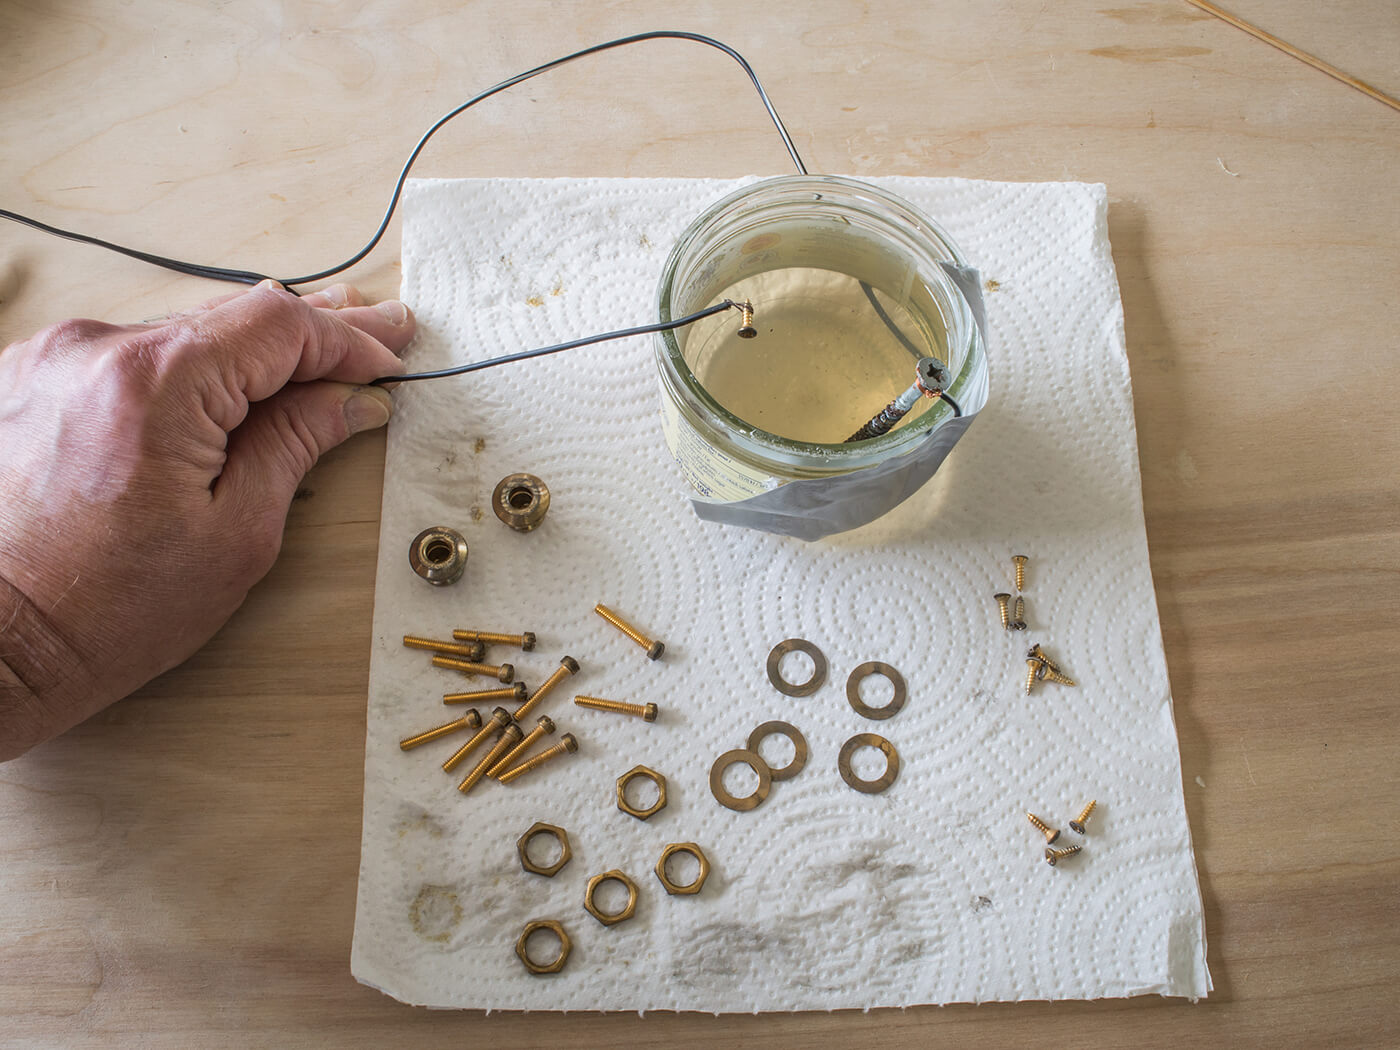
The pickguard screws, tuners, pickup pole screws, washers and nuts all get the Brasso treatment and everything looks a lot mellower by the end of it. The metal is still too shiny, so I use a 9v transformer and a jar of heavily salted water to take care of that.
In order to do this, the positive side is connected to a large wood screw that’s suspended in the water. The negative wire is wrapped around the part that’s being relic’d and I dip that into the water – close to but not touching the wood screw. Within seconds the area that’s been in the water turns a murky grey and looks decades older. It’s so fast that all the parts are done within minutes.
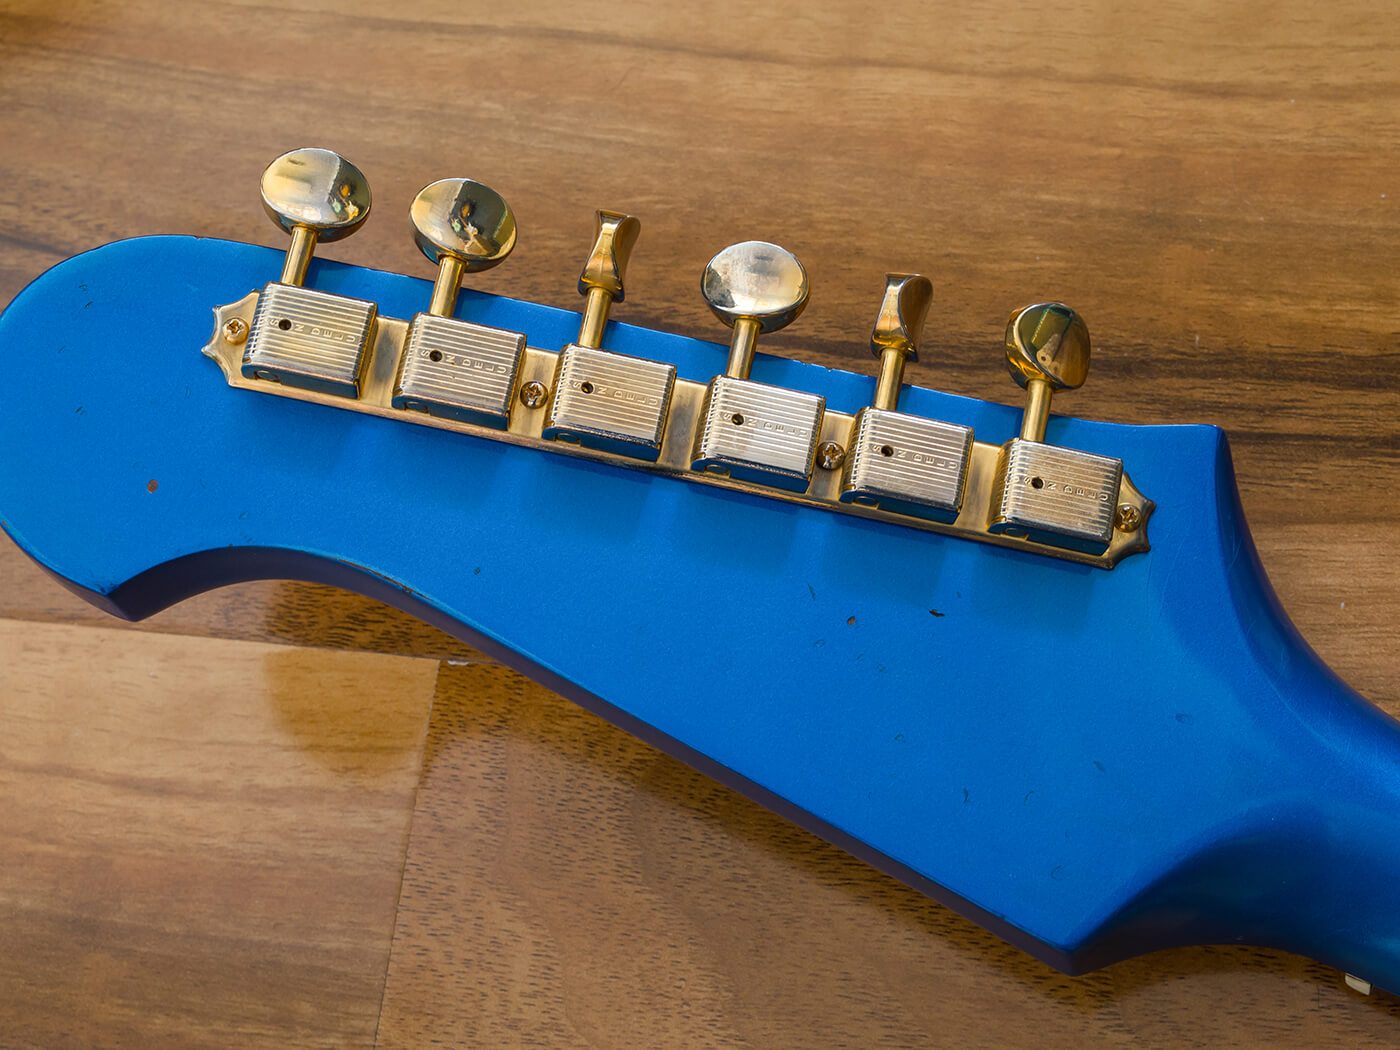
The tuners require a different approach because I don’t want to immerse them in water. I pour a small amount of 37 per cent hydrochloric acid into a plastic container with a platform for the tuners. The tuners are placed on top and I replace the lid. The acid fumes dull the tuners in a very natural way and I’m able to remove them and wipe them down after a few minutes. If you try this, wear gloves and googles, and work outside.
Pickup preparation
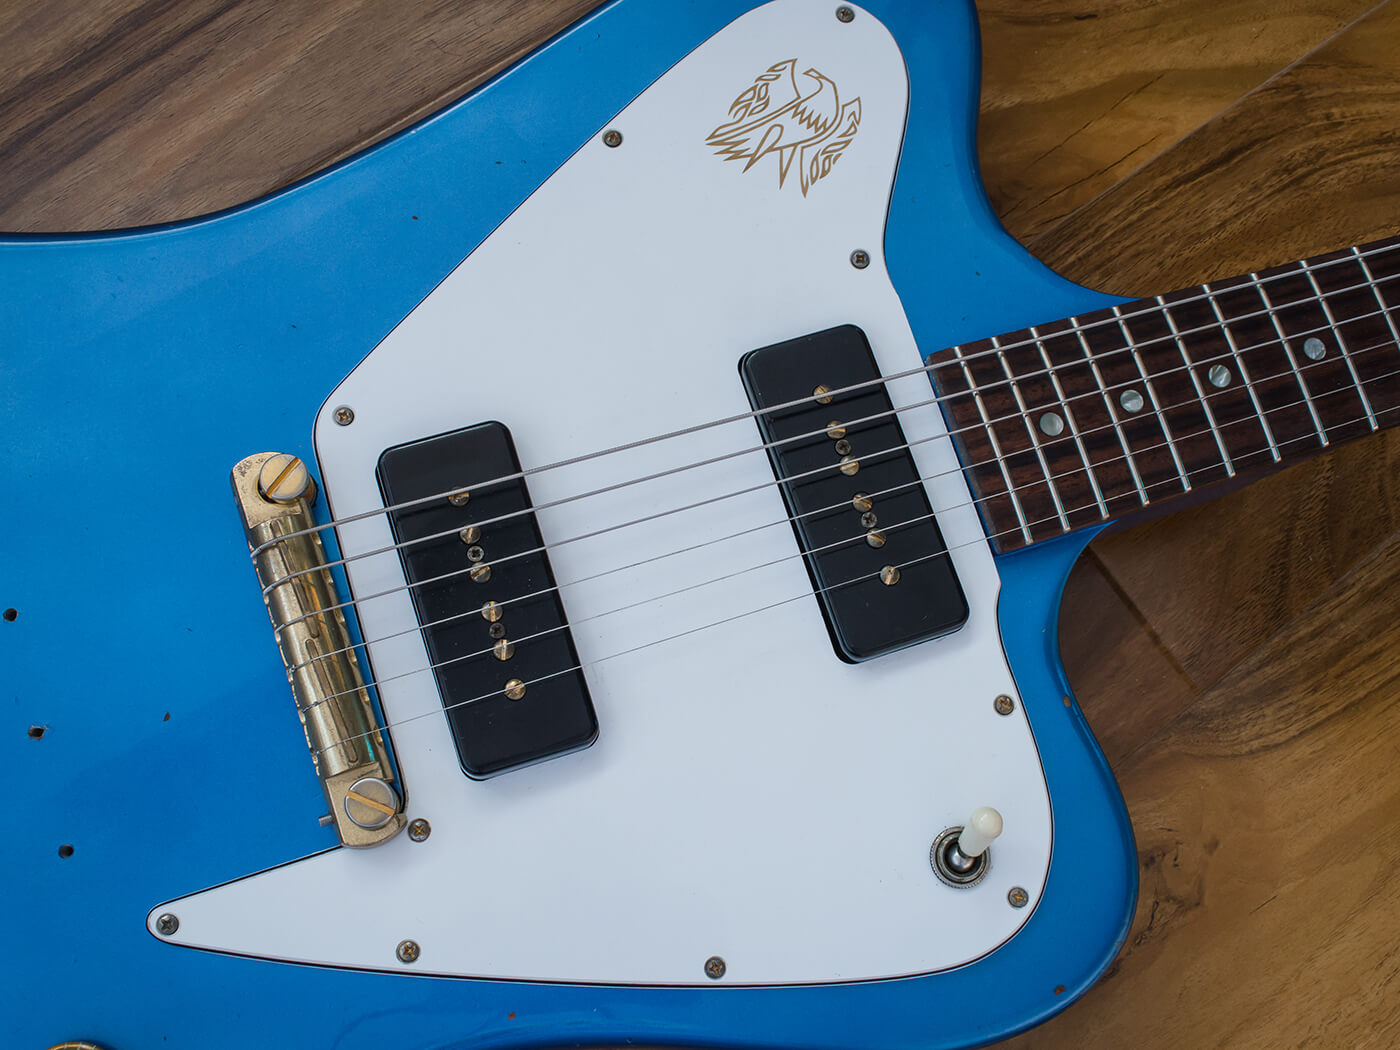
The guitar’s original control knobs look fantastic and the pickguard is clearly old – although I’m uncertain as to whether it’s original. In contrast, the brand new P-90 covers look far too clean and shiny, so they need some ageing treatment to look right on this guitar. I start by using a countersink drill bit to deepen the fixing hole screws. The bit is quite sharp and I’m able to do it by hand.
To dull the surface, I rub the covers down with a 3200-grit foam pad and follow up by dropping bunches of keys onto the covers to induce random dents and scratches. With the relic’d gold pole screws installed, the Monty’s P-90s look a lot more in keeping.
Come together
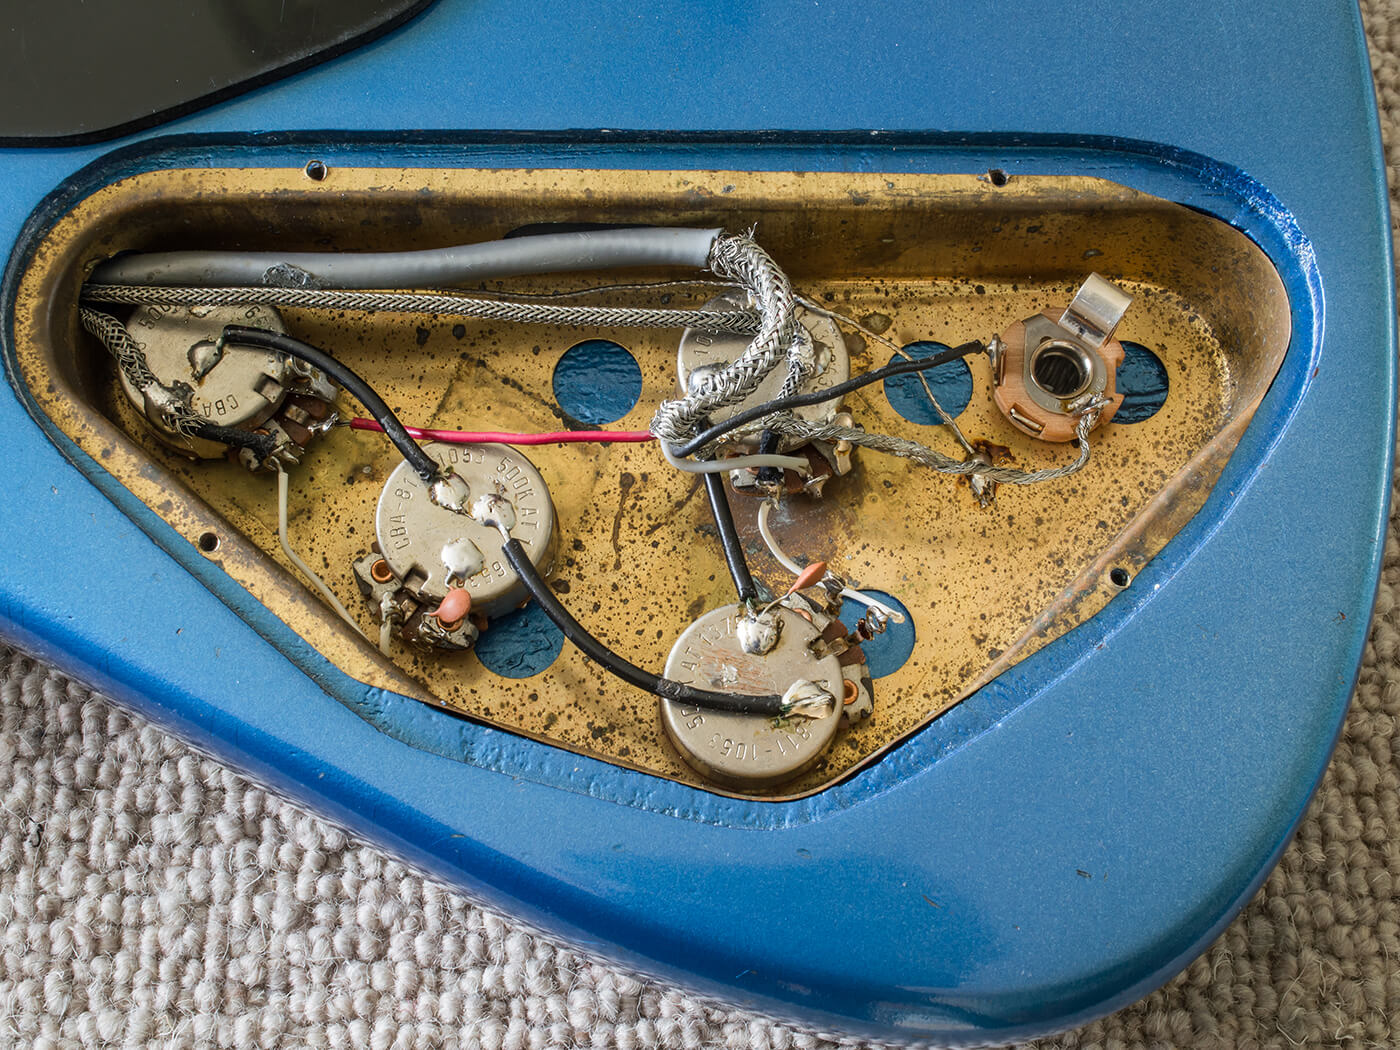
Besides tidying up the control wiring and installing a pair of ceramic disk tone capacitors, reassembly is very straightforward. Having tested the bridge and the new frets before spraying the guitar, I knew it would play and intonate nicely. The owner and I are still deciding whether to replace the original nut, but I’m able to glue a repair patch into the truss-rod cover where it was cut out for three-per-side tuners. I leave the broken area at the tip because it’s part of the guitar’s history.
Some will feel that the guitar should have been fitted with period-correct chrome hardware, and the finish would certainly look more vintage if it was a bit greener. Ultimately, it’s a personal choice and one of the advantages of having a vintage guitar restored is that you can make it exactly as you want it.
Had the owner asked me to fit three monsterbuckers and a Floyd Rose, I would have turned the job down. But, as things stand, the gold-plated hardware can easily be swapped out and a few hours in bright sunlight would start the greening process.

I understand the thinking behind these specs and, with the original gold knobs in situ, I like the way it has turned out. This Firebird has ample sustain, a very balanced tone, it’s almost effortless to play and the Monty’s pickups do it justice. Despite being a fairly challenging project, the guitar is well worth it and I hope it will now be good for another 50 years.
To find out more about Huw’s work visit huwpriceguitar.com.