Related Tags
DIY Workshop: Build your own Klone pedal
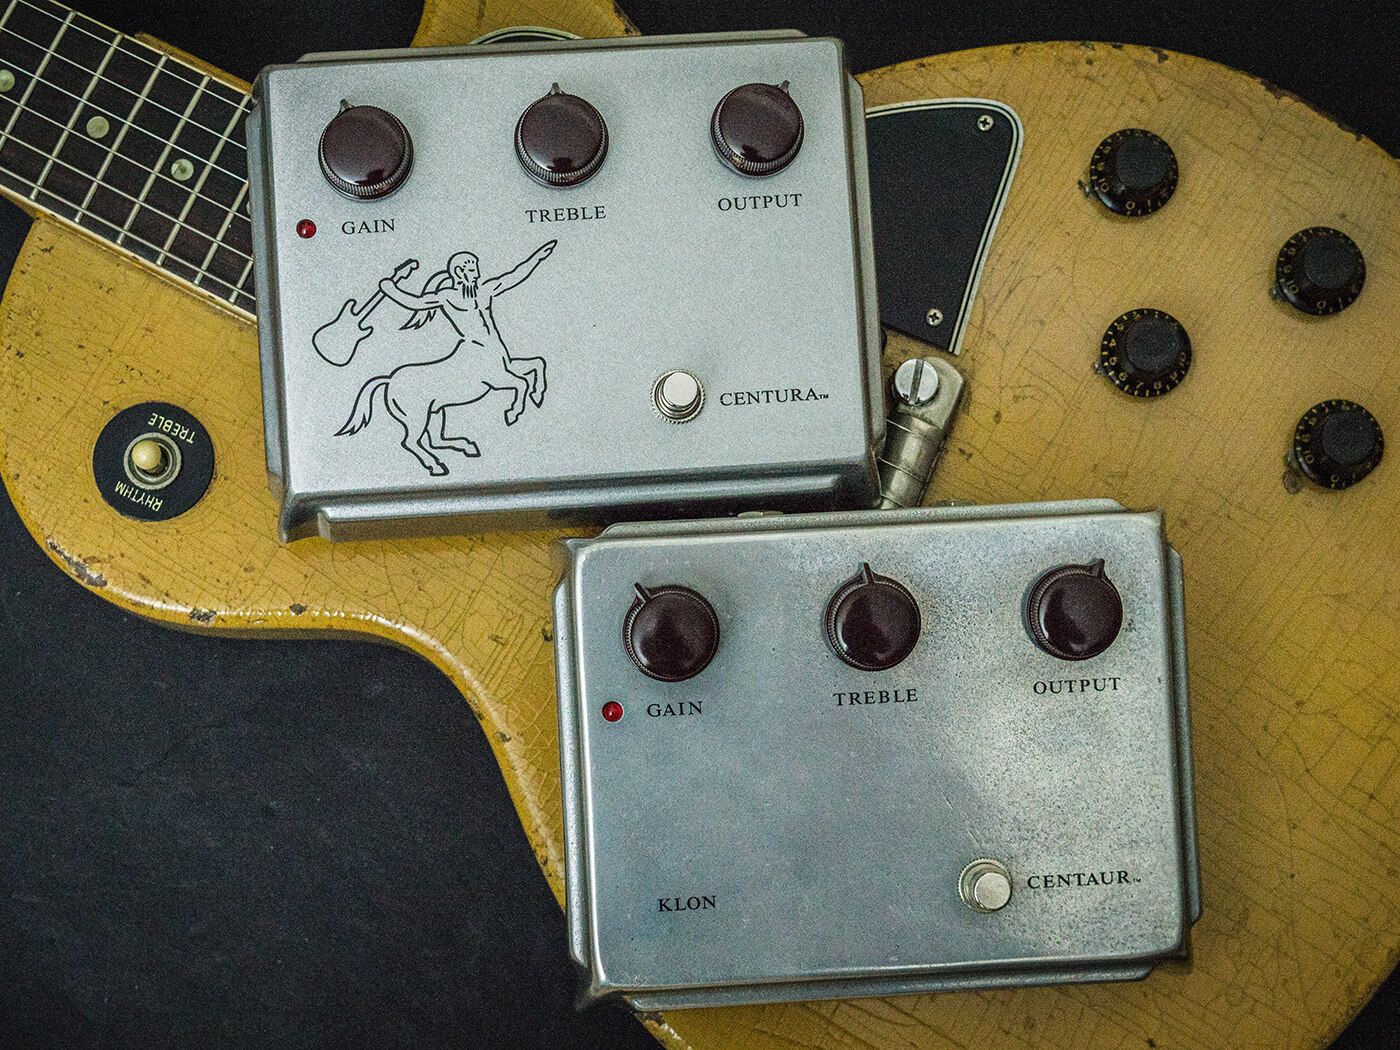
On lockdown and looking for a DIY project to keep you sane? Why not try building a clone of the legendary Klon Centaur with a Centura kit from Ceriatone.
The demand for Klon Centaurs has driven prices into the stratosphere. All of the originals were hand-built by Bill Finnegan, who joined forces with a couple of MIT engineers to design this most revered boost/overdrive pedal. By stompbox standards it’s a complex and highly original circuit, and after producing around 8,000 units between 1994 and 2000, Finnegan understandably decided he’d had enough.
With demand so high and supply cut off, the inevitable has happened. A mini-industry of Klon cloners has sprung up over the last two decades, but only Ceriatone has gone to the trouble of recreating Finnegan’s original enclosure and PCB layout. The result is the Centura Professional Overdrive.
Ceriatone offers customers various options. You can buy the printed circuit board and enclosure, or the PCB fully assembled. You can also buy the pedal pre-built or a full kit with a variety of finishes and graphics. I can’t resist the chance to build my own and learn more about this fabled circuit in the process.

Boutique building
Ceriatone’s Centura kit is a fairly advanced build, but only because there is a higher than usual component count for a DIY overdrive and the instructions don’t quite hand everything to you on a plate. You’ll need to read the instructions carefully and do some planning for final assembly.
Choices need to be made from the get-go too. Although the Klon Centaur circuit remained pretty much unchanged throughout its production run, Bill Finnegan did tweak a few component values. In 1995, two of the 1uF capacitors in the signal path were increased to 4.7uF to allow more low frequencies through, and a 15K resistor was added to ‘sweeten’ the midrange. Three resistors were also added to reduce popping from the footswitch, but they have no effect on the sound.
The manual lays all of this out and identifies the components on clearly drawn diagrams. Having the anti-popping resistors is a no brainer, but I’m not so sure about the extended lows and bolstered midrange. Since the vast majority of Klon Centaurs have the later circuit, I decide to try it.
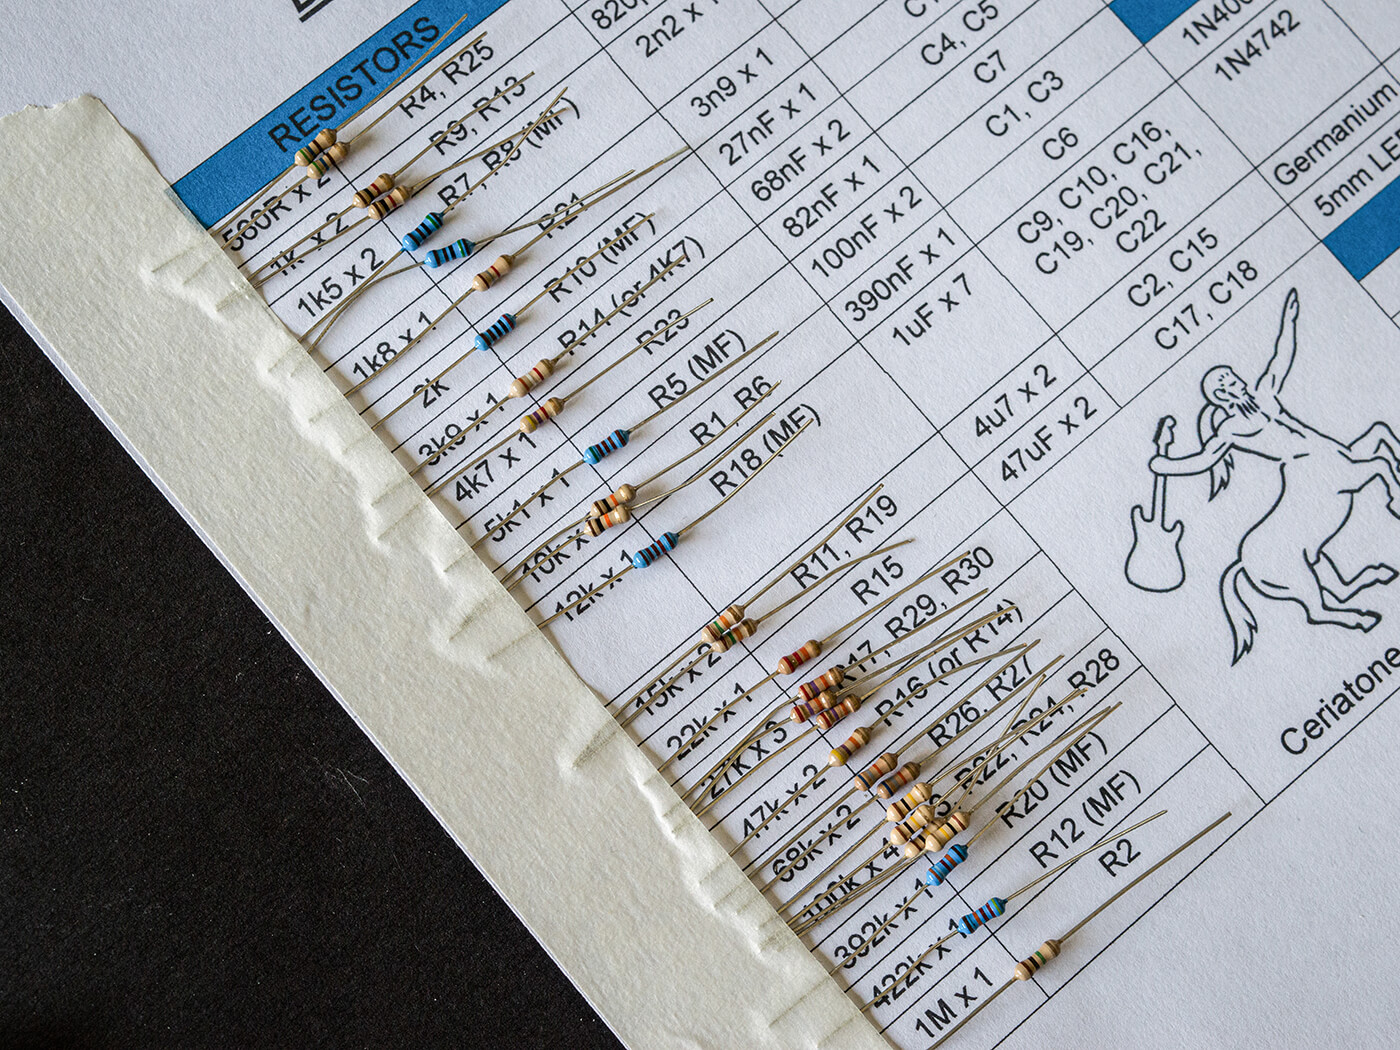
As with any kit, the first task is to sort through the components and verify that everything on the list has been included. I prefer to work from printed instructions and I run a length of masking tape along the left-hand side of the page adjacent to the resistor list.
Even if you know your colour codes, I recommend measuring each resistor using a multimeter. Once I’ve identified and verified a resistor, I place one of its wires under the masking tape alongside its position on the list. This helps to keep things organised and it means you only have to sort them out once.
Electrolytic capacitors are easy to identify because the values are written on the casings. The film capacitors have three digit numerical codes with the value and a multiplier, so you may need to find an online capacitor code table for clarification. And beware of the diminutive yellow 1uF capacitor because it’s polarised. One leg has a tiny plus sign printed next to it.
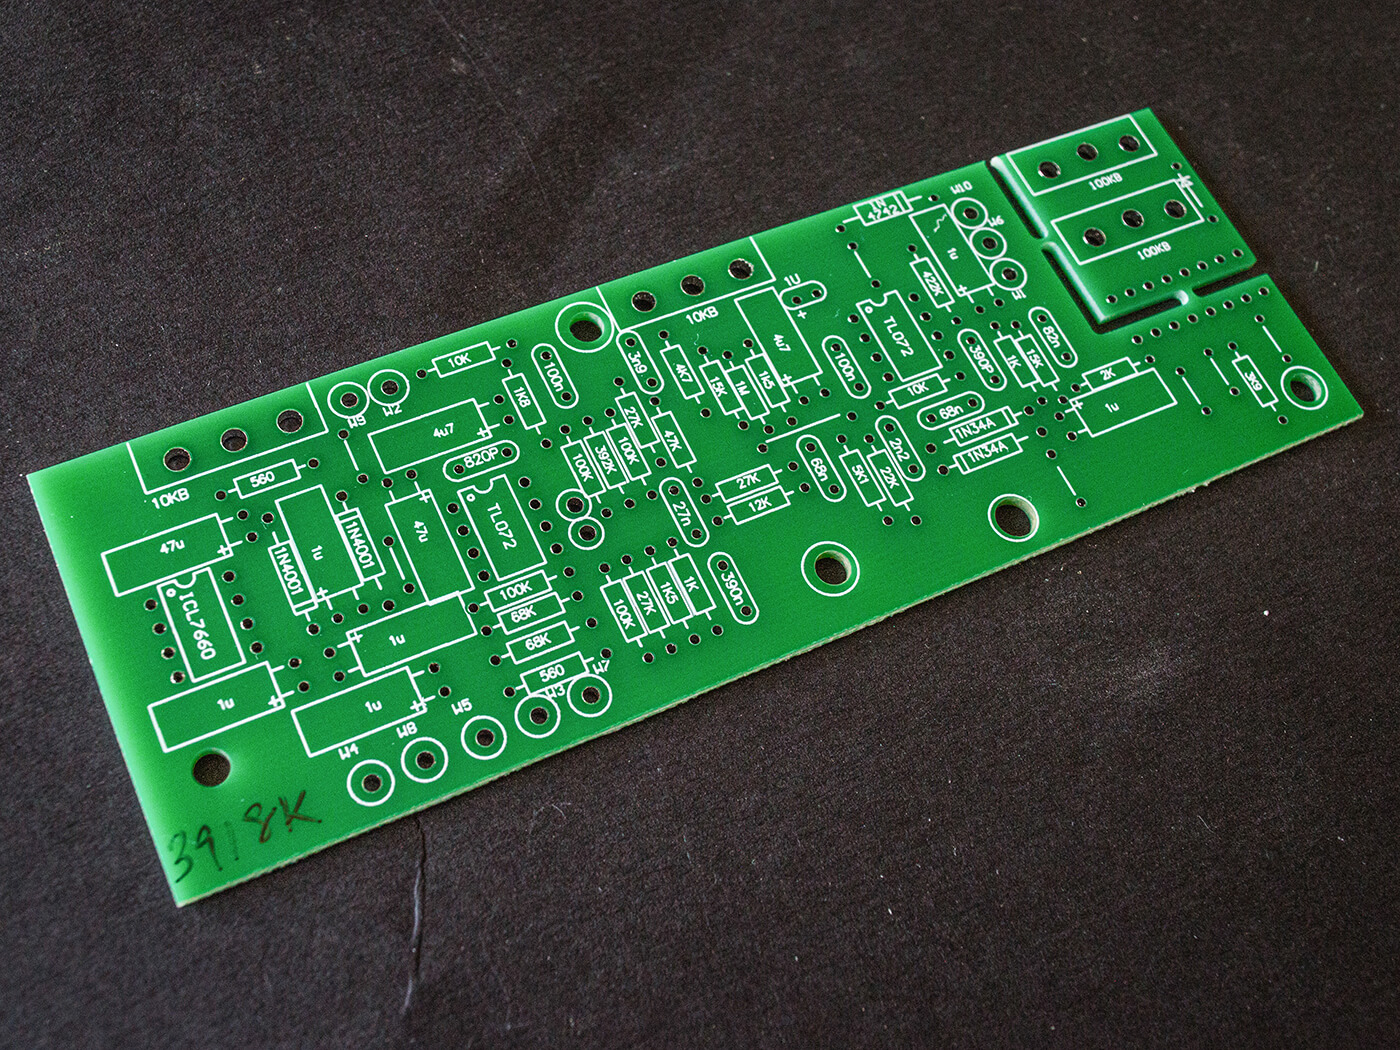
The PCB is quite compact, but the component positions and values are clearly marked. I begin by soldering the three integrated circuit sockets, using an iron with a small tip set to 350 celsius. Excessive heat can damage a circuit board, so it’s a more delicate job than soldering components onto eyelet and turret boards.
Next, I mount the resistors, pushing the wires through the PCB holes, pressing the component against the board and folding the wires over slightly on the rear of the board. This holds the resistors in position as I solder the joints, and once the joints have cooled, I snip off the excess wires. Doing four or five resistors at a time, I work my way through them all, and finish up by soldering the seven link wires.
I follow the same procedure with the diodes. There are five in total – three used in the power supply and two ‘germanium’ clipping diodes that augment clipping in the op amp to produce the Klon’s distinctive overdrive characteristic. Pedal geeks have long argued over the type of diodes Finnegan used. The PCB is labelled 1N34A, and Finnegan confirmed in a forum post that it is the diode he used in the Centaur.
Countless versions of the 1N34A have been made over the decades, however, and Finnegan asserts that they all sound different when they’re being used for clipping. Having tested numerous diodes for my own pedal builds I concur, so has Ceriatone managed to source the exact same type as Finnegan’s apparently unobtainable Russian diodes? We’ll soon find out.
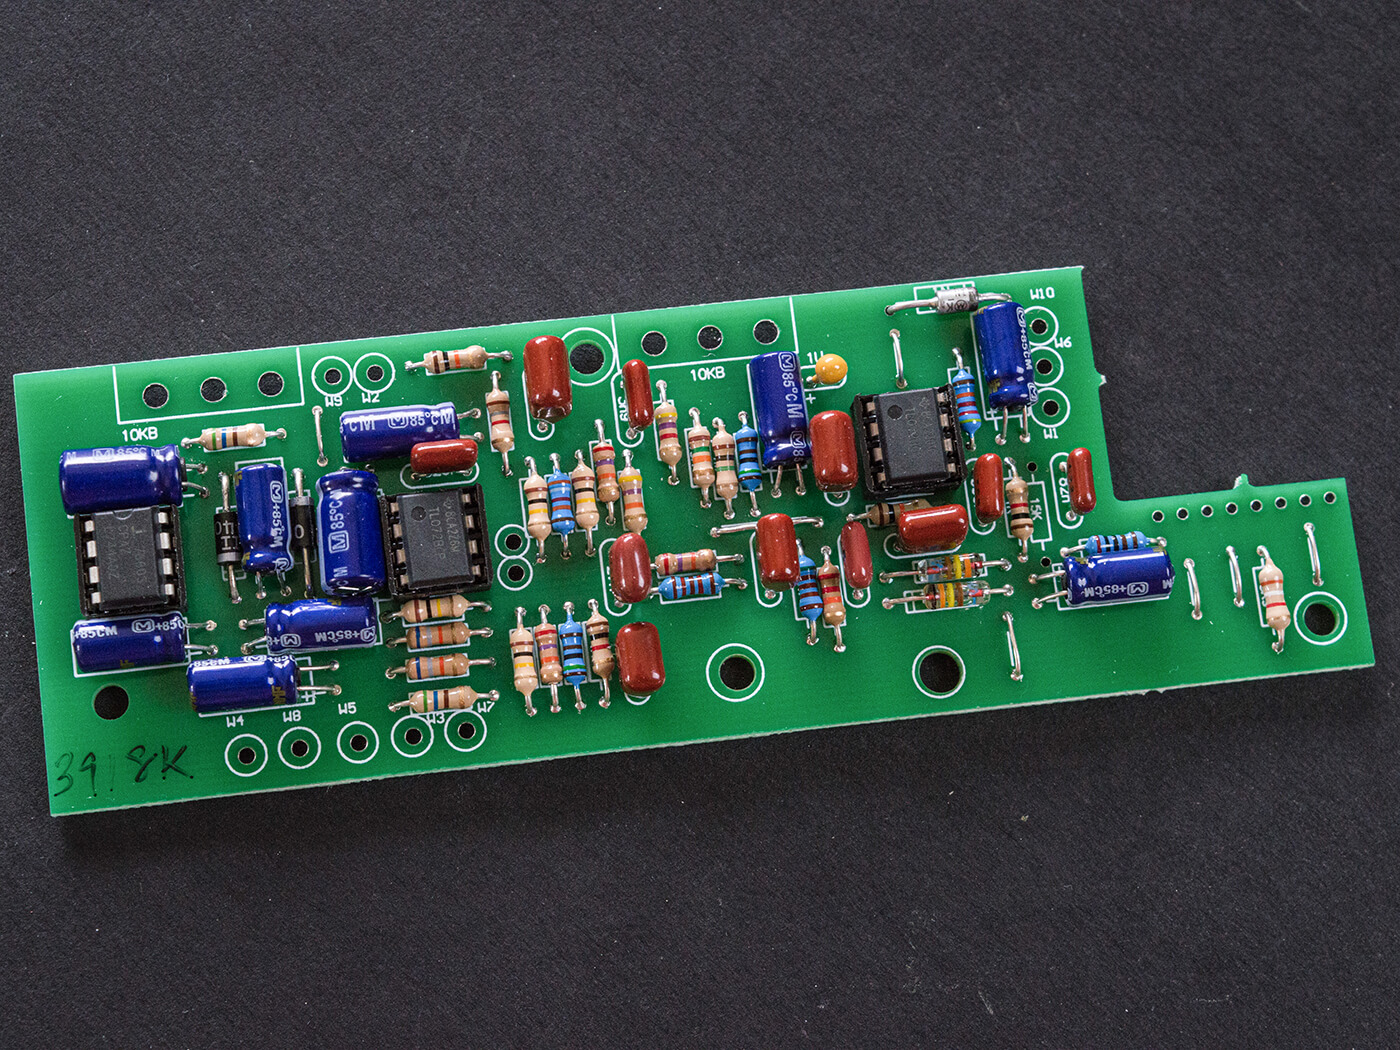
The electrolytic capacitors go in next, followed by the brown capacitors. I fold the electrolytics over, as seen in the original pedals. With the PCB fully loaded, it’s carefully inspected to ensure there are no overlooked solder joints, or accidental solder bridges between traces that shouldn’t be connected. Once I’m confident it’s okay, it’s time to load up the enclosure.
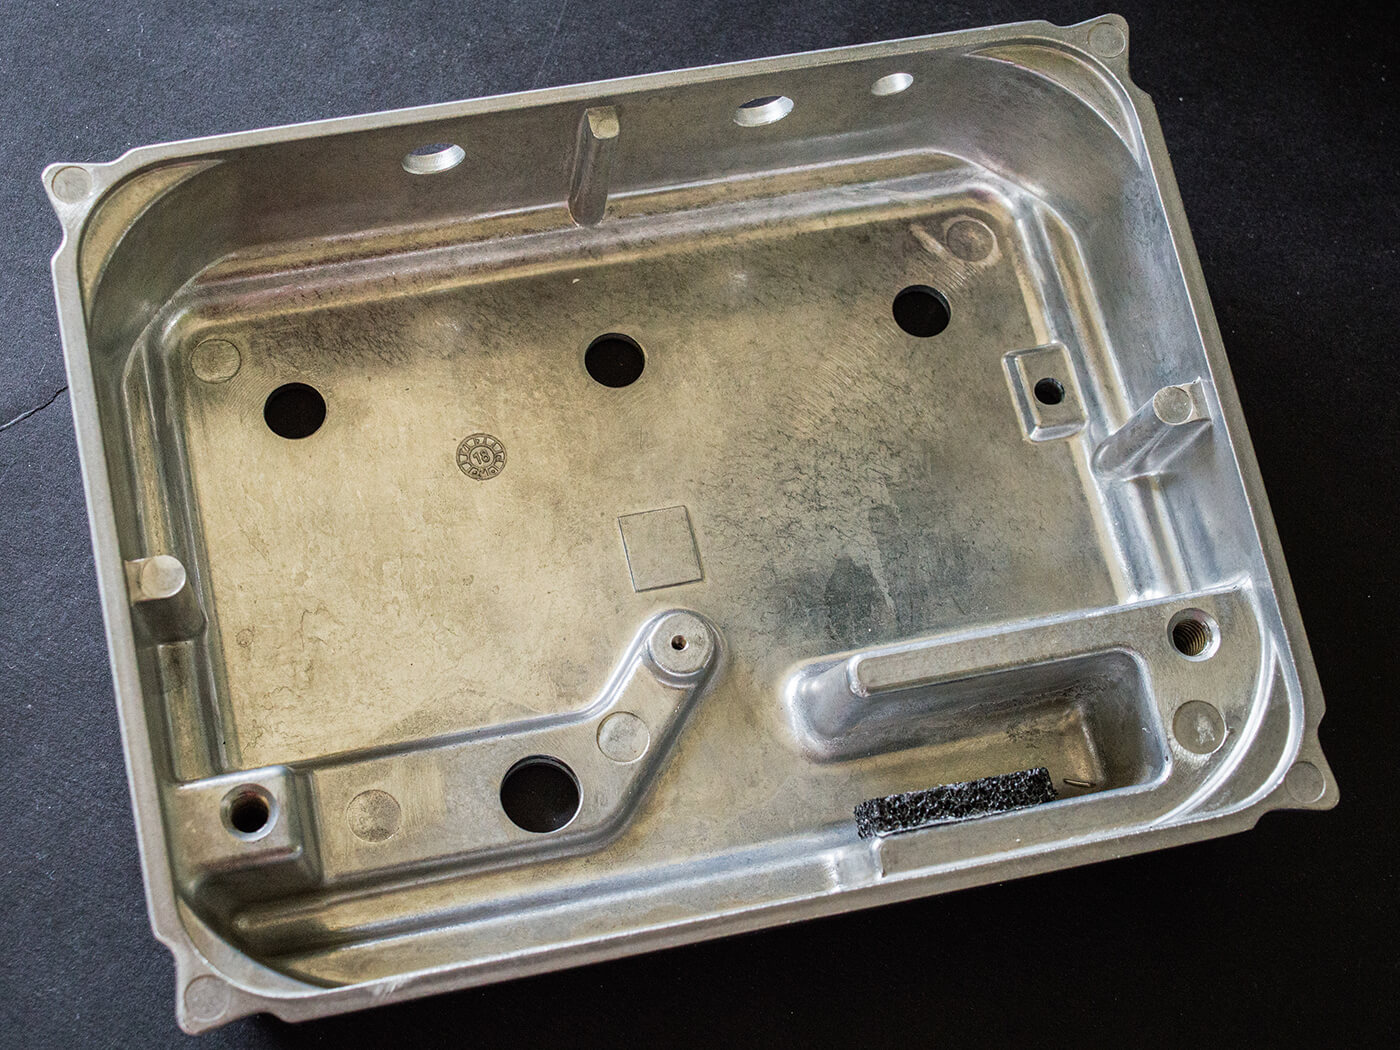
Getting loaded
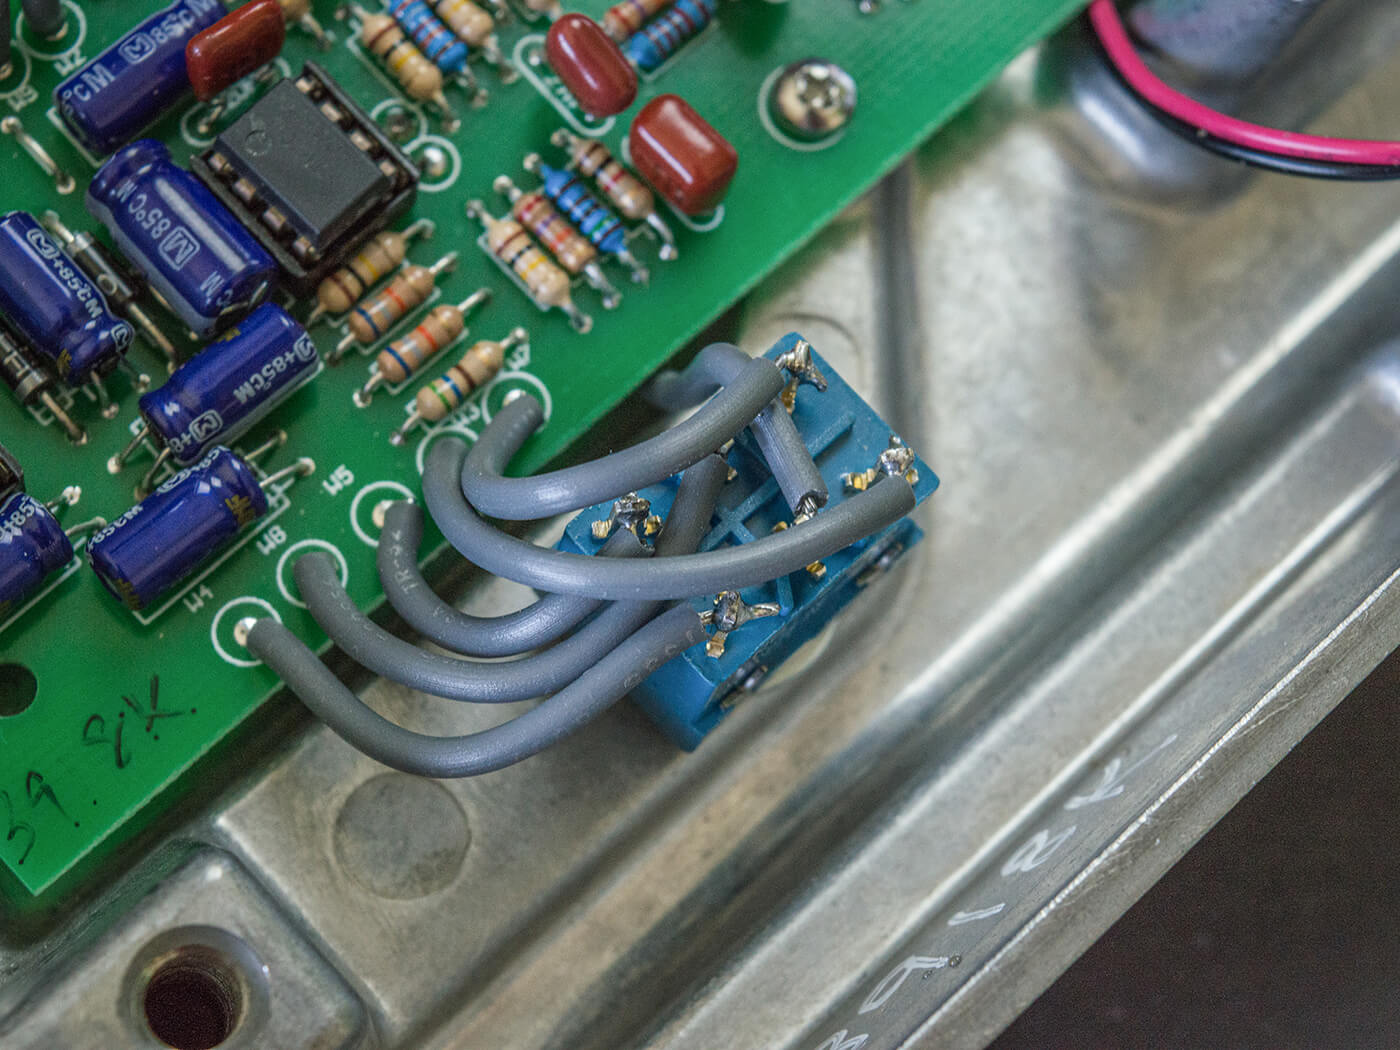
Even without the instructions, it’s pretty clear where all the pots and connectors go. Just remember that the dual gang pot is for gain and make sure the jack sockets are oriented properly. The diagrams show this clearly, but you can verify the socket connections by plugging in a guitar cable and using a meter’s continuity setting to identify the tags that correspond with top, ring and sleeve.
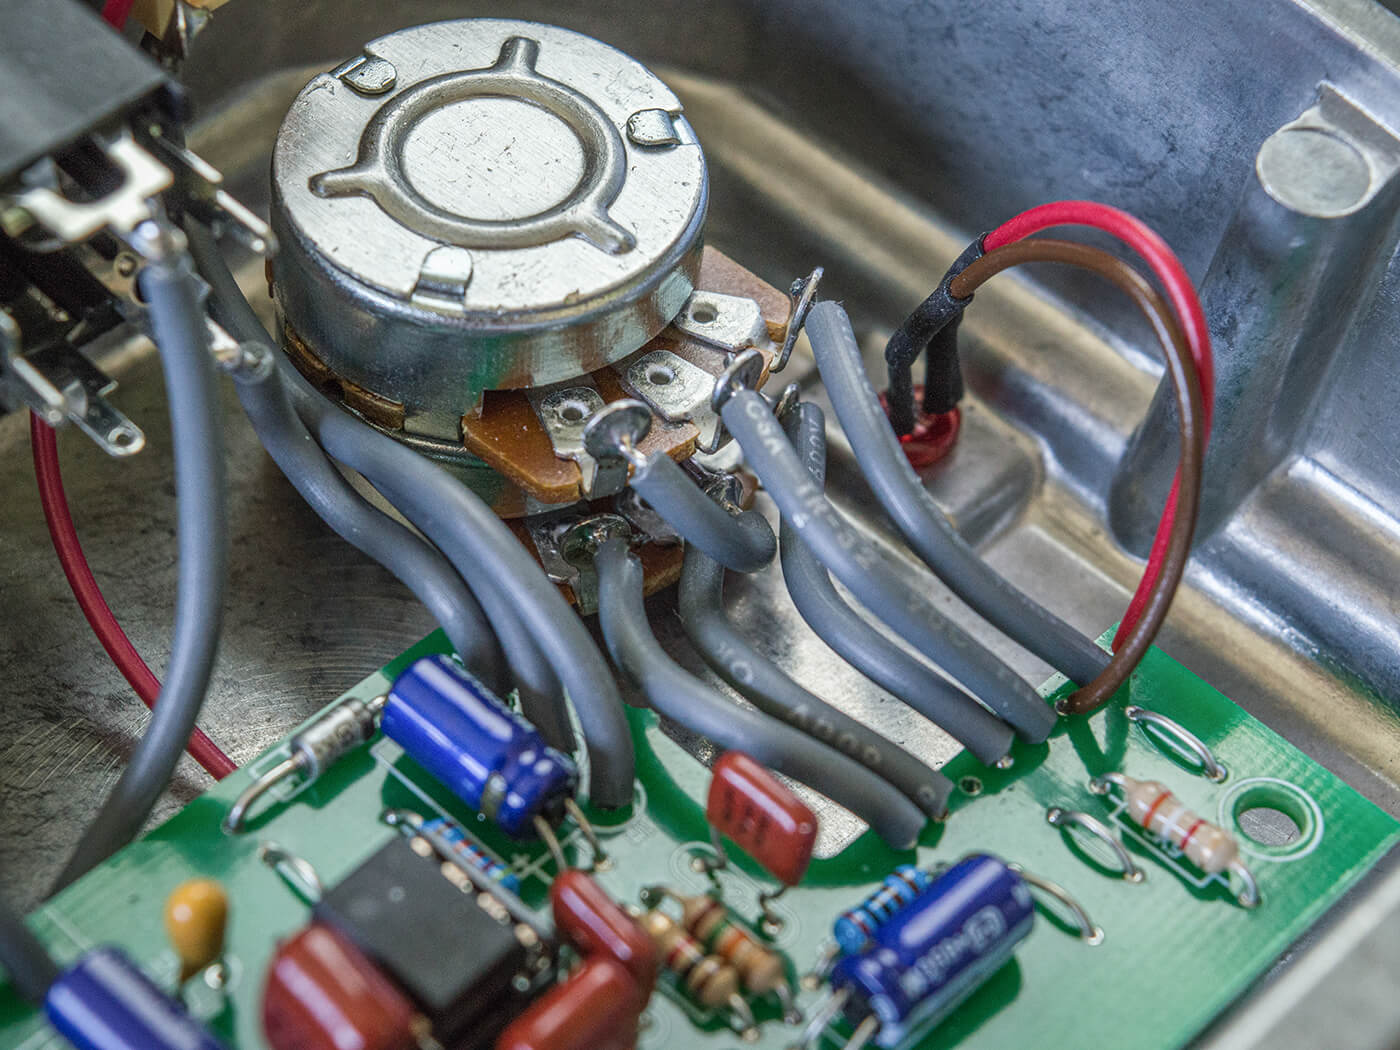
Klons were built with pots designed to be soldered onto PCBs. Instead Ceriatone supplies pots with rounded solder tags, and the volume and tone pots have to be spun 180 degrees so the solder tags point away from the PCB. The gain pots have the same connections, which renders the detachable section of the PCB unusable.
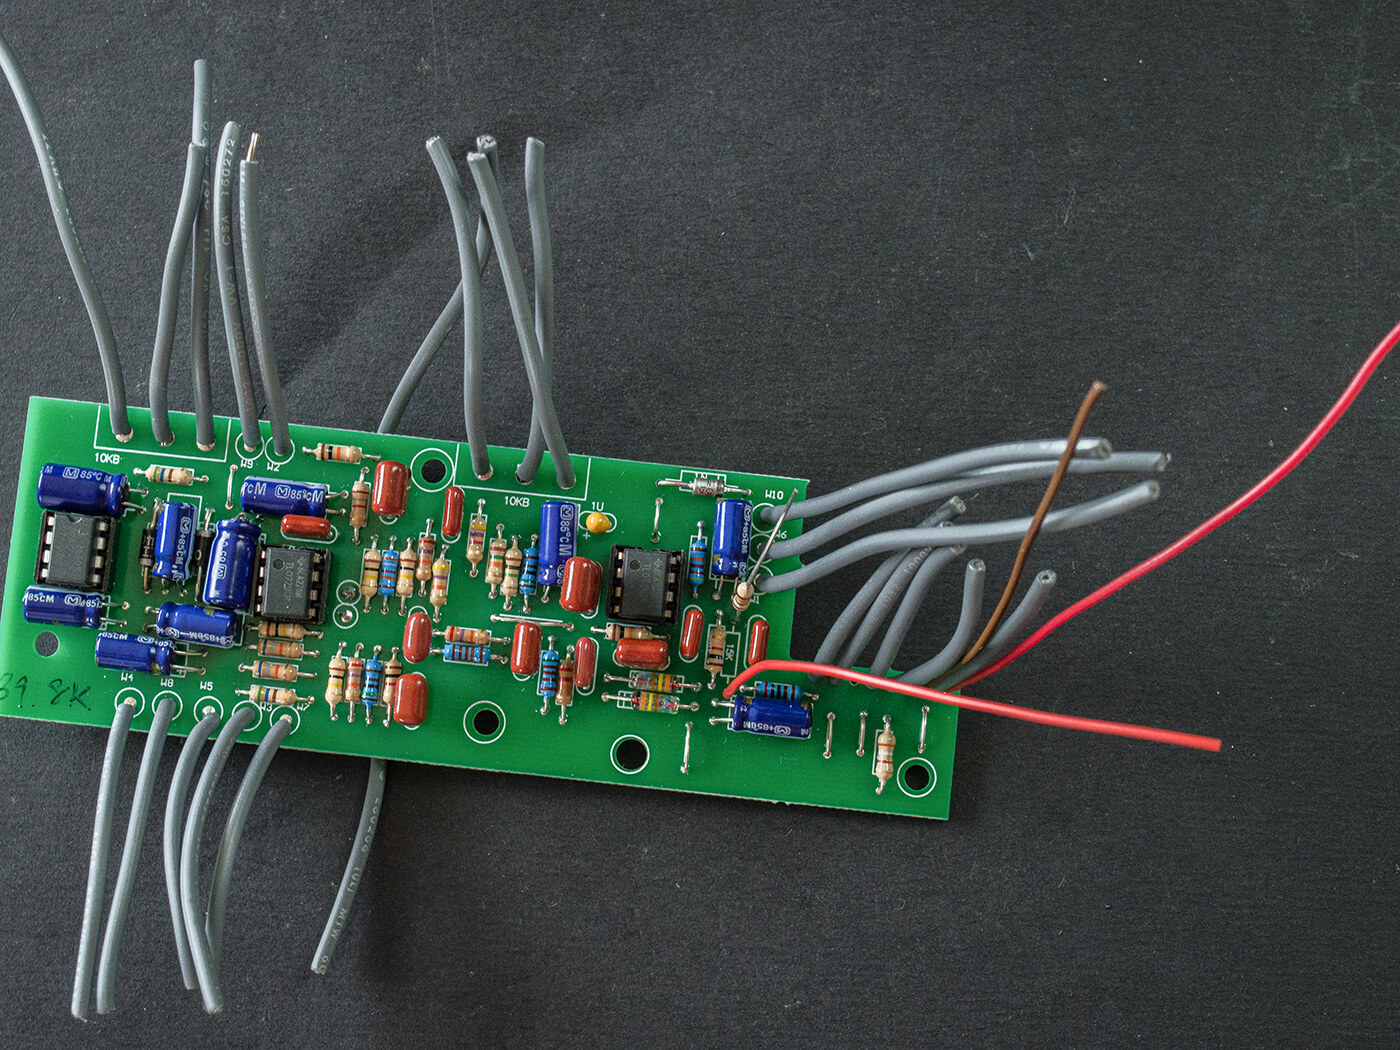
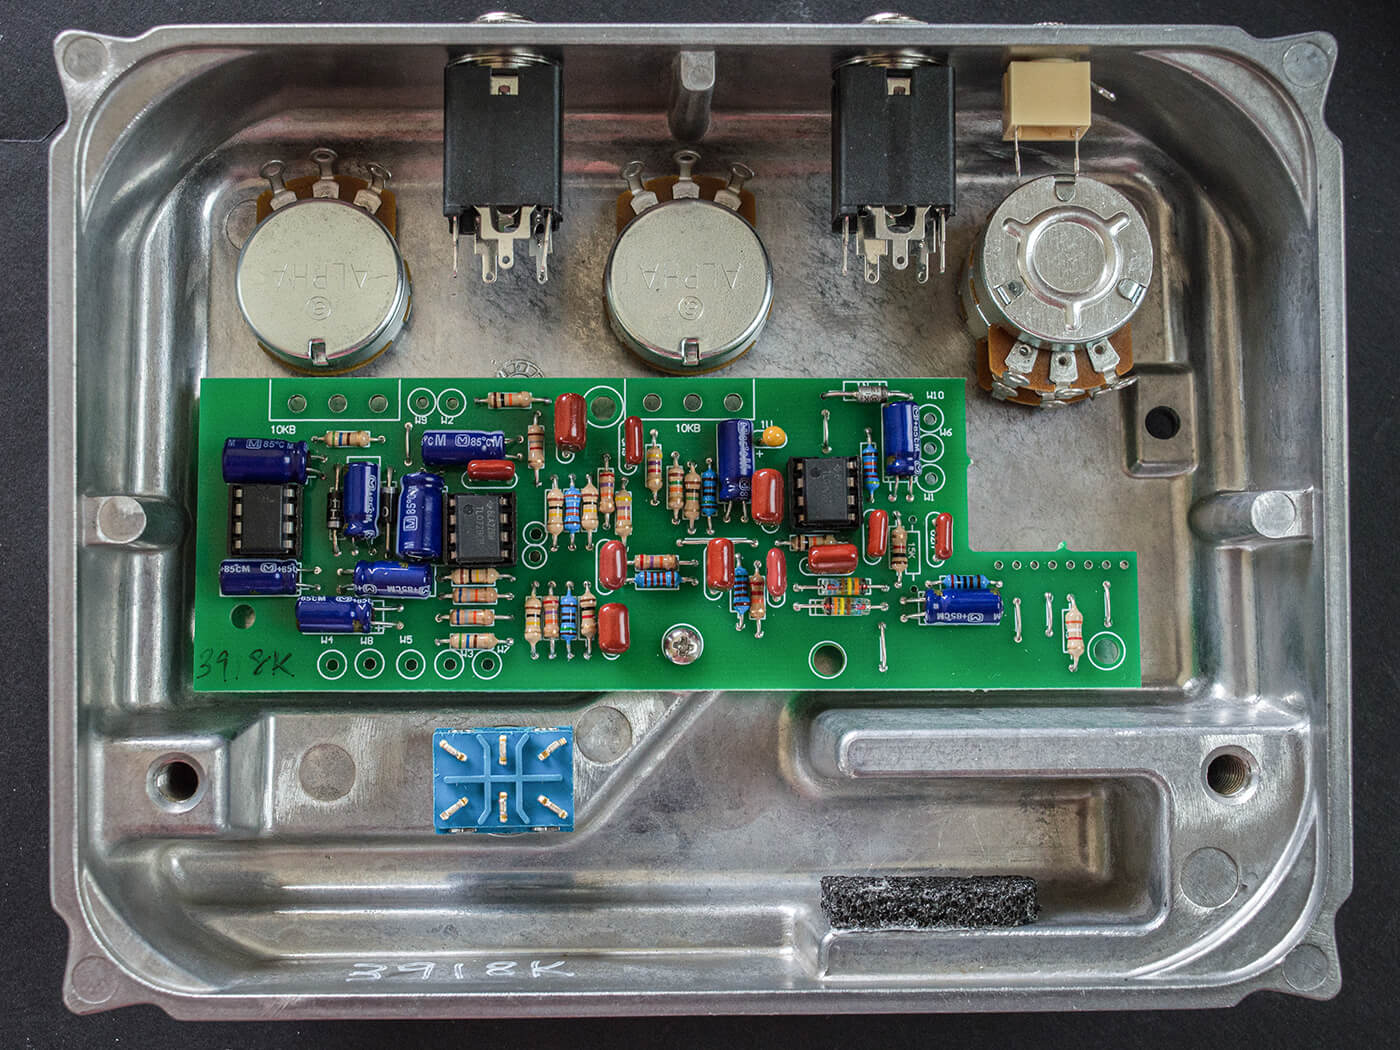
All the pots – as well as the switch, sockets, LED and power supply socket – are connected to the PCB by jumper wires. With all the hardware loaded onto the enclosure, I temporarily screw the fully assembled PCB onto the enclosure too, so I can cut lengths of wire for each connection – all about 10mm oversized.
Since these wires have to be pushed through holes and soldered onto the underside of the PCB, I unmount it before soldering the wires on. I then remount the PCB and screw it down firmly. While continually referring to the wiring diagram, I work my way through all the wiring links, trimming the wires to the correct length as I go along. With the wiring completed, testing can begin.
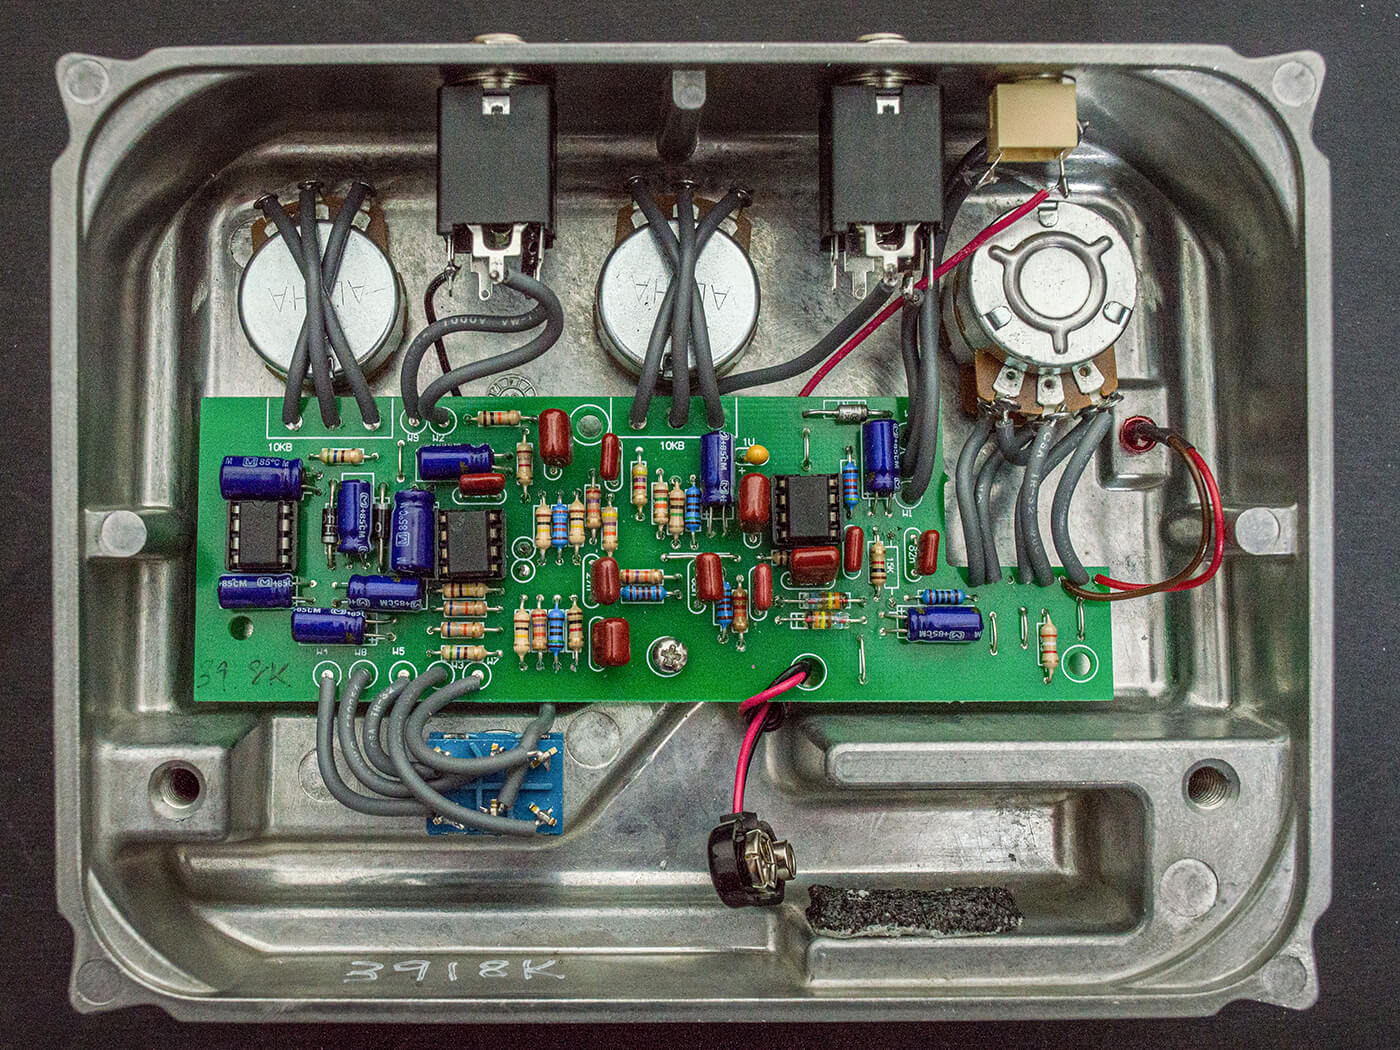
The best test
After finishing a pedal build, perform a continuity test between the positive connector of the battery clip and ground. If you hear the multimeter beep, you should check all your connections before powering up. If there’s a problem, you may damage components on the PCB. A hot battery is another warning sign. In this instance I connected the two wires leading to the DC socket the wrong way around – probably due to over excitement. But having spotted the mistake, the pedal works first time.
Initial impressions are extremely favourable and I’m thrilled with the sound quality. But before getting into a detailed analysis, most of you will probably want to know how the Centura stacks up against a genuine Centaur. My mate Ed Oleszko has kindly loaned his to me so we can find out.

The Ceriatone version gets ever so close, but it’s not quite the same as Ed’s. There’s an even frequency balance, clarity and wide open chime with the real Klon in the signal chain – both on and when bypassed – that sets it apart. Frankly, it’s closer to a £15 difference than a £1,500 difference, and to my ears the Ceriatone has a touch more low frequency content. This softens the bass response and clouds the lower mids, equating to less punch and clarity.
As the gain is increased, we start hearing a slight midrange boxiness and the Centura doesn’t have the Klon’s upper-mid sweetness. Of course, that’s only in direct comparison to one specific Klon rather than a selection of units, but it does get me thinking about those two 4.7uF signal capacitors that are installed rather than the 1uF caps. It could be that the Centura’s extra low end is the issue.
A few minutes later, with 1uF capacitors installed in the C2 and C15 positions, the Centura is sounding much closer to Ed’s Klon. The lows are tighter, which improves matters more with a Les Paul than a Strat, but we also hear a bit more clarity and definition. However, the Centura still falls slightly short on chime, low string punch and pick articulation.
I think this is attributable to a slight bump in the low mids, so attention turns to the 15K midrange sweetening resistor. Connecting it with flying leads and a switch makes it easy to assess its influence and although subtle, taking the resistor out of circuit appears to even out the low mids and our Centura really starts to deliver on that Klon chime, punch and clarity. It’s less thick and velvety, however, and if you were to modify this kit, a permanently installed midrange switch for the 15K resistor could be a useful option.
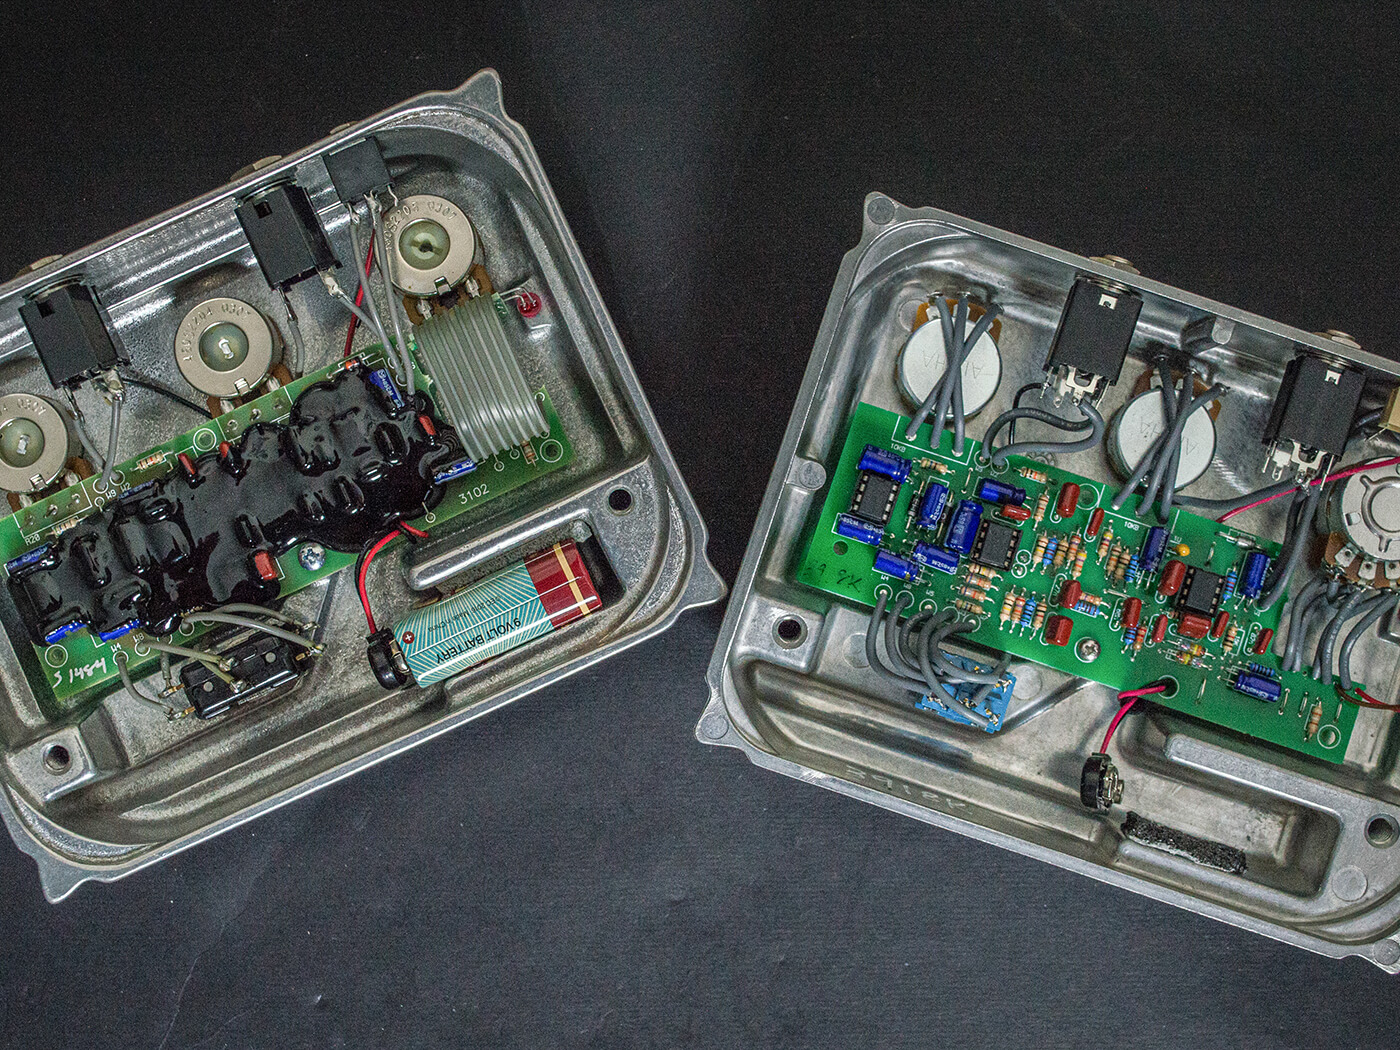
Like all Klons, Ed’s circuit board is covered in opaque black goop, so I can’t identify the signal caps that are in his and I have no idea if the 15K resistor is installed. It has a relatively low serial number, but there’s no sure-fire way to date original Klons. Having established that the kit can be tweaked to sound identical to a randomly selected Centaur by opting for the earlier-style circuit, it’s not unreasonable to assume the kit can also be configured to sound like a later Klon. It’s not a question of which is best, but rather which sounds best to you, and best suits your rig and playing style.
Legendary tone
I first tried a Klon Centaur almost 20 years ago and it left a big impression. I was amazed at the sound quality and yet I couldn’t quite decide if it was a boost or an overdrive. Of course, it’s actually both, but I’ve always thought of it as stepping on a ‘better’ switch because it just seems to make every guitar and amp sound better. Indeed, it’s easy to see why so many of the Centaur’s fans rarely switch it off.
Klons somehow enhance things without obviously changing your sound. I’d liken it to a studio scenario where a sound engineer subtly tweaks a recorded guitar sound using high quality equalisation and compression. It’s basically the same sound, but clearer, punchier, more present and better integrated in the mix.
In a way it’s as much about feel as sound. This circuit frees you up to be more expressive and dynamic in your playing because it’s always easy to hear the finer details as they punch through – and this really shines in the context of a live or recorded band mix.
It seems the various frequency bands within an electric guitar’s audio spectrum are processed separately, with more compression and dirt in the mids, but less in the bass and treble. It feels smooth and sustaining, even when gain is set low, and you never feel like you’re struggling against the iron grip of excessive compression. If anything, I’m even more impressed by the Klon circuit 20 years later, and everything I’ve said about it applies equally to the Ceriatone Centura.
Top kit
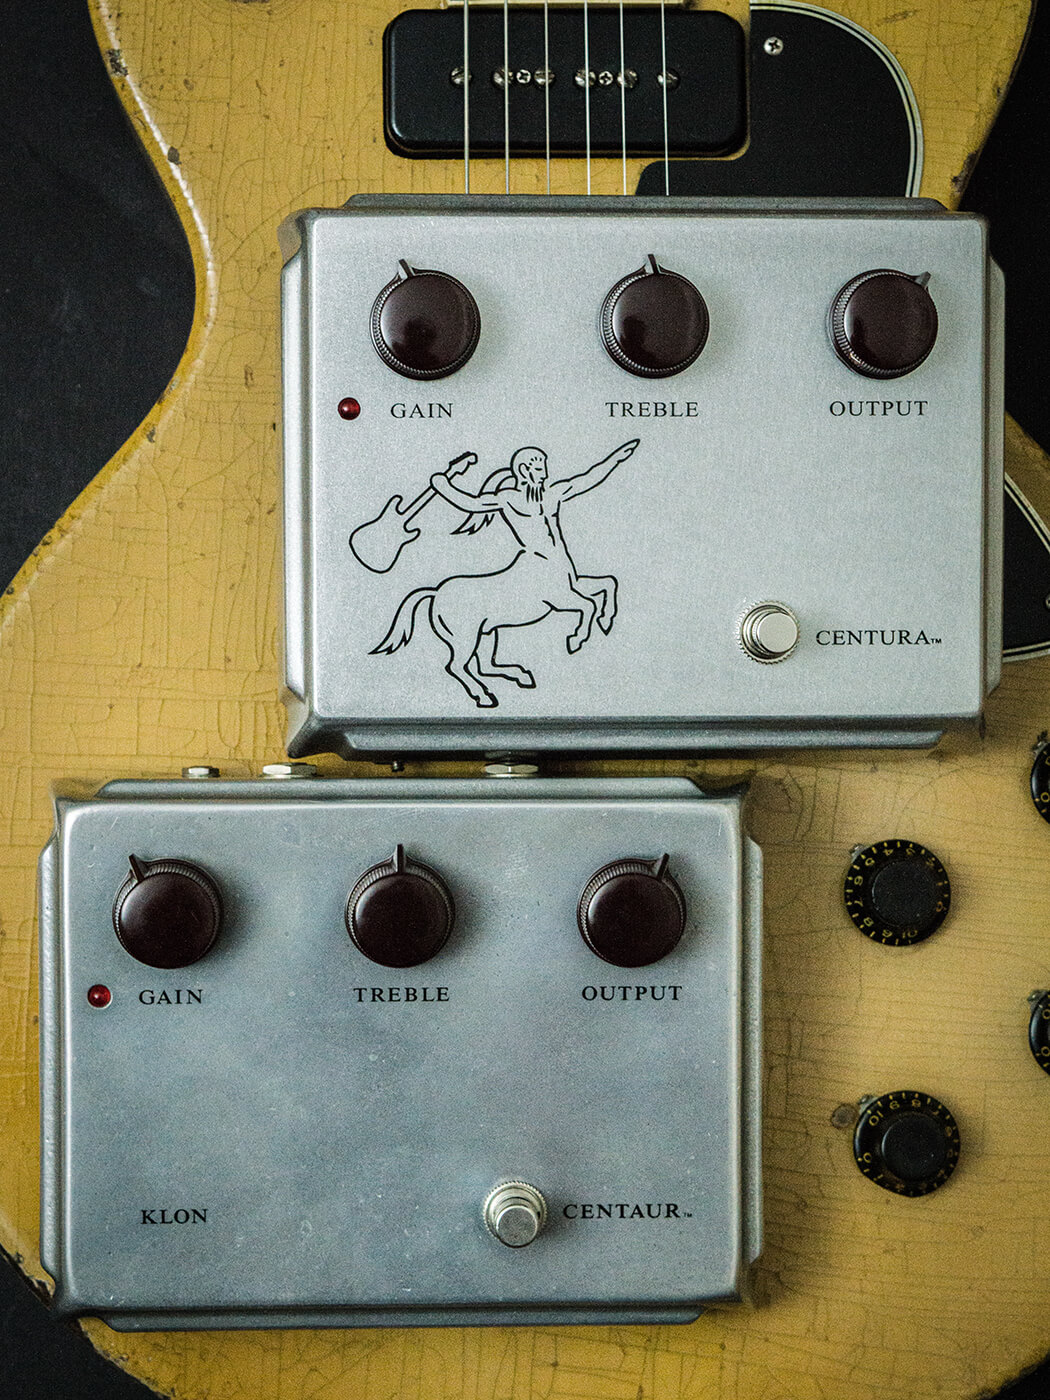
The Ceriatone Centura kit cannot be faulted for quality. The Daka-ware knobs are indistinguishable from those on the original and the attention to detail is extraordinary. We could point to slight differences between the enclosures, with the original having slightly crisper lines, but without placing them side by side, you wouldn’t notice. We prefer the Klon’s polished metal look too, but the Centura’s finish is excellent.
The best pedal kits provide a cheap and viable alternative to boutique pedals for those with the necessary DIY skills. At $200 (US) the Ceriatone Centura isn’t cheap compared to other Klon clone kits, but it’s the only one we’ve seen with this degree of accuracy – and it costs a fraction of the real thing. It only costs an extra $25 to buy the kit fully assembled, but I really enjoyed building it and being able to tweak the circuit. I couldn’t be any happier with the way it’s turned out.
For more DIY workshops and guides, click here.