Related Tags
DIY Workshop: Converting a Gretsch Anniversary into a 6120 beauty
A six-part series on how to transform a vintage Gretsch Anniversary into a 50s-style 6120 model.
Surfacing in the mid-1950s, Gretch’s 6120 is most keenly associated with the roots of rockability. This particular hollow-body model was first endorsed by Chet Atkins, before finding its way into the hands of Eddie Cochran, Duane Eddy, Brian Setzer and other superstar guitarists.
In this eight-part series, we take a well-worn Gretsch Anniversary apart and transform it into an orange-stained 6120 beauty.
The planning
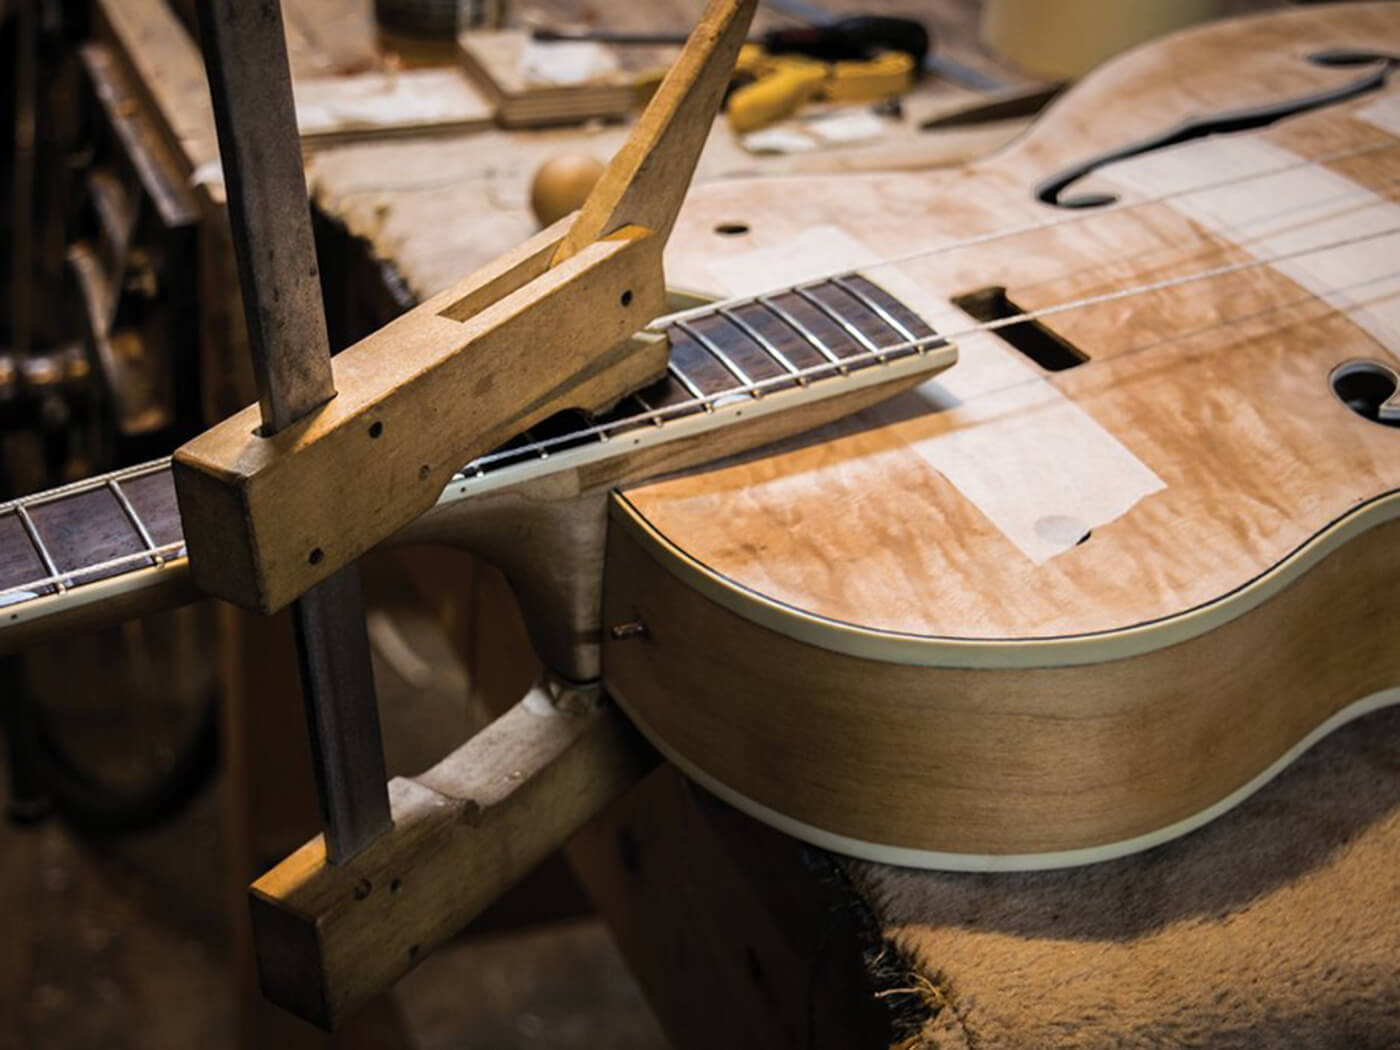
This first instalment lays out the grand conversion plan for the Gretsch Anniversary. We carefully inspect the guitar for parts that need to be worked on, including a scratched-up body and neck along with a messy rosewood fingerboard. Other initial modifications made to the guitar involve removing the neck screw – typically found on vintage Gretsch guitars – along with steaming the neck to detach it from its pocket.
Deconstructing the guitar
In this second segment, we proceed to dissect the Gretsch Anniversary. Starting from the top, the headstock’s overlay wood and glue residue are taken off. We then progress to the fretboard, where pilot holes are drilled into the 1st and 20th frets to facilitate the easier separation of the fingerboard from the neck. The worn model’s binding is then removed before the top is popped open, letting us see into the guitar.
The fretboard
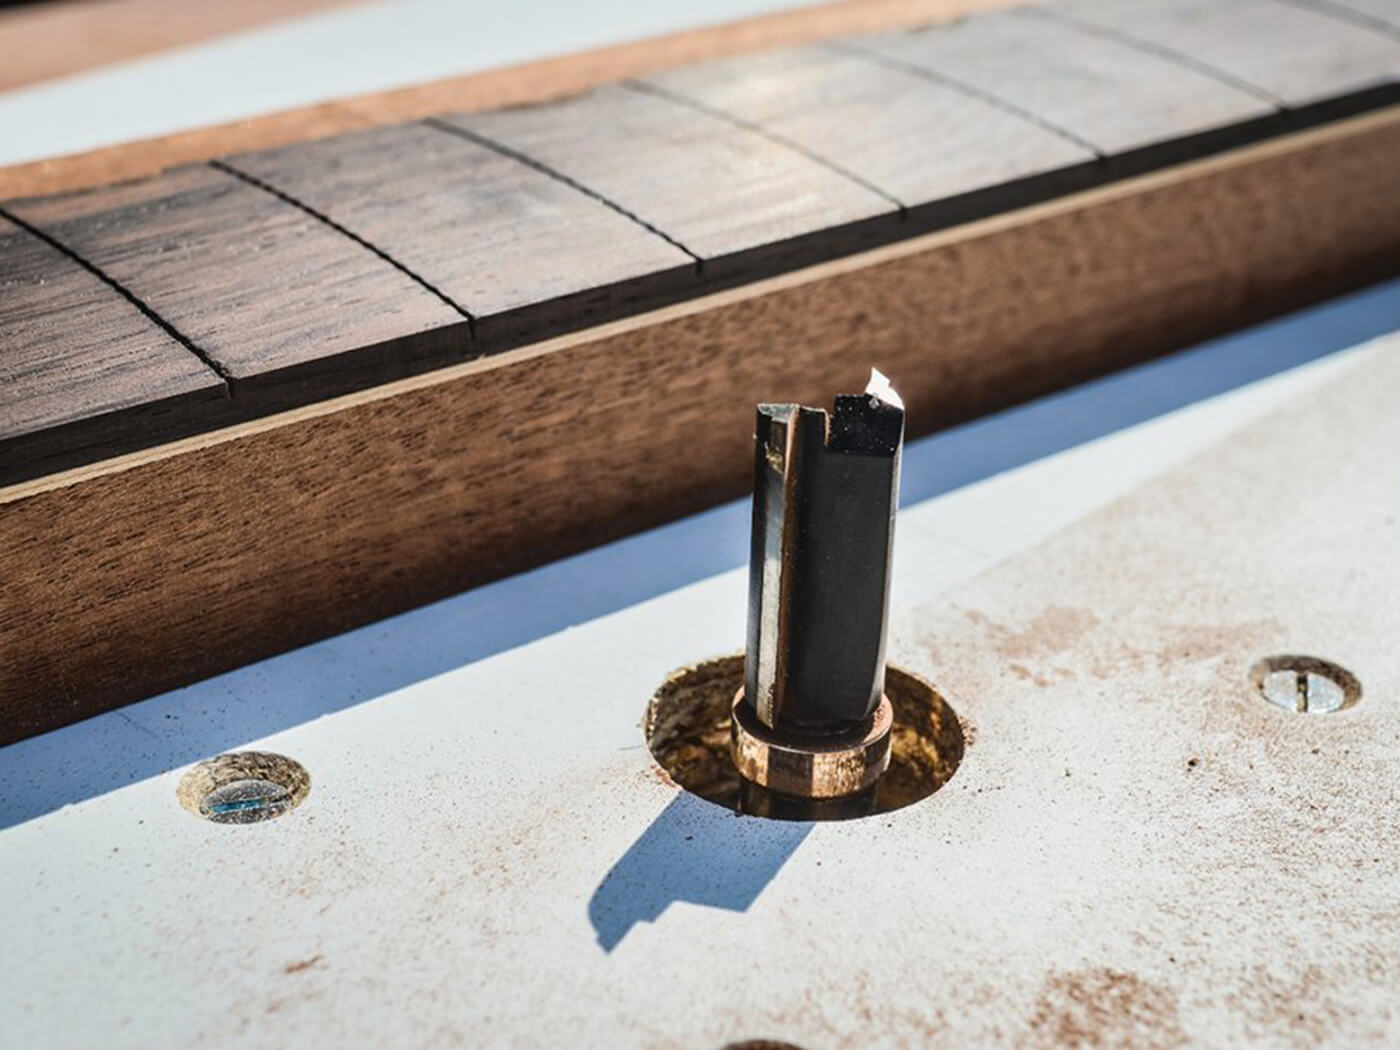
The restoration work gathers full steam in the third part of this series. We zoom in on the play-wear divots that appear on the rosewood fretboard and pinpoint the areas that need sanding off. Two pieces of maple veneer are then added as support to the fretboard, before its edges are bound again. We then round off the fretboard’s revival by installing thumbnail inlays.
The binding
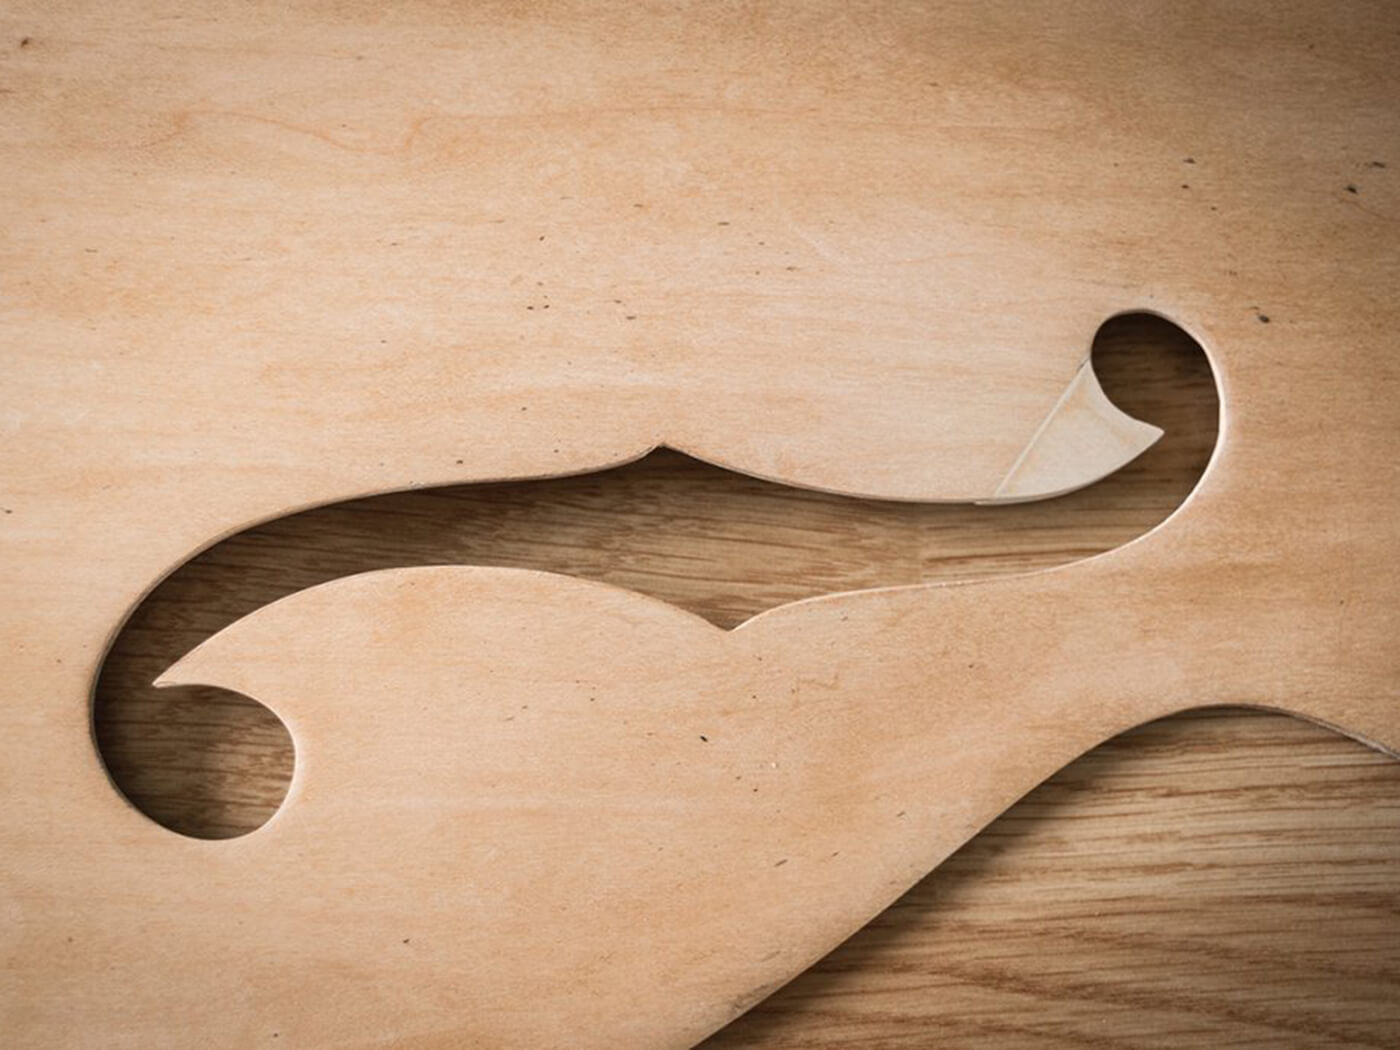
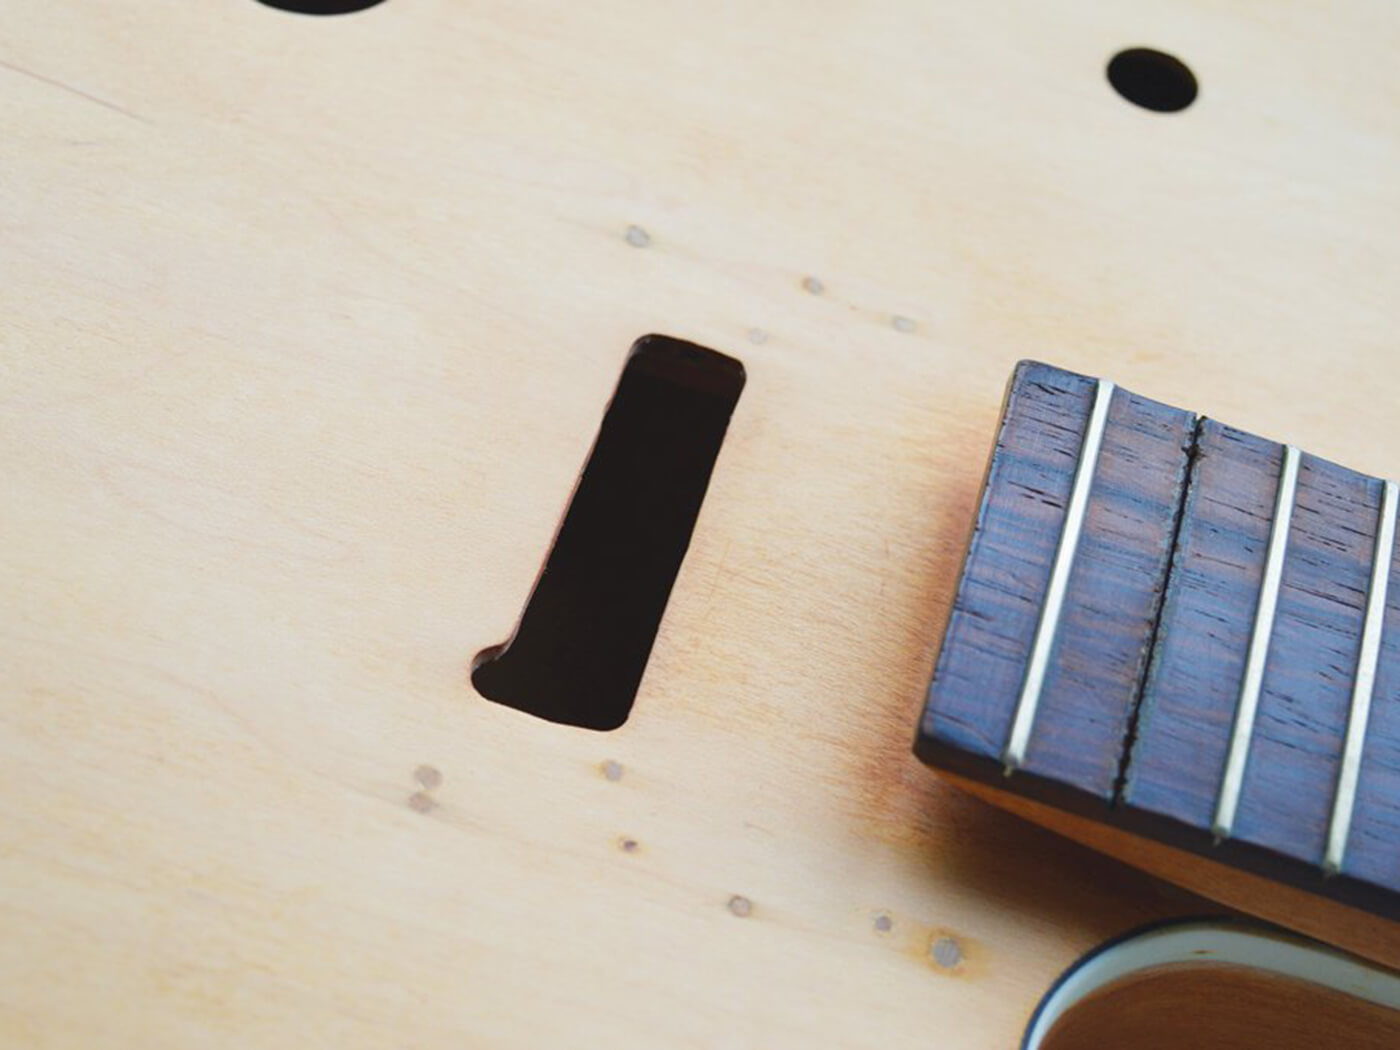
This fourth section focuses on the headstock, completing the neck and reshaping the f-holes. The headstock’s binding is redone using a light ivory cream ABS plastic, while the fingerboard is carefully glued back to the neck. As for the f-holes, these were re-shaped by removing small quantities of wood, sharpening the square cuts into points, and slightly widening the holes’ gaps.
Re-veneering
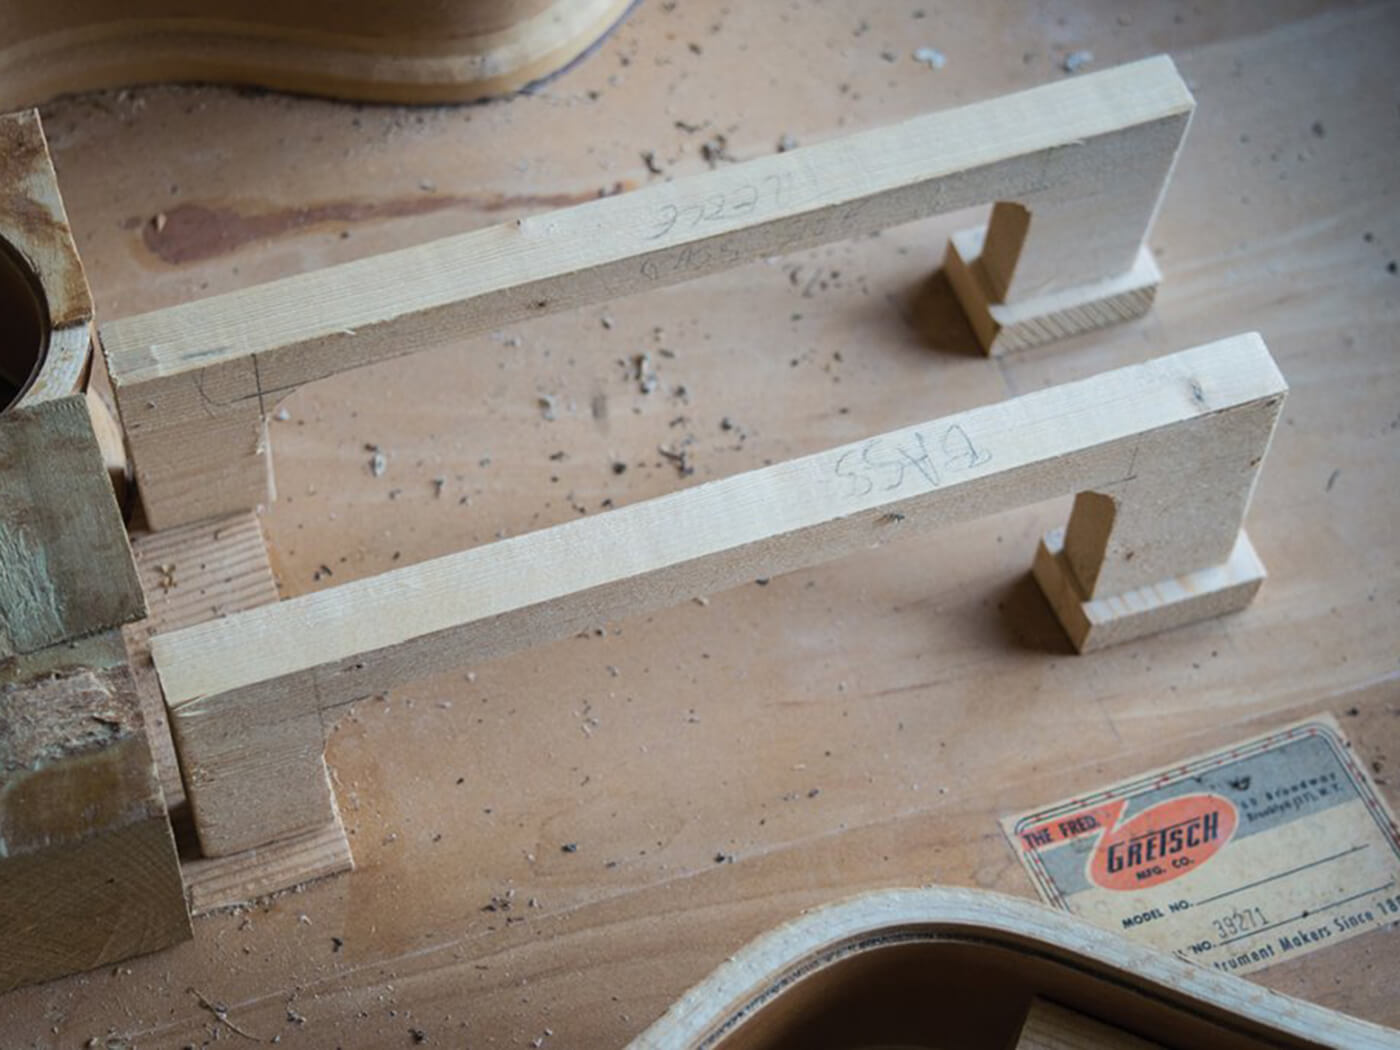
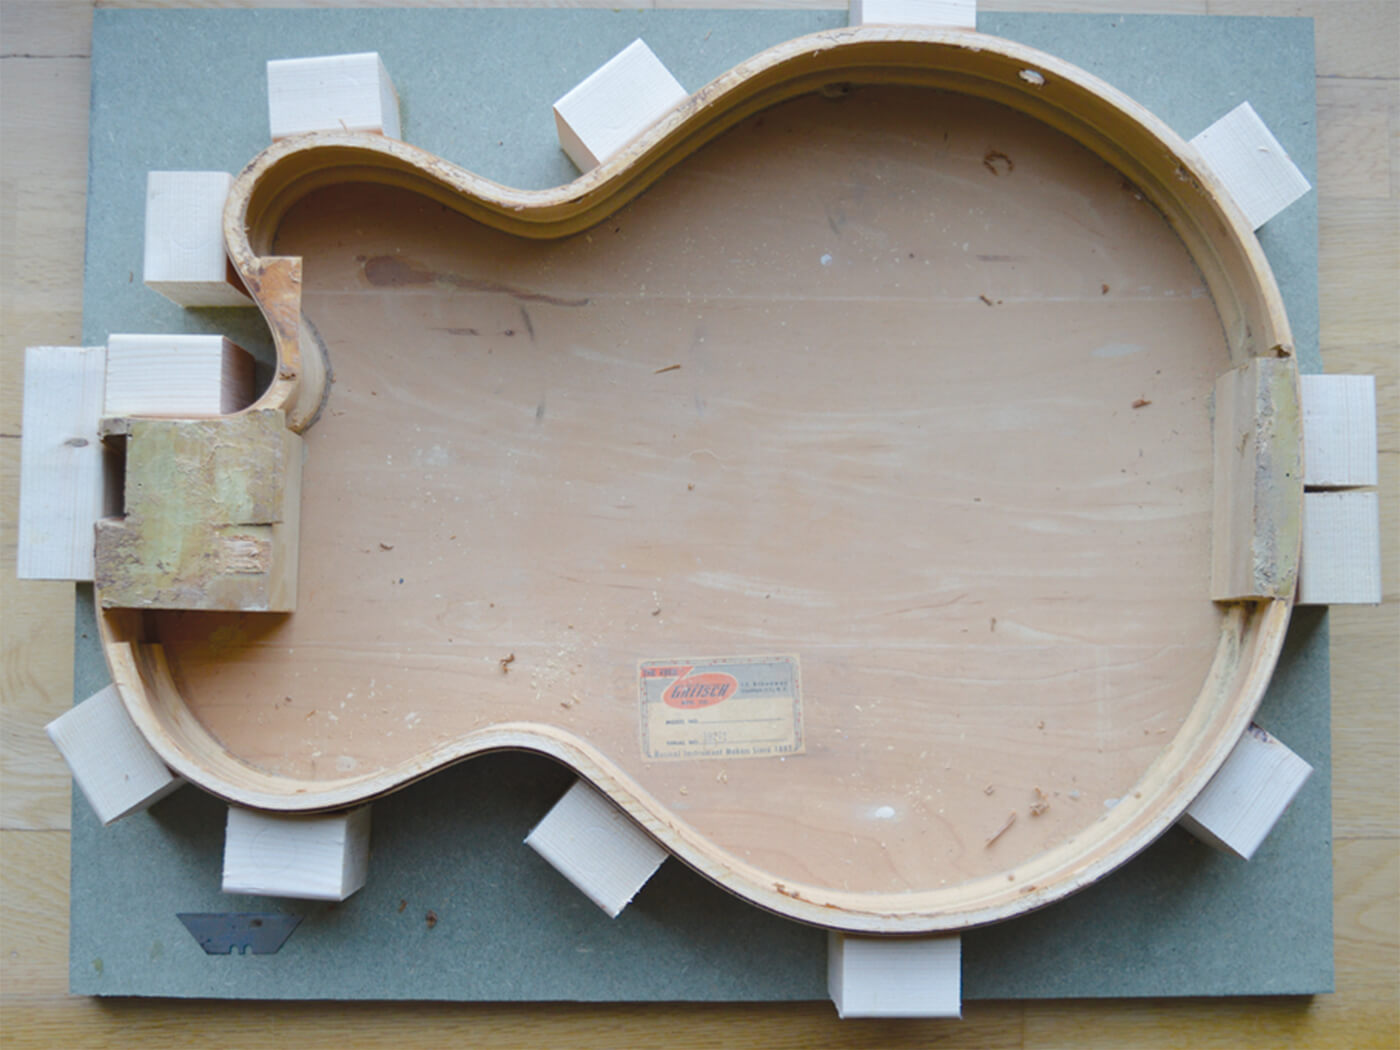
With the general structure of this 6120 starting to take shape, we venture into re-veneering the guitar. Quilted maple veneer was used to cover the guitar’s 16-inch body, before the reshaped f-holes were bound and flushed with the top. After these processes were completed, we moved on to install a trestle bracing, using an old Edwardian floorboard as the choice of wood.
Assembly time
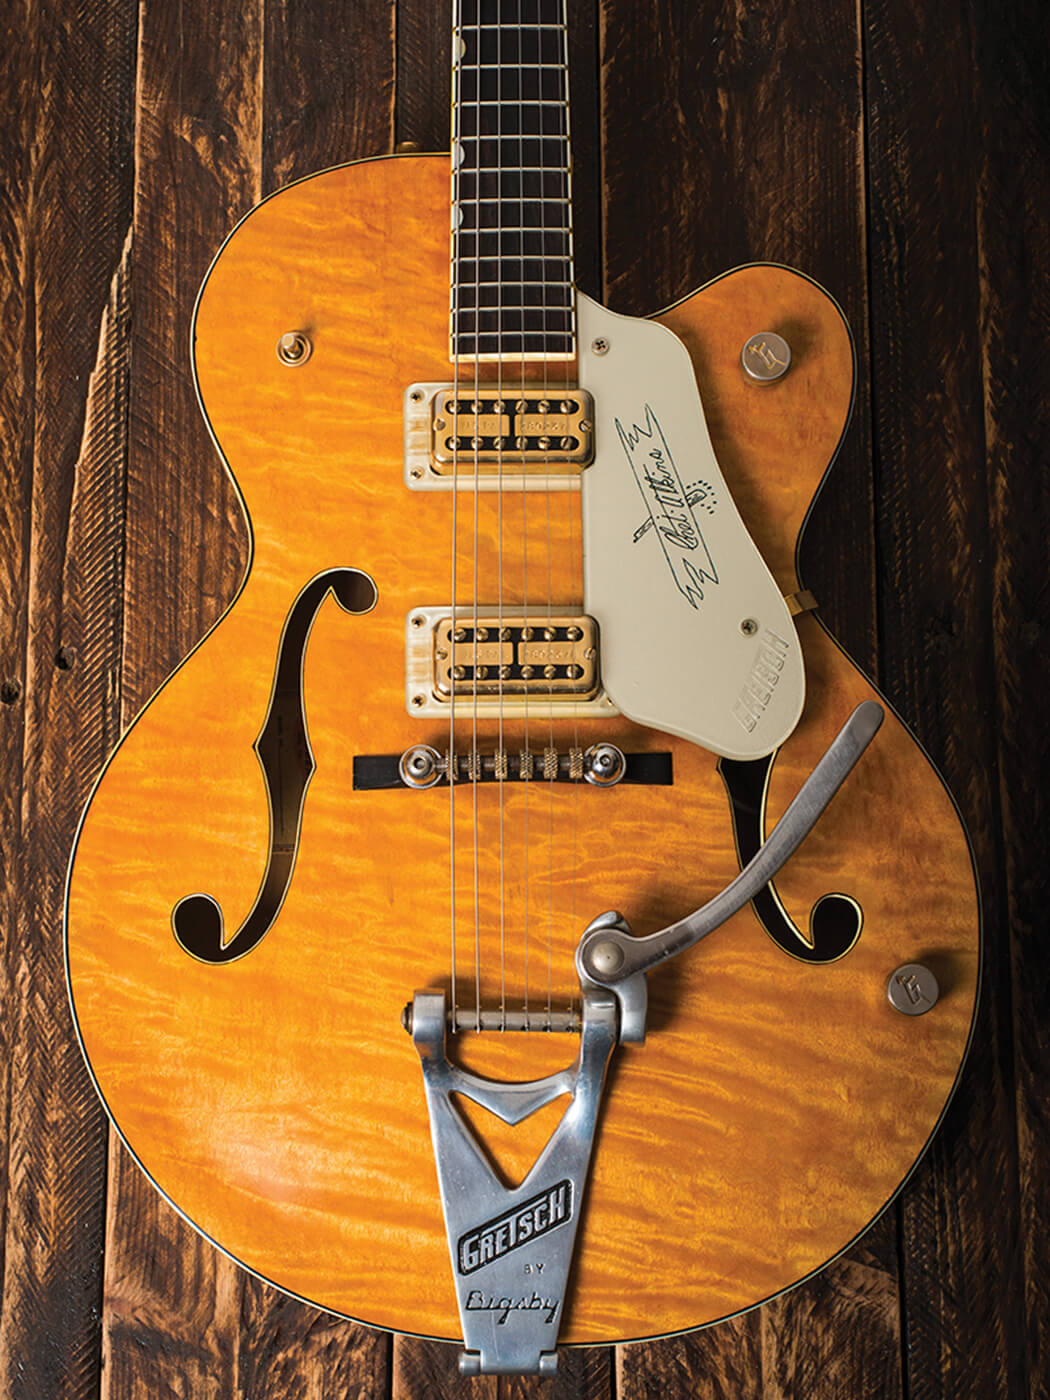
This final section covers the assembly of the 6120. We begin by re-binding the guitar’s top to its body before re-setting the neck. Next up was marking out the pickup positions, which were eventually filled by a set of 60s Filter’Trons with gold covers. And finally, we procured some amber and orange stains to mimic the 6120’s iconic orange finish.
For more DIY projects you can do at home, check out this page.