Related Tags
DIY Workshop: How to convert your Stratocaster into a baritone guitar
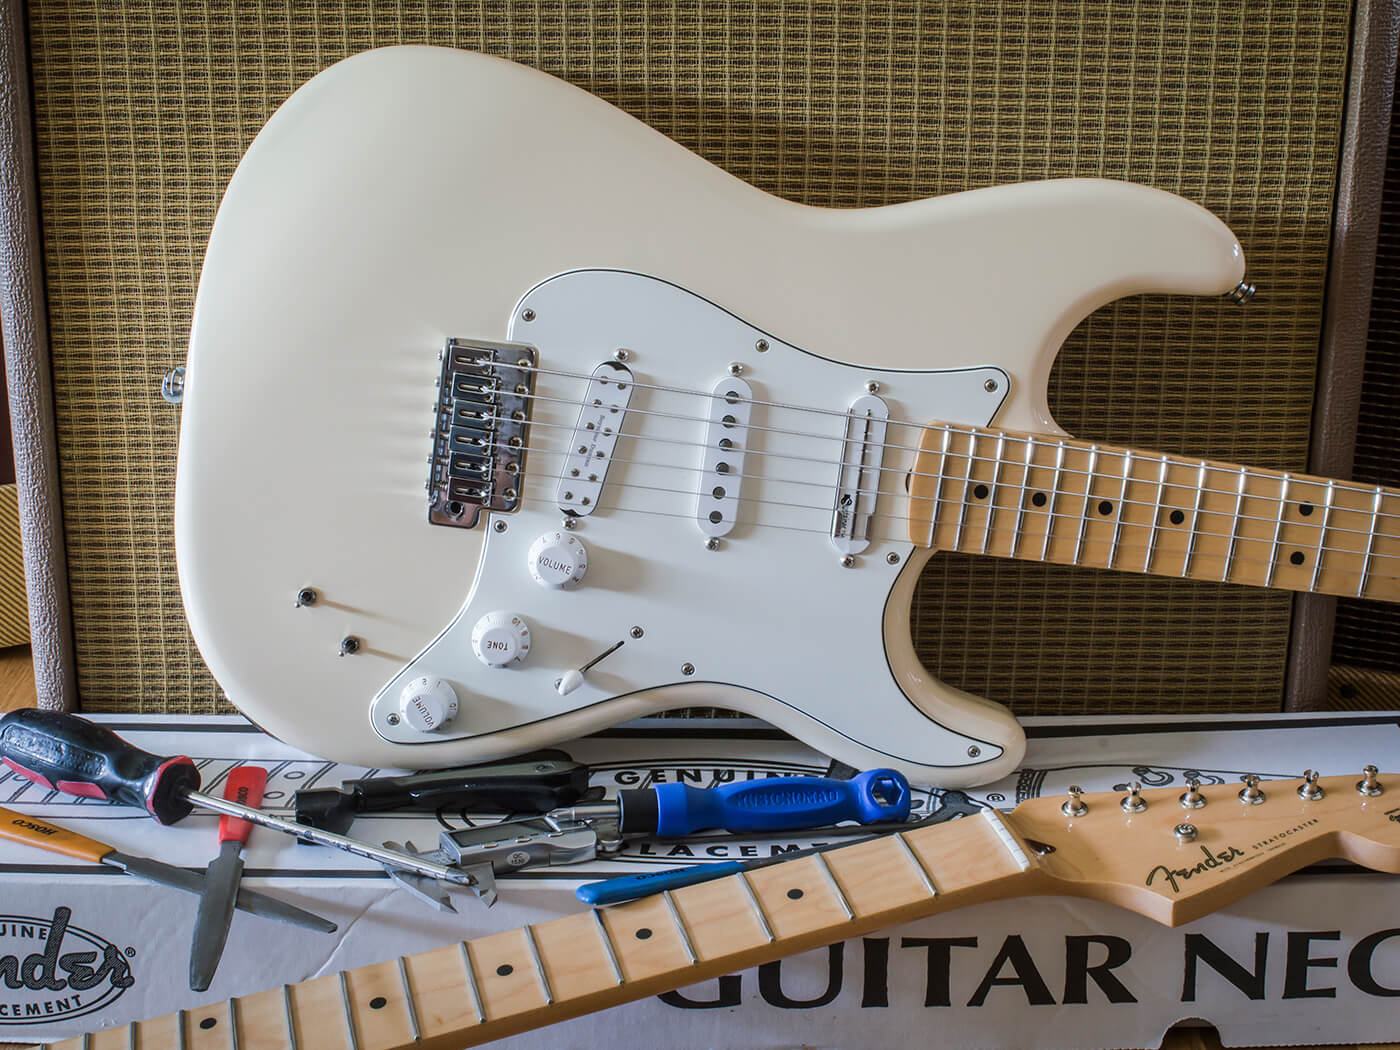
Always wondered what your Stratocaster would be like with a 27-inch scale length? We grab one of Fender’s new aftermarket Sub-Sonic Baritone necks and find out how easy it is to install.
All images: Huw Price
This is one of those projects that could either end up being simple or a massive headache but hopefully, by the end of it, the guitar’s owner will have all the low-register growl and rumble he craves. Our donor guitar is a Fender EOB Sustainer Stratocaster and the goal is to swap the regular 21-fret neck for Fender’s Sub-Sonic Baritone Stratocaster neck. It seems like it should be a straightforward job but there’s always the possibility of hitting a few snags along the way.
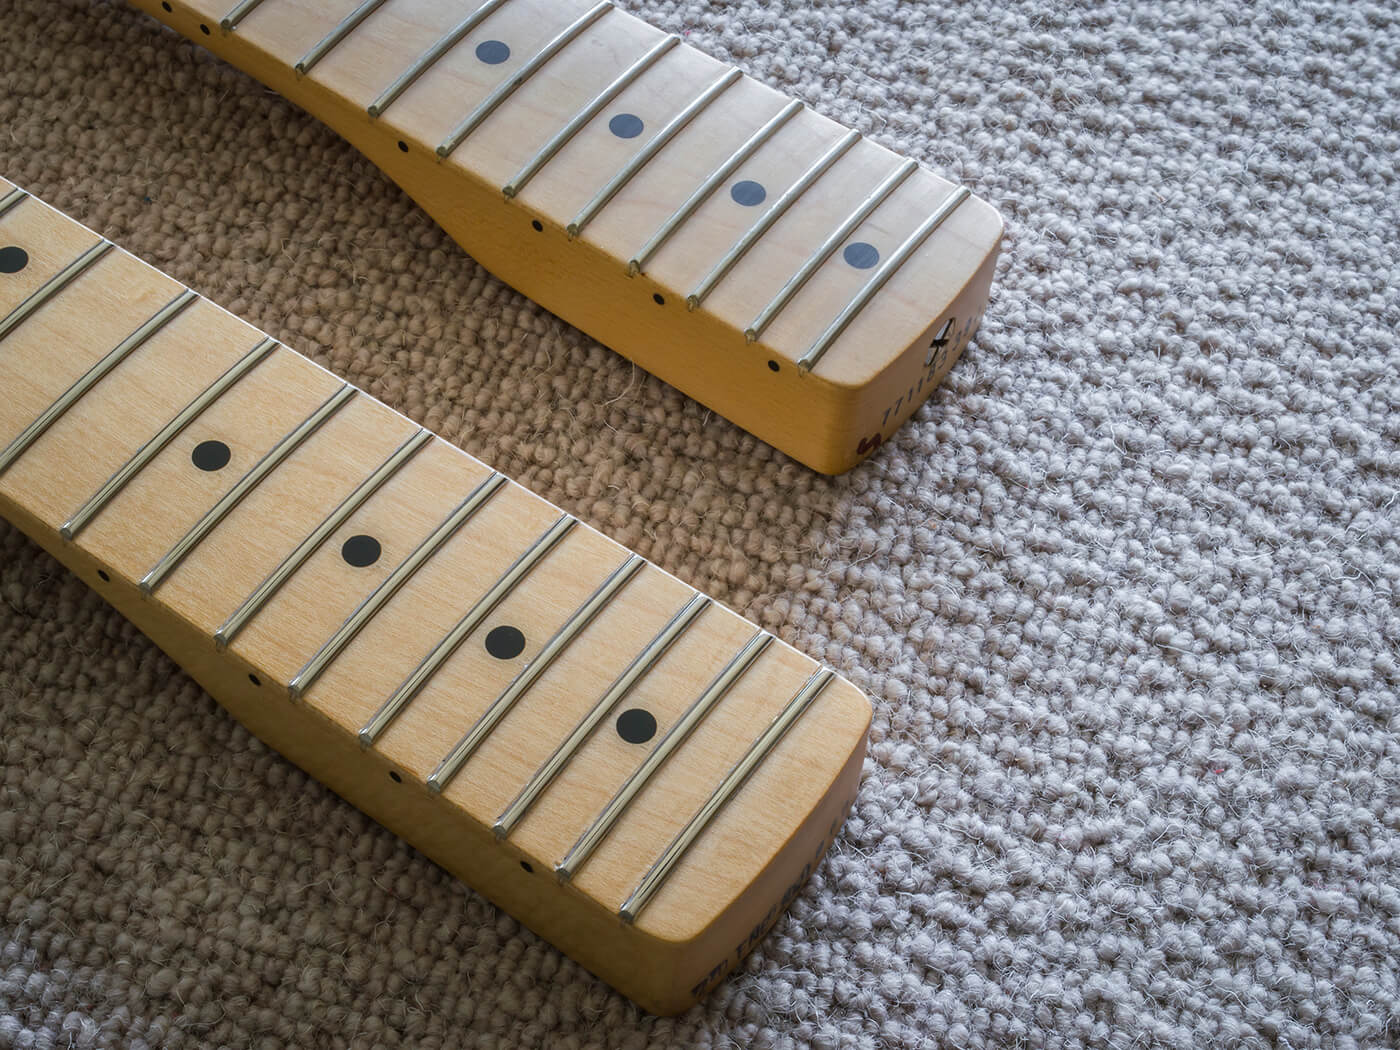
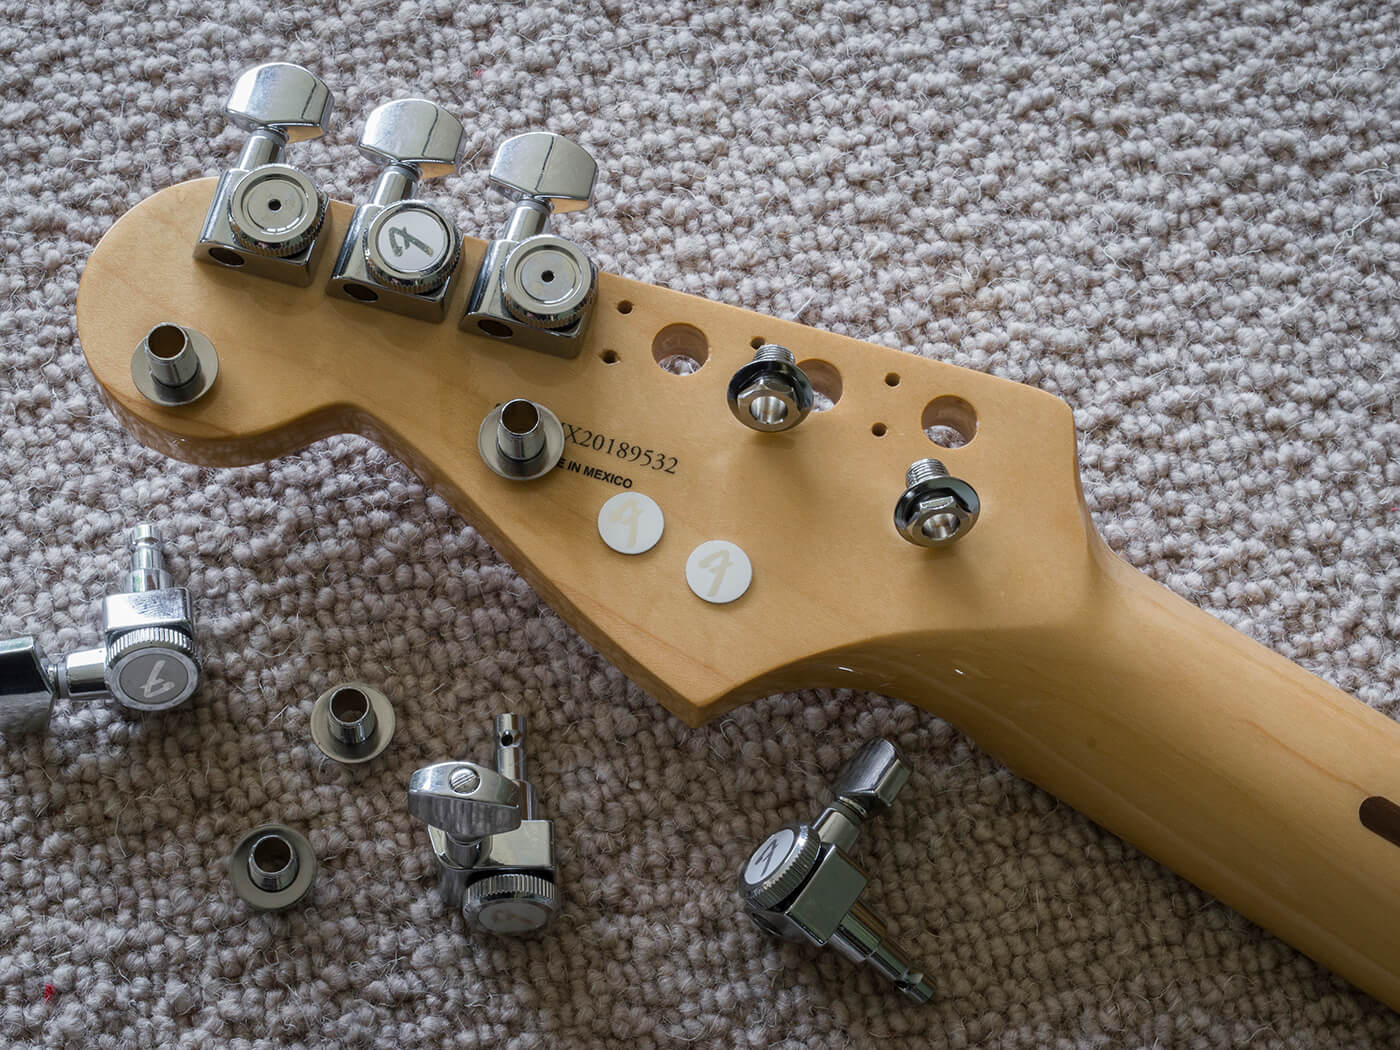
The new neck has 22 medium-jumbo frets and, once installed, the guitar’s scale length will increase to 27 inches. The tuner post holes are pre-drilled for Fender locking tuners, with six pairs of locating pin holes. Fender recommends this neck for regular Fender and Squier Strat bodies but the instructions state that there’s no guarantee it will fit into every neck pocket without modification.
Neck swap
The first thing I need to determine is whether the baritone neck will fit this body. The strings won’t be needed so they’re detuned and snipped off. With all four screws removed, the neck lifts out and I’m able to test-fit the baritone neck.
It’s very tight in the pocket, but I’m relieved to discover that it presses home with no damage to finish and no risky modifications will be necessary. Happily, the neck has six pre-drilled screw holes that are designed to align with various screw layouts.
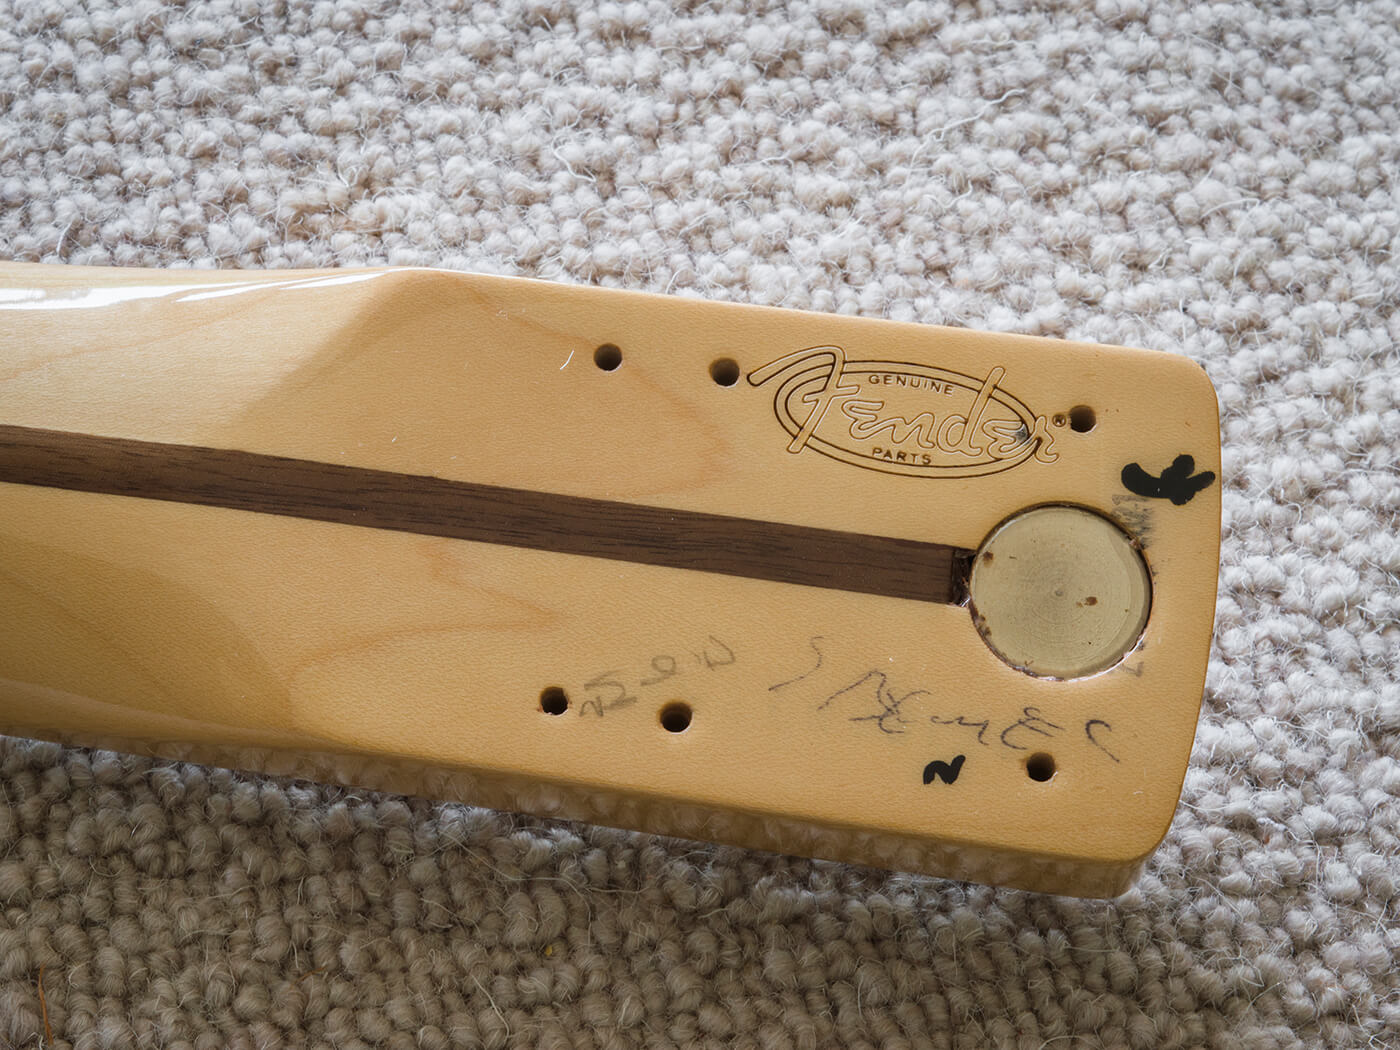
With the neck in situ, I use a length of string to check the screw hole positions. This confirms that everything lines up and the pilot holes have sufficient depth. To ensure everything will screw back together without drama, I remove the neck and mark the hole depth on the screw threads using masking tape.
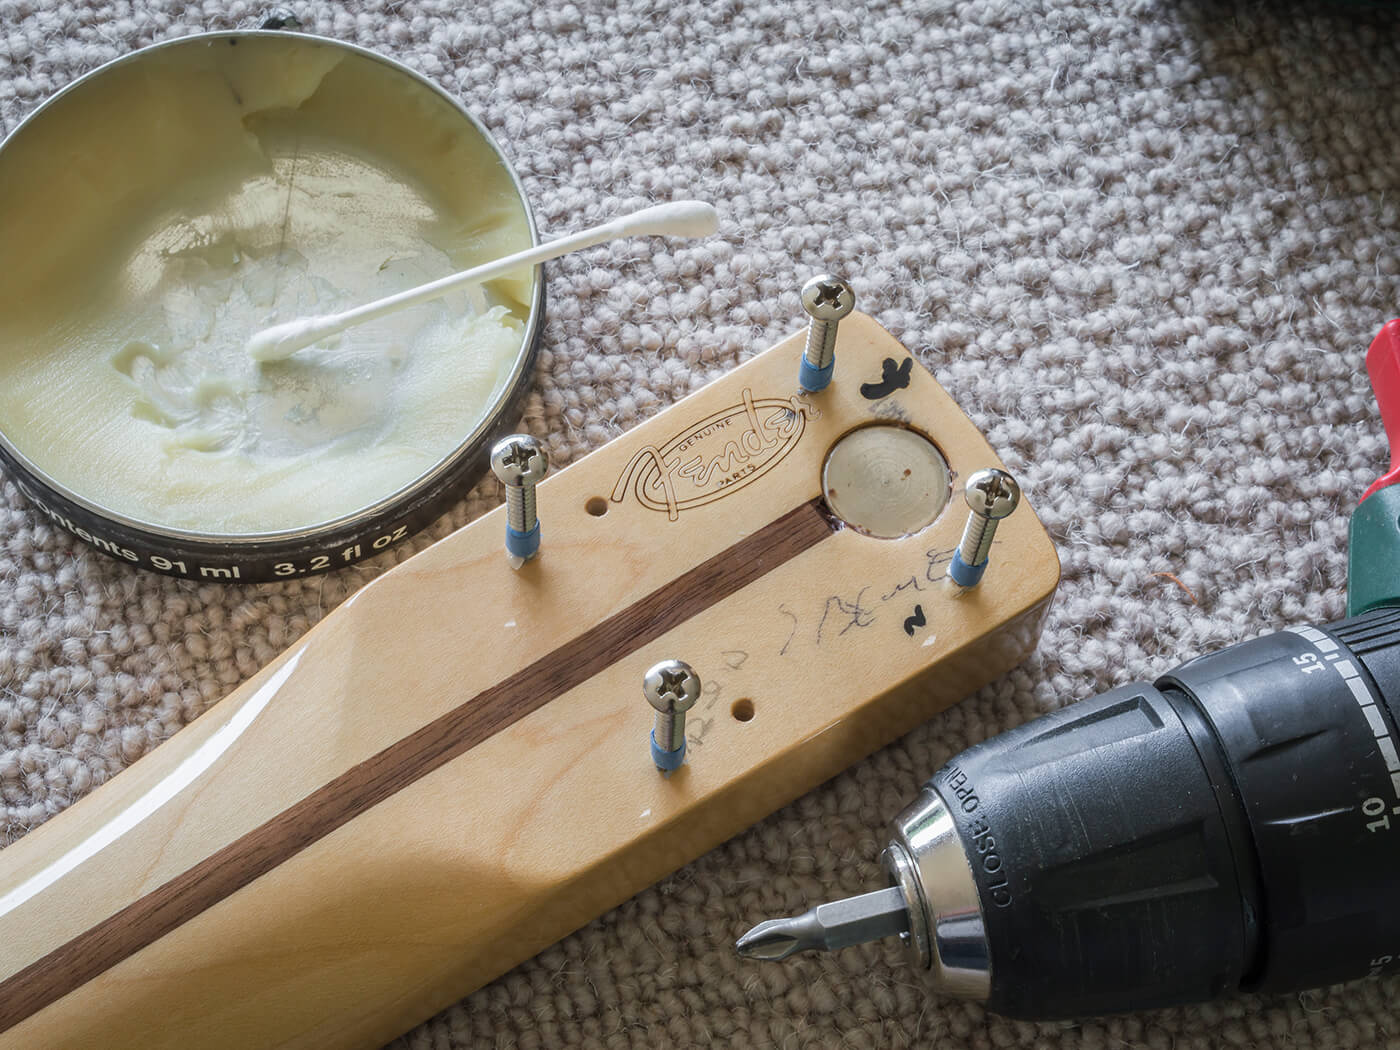
I drive the screws into the pre-drilled holes using an electric screwdriver on a very low torque setting. To ease the process, I apply wax to the screw threads before tapping the holes, and the low-torque setting ensures the screws stop turning once they reach the full depth of the pilot holes.
Tuner installation
Installing these tuners is about as easy as it gets. They press into the holes and I just need to align the pins with the pin holes. They’re a tight fit too, so they all stay in place when I flip the neck over.
The bushings screw down onto the tuner housings to clasp the whole assembly together. I use my Music Nomad multitool’s 10mm socket and because the tool is nylon, it leaves the metal plating unscratched. Finger tight is fine because if you over-tighten, you’ll end up making circular indentations on the headstock from the washers.
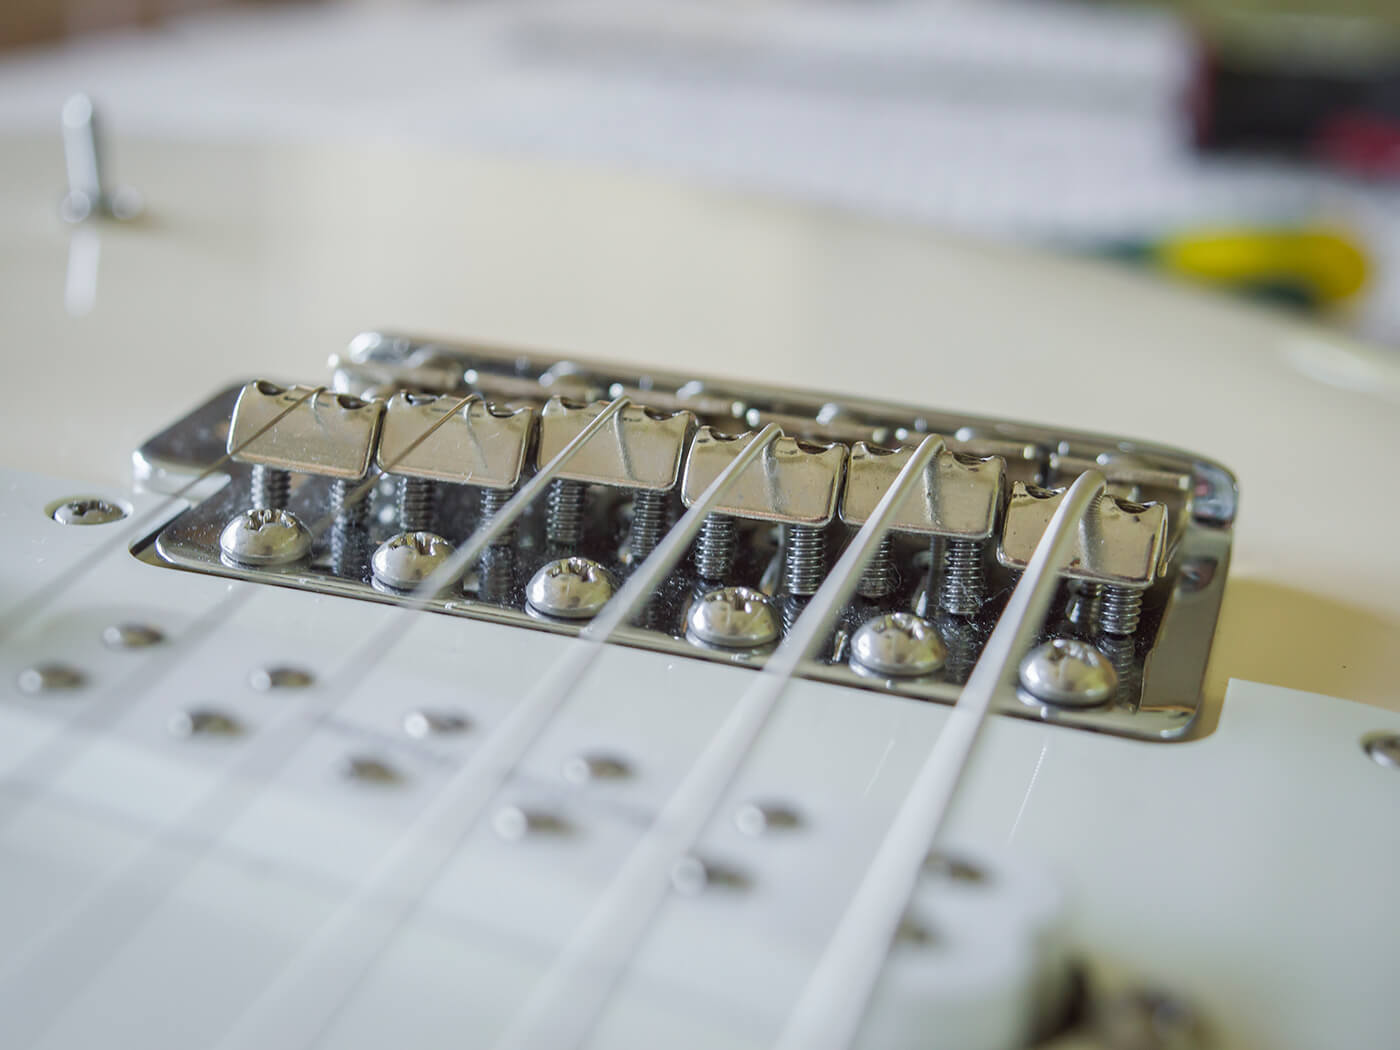
Blocking off
Next, I need to disable the vibrato. The idea is to bring the bridge plate flat to the body so the saddles can be adjusted as far back as possible. Despite the increased scale length, the guitar’s owner is concerned that it may be difficult to get the lowest strings to intonate accurately. Though it’s a shame not to have use of the whammy bar, he also feels that the tuning is likely to be more stable this way.
My method is to crank the claw screws until the bridge plate is flat to the body, which is quite easy with no strings on the guitar. I then use digital callipers to measure the gap between the block and the body so I can cut and sand a wood block to the required thickness.

It should be a fairly tight fit, but not so tight that it can’t be tapped into place quite easily. Here I use a mahogany offcut and, once it’s in position, I loosen off each the claw springs a couple of turns before screwing the neck onto the body.
Saddle sore
The pre-installed nut on the neck has shallow guide notches for the strings, so I capo the strings at the first fret to roughly set the saddle heights. This reveals an unexpected issue – the saddles all need to be raised to achieve a useable action and allow for the greater string movement that occurs with heavy string gauges in lower tunings at this scale length.
The problem with vintage-style saddles is extremely shallow grub screw holes. When the action is jacked up as high as it needs to be, the height adjustment screws are barely inside the holes and are extremely unstable. This is particularly apparent on the third and fourth string. Swapping to a set of modern block-style saddles with screw holes that pass through the full depth of the saddle solves the problem, but I still have to raid my parts box for 3/8” screws for the two centre saddles.
Setting up
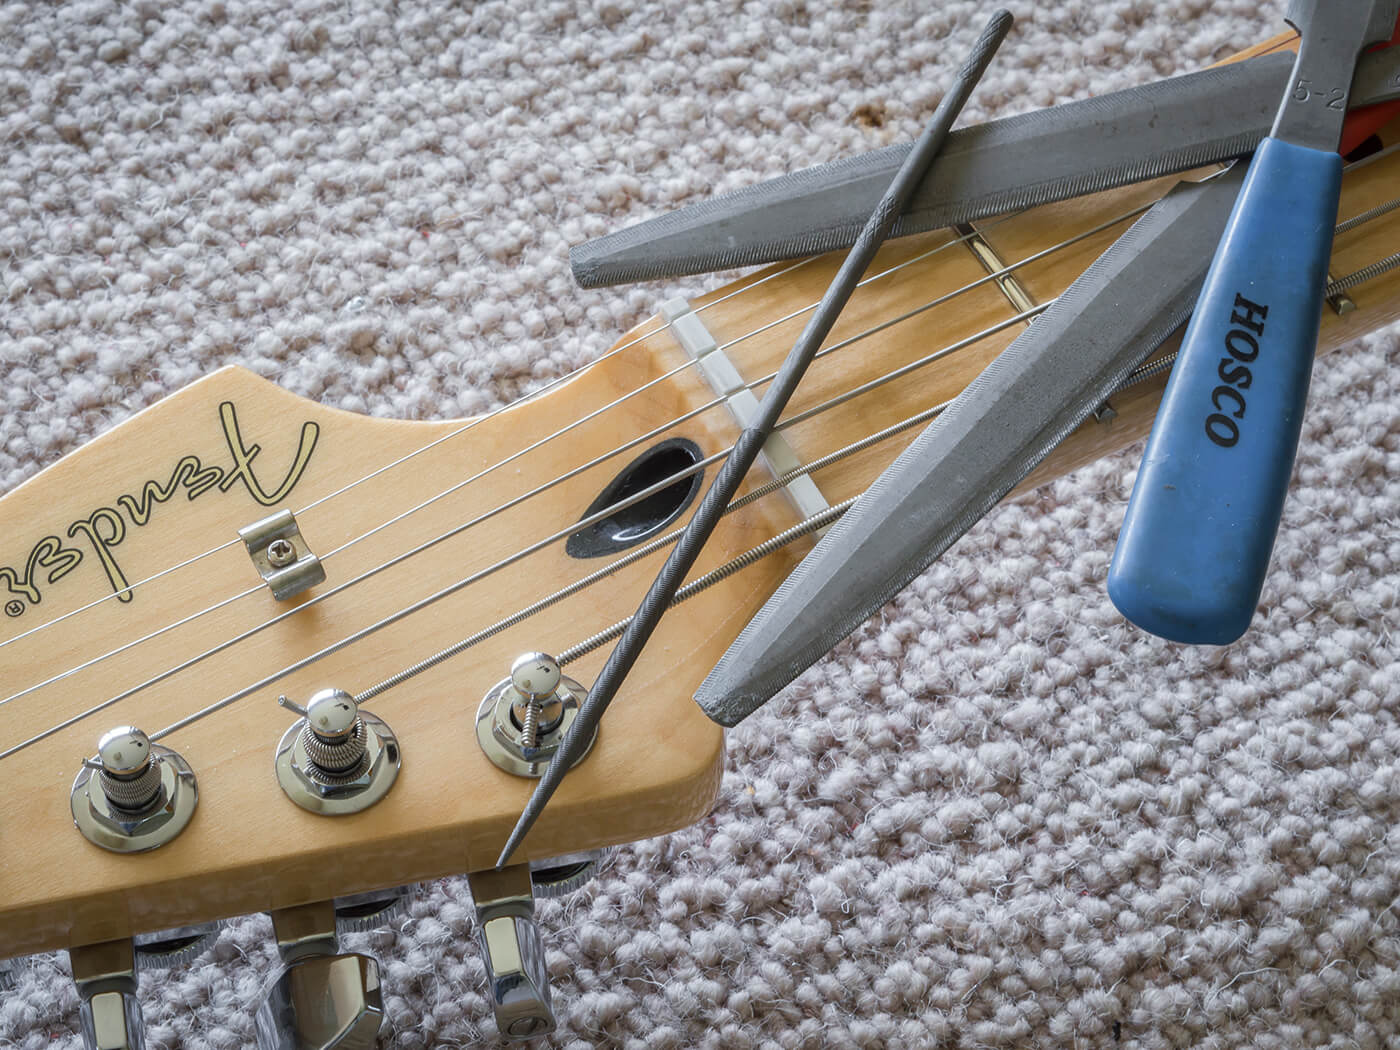
A set of nut files can be expensive so it might be more cost-effective to delegate this part of the conversion to a tech. Unless, of course, you already own a set, or you plan to swap necks on a fairly regular basis and can justify the expense and the time needed to learn how to do it.
That said, a regular 6th string nut file won’t be wide enough for the baritone’s 0.062-gauge string. Here I have to use the 6th string file for the 5th string, the 5th for the 4th and so on. I start the 6th string slot with the nut file and then open it out using a round needle file.
Although minimising wraps around the posts is generally the convention with locking tuners, there is insufficient break angle with the baritone neck. Fender’s staggered tuner set helps, and the three lowest string posts are designed for multiple wraps, which I would recommend. I’d also suggest adding a string tree for the two highest strings.
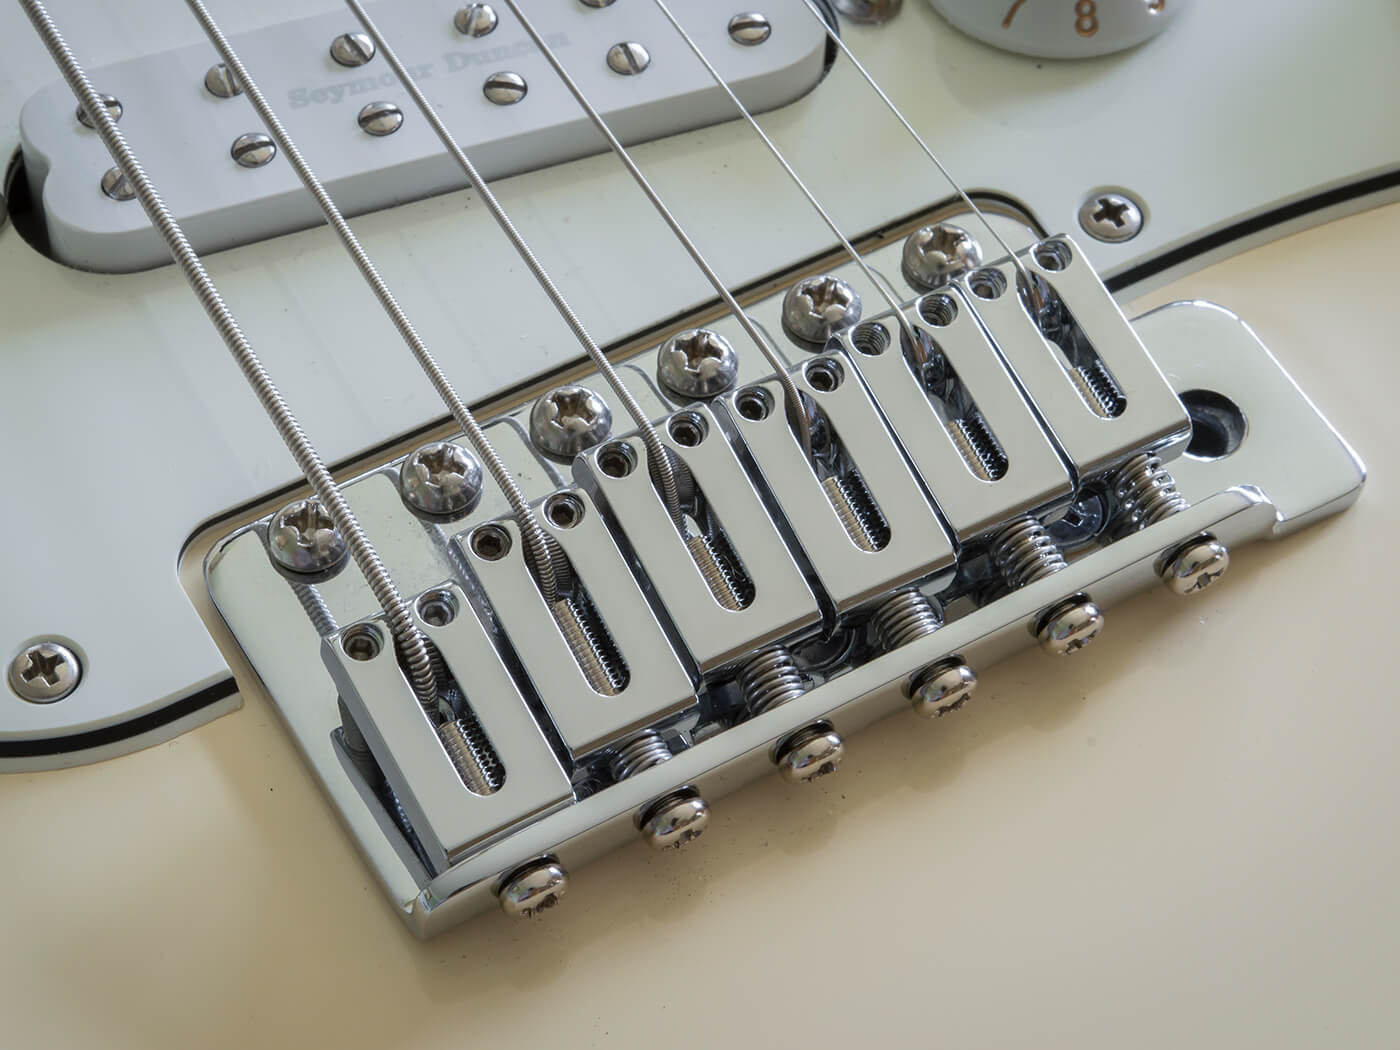
Despite the extra scale length, the saddles have to be set pretty far back for accurate intonation. This is especially true of the saddles for the two lowest strings and for the lowest, I’m obliged to remove the spring and saw off the end of the intonation screw to create sufficient space for the string to pass through. This could have been avoided if the neck had been made a little longer.
Even so, this is a viable project. Just don’t expect it to be as simple as bolting on a baritone neck and throwing on a set of heavy strings. Depending on the hardware fitted to your Strat, you may encounter issues that have to be overcome before you have a functional baritone guitar but once we plug in, it proves to be well worth the effort.
Visit huwpriceguitar.com to see more of Huw’s work.