Related Tags
DIY Workshop: How to build and assemble a Martin Guitar Kit
An eight-part series on assembling your own Martin guitar from the official kit.

For those keen on a weekend project or looking for an affordable way to own a Martin, the brand offers DIY kits – but how much of a challenge is it? In this marathon eight-part series, with many twists along the way, we put together a $400 Martin 000 kit with mahogany back and sides.
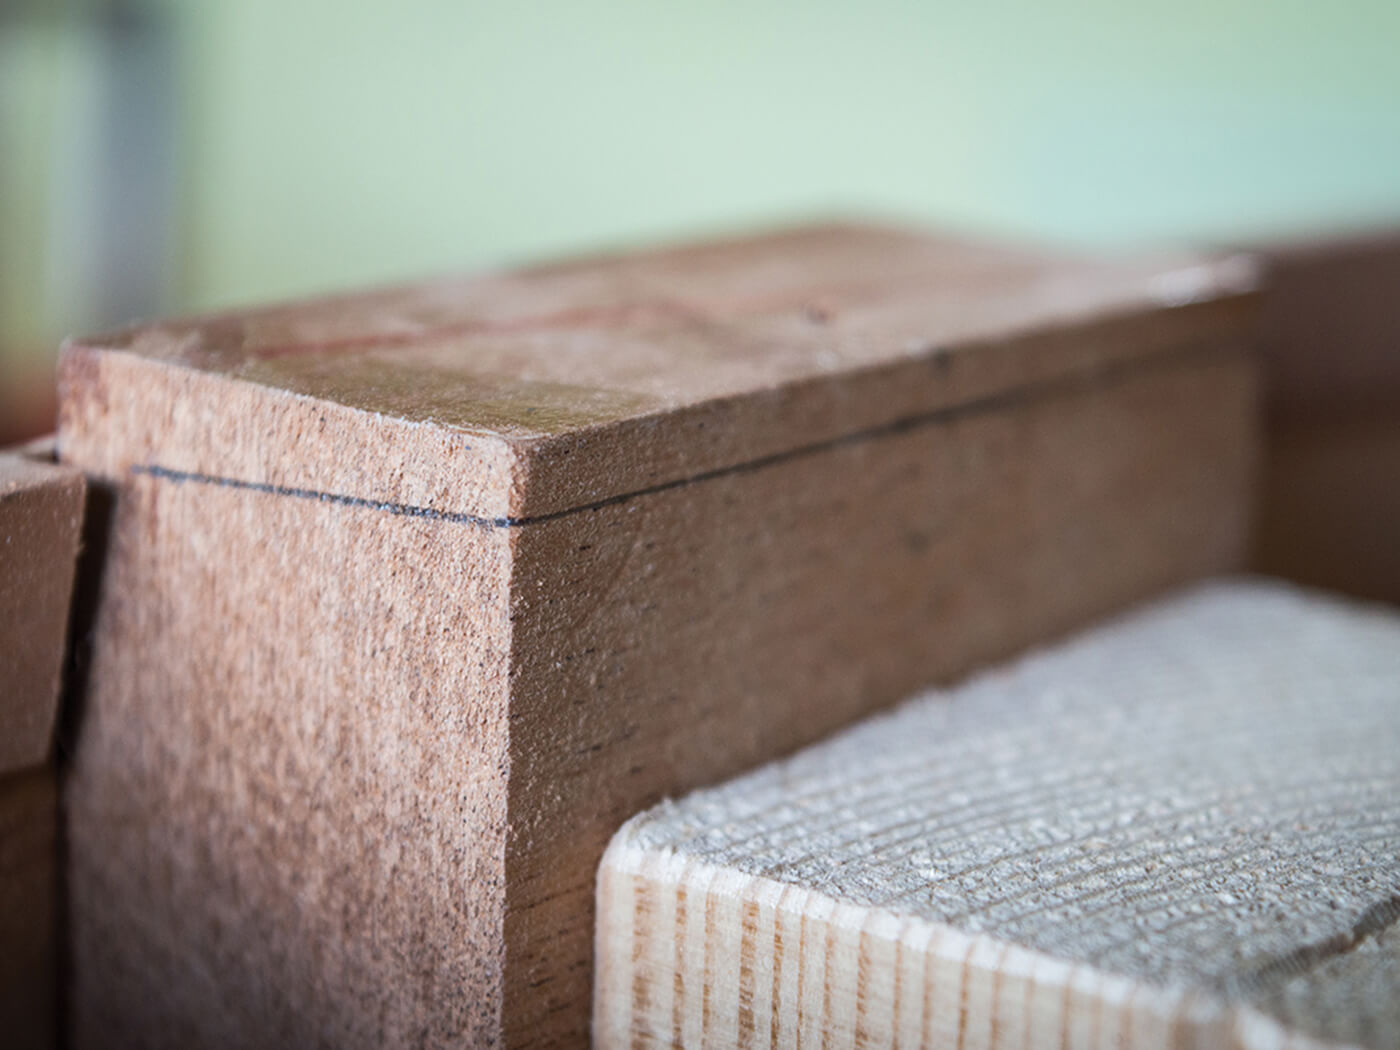
Assembling the skeleton

Guiding us on this assembly is a booklet penned by Dick Boak – Martin’s archives custodian and museum curator – that offers useful tips on how to approach the build. We proceed to cut out moulds for the guitar’s back, fit it to the sides and attach the heel and tail blocks.
Smoothening the edges
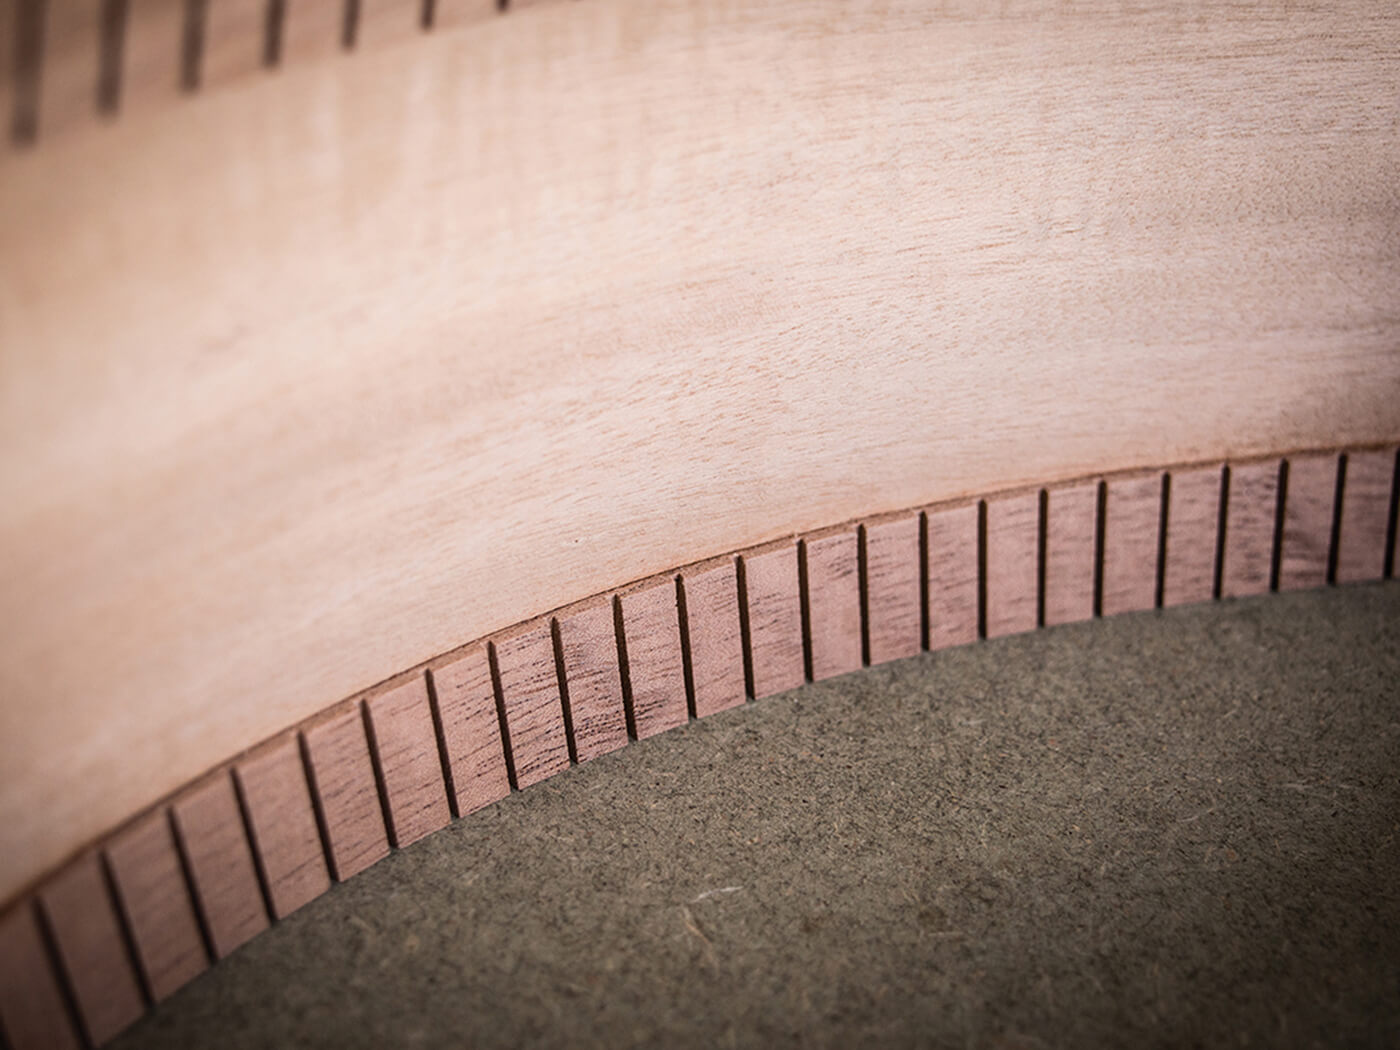
We level the kerfing to match the guitar’s rims and glue it to the guitar’s body, before jointing and gluing the back plates. And then, the fun part: torrefaction! But as we worry that the heat of the oven is going to compromise the glue joint on the top plates, we settle for the braces.
Carving bracings

We crack on with designing the guitar’s top and back bracing. While the top included in the kit has a modern bracing pattern marked up on it, we decide to change this to a pre-war bracing style. After this, attention shifts to carving the back brace, which ends up having a sharp peak along its length.
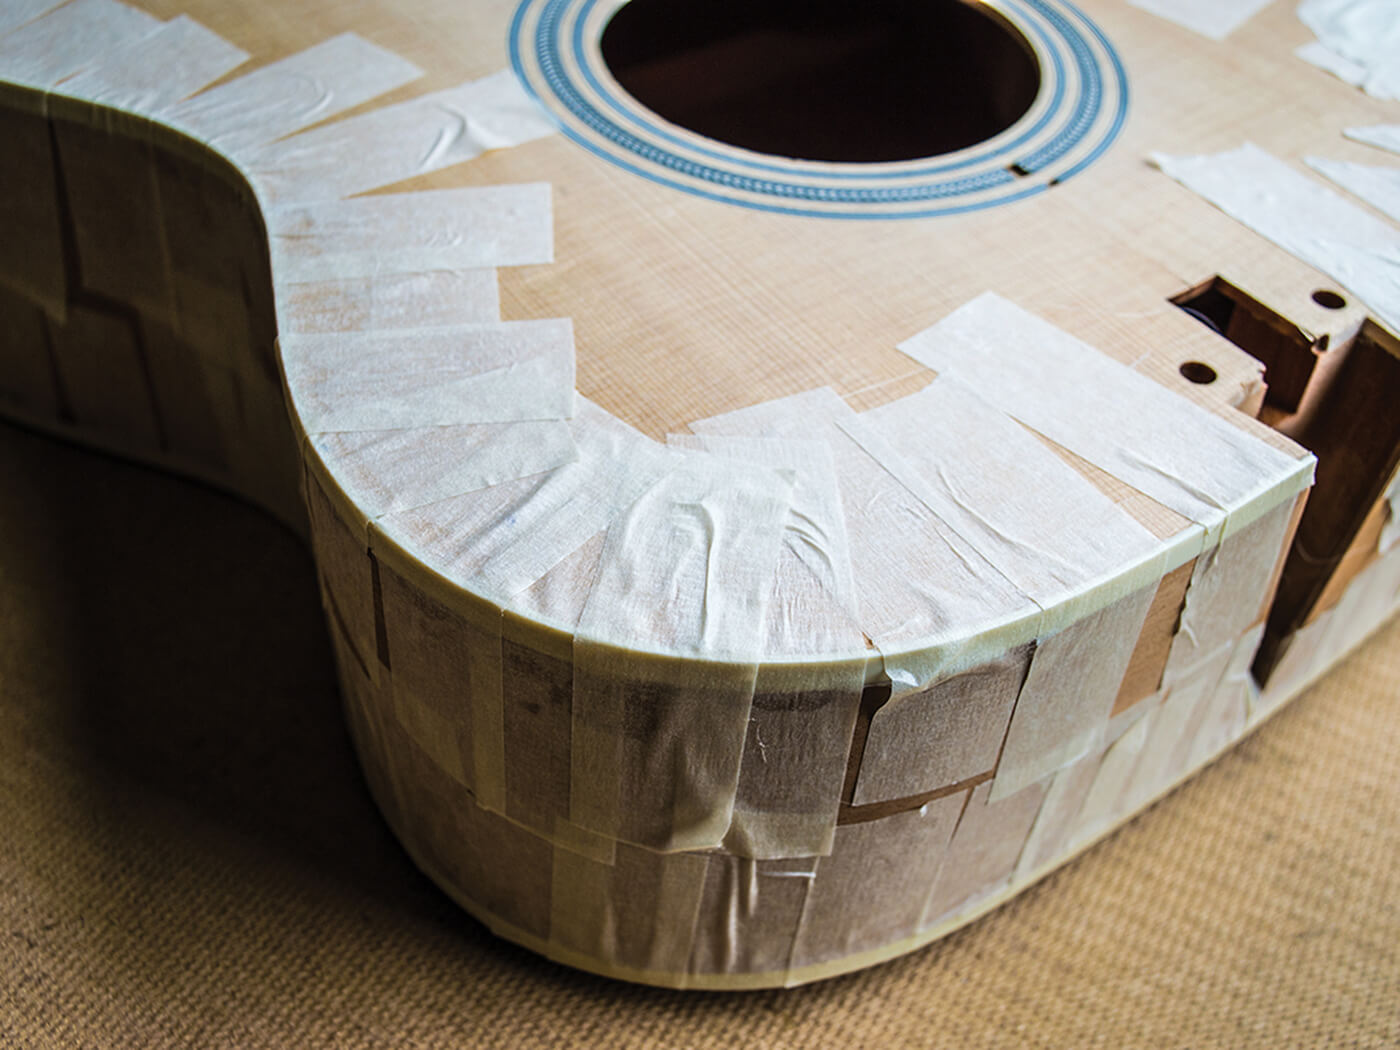
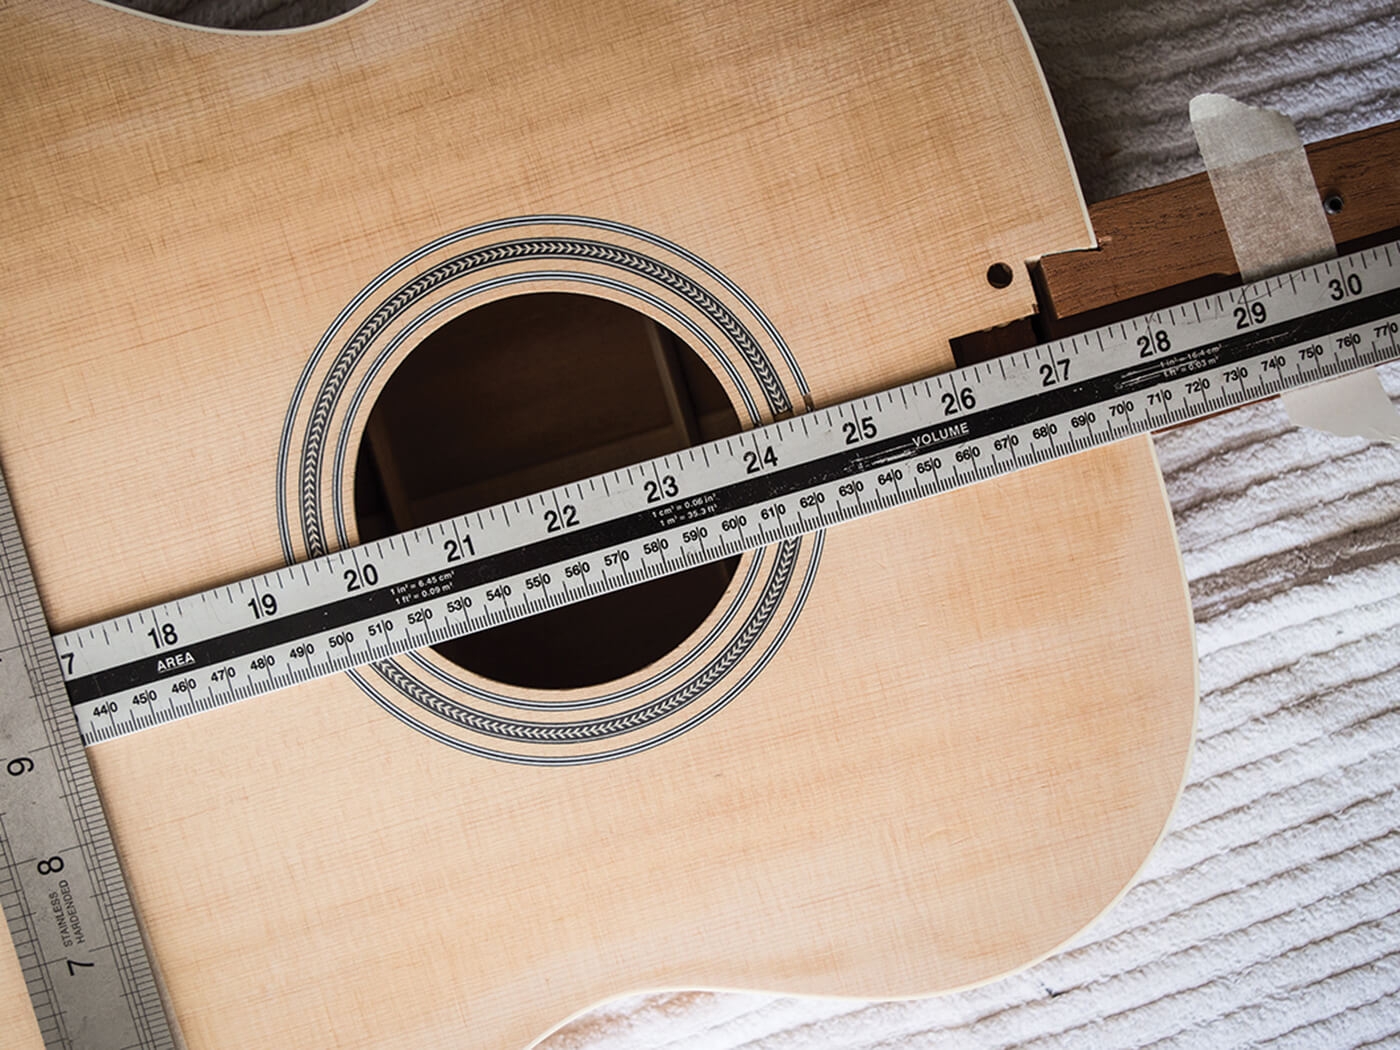
Putting the body together
Having constructed the foundation, it’s time to get the body fully assembled. The neck block is first sawn off so it can align accurately with the body. Once this is done, we glue the top and back to the sides.
Binding the body and making the fingerboard
In this fifth part, we start binding the body and crafting a rosewood fingerboard from scratch. Binding channels are first routed before the binding strips can be glued into the grooves. Next, we move on to the fingerboard, shaping and thinning the rosewood slab before cutting fret slots and inserting inlays.
Finishing up the neck
In part six, we finish up the neck and fit it to the body via the neck heel. Once successfully joined, we adjust the neck before working on the headstock and purfling the soundhole rosette.
Applying the finish
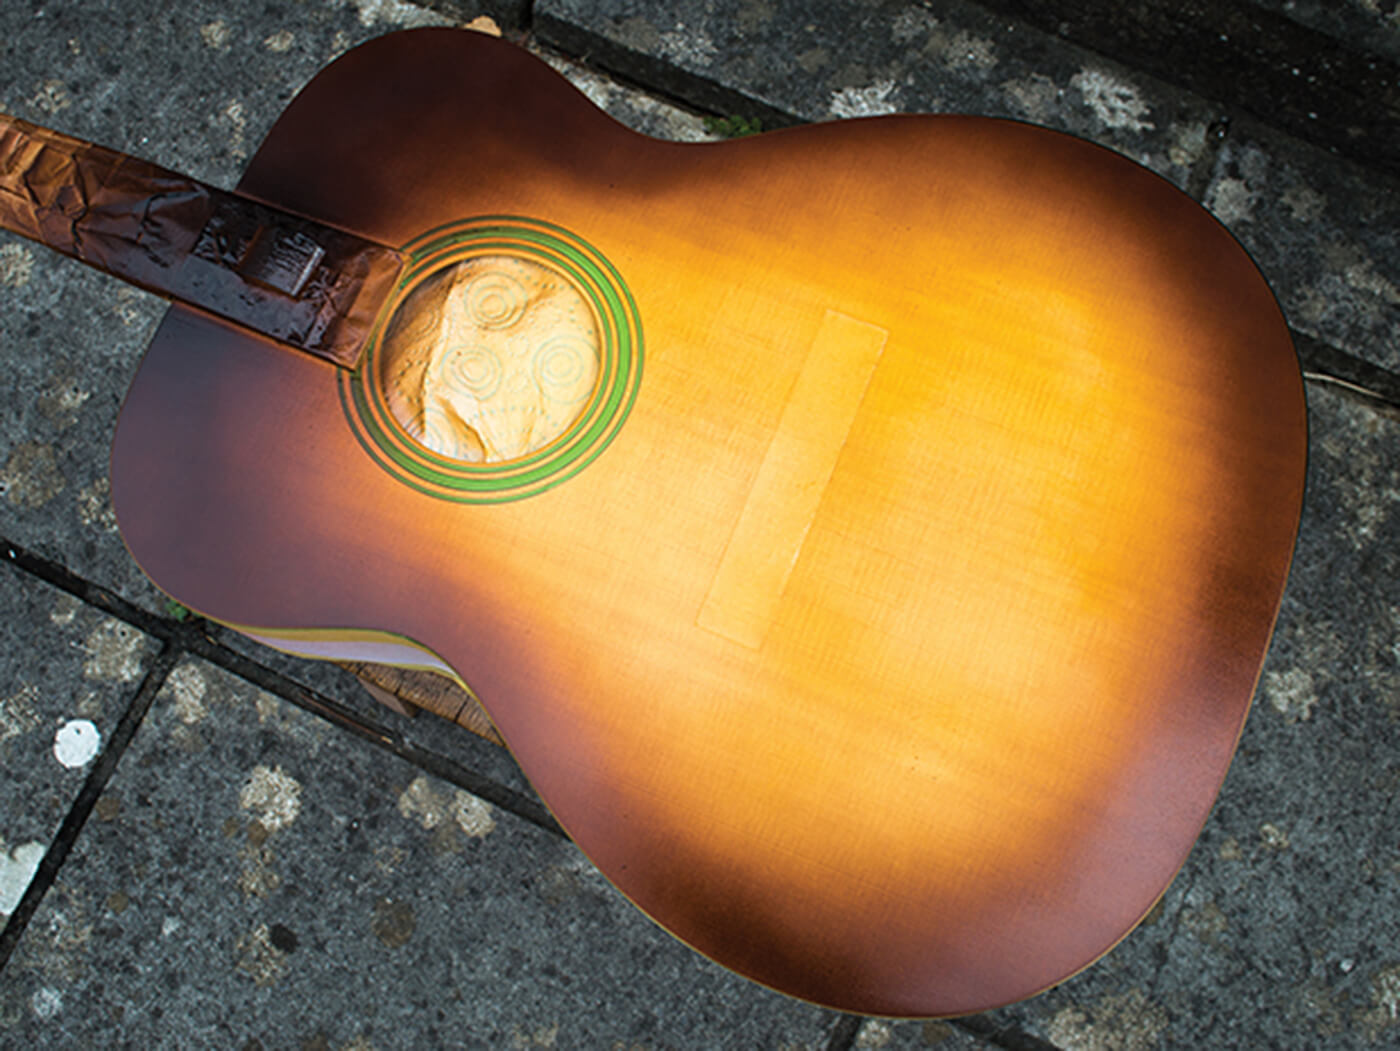
The spray gun is out for the penultimate stage of this project. But before applying the finish, the back has to be smoothened through sanding then lacquered. Next up is the top – we give it two tinted clear coats for a golden-amber shine.
Finishing touches

It’s time to apply the finishing touches: bedding in the bridge, installing tuners and polishing the finish.
For more DIY projects, check out this page.