DIY Workshop: How to refret a vintage Fender guitar
Getting old frets out is generally a lot harder than getting the new ones in. Here’s how to refret a vintage Fender with a little lateral thinking.
Prior to the mid-1980s, Fender used a machine that installed frets sideways. Rather than hammering or pressing them into the fingerboard in the traditional way, they were inserted at the bass side of the ’board and pulled through the slot using a foot-operated device.
Doubtless this was one of Leo Fender’s ideas for streamlining production and dispensing with the need for specialist workers, but it’s important to consider if you’re planning on replacing the factory frets of any Fender guitar or bass made before 1982 – or 1985, according to some accounts.
If you attempt to pull the frets out in the usual way, you’re likely to do a lot more damage to the fingerboard than you’d expect during a non-Fender fret extraction.
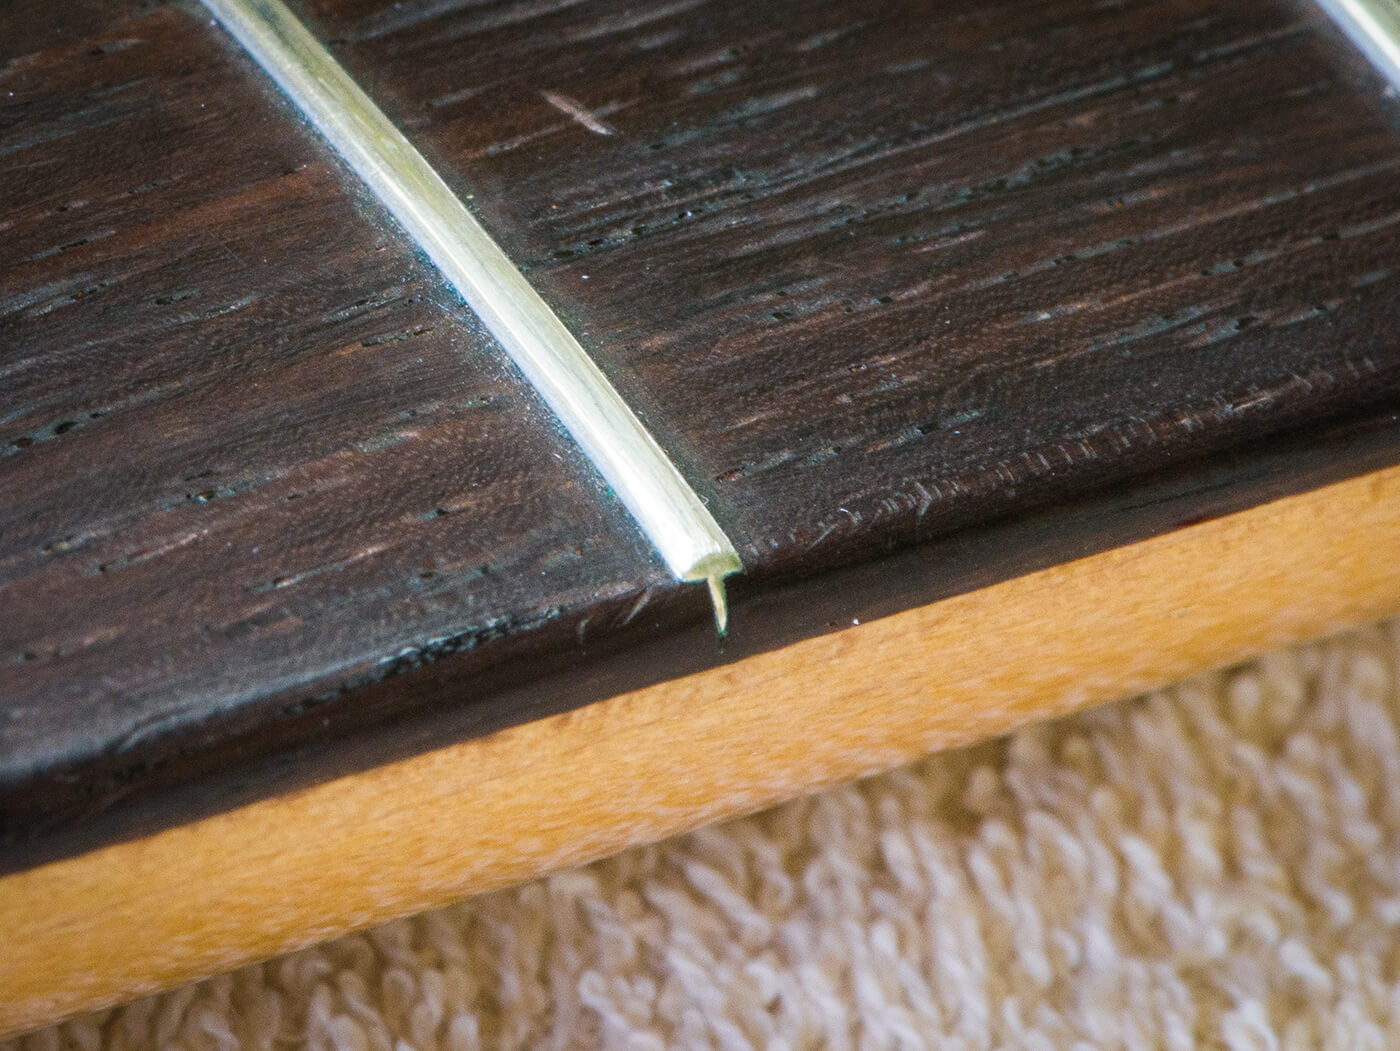
Fretwire has a curved section on the top, known as the crown. It’s the part that remains visible when the frets are installed. Beneath that, there’s a thin section known as the tang, which is intended to sit inside the fret slot. Along the sides of this tang are barbs, which grip the sides of the fret slot so the fret remains firmly seated.
Tapping the frets in sideways allows the barbs to cut tiny channels along the sides of the fret slots. Because the barbs were never tapped through the wood from the top, they will simply tear out the sides of the slot if you try to pull them out. If vintage Fender frets went in sideways, they have to come out sideways, too…
Immaculate extraction
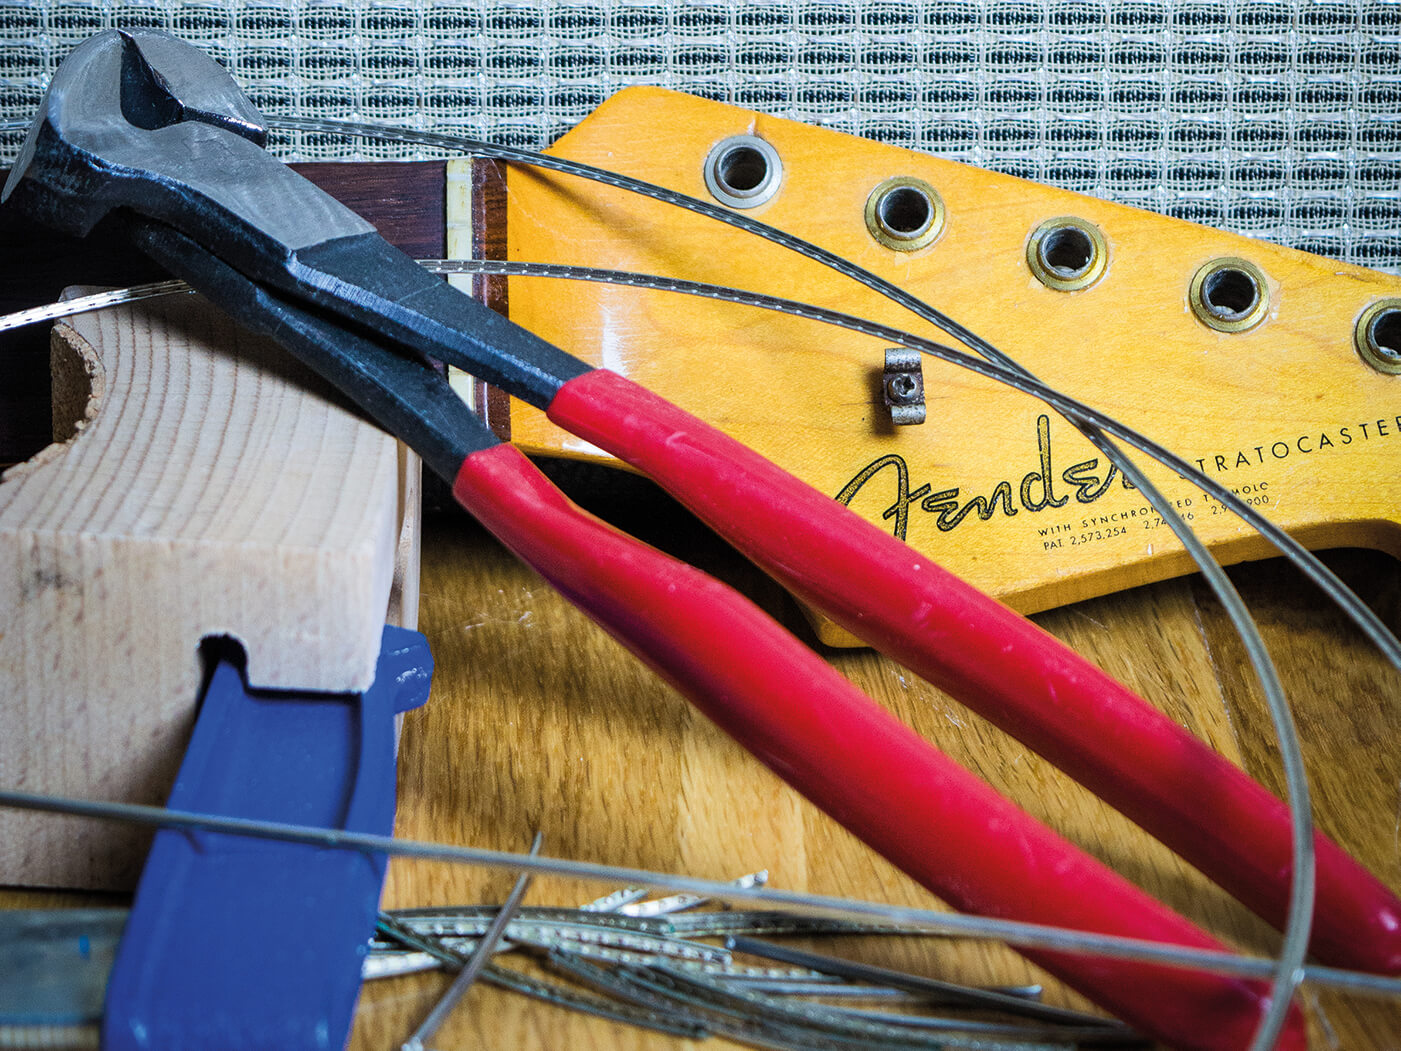
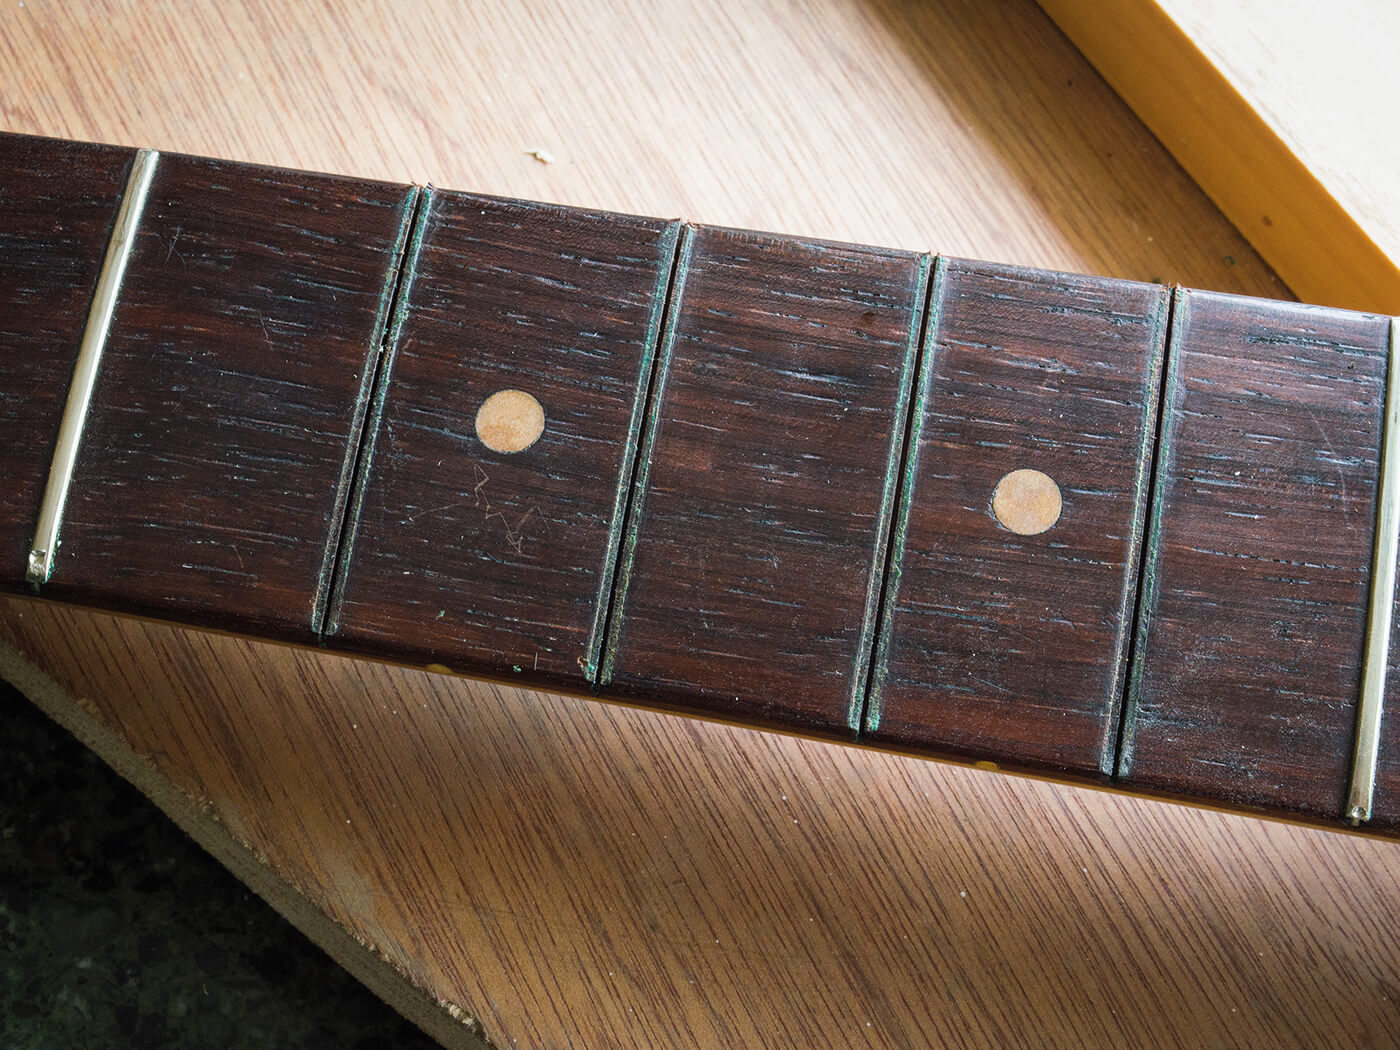
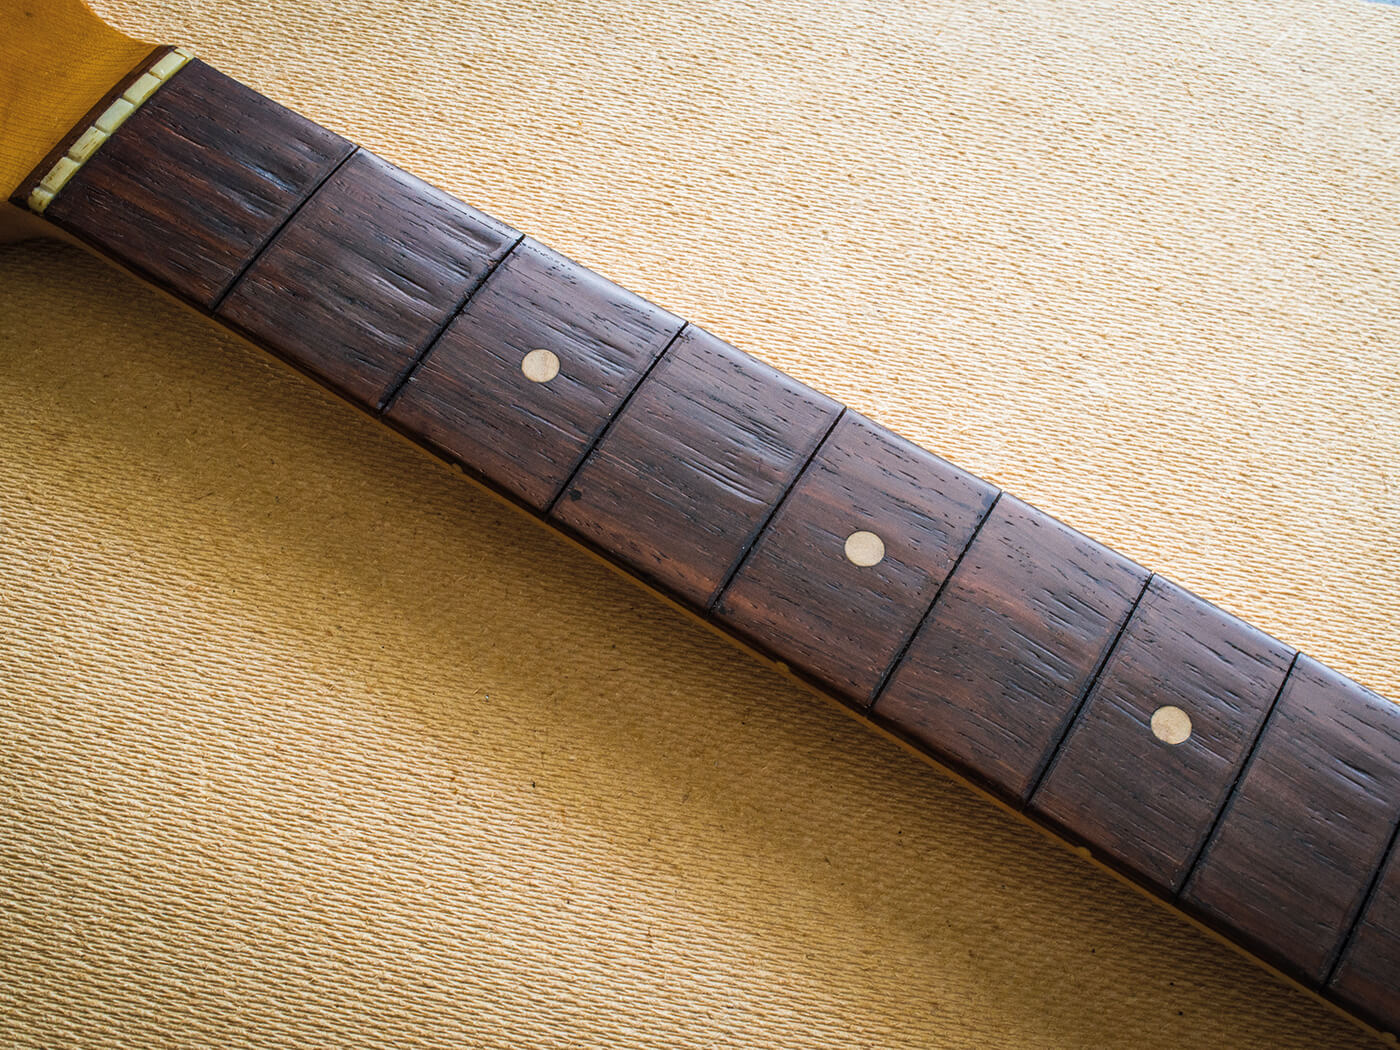
The Stratocaster neck I’m working on is date-stamped December 1963. The first task is to establish that the fretwire is original to the guitar, but happily, there are some clues to suggest it is.
The fretwire is 0.08 inches, which is the correct width for vintage Fender wire. In addition, the fingerboard is in perfect condition, so there’s no evidence of a refret. I can also see that the fret tangs are sharpened on the treble side, which was apparently Fender-factory practice for sideways fretting.
I begin by cleaning the ’board with naphtha and then allowing lemon oil to soak in around the frets. Wood can become quite flaky over the decades, so moistening the rosewood with oil might help to prevent chipping.
Various methods are suggested for sideways fret removal. Some luthiers use a sharp flathead screwdriver and others prefer a nail punch. I’m concerned about tools such as that slipping off a fret and gouging the fingerboard, so I follow a slightly different route.
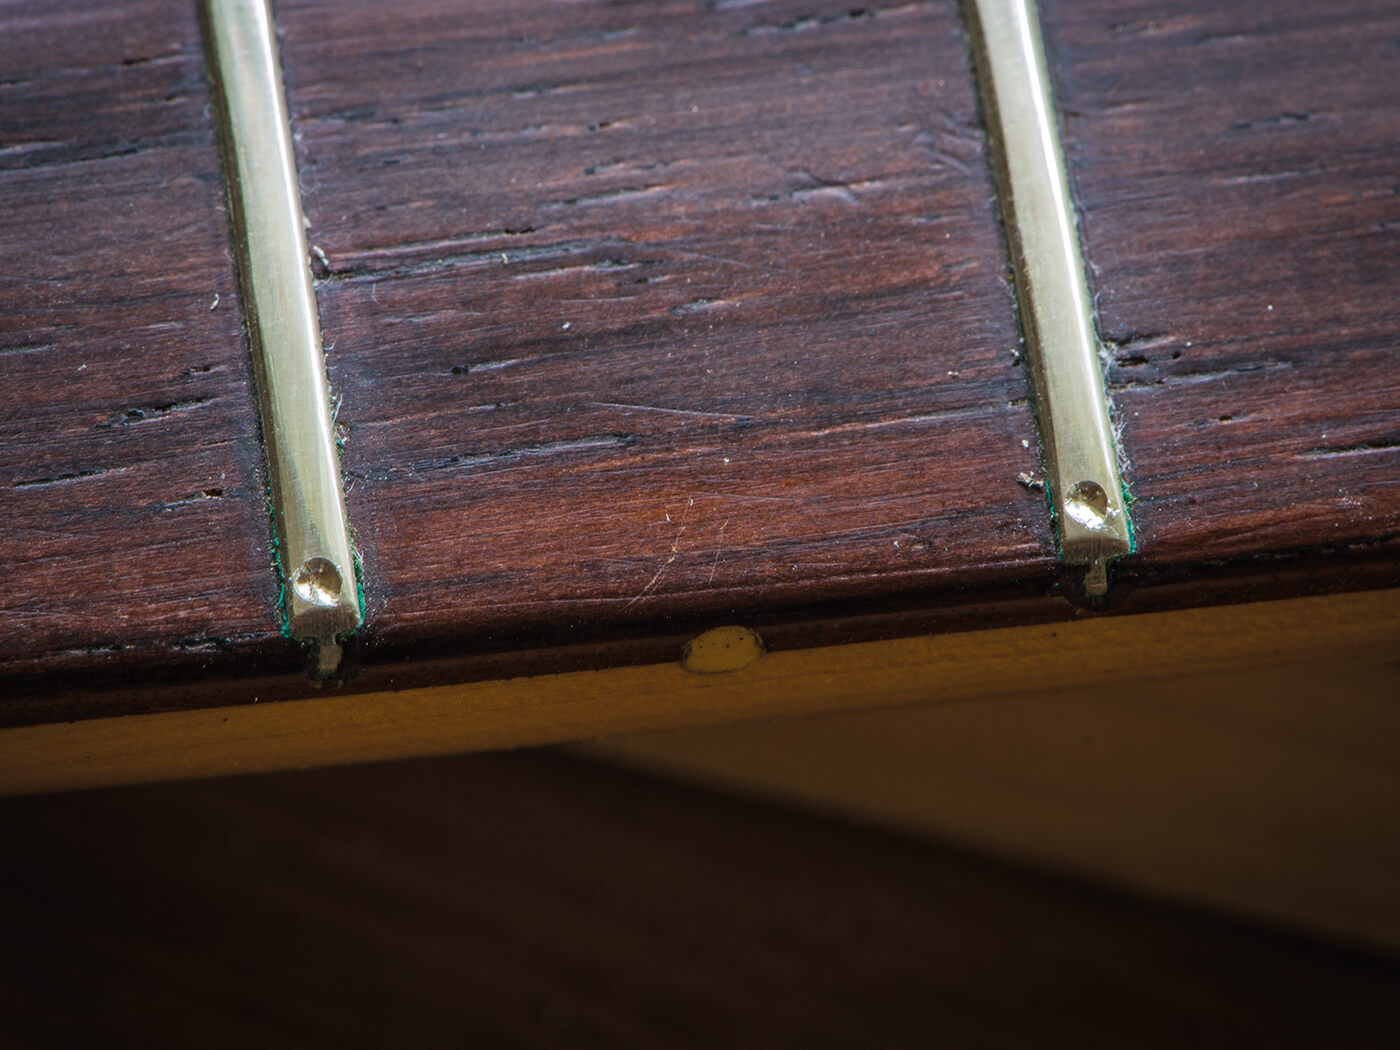
With a 1.5mm drill bit, I very carefully and slowly drill a small indent into each fret on the bass side of the ’board. To prevent the bit from slipping, I hold the drill fairly upright and the indents are just sufficient in diameter to provide a firm footing for my nail punch.
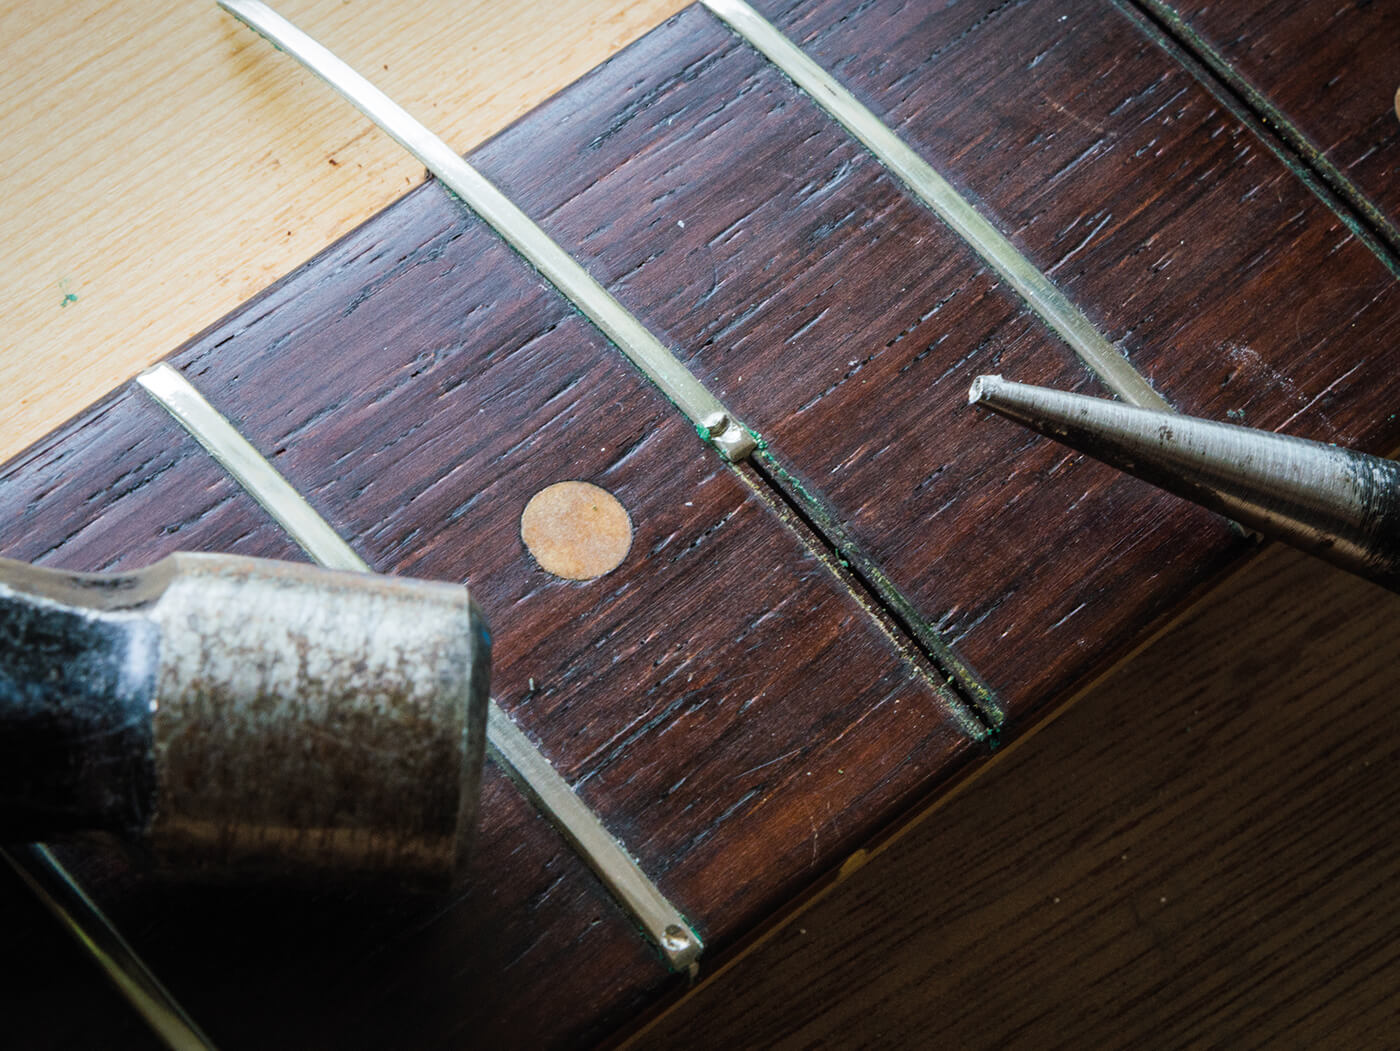
You can clamp or brace the neck for the next part. I place the nail punch tip into an indent, angle it so it’s pointing towards the treble side and begin tapping gently with a small hammer.
It’s perhaps unsurprising that some frets move easily, while others are more stubborn. Some people recommend heating the frets with a soldering iron, which is something I always do for fret extractions. Unfortunately, heating actually makes these Fender frets harder to tap out and after a couple of messy attempts, I revert to gentle persuasion and patience.
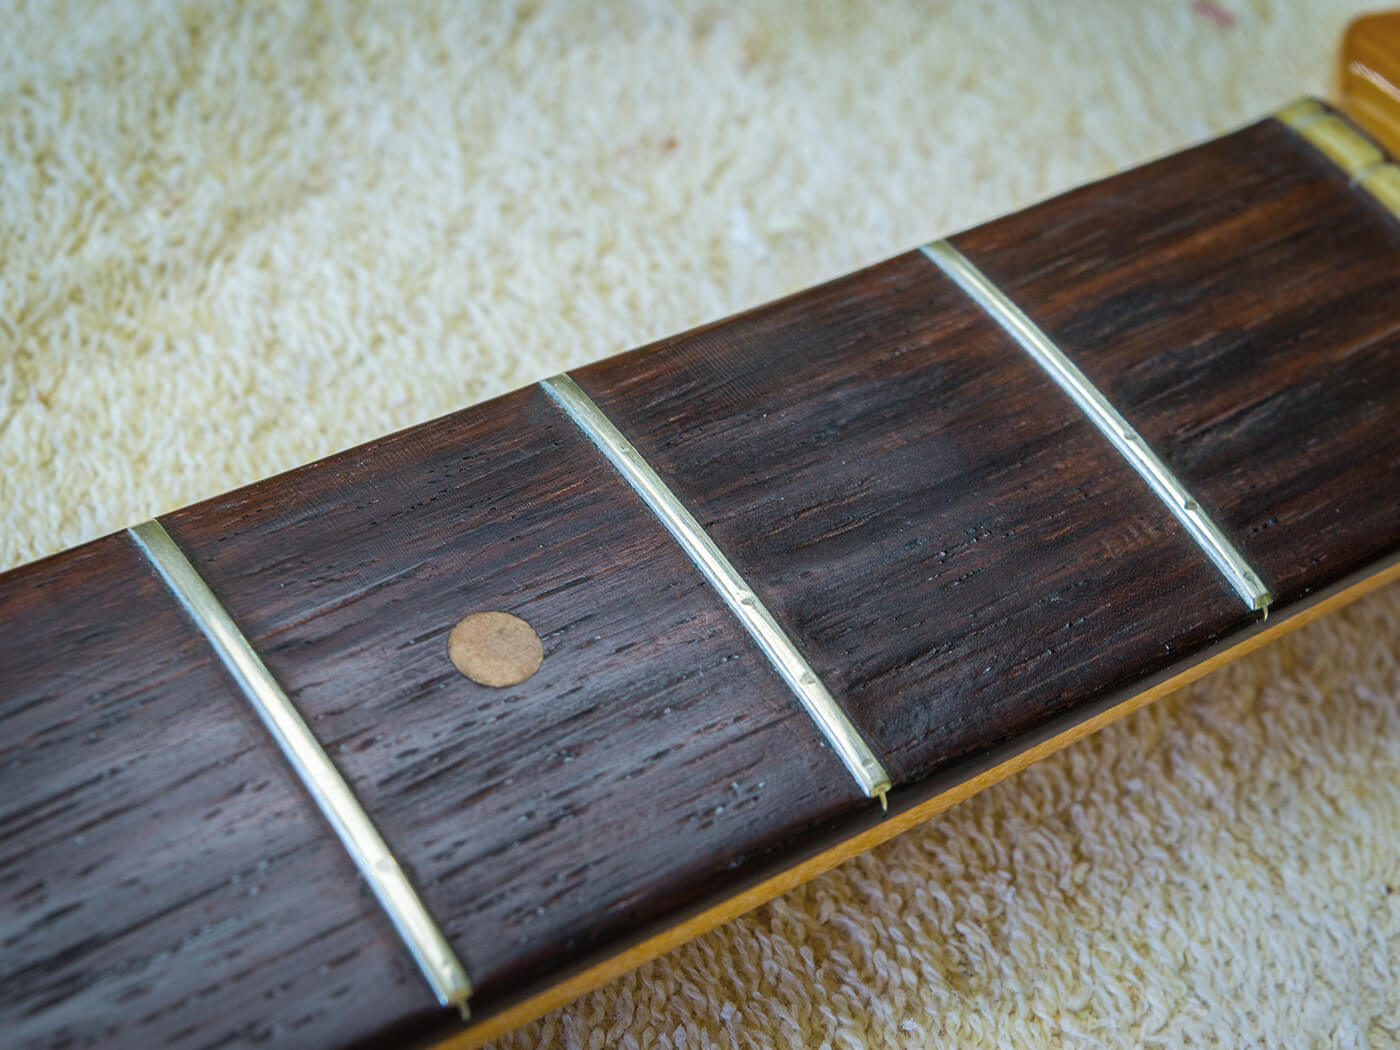
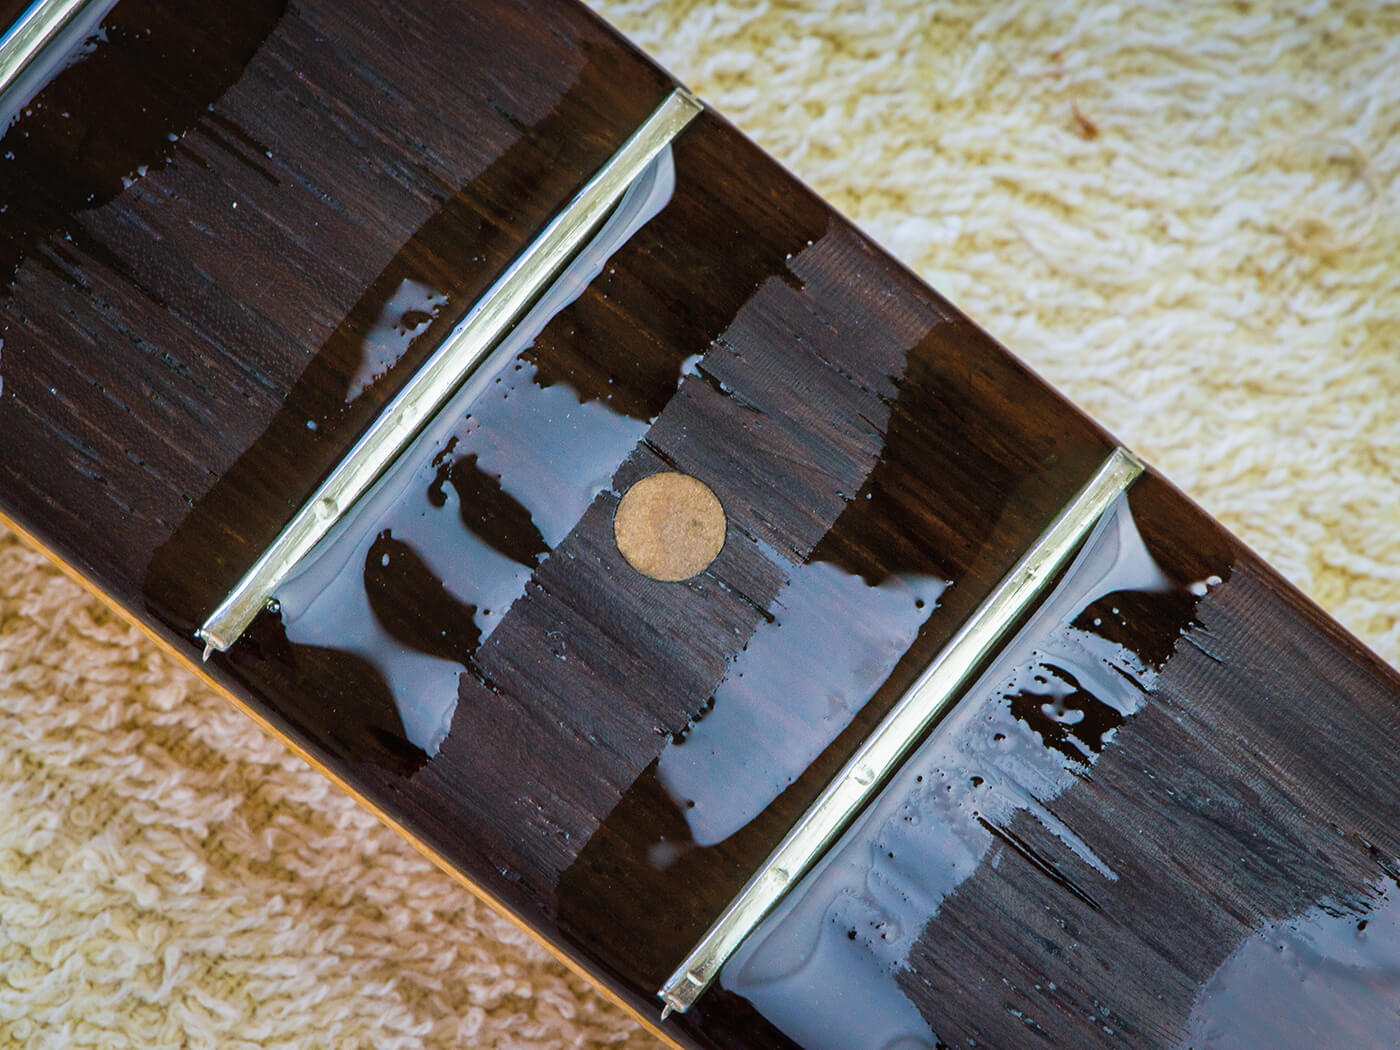
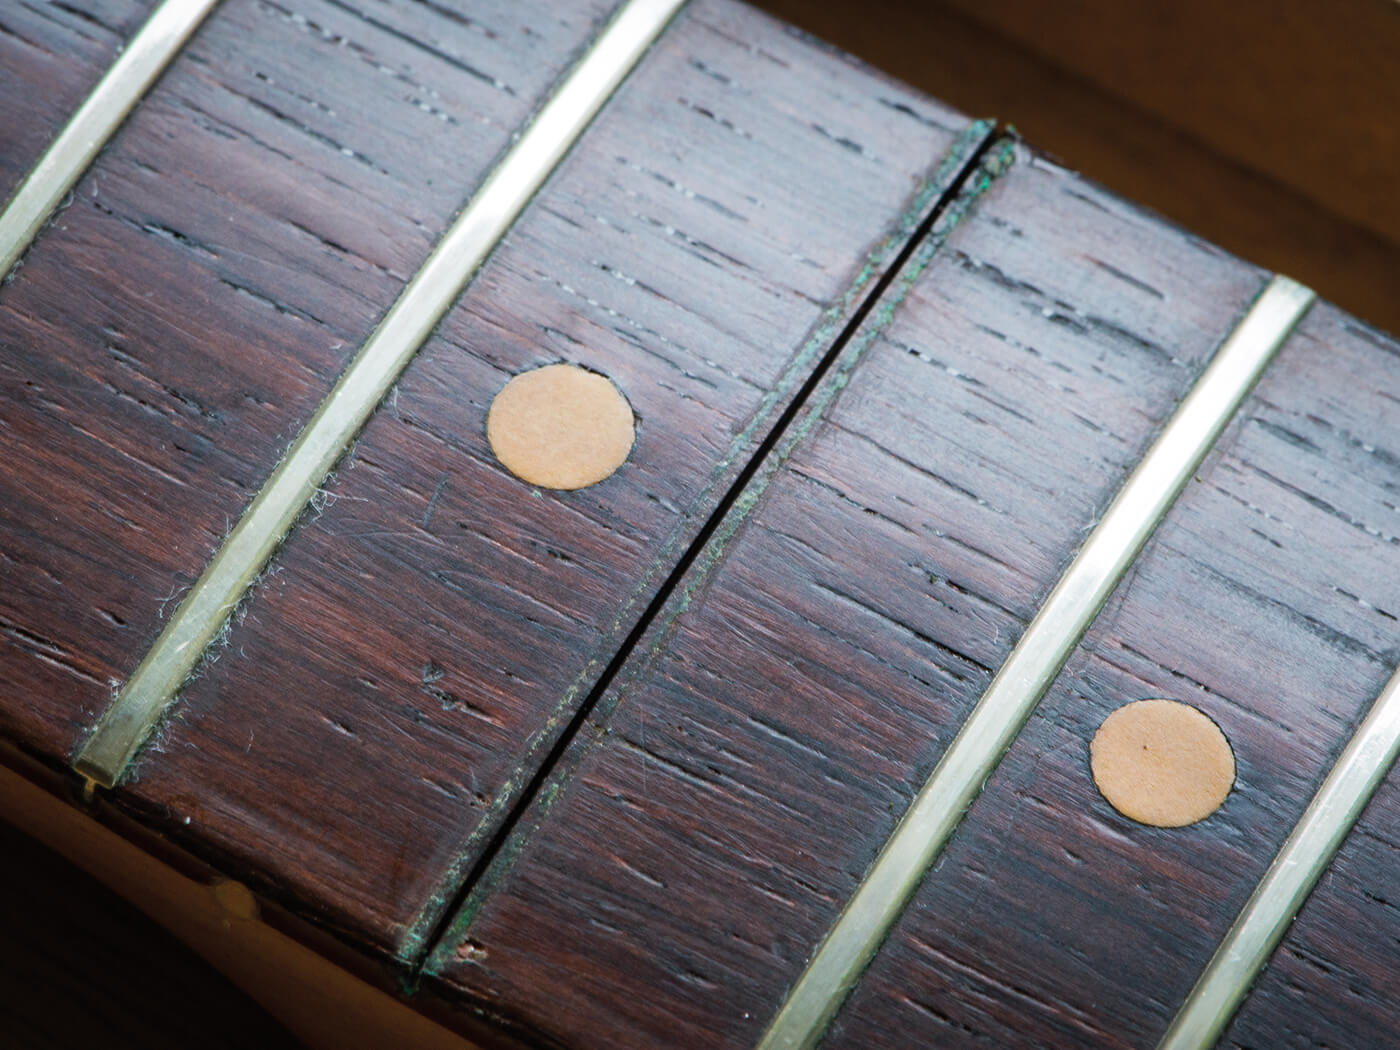
Although most frets take a while to begin moving, once started, they slide easily. Care must be taken at the exit point, because it’s easy for the rosewood to split at the opening of the slots. If you get chips at the ends or top of the slots, apply water-thin Super Glue immediately and allow it to harden. It will look a terrible mess, but the repaired areas should be invisible once they’re sanded smooth.
Feeling flat
Plenty of guitar repairers like to sand fingerboards perfectly flat, but with old guitars it can detract from the vintage look and feel. I’m particularly reluctant to sand veneer ’boards on vintage Fenders, because the wood is so thin to begin with.
This neck is straight and the ’board is fairly flat, so my preference is to install frets that are slightly taller and level out any imperfections by removing metal rather than wood. Here, I’m only going to sand the Super Glue repairs flat and leave as much of the original playing surface as possible.
For this, I tape 320-grit paper to the underside of a 7.25-inch radius block, completely slacken off the truss-rod tension and work very slowly. Once the surface feels smooth, I swap to ever-finer grades of sandpaper and work my way up to 8000-grit Micro-Mesh. The process is just the same as preparing a freshly sprayed guitar body for final polishing and the neck ends up looking and feeling as if nothing has been done to it.
On the wire
One fret has to be removed to determine which gauge of wire to buy – assuming you want to install vintage-style fretwire. These days, many Strat players prefer bend-friendly fretwire with wider crowns, but perhaps if SRV preferred skinny frets, things might be the other way around!
With veneer ’boards, the slot depth is restricted, unless you’re prepared to saw through the fingerboard and into the maple to accommodate deeper fret tangs. Slot width is important too, because if the tang of your preferred wire is too wide, it may be hard to install the frets. If you do manage to force the tangs into the slots, each slot will be pushed apart very slightly and the neck will most likely end up with a back-bow.
Vintage-style, single-action truss-rods are only designed to correct up-bows, so the guitar will not be playable. This means you need to buy fretwire with a tang that’s compatible with the existing slots, or be prepared to widen and perhaps deepen the fret slots to accommodate the wire of your choice.
The factory fretwire has tang width of about 0.5mm (0.02-inches) and a tang depth of 1.22mm (0.055-inches). The owner of this particular neck wants vintage-spec frets, and Stewart-MacDonald’s Medium/Medium wire (Item #0148) should go in without any need to alter the slots. The crown is very slightly wider at 2.13mm, which is ideal for concealing any slot repairs and marks from the original frets.
Getting ready
The ’board is looking almost perfect, but dust has become compacted in the fret slots. There are specialist tools for scraping fret slots, but I prefer to use an old veneer saw that I found in an antique shop years ago. The blade is wafer-thin and the teeth are dulled, which makes it excellent for scraping out dust without cutting into the fingerboard or inadvertently widening the slots.
I try to be as thorough as possible when I’m cleaning fret slots, because if there’s any debris, it may prevent the fret from seating properly. The corners where the tang forms right angles with the crown can be rounded rather than dead square. To compensate, you can run a triangular file across the top of each fret slot to knock off the corners. Some luthiers recommend this as a method to get frets sitting tight against the ’board.
Fretwire is extruded and oil is used in the manufacturing process. A thin coating of oil remains on the wire and it can be removed by wiping the wire with kitchen paper wetted with acetone. You may be surprised how dirty the paper looks once you’re done.
Finally, I run the fret wire through my homemade fret bender to match the fingerboard radius. It’s nominally 7.25 inches, but this ’board kicks down a bit at the edges and so I radius the wire a little tighter. When you use a fret-bending device, a few centimetres at each end of the wire will remain straight. Simply snip off the straight sections, because they shouldn’t be used.
New metal
With everything ready, I must now decide whether to install the new frets from the top in the usual way or try and get them in sideways as Fender did. Using the modern method makes sense because any decent luthier somewhere down the line will realise that the guitar has been refretted. When it’s refret time once again, these frets will come out as expected if I hammer and press them into the slots.
If I do manage to put them in sideways, the luthier is going to be in for a really unpleasant surprise – and one that couldn’t really be anticipated. On the other hand, I can’t help feeling curious about giving sideways fretting a go and this is a very rare opportunity to try it. So that’s what I’m going to do.
The issue is how exactly to do it. Unlike Fender, I don’t have a machine for the job, so I’m going to have to improvise. I figure there are two issues to consider: keeping the fret wire low in the slot and ensuring it goes in straight.

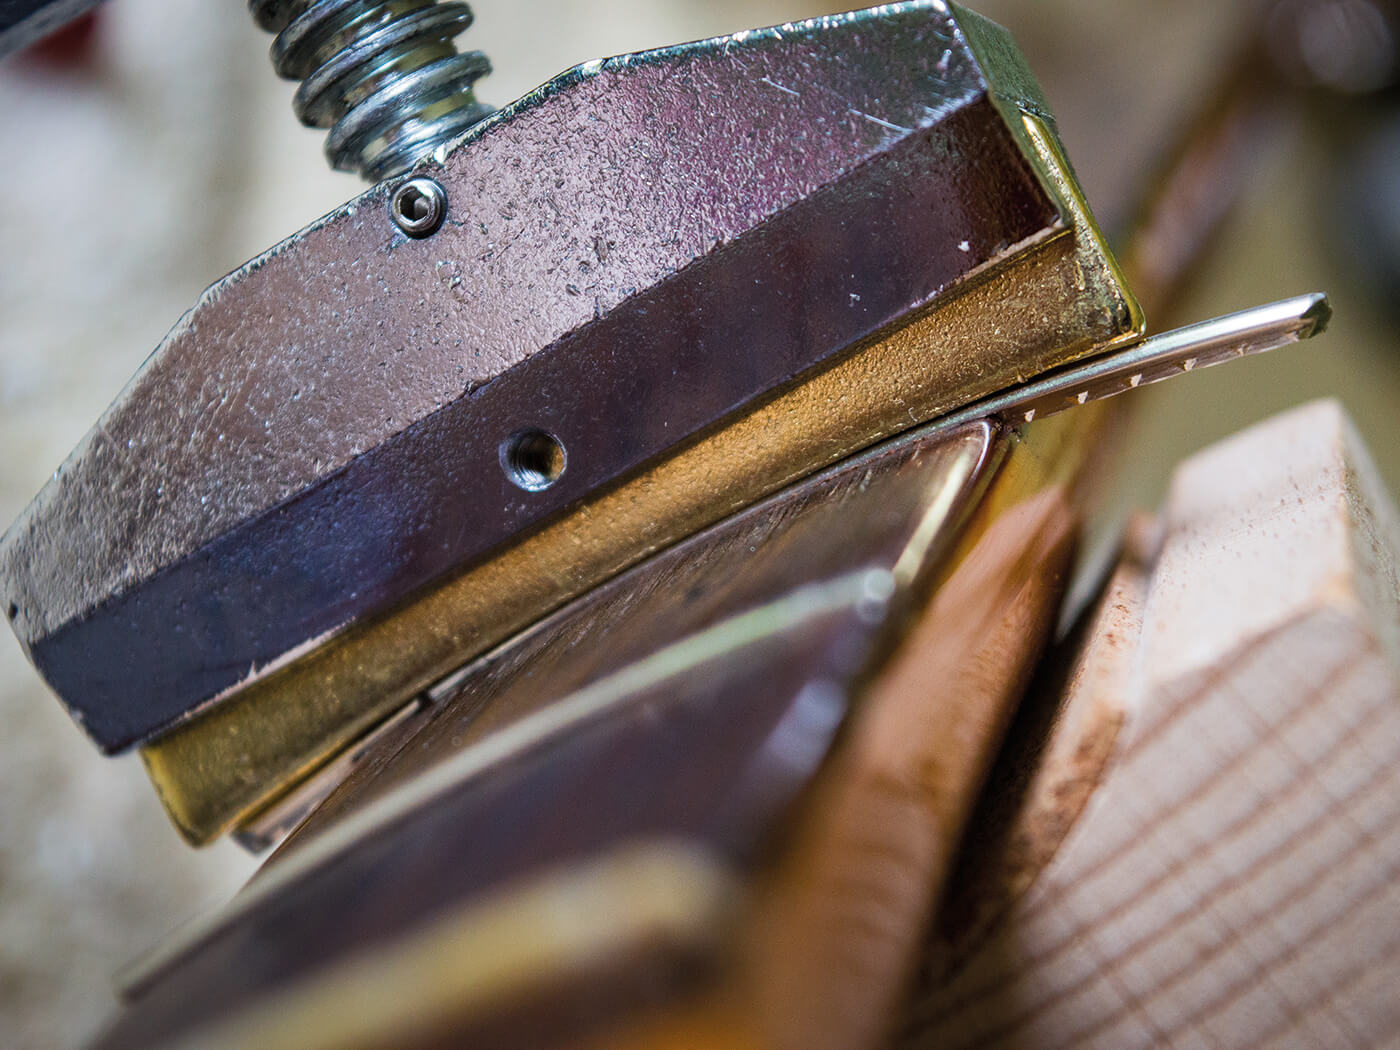
A short while ago, I bought a cheap fret-press clamp tool via eBay. You can buy them from luthier suppliers, too, but they’re a lot cheaper direct from China. The clamp has an attachment that accommodates brass cauls that are machined to various radii.
Each caul has a rounded channel milled into the mating surface that allows it to lock onto frets as they’re being pressed into the slots. It’s a good alternative to hammering the frets in and if you’re gluing the frets, the clamping caul will secure them as the glue goes off.
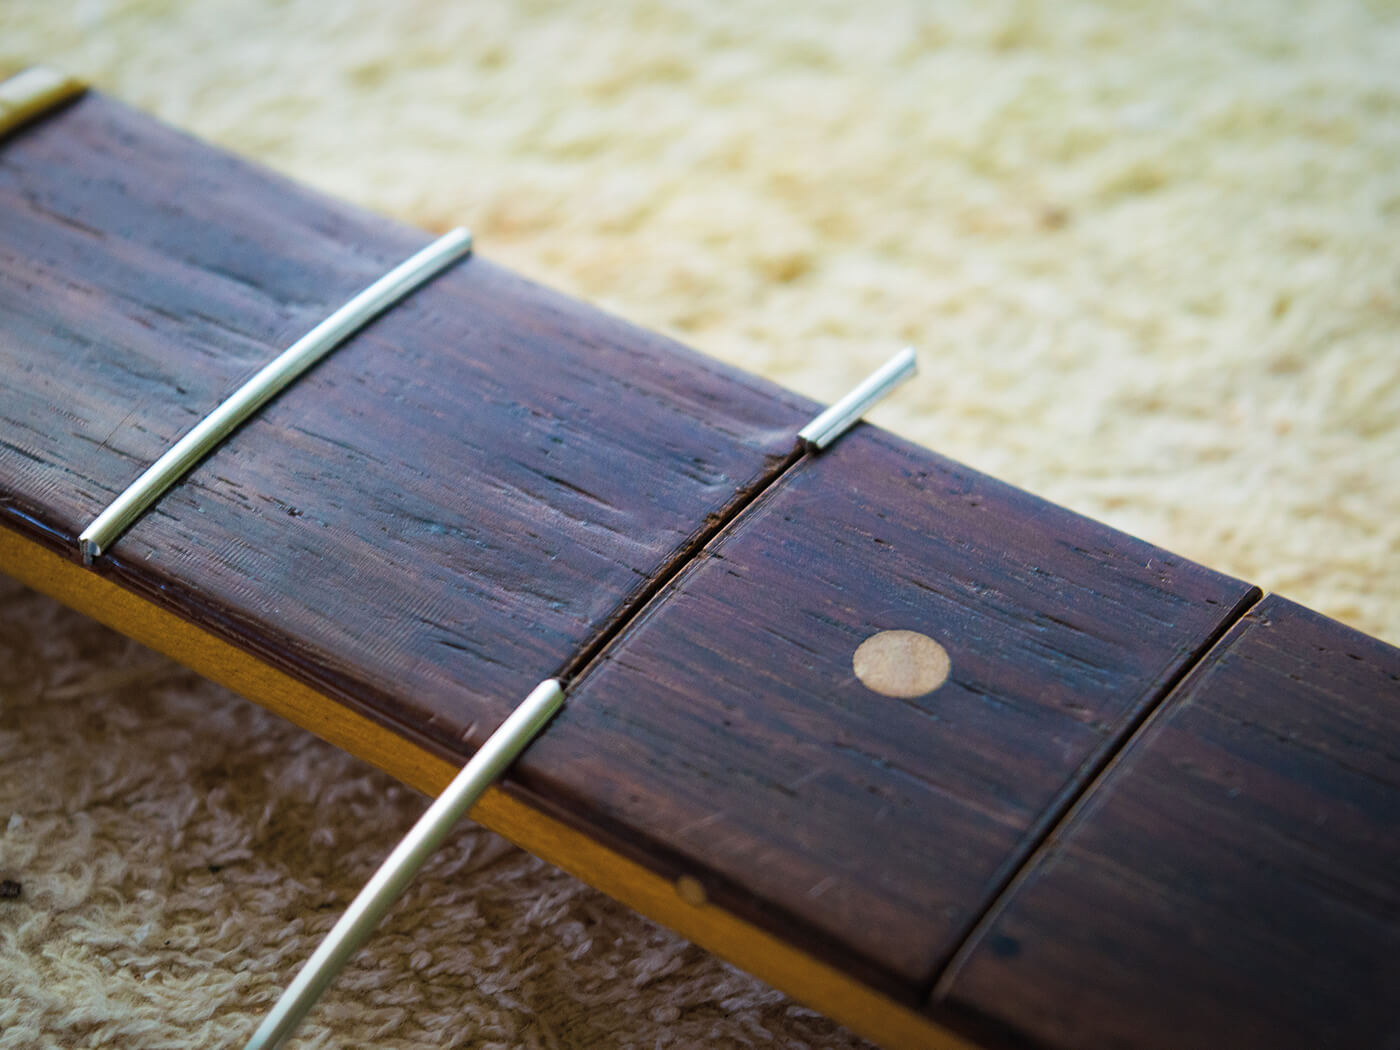
I figure it might be possible to use the caul as a guide as the frets are being tapped in. I take one of my offcut lengths of fret wire and file off the barbs from the tang. This allows the wire to go in and out of the slot quite easily and I press it in on the treble side.
A section of curved wire is cut to length and I file the tang at one end to create a sharp leading edge. I also round off the underside of the crown at the same end and tap the wire into the slot at the bass side, so it has a one-cm head start.
Next, I tighten the caul over the two pieces of fretwire, applying just enough pressure to guide the wire without inhibiting movement. Tapping the protruding end of the wire gently with a small hammer, I’m delighted to find the wire travels easily through the slot.
As the wire reaches the treble side, it pushes out the offcut, eventually emerging from the treble side of the slot. The caul is removed and the excess wire removed with end nippers. The fret is tight against the ’board and feels very solid. I run some Super Glue into the ends as a precaution, while pressing the fret down with the caul.
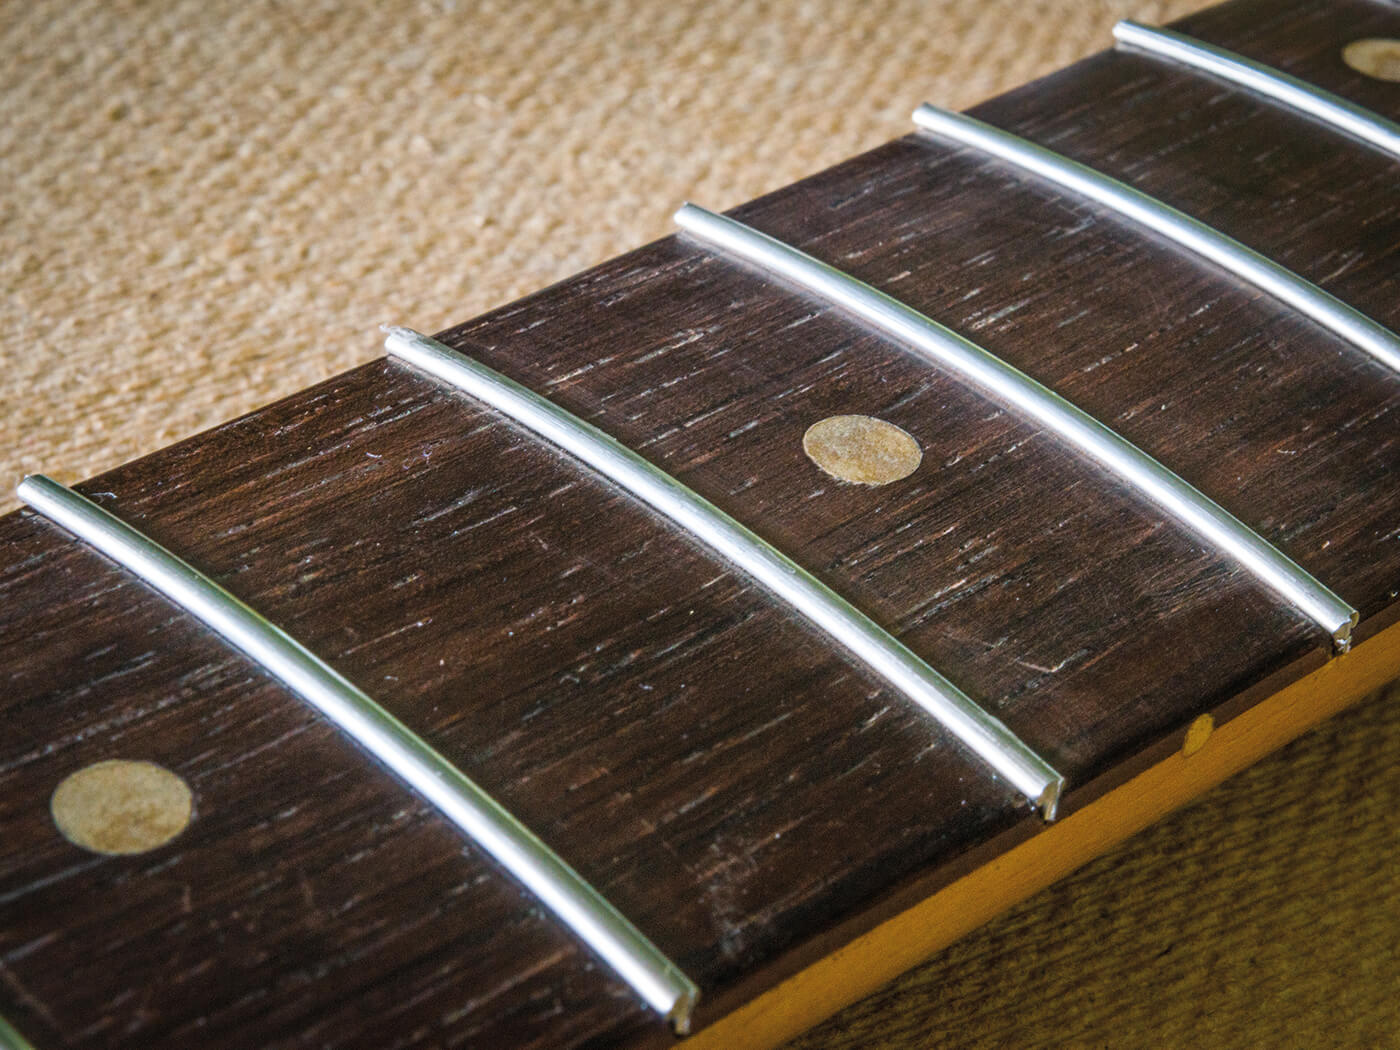
It may sound complicated, but once I get used to it, I find that sideways fret installation doesn’t take that much longer than usual. With all the frets installed, I still need to file the ends, then level and crown, but that’s a subject for another day.
Overall, removing the frets sideways is likely to result in fewer fretboard chips and the fret slots will be preserved in better condition. Whether you choose to hammer or press in the new frets, or install them sideways, it makes the job a lot easier. Unless, of course, it’s a bound Fender neck. In which case, good luck with that…
Check out our other DIY workshops here.