Related Tags
Tech Talk: How to age a Bigsby tailpiece
Adding a shiny new vibrato to a guitar with vintage or relic’d hardware can spoil the aesthetic. Find out how to make it your brand-new Bigsby look like it has aged gracefully.
All images: Michael James Adams
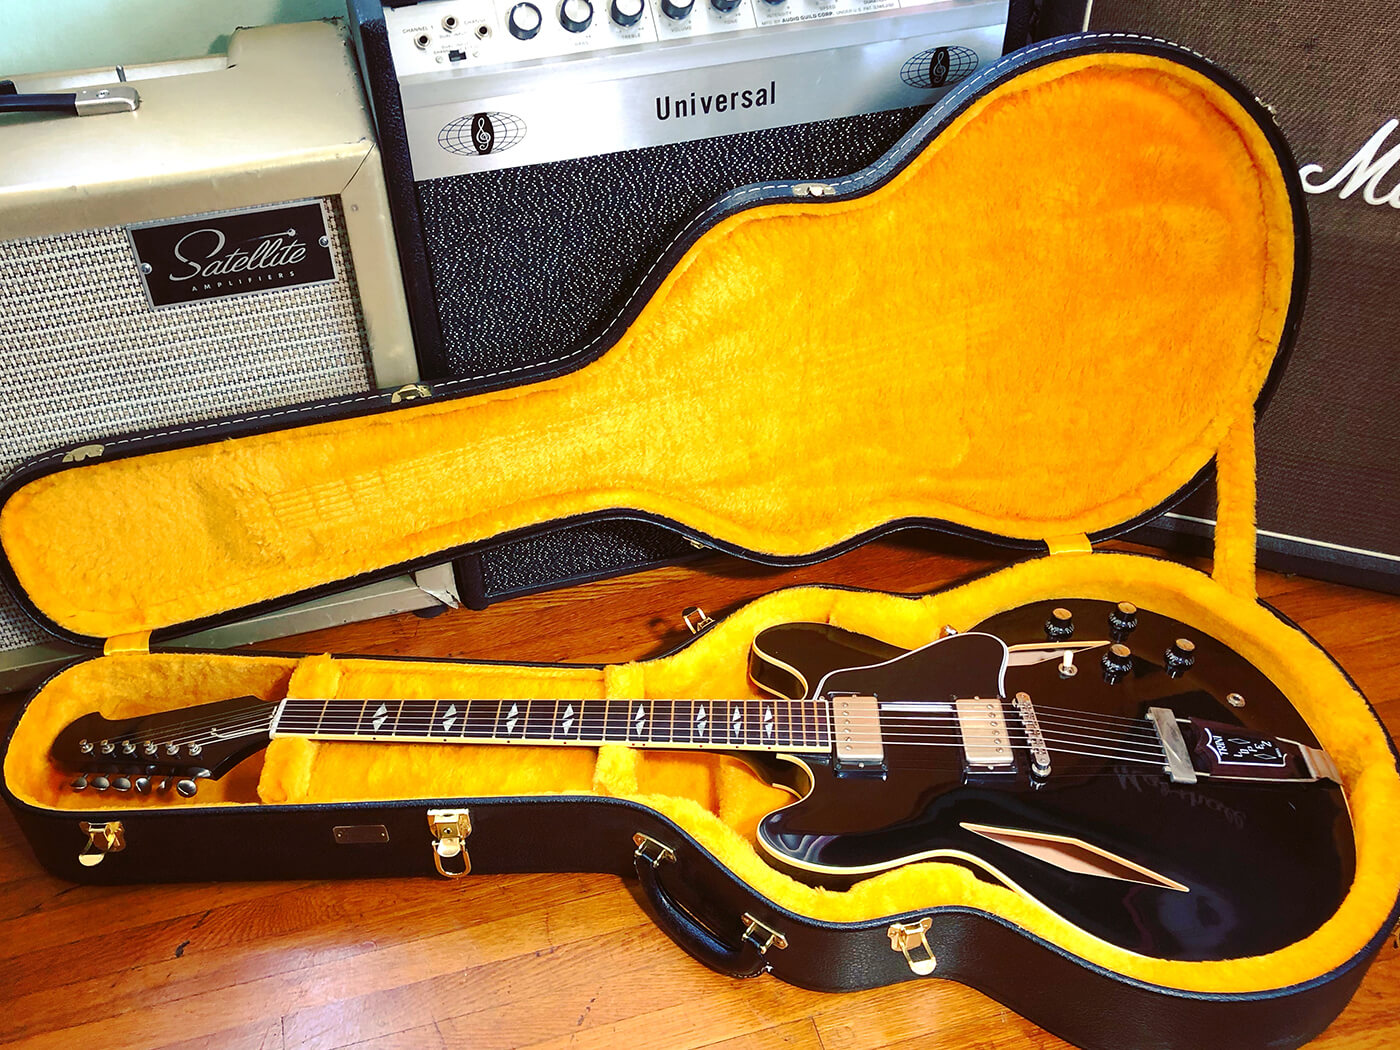
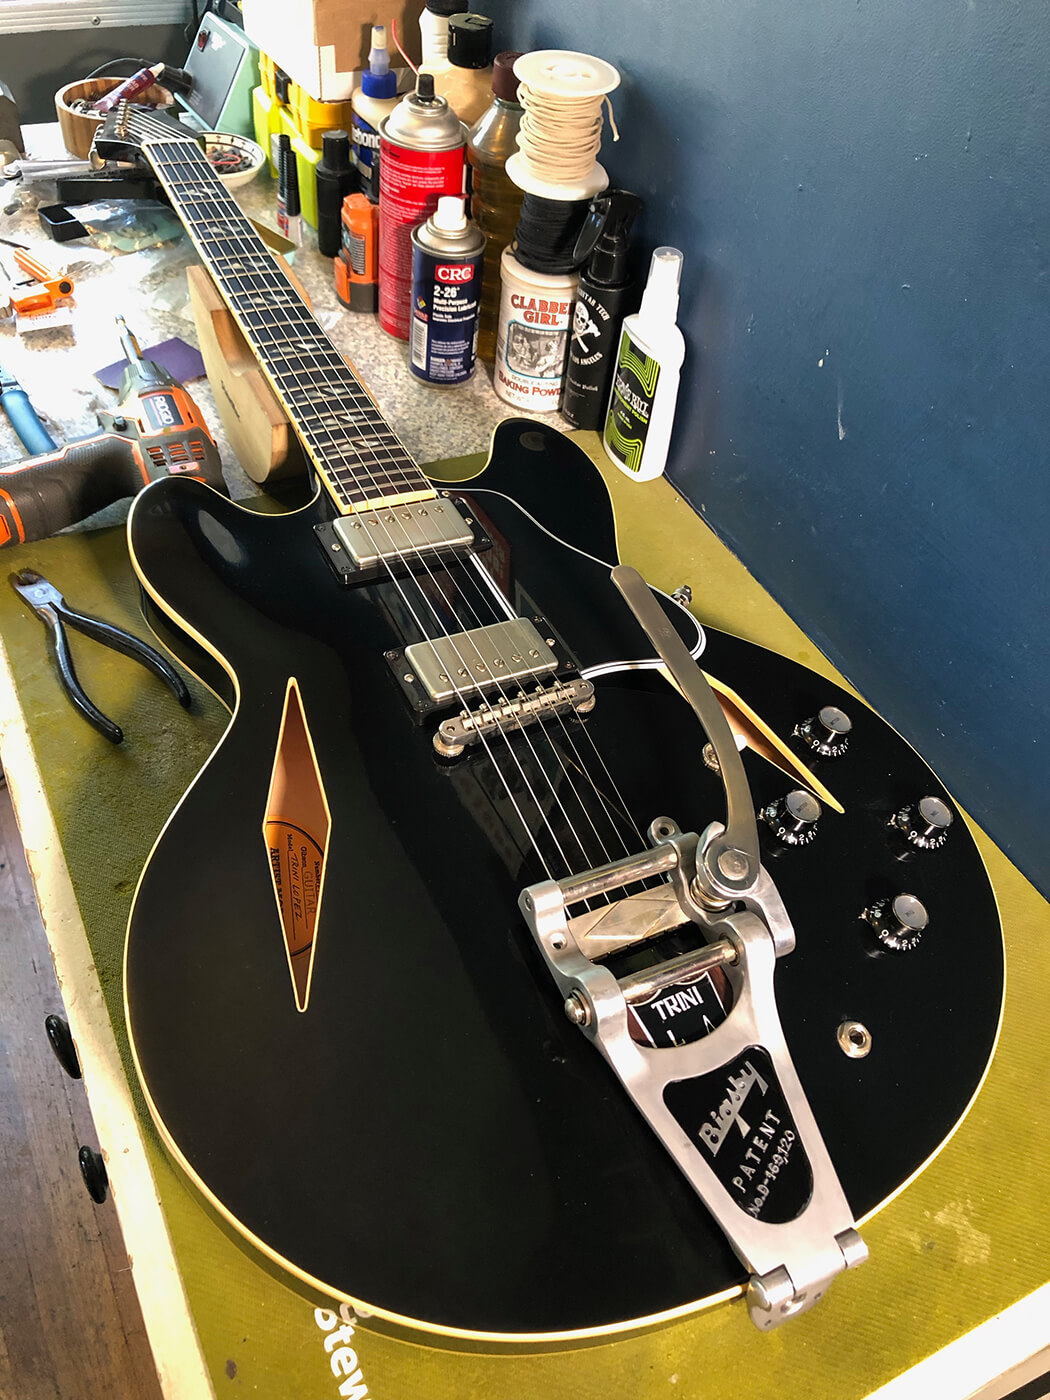
Call me irresponsible, but I bought a guitar in the middle of a pandemic. And not just any guitar, a dream guitar of mine that was offered to me at a price I simply could not refuse. That dream guitar happens to be a very special Gibson Trini Lopez Standard built for NAMM 2019, and honestly, I couldn’t be more thrilled. Sure, I would have loved this one in red, but I’ll get over the finish soon enough.
As part of the deal, the seller included a spanking new Bigsby B7 vibrato, a component that’s almost mandatory whenever I acquire a semi-hollow instrument. I love the look, the performance, and the tonal options that come with having a vibrato. Truly, Jazzmasters have ruined me.

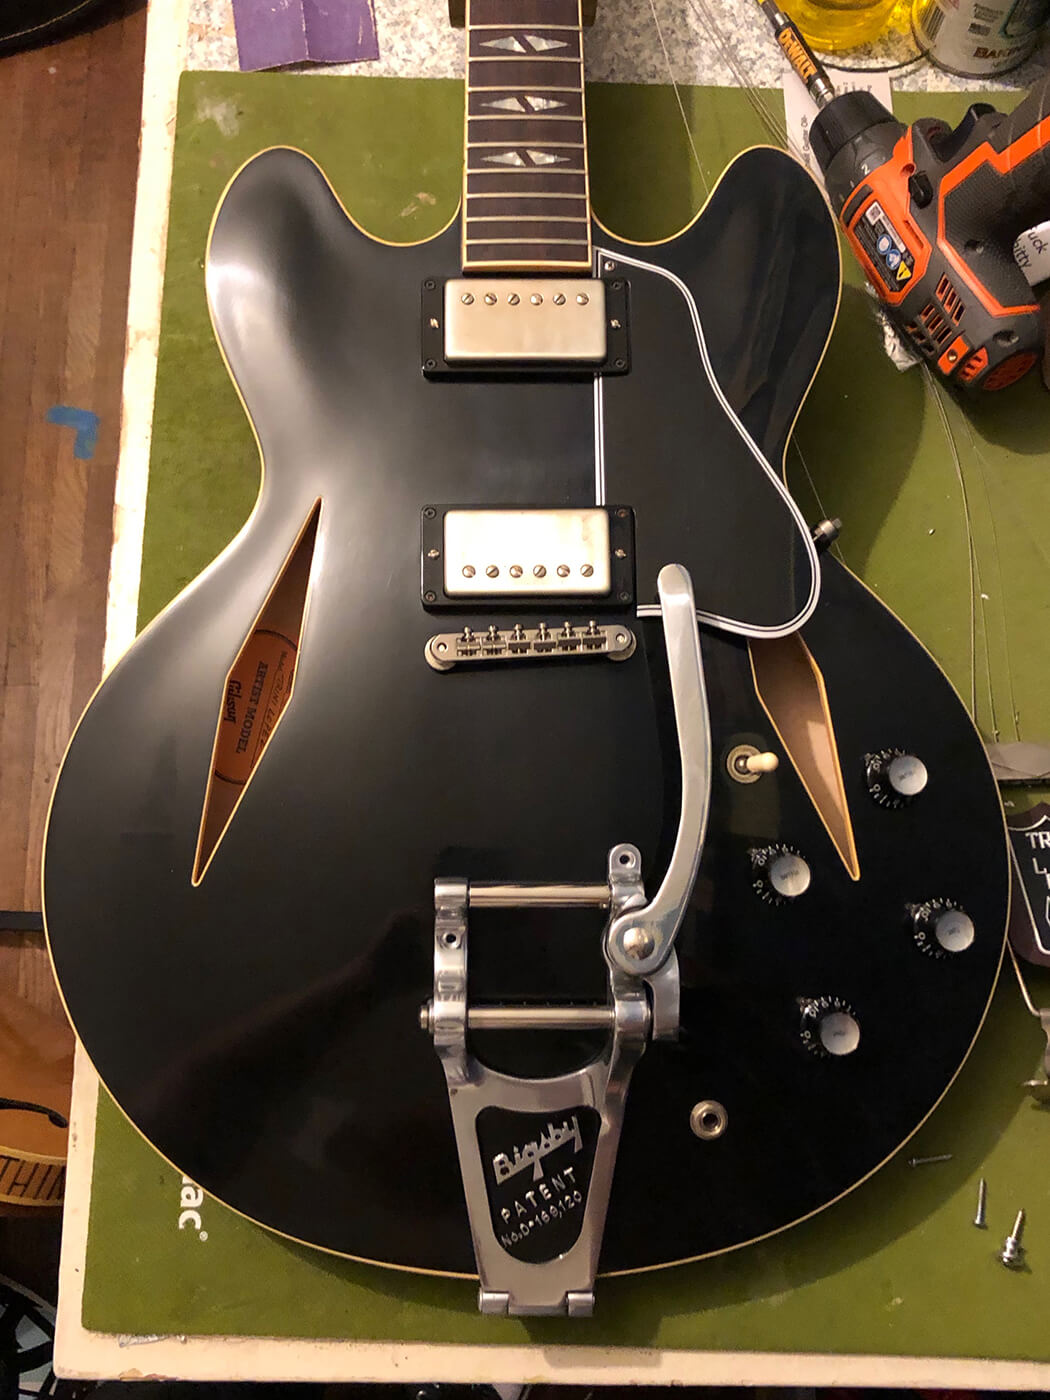
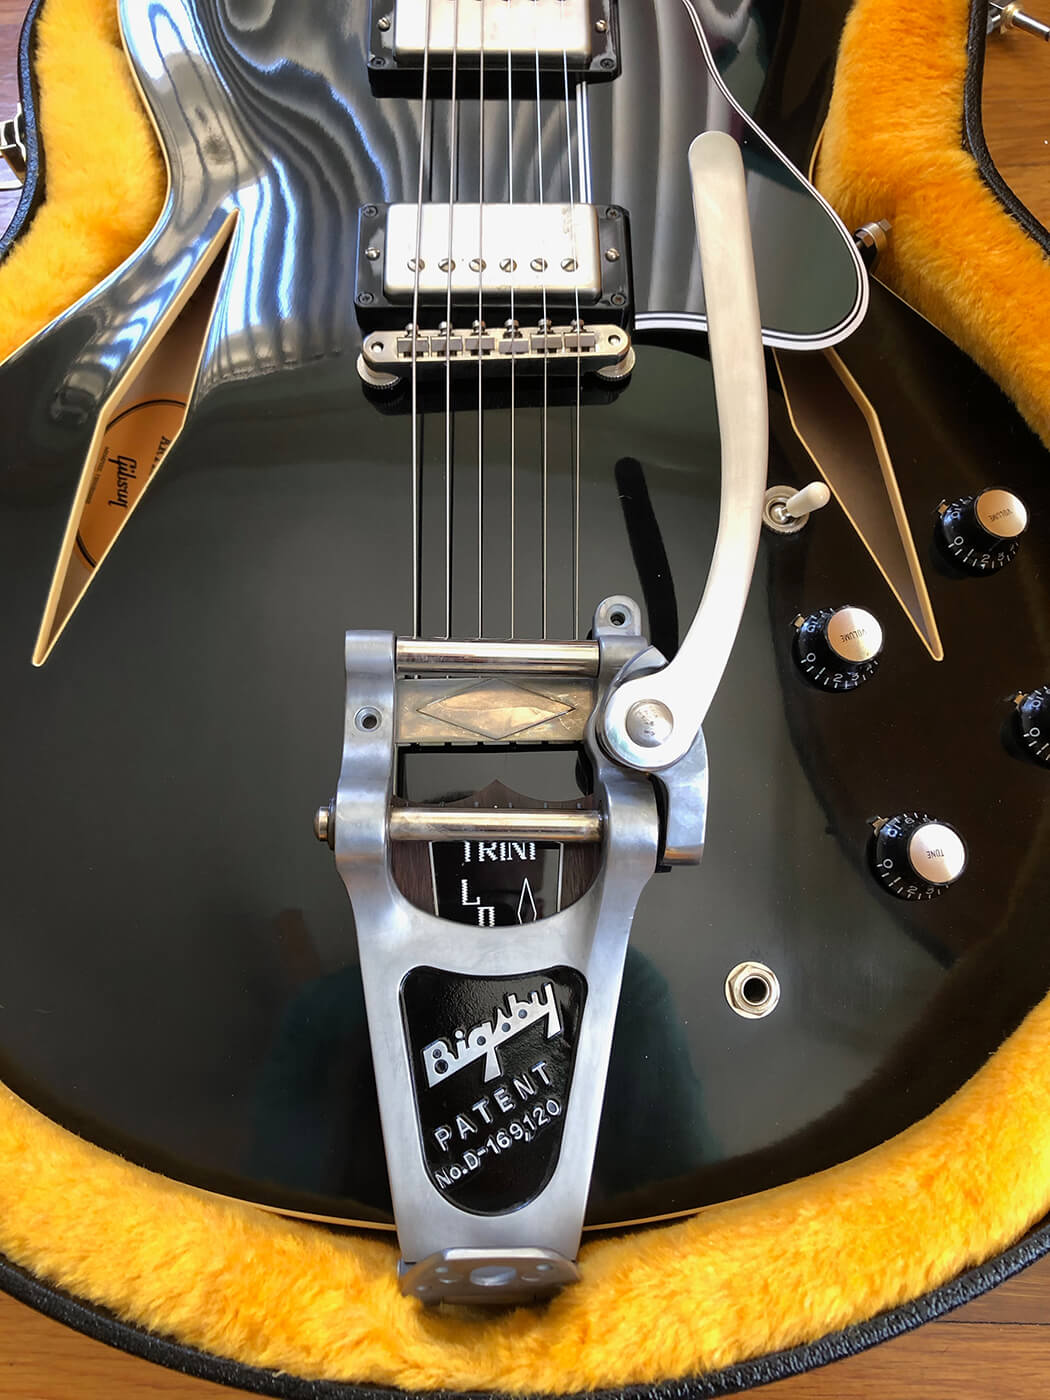
One problem: the brand-new Bigsby contrasted horribly with the already tastefully aged hardware and VOS finish package. I didn’t come this far to purchase a guitar with tons of vibe just to slap on a shiny part and throw off my whole aesthetic, so I set about the task of ageing that Bigsby by a few years in a matter of days.
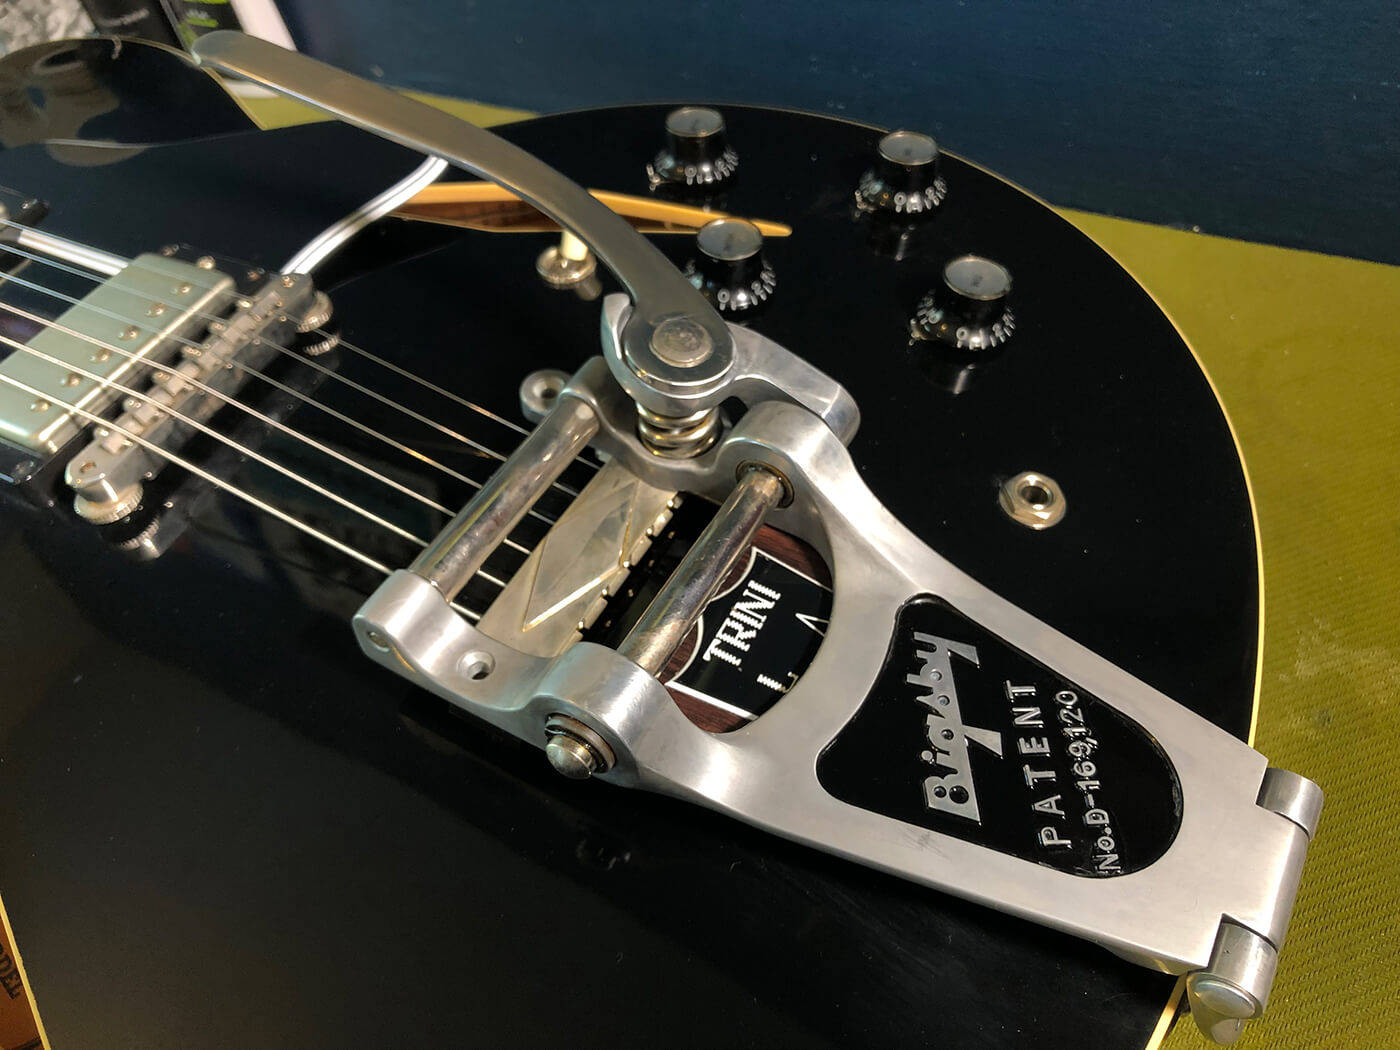
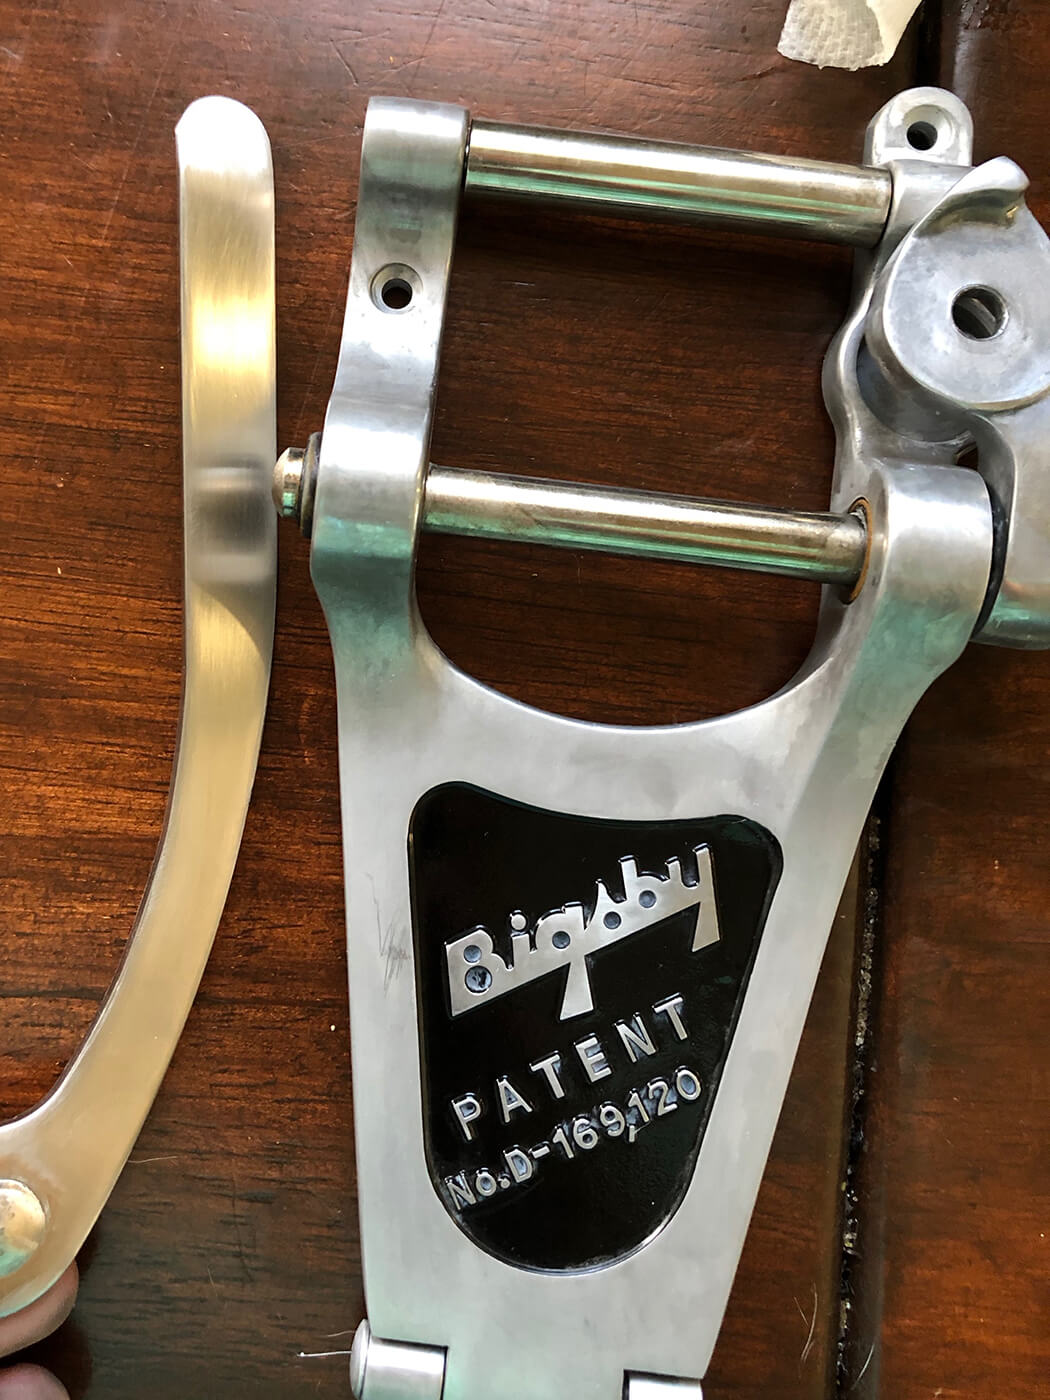
Bigbsy vibratos come highly polished from the factory, with a gleaming presence that matches most of the modern production guitars they’ll be fitted to, but in the case of a guitar like mine, that gleaming complexion sticks out like the proverbial sore thumb.
The nickel hardware on this Trini has been chemically aged, a process by which years of sweat are simulated with a bath in any number of agents, ranging from industrial to everyday household items. It’s normal practice in the industry, along with using rock tumblers to give parts a hard-worn, pitted look. Either practice is valid, and sometimes a combination of the two can be really attractive.
- READ MORE: The untold story of Fender’s Relic guitars
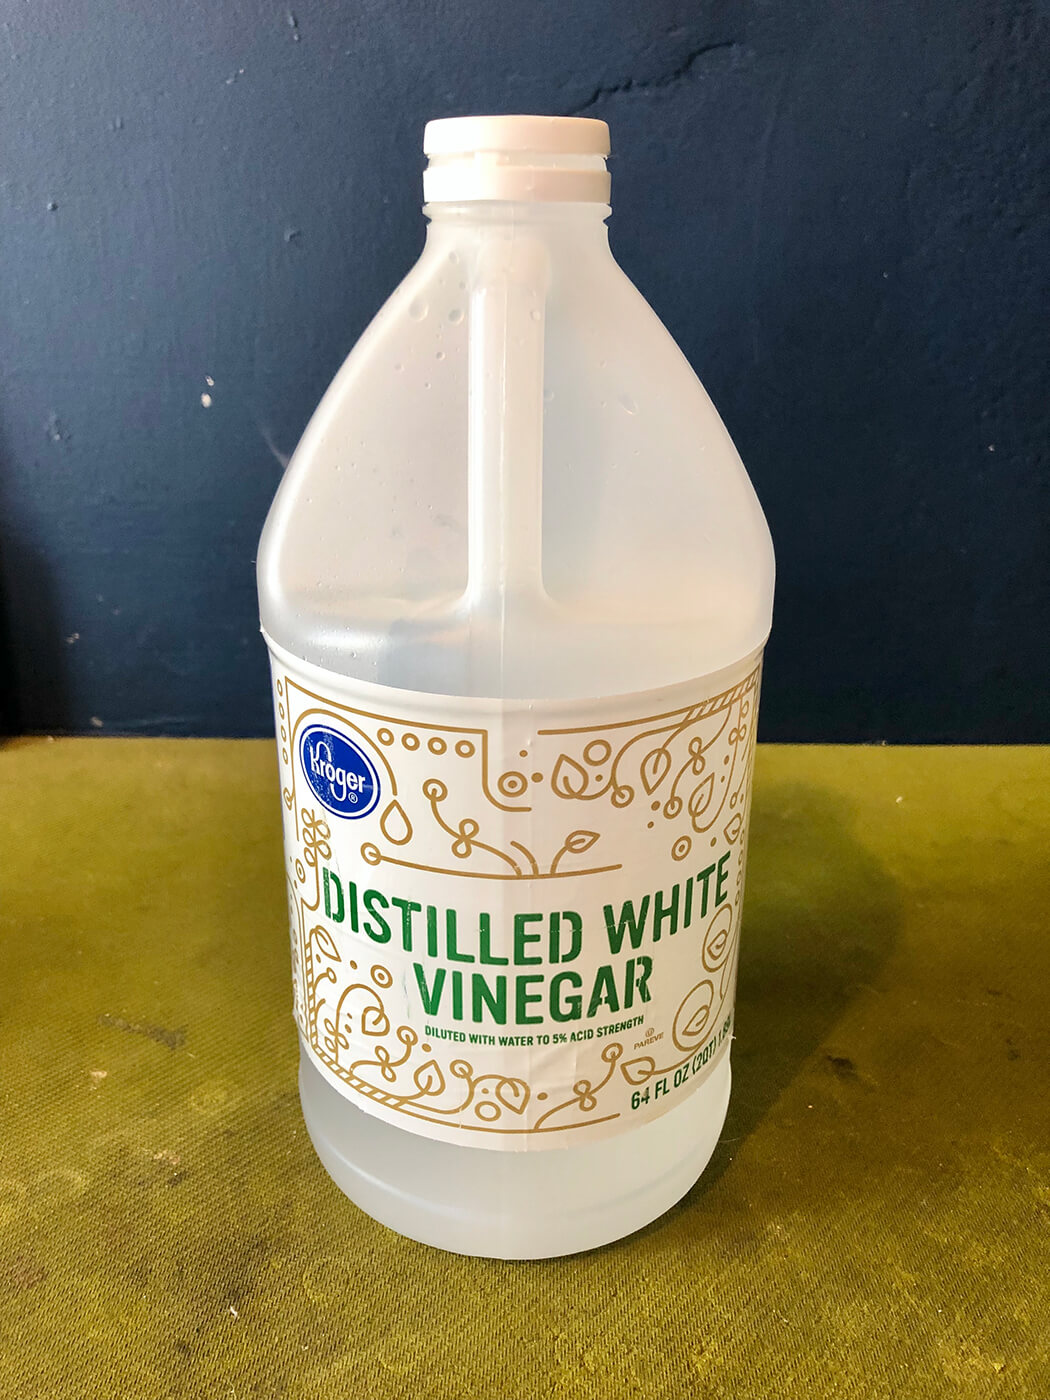
I’m DIY all the way, and also highly unmotivated to actually buy something to make a part look dull, so in the hope of adding a generation of wear to my Bigsby, I turn to a trusty old favourite: distilled white vinegar.
I use white vinegar all the time in guitar repair. It’s the first thing I turn to when I have, say, a vintage bridge saddle that’s frozen from rust. I pour a little vinegar in a bowl and let the part soak overnight, and by the time I wake up it’s usually fully adjustable. It’s also useful stuff for actually removing rust from bridge plates or pickup covers, and because it’s an everyday item it’s easy to keep around the house.
It’s odd then that the same thing I use to remove rust might be the perfect trick for ageing a part, but remember: not all parts are created equal. Vinegar can react with certain metals including iron, copper, and yes, aluminium. You can still use it to clean those metals, but leaving it on for any substantial length of time can cause oxidation. And wait, what’s a Bigsby made of again? Oh yeah, sand-cast aluminium.

What I’m going to do here is prepare my metal, pour some vinegar into a container, and give that Bigsby a smelly bath. But first, a warning: even the most well-intentioned students of the relic process can accidentally ruin parts, so if you’re going to do this job know that artificially ageing parts can be risky business. Assume that all warranties are now void.
To prep the Bigsby for the job, I dull a bit of the shine to give the vinegar a little bit more to work with. A perfectly smooth surface would be less apt to oxidise under these conditions, and if you think about it, through years of use, parts do indeed lose their shine naturally.
For this task, I use some 800- and 1000-grit sandpaper to de-gloss the Bigsby, following the stylised lines of the tailpiece rather than sanding away in obvious straight lines as one might on a piece of wood. I then step up to 1500-grit to smooth out some of the marks I’ve left on the body of the vibrato unit. Yes, I’m fake ageing this part, but I don’t want it to look fake.
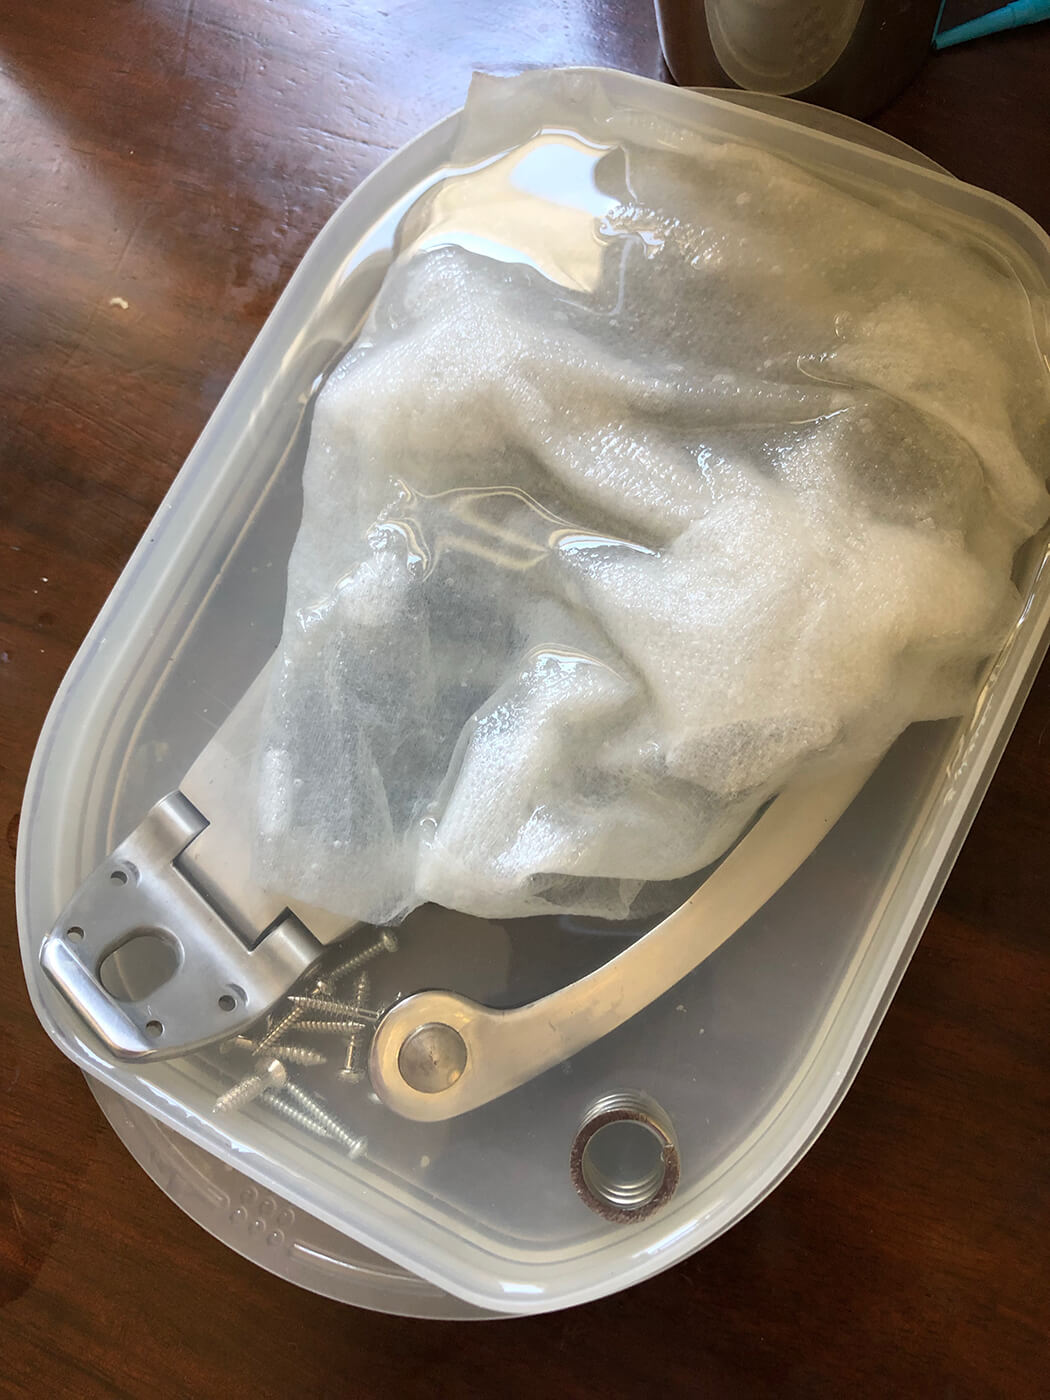
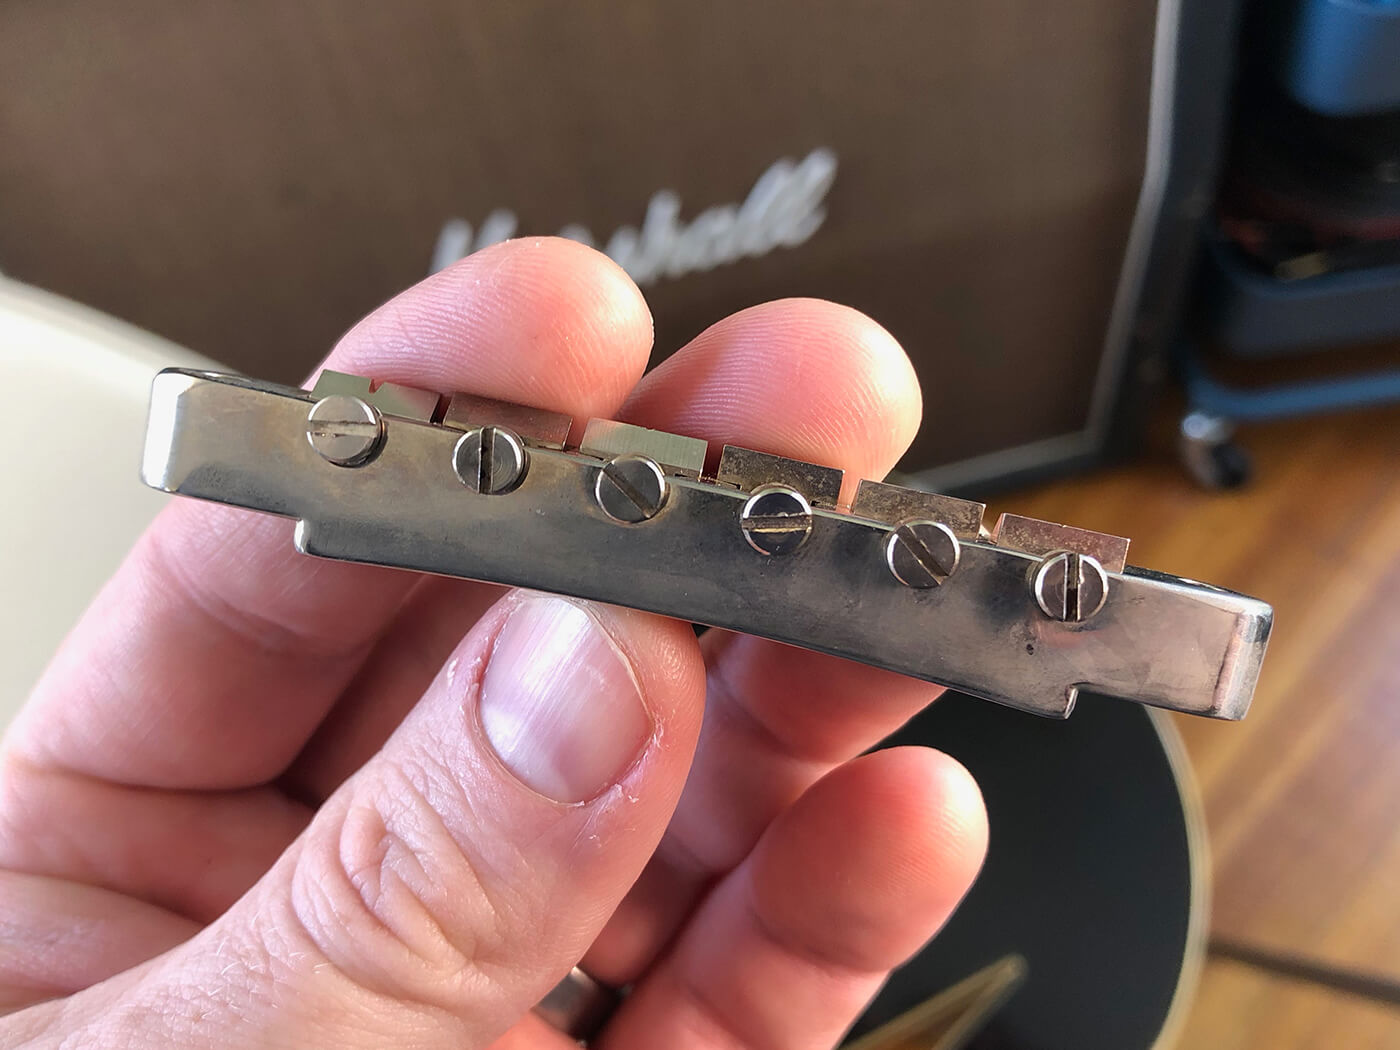
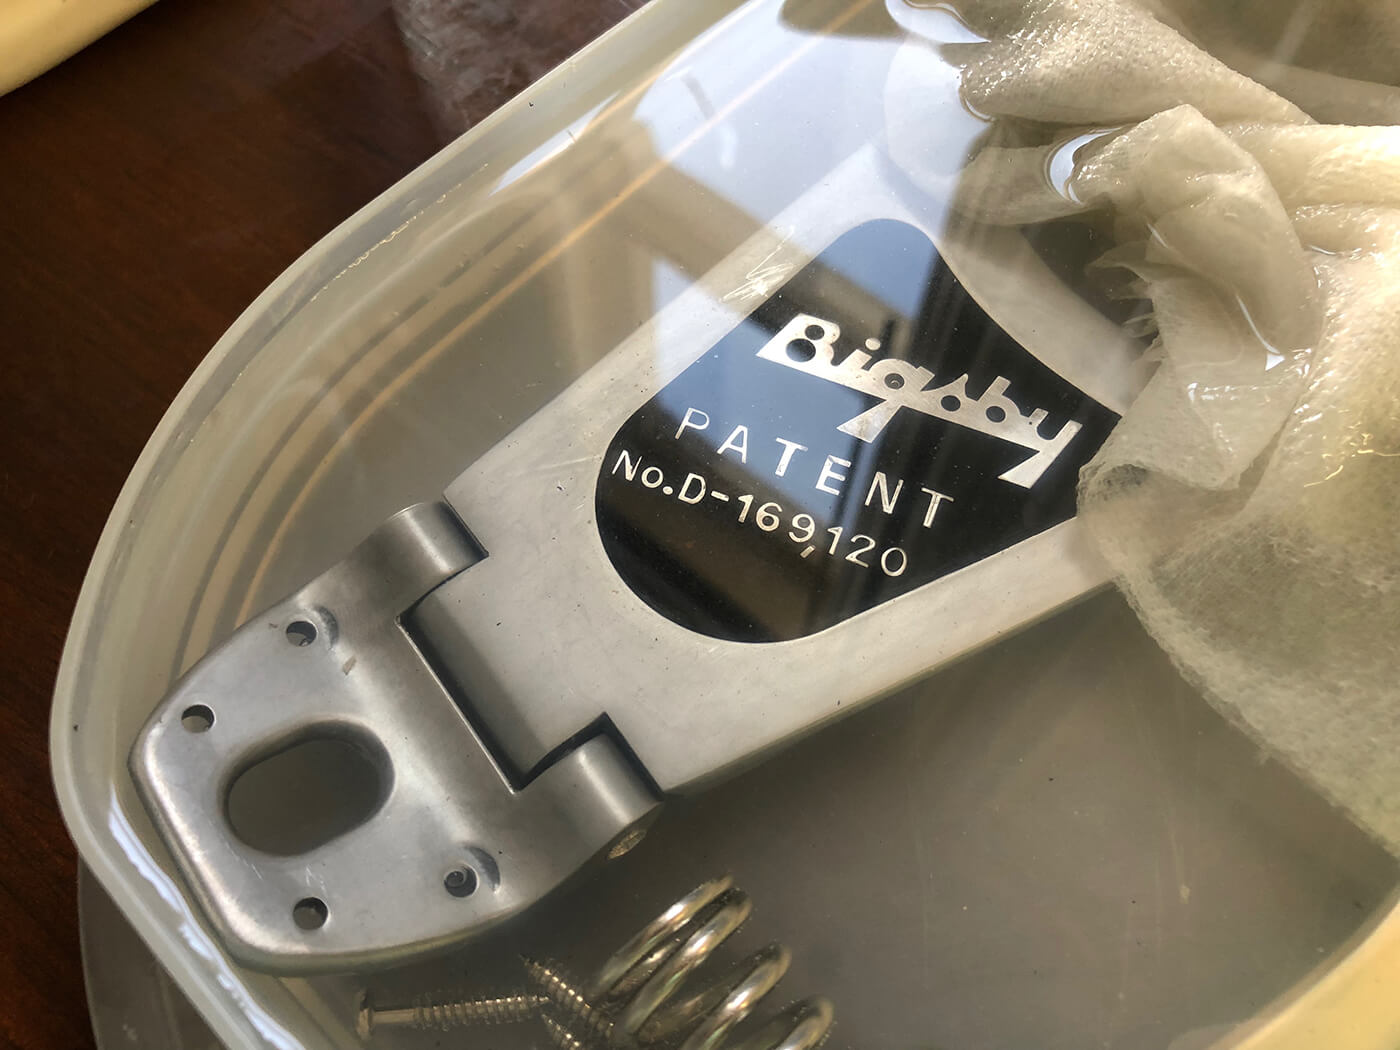
After this light work, I dismantle the vibrato, which includes removing the arm, spring, and a few tiny parts I don’t want to risk ageing and thus rendering unusable. It’s also advisable to fully remove the moving components of the Bigsby, including the string anchor/pivot mechanism and the string roller bar, but I have to admit that, due to sheer impatience, I don’t go quite that far. But if you’re using sterner stuff than vinegar, you can definitely damage the precision bearings that allow the Bigsby to work smoothly.
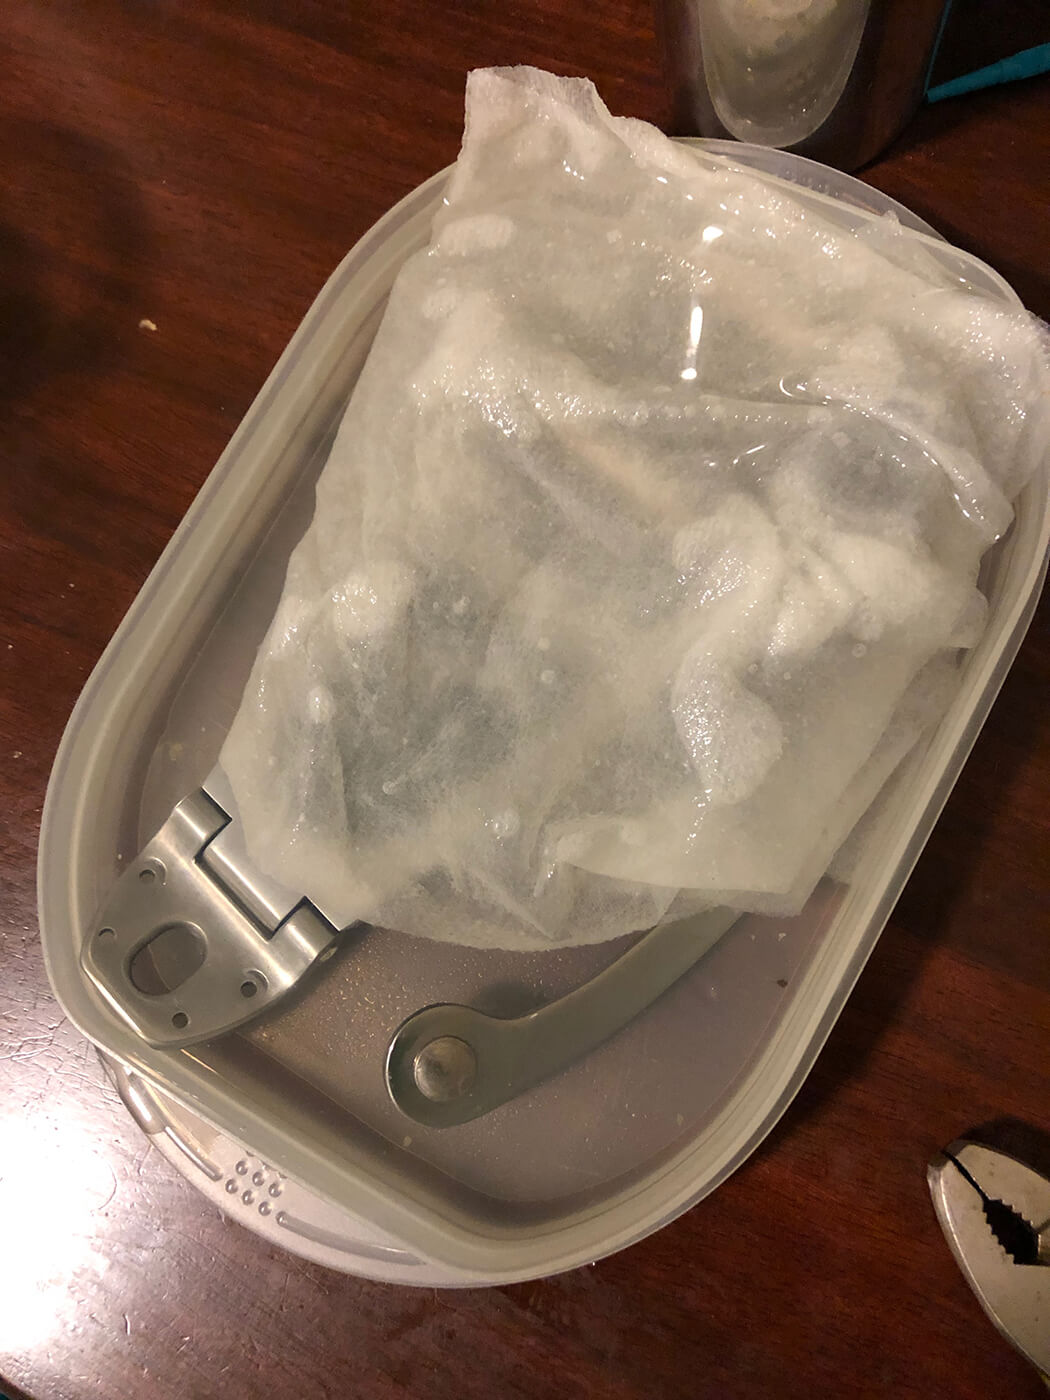
I ready a shallow container and make sure my vibrato fits nicely, then pour enough distilled white vinegar into the container to cover it. The container I selected was the only suitable one in my kitchen drawer and slightly too shallow to fully submerge the entire part, so I use a paper towel to cover the bits that stick out above the, er, vinegar line, which quickly soaks up enough to do the job.
Then comes the waiting. I started this process around 4:00pm on a Saturday, and I start seeing the tiniest results within the first five or six hours of submersion, when it begins to look a little cloudy. However, it’s not until the next day that the part really starts to take on the look I was after, and after about 24 hours it has definitely lost that new sheen.
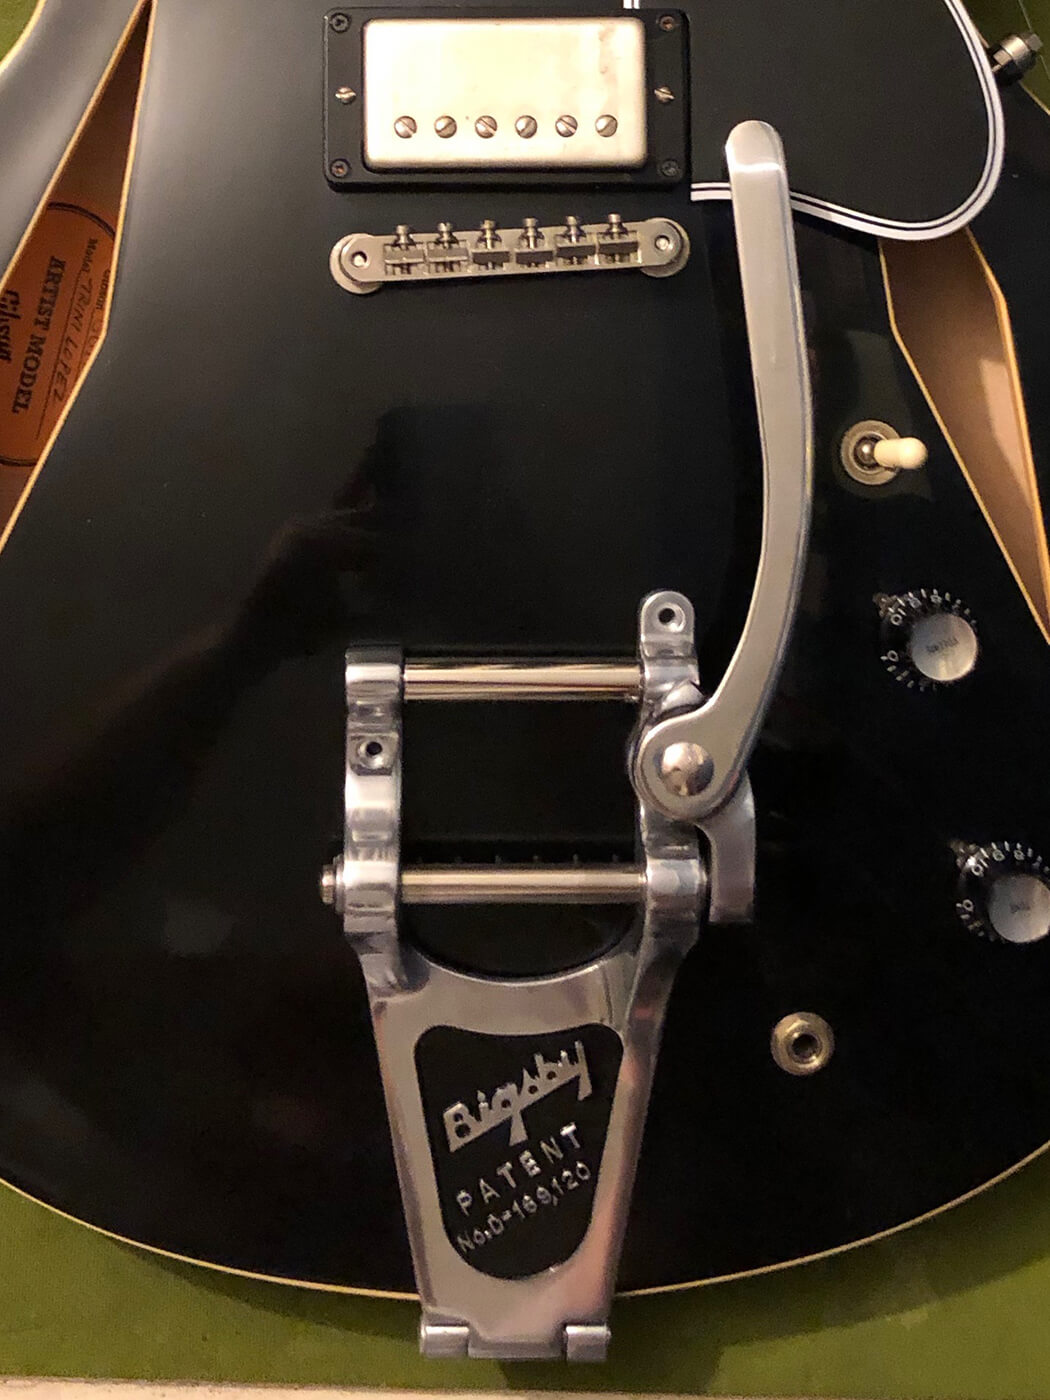
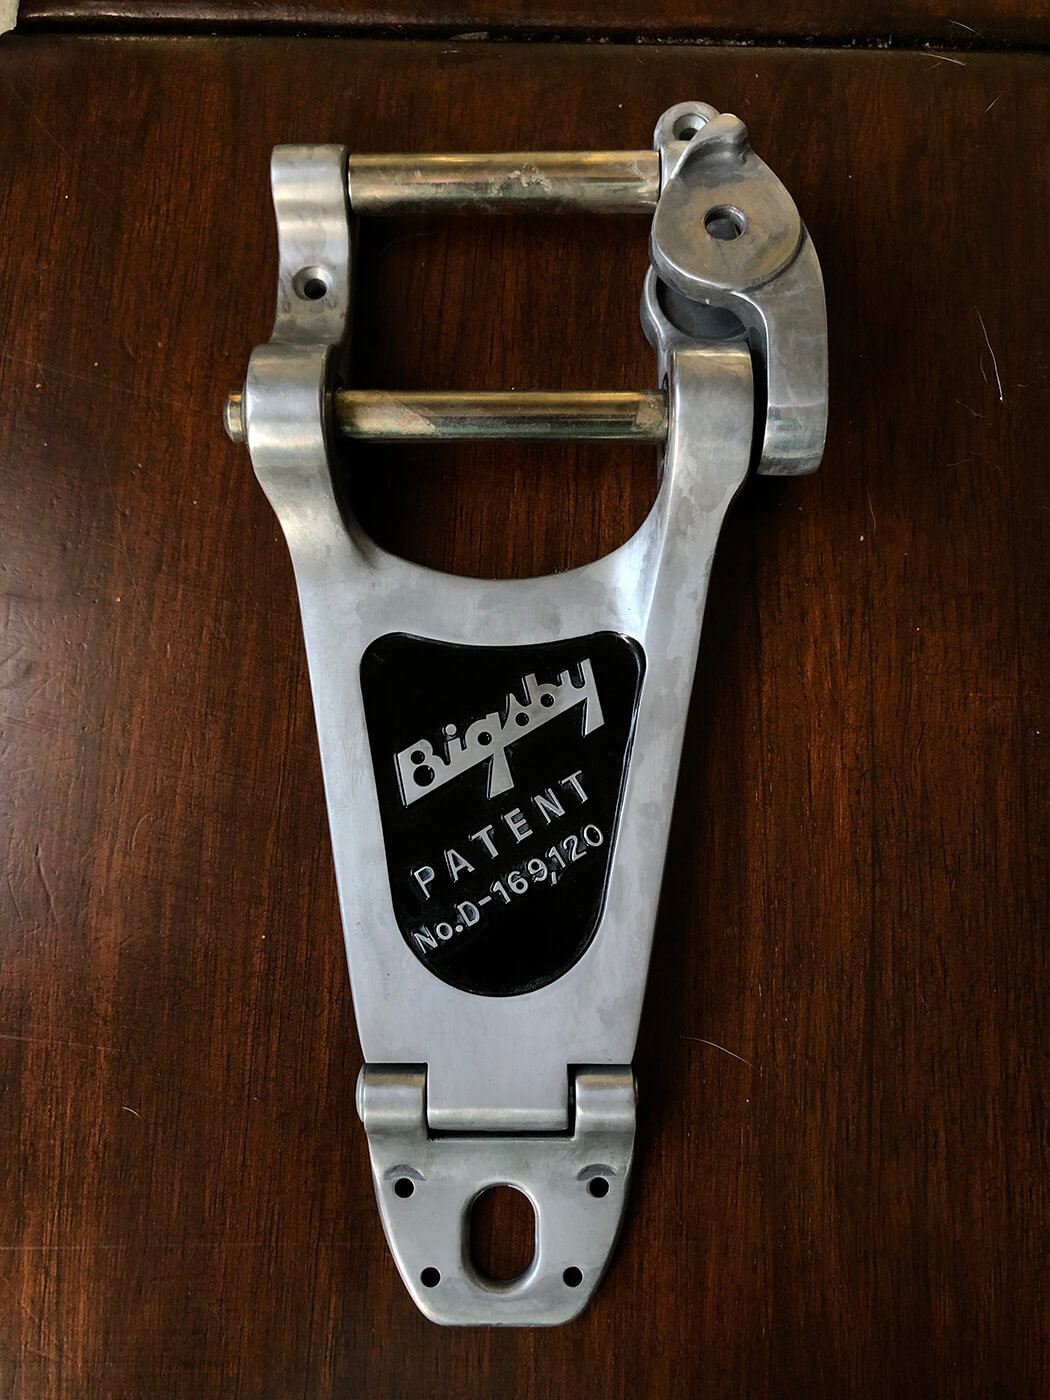
I removed the vibrato and rinse it off, then compare it to the hardware on my guitar. Close, but not quite there yet. So, I once again leave it in the vinegar bath overnight, and by the next morning the vibrato has really achieved the proper patina.
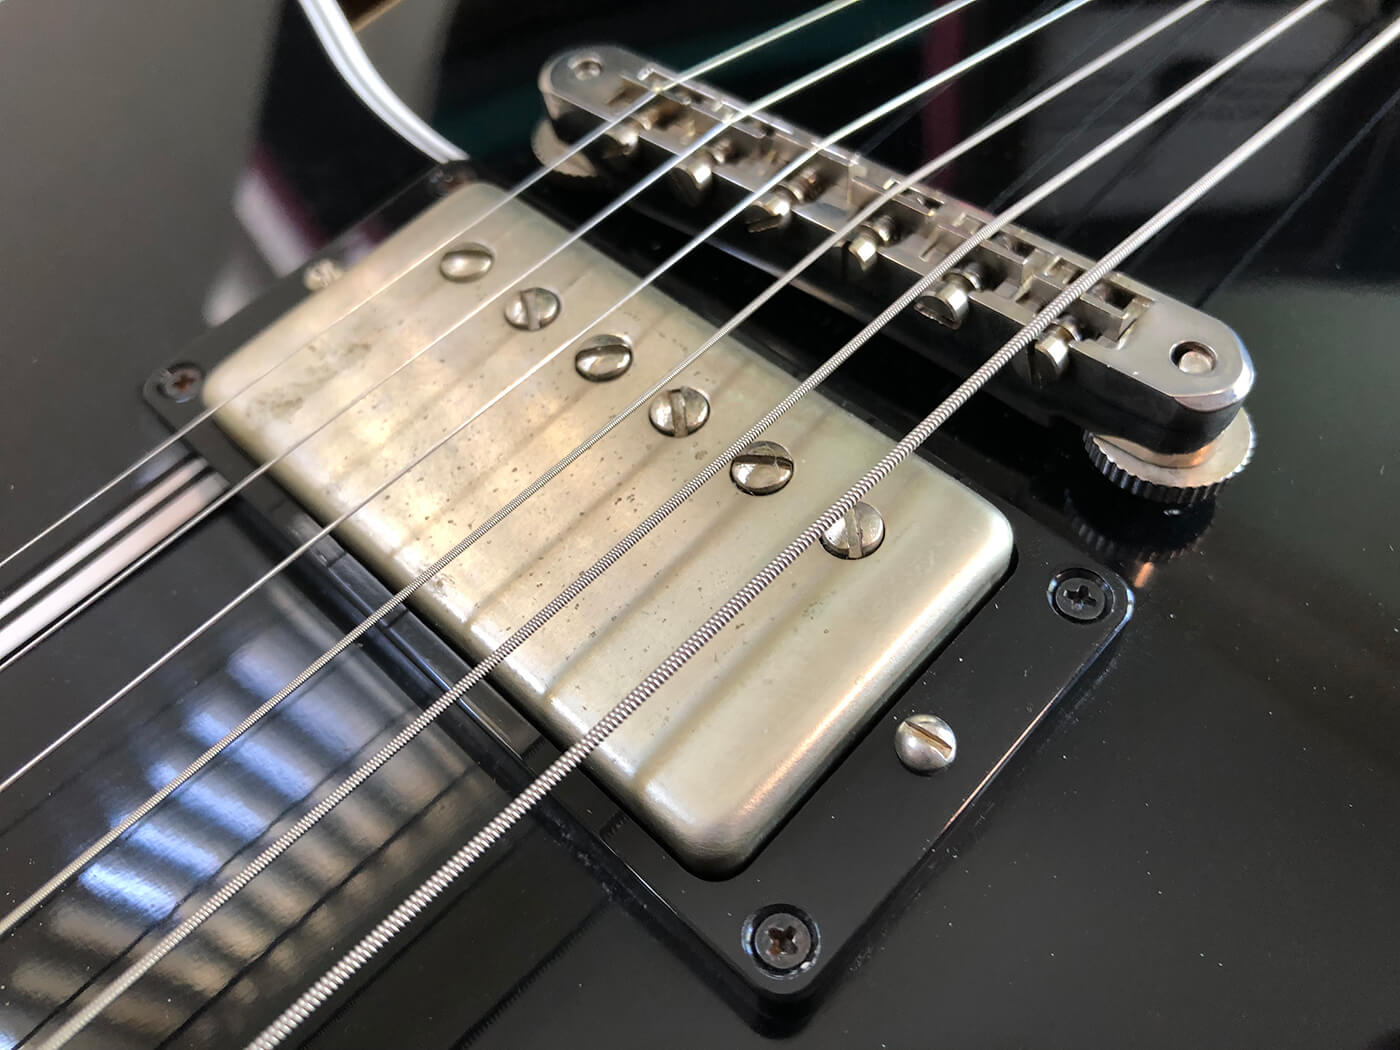
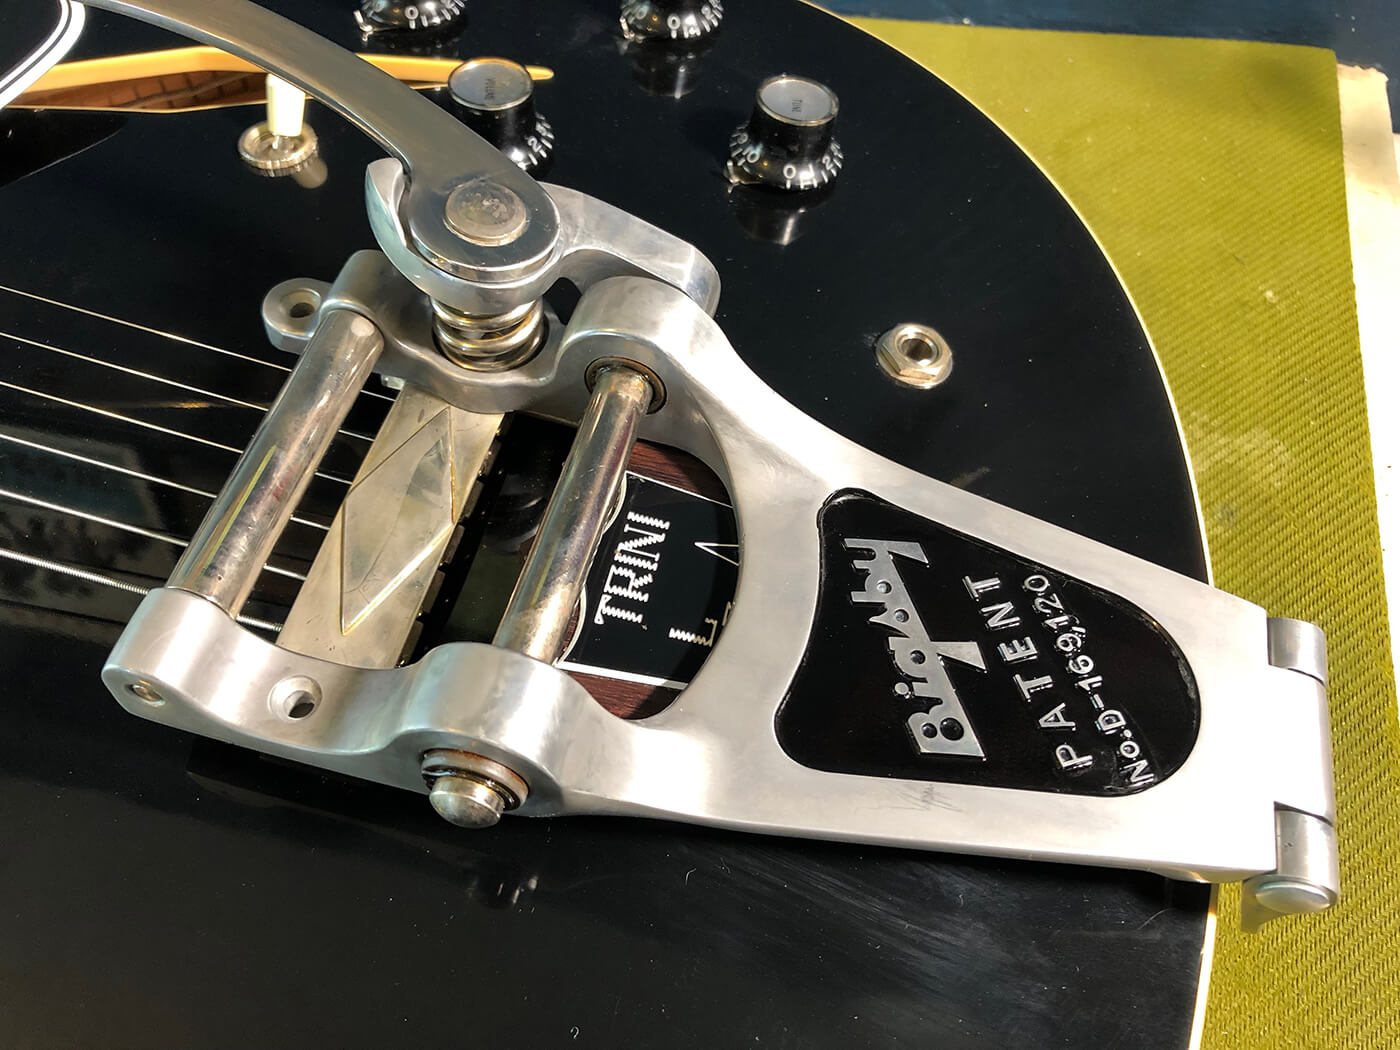
In total, it takes about 39 hours for the vibrato to match the hardware on my Gibson, and honestly I’m impressed. The process couldn’t be simpler, and as long as you’re patient, the vinegar does its job beautifully. I will add that rinsing is a crucial part of this process, because if you leave the vinegar to pool on the metal and evaporate, it leaves behind the telltale marks of sloppy fake relic’ing.
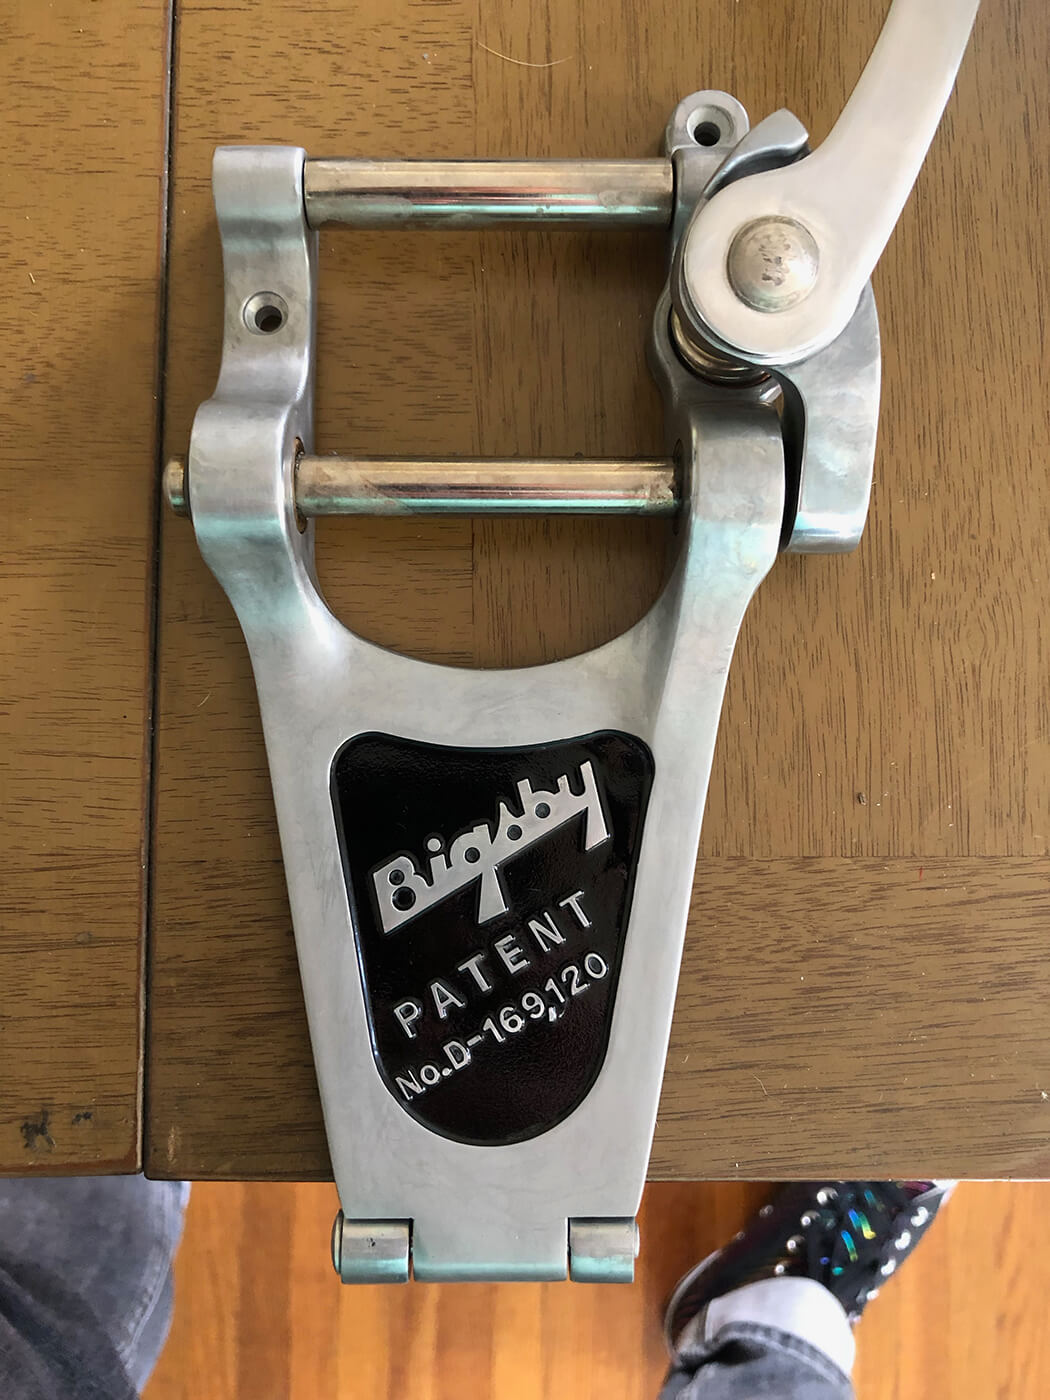
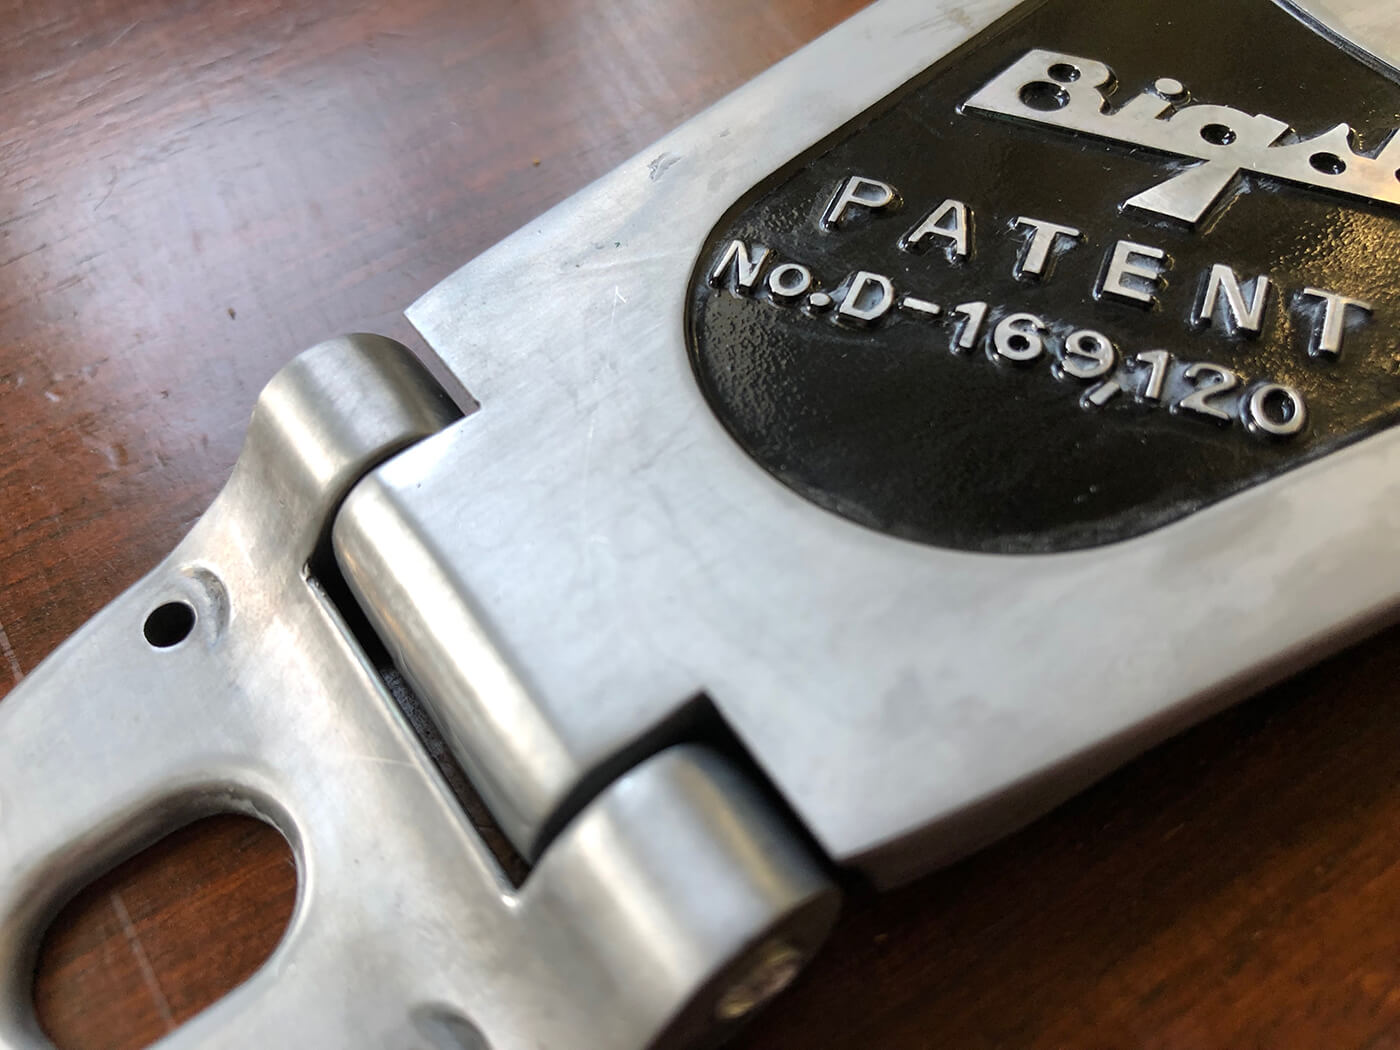
It’s worth pointing something out that I didn’t realise until I was already well underway – the arm, roller and string anchor bars and stock spring won’t age in the same way as the aluminium body of the vibrato does. All of the aforementioned ‘extra’ parts are plated on most models, usually nickel like mine, so don’t be alarmed if they don’t come out looking as dull. Thankfully, this is also true of most vintage Bigsby vibratos as well.
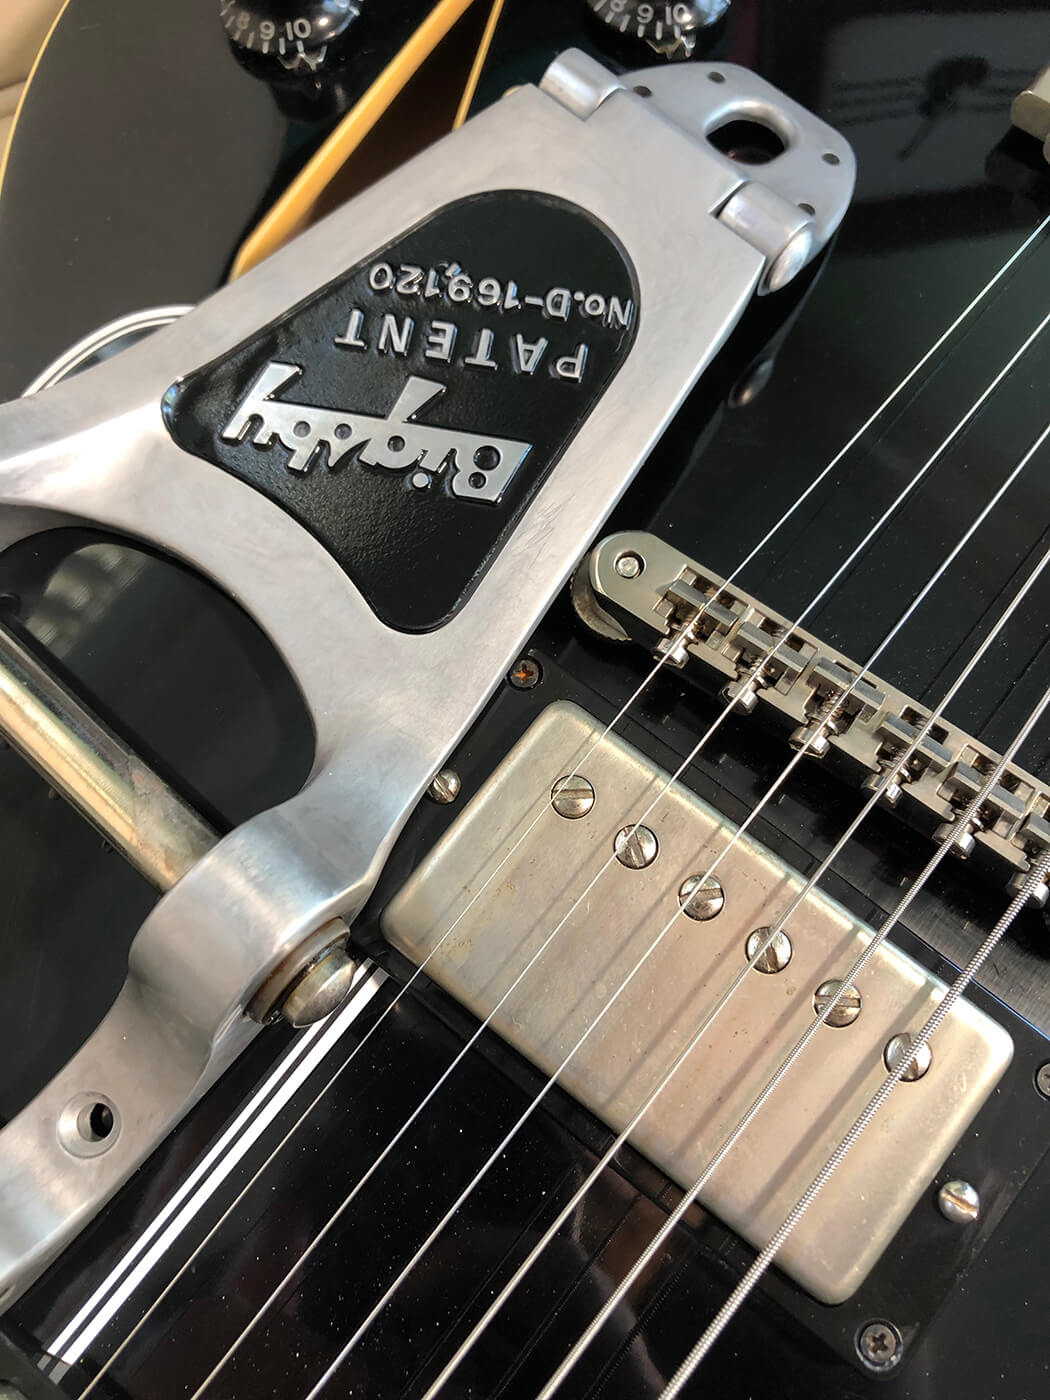
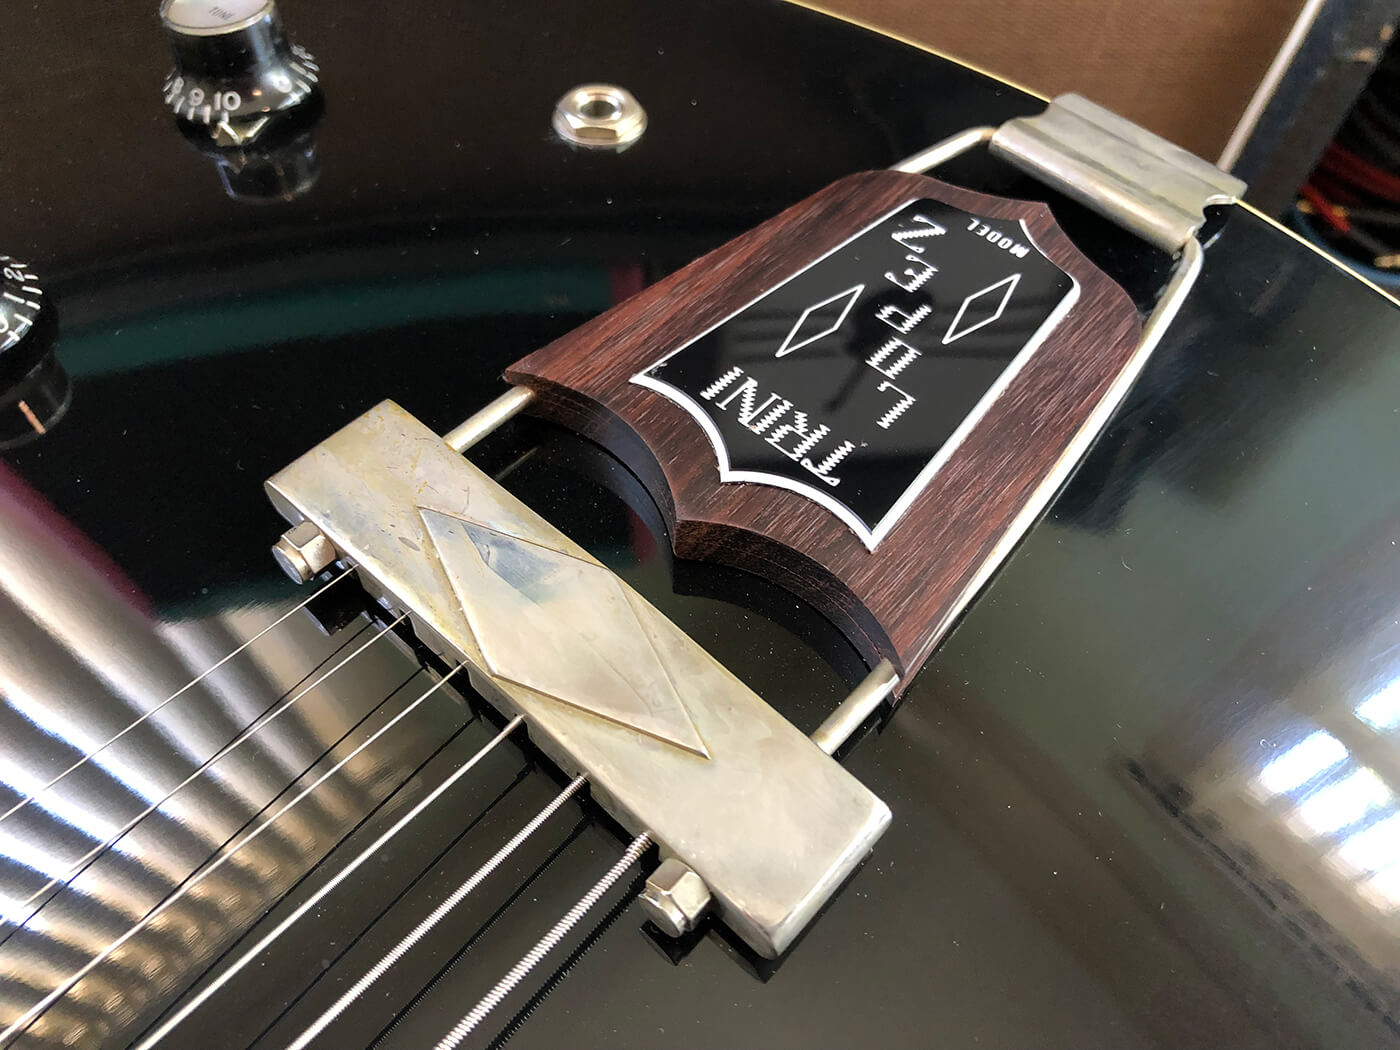
So how does my kitchen-based attempt at hardware ageing fare against some of the big names in the relic biz? Well enough, I’d say. I’m not trying to fool anybody here, and my goal wasn’t to absolutely nail the look of a vintage Bigsby vibrato, just to knock back the shine enough for my own visual satisfaction.
- READ MORE: How to restring a Bigsby guitar
If you get up close to it, you can see some inconsistencies and the fluid lines in an area or two that I didn’t rinse as well as I thought, but hey, it’s good enough for me.
And the best part is that I’ve only given the thing a head start – it will continue to age along with the guitar as it’s played and abused, so I’m happy with it. Now all that’s left is to work up the courage to put some holes in my new guitar! Wish me luck.
Follow Mike on Instagram @puisheen