Related Tags
Tech Talk: How to fix grounding issues with anodised hardware
The Force is strong with this baritone but it needs a little surgery to kill the buzz.
All images: Michael James Adams
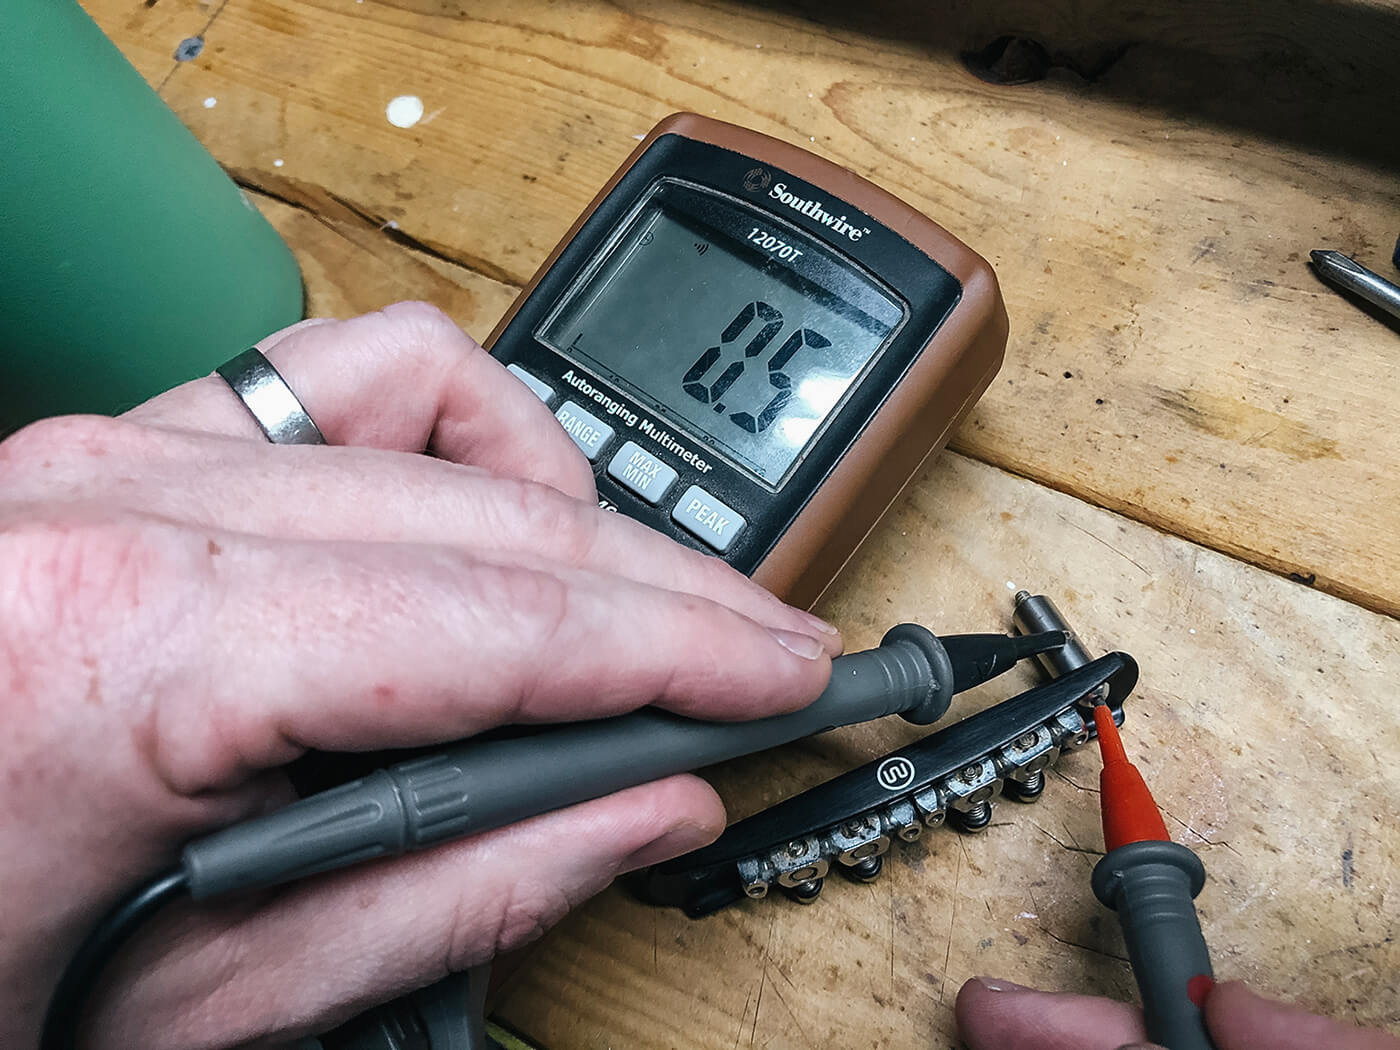
Betcha can’t guess what I’m doing here. Probes on the bridge? What’s that all about? If you haven’t figured it out, I will of course explain. But first, a little background.
- READ MORE: Tech Talk: How to set pickup heights
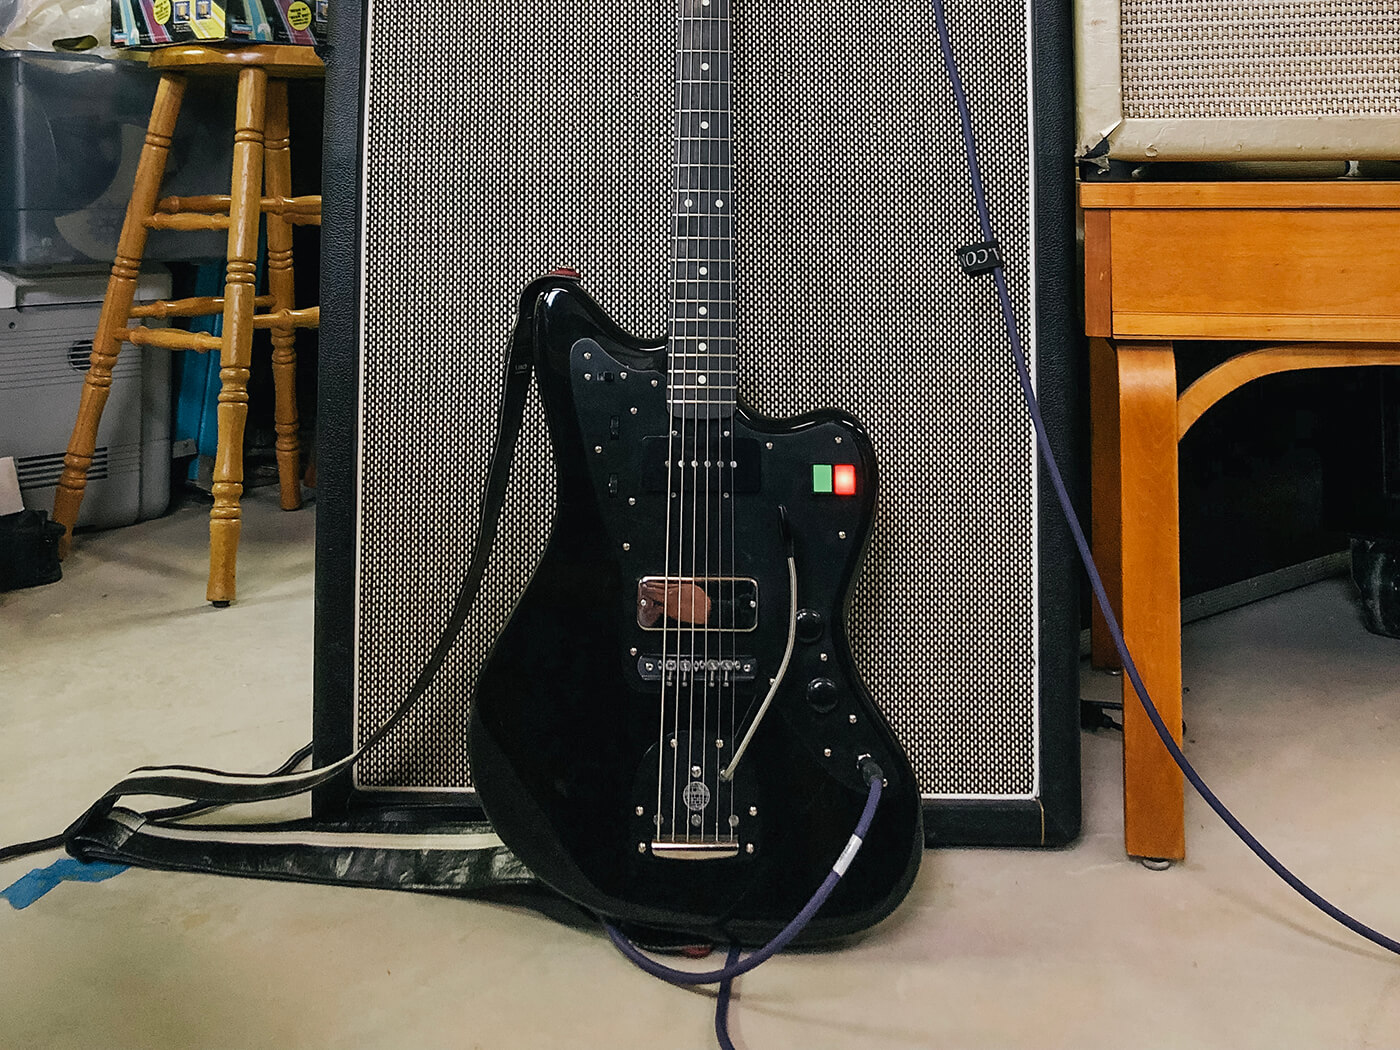
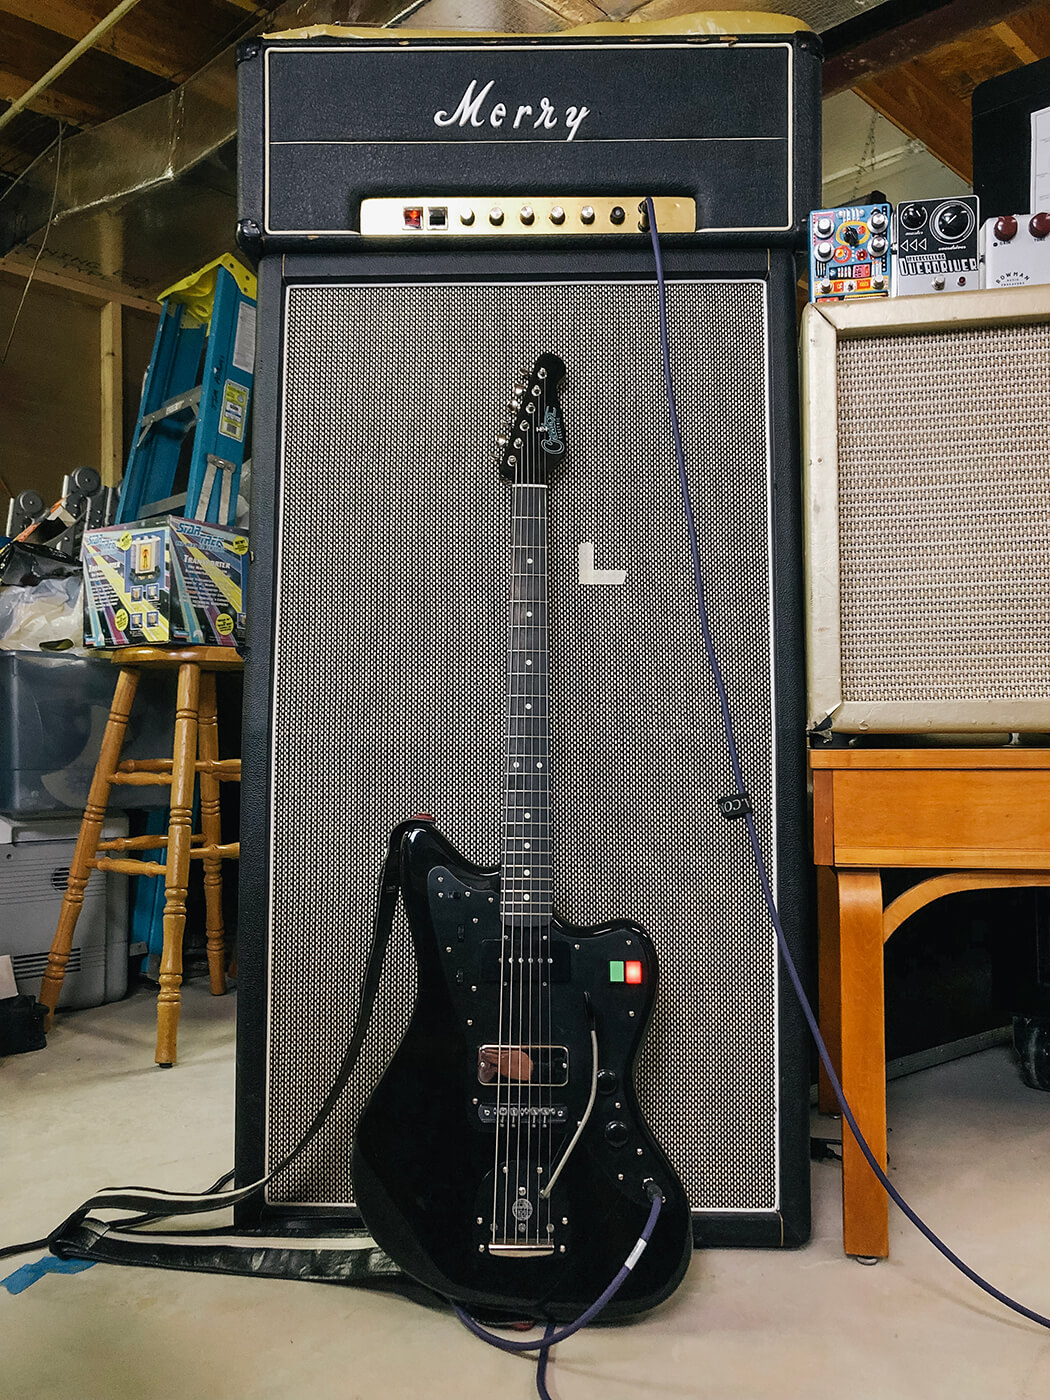
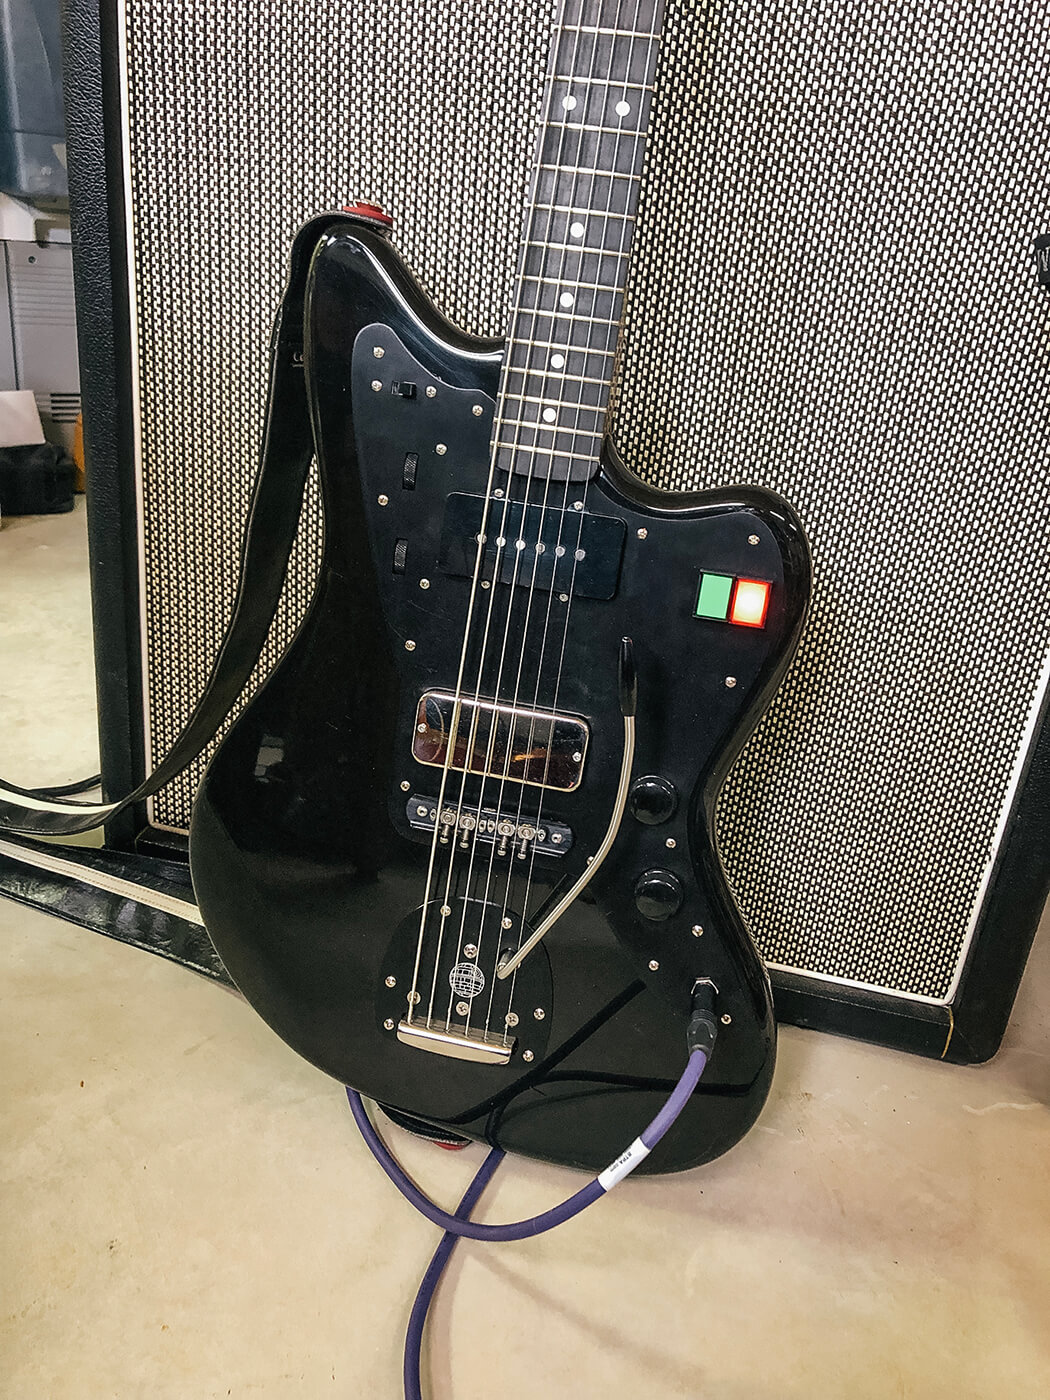
This is my Darth Vader-inspired Jazzmaster-style baritone instrument built by guitar-making artisan and longtime friend Creston Lea. I sought far and wide for a baritone that met all of my needs and found all comers lacking. Creston took my list of requirements and wholly exceeded them all, including a 26.75” scale, a 1 5/8” nut width on a mahogany neck, Lollar Jazzmaster and Thunderbird pickups, and vintage-correct vibrato placement.
He also graciously allowed me the nerdy indulgence of the Star Wars theming, with the guitar essentially built around my custom black Mastery Death Star bridge and vibrato, a black-over-Desert Sand finish which evokes the journey from pod-racing Anakin to the powerful Sith Lord, and light-up pickup selector buttons that echo the look of Vader’s chest panel.
Owning it has been a total delight, and I couldn’t be happier with the sound, the feel, the performance of this guitar. Creston has been one of my favourite builders for around a decade now, and it blows my mind that I have some of his work in my collection.
At some point during the last string change, I noticed something I hadn’t noticed before: all of a sudden the instrument seemed noisier than I remembered. I’d just changed out the original 500k pots for one-megs to get a little more of that Jazzmaster-y brightness out of it, so my first thought was that I’d forgotten to hook up a ground.
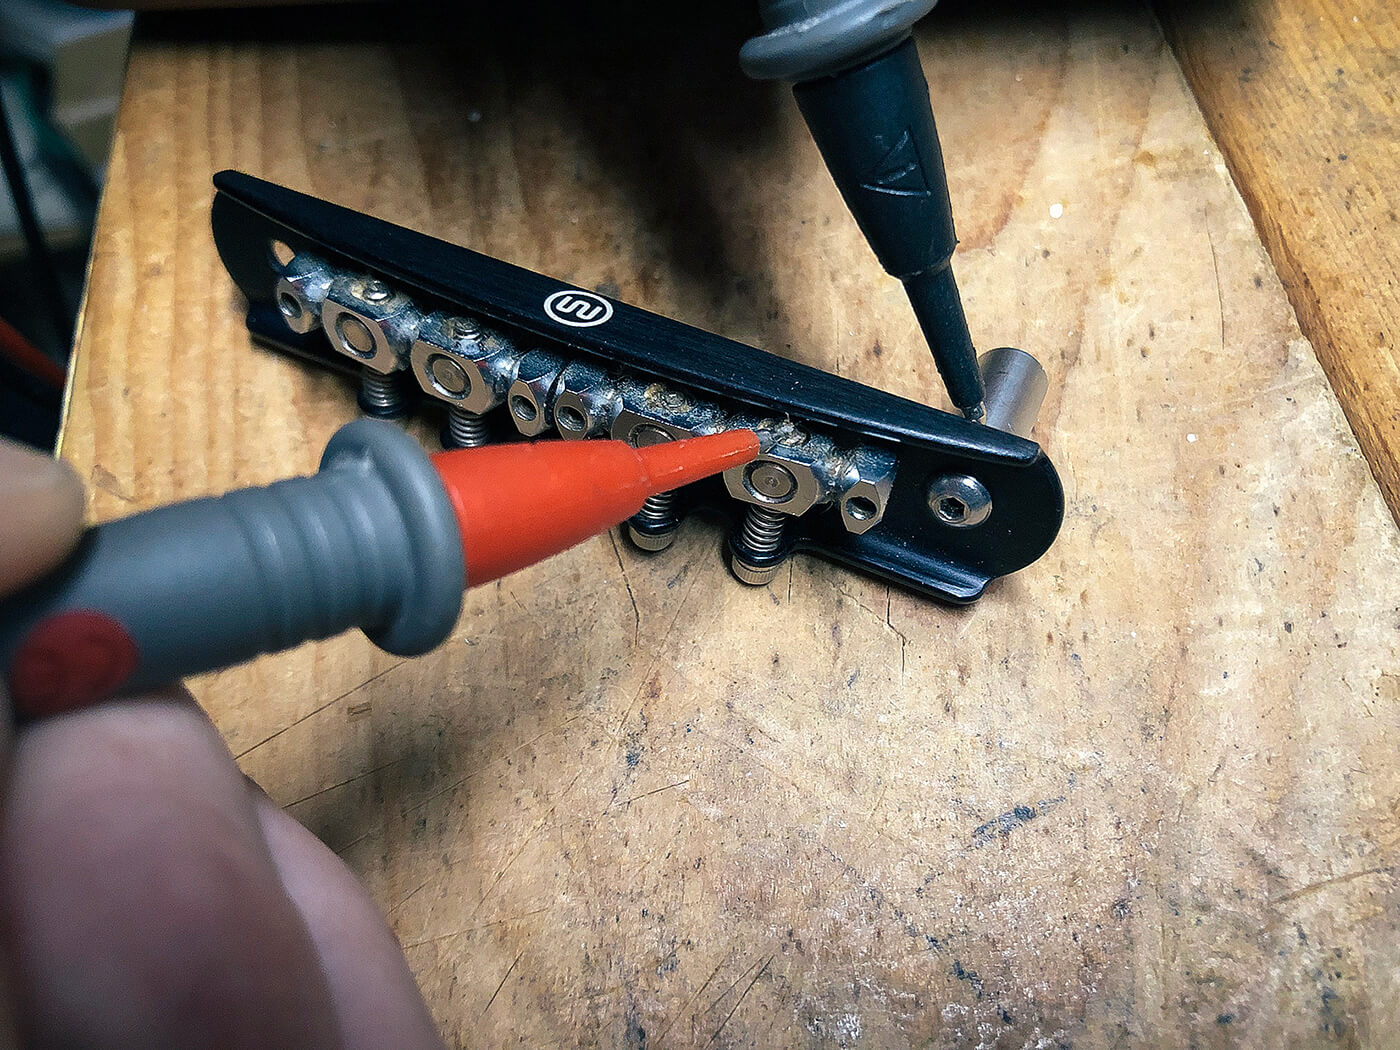
I re-checked my work, and nope, everything was right as rain. I continued my restring and plugged into my Marshall, only to discover that touching the strings merely dampened the usual ground noise, but didn’t totally squelch the offending tones. Puzzled, I pulled out my multimeter, set it to continuity mode, and checked the connection between the bridge posts (which I knew were properly grounded) and the strings.
In continuity mode, touching the two probes to different surfaces produces a beep letting you know they’re electrically connected. It’s a good tool for checking for wiring faults and whether or not you’ve accidentally mixed up the terminals of an output jack, as I so often do. I just get too excited at the end of a job, I suppose!
Touching the probes to the aforementioned locations, I waited for a beep and heard none. Curious. I touched the probes to the saddles and the bridge post, and again, no beep. Curiouser. I then touched one probe to the treble side post and the other to the bass side, and would you believe it, no beep! Curiouser and curiouser!
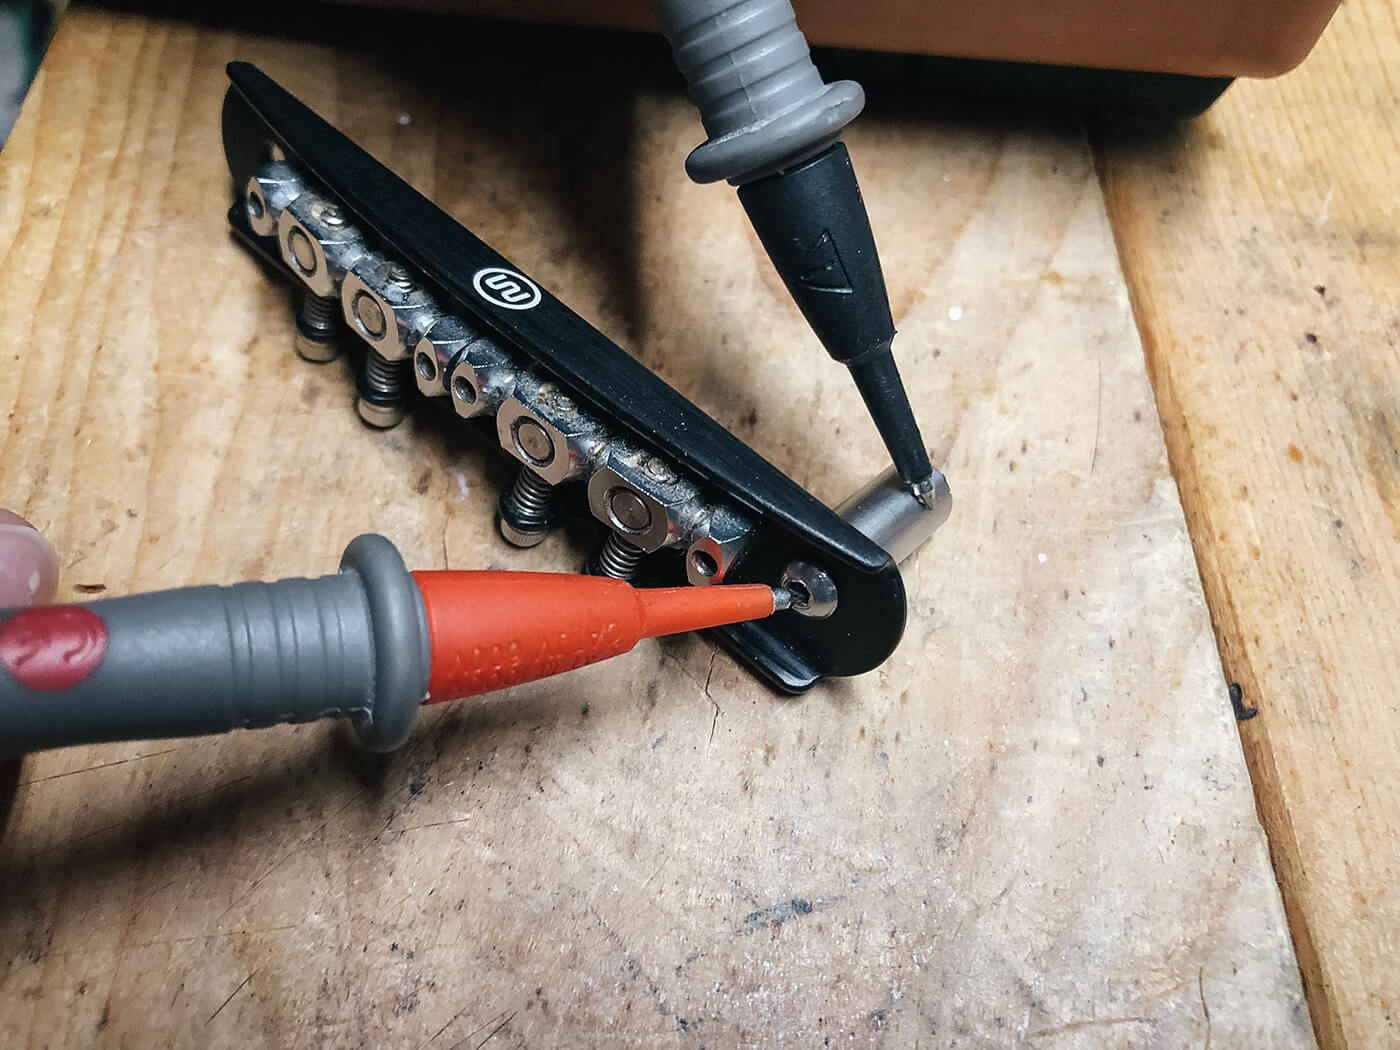
Clearly, the connection to ground that was supposed to be taking care of the bridge wasn’t getting through to the strings, but why exactly? If it’s all metal, why wouldn’t the treble post also be grounding the other, as well as the saddles and strings? Well, it all comes down to the colour.
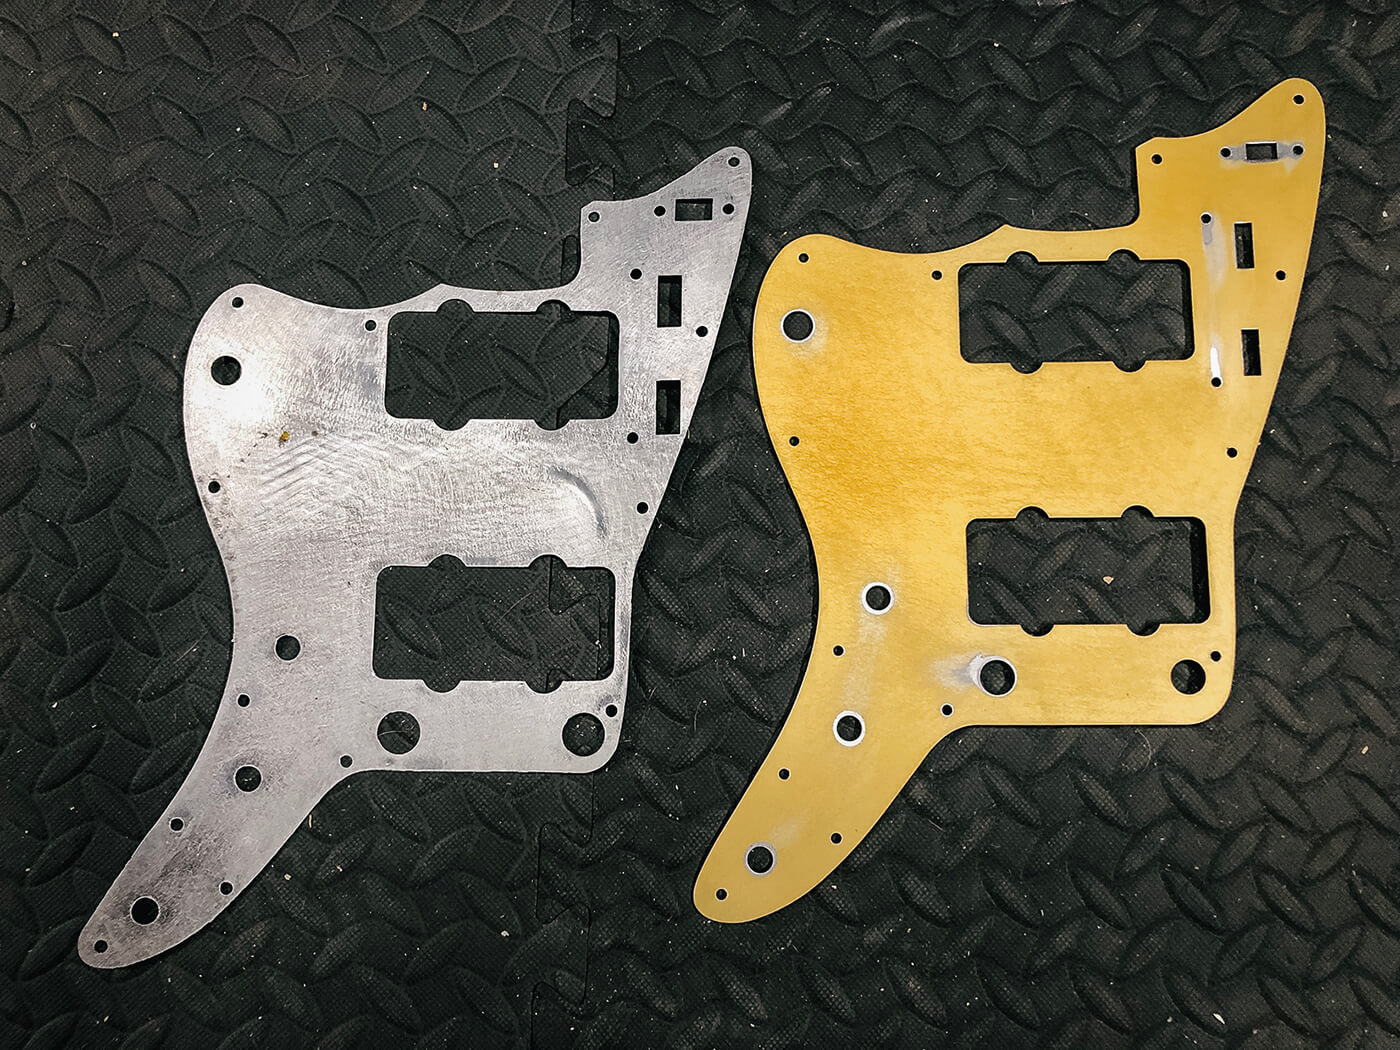
Anodising is a process by which the thickness of the natural oxide layer on a piece of aluminium is increased, thereby making the piece less susceptible to corrosion. The surface can then also be coloured, so If you’ve ever encountered an anodised aluminium pickguard on a Jazzmaster, this is why they’re often gold – one of a rainbow of colours that can be applied to the surface layer.
The other thing about the anodic layer is that it is insulative, meaning it’s not a good conductor like bare aluminium, which means that when you’re installing an anodised ’guard on a guitar that didn’t have one previously, you’ll have to sand down to bare metal anywhere you’re mounting an electronic component to the back of the ’guard.
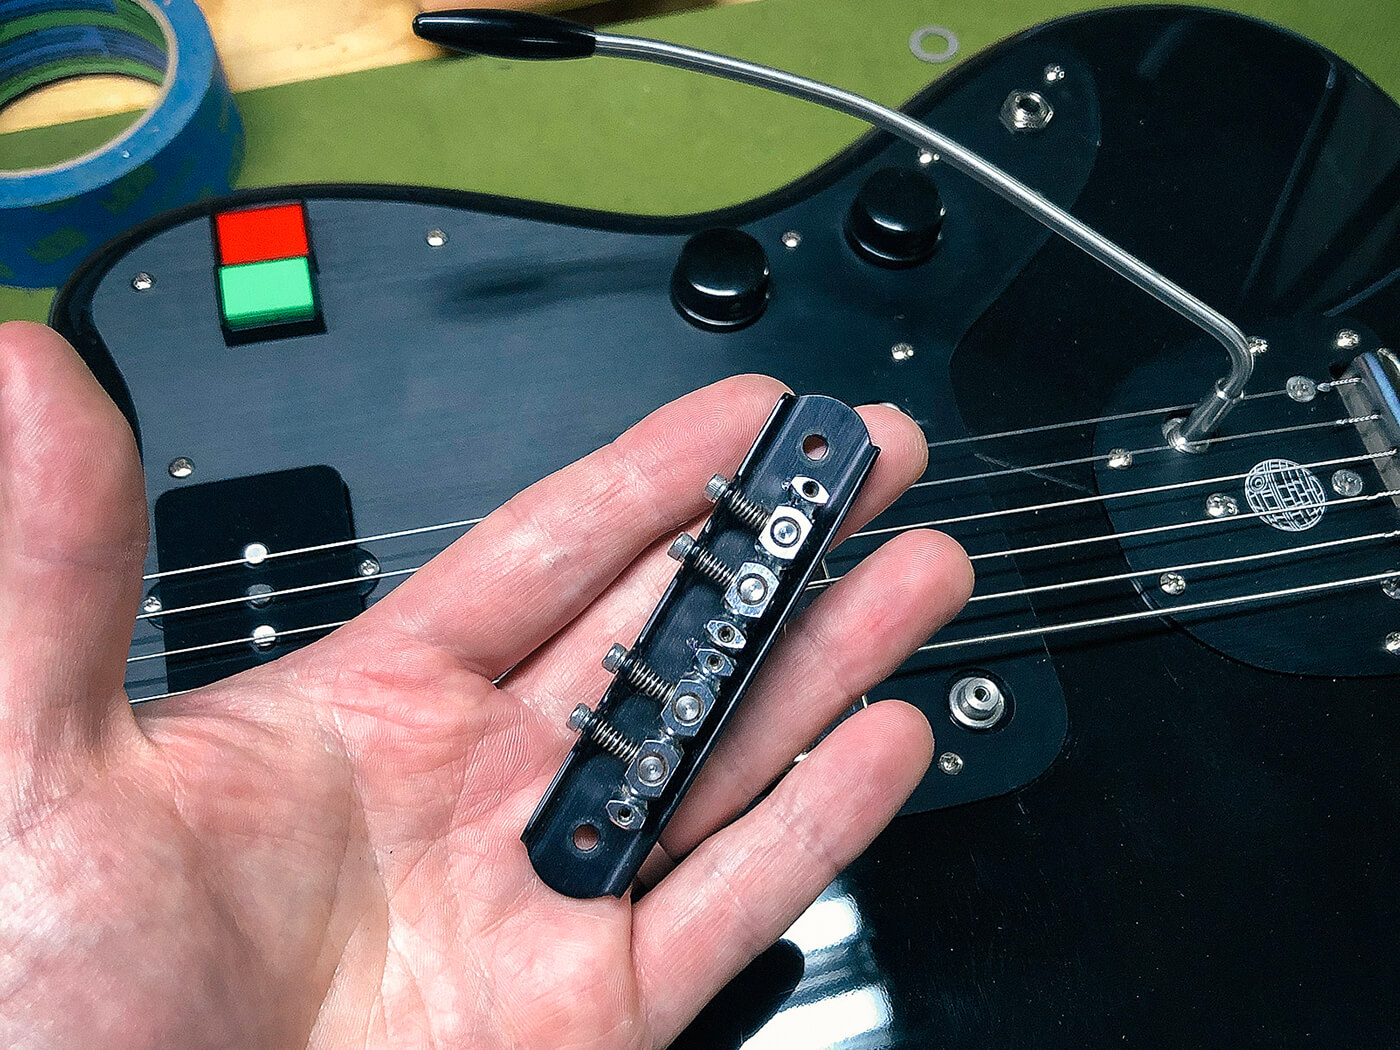
And in the case of this black anodised Mastery Bridge, the very layer that makes the bridge fit in so well with my Galactic Empire colour scheme is what’s preventing it from grounding properly. The good news is this is an easy fix: just like the ’guard I mentioned earlier, all I need to do to create a more sound connection from post to saddle is remove a little bit of the black layer.

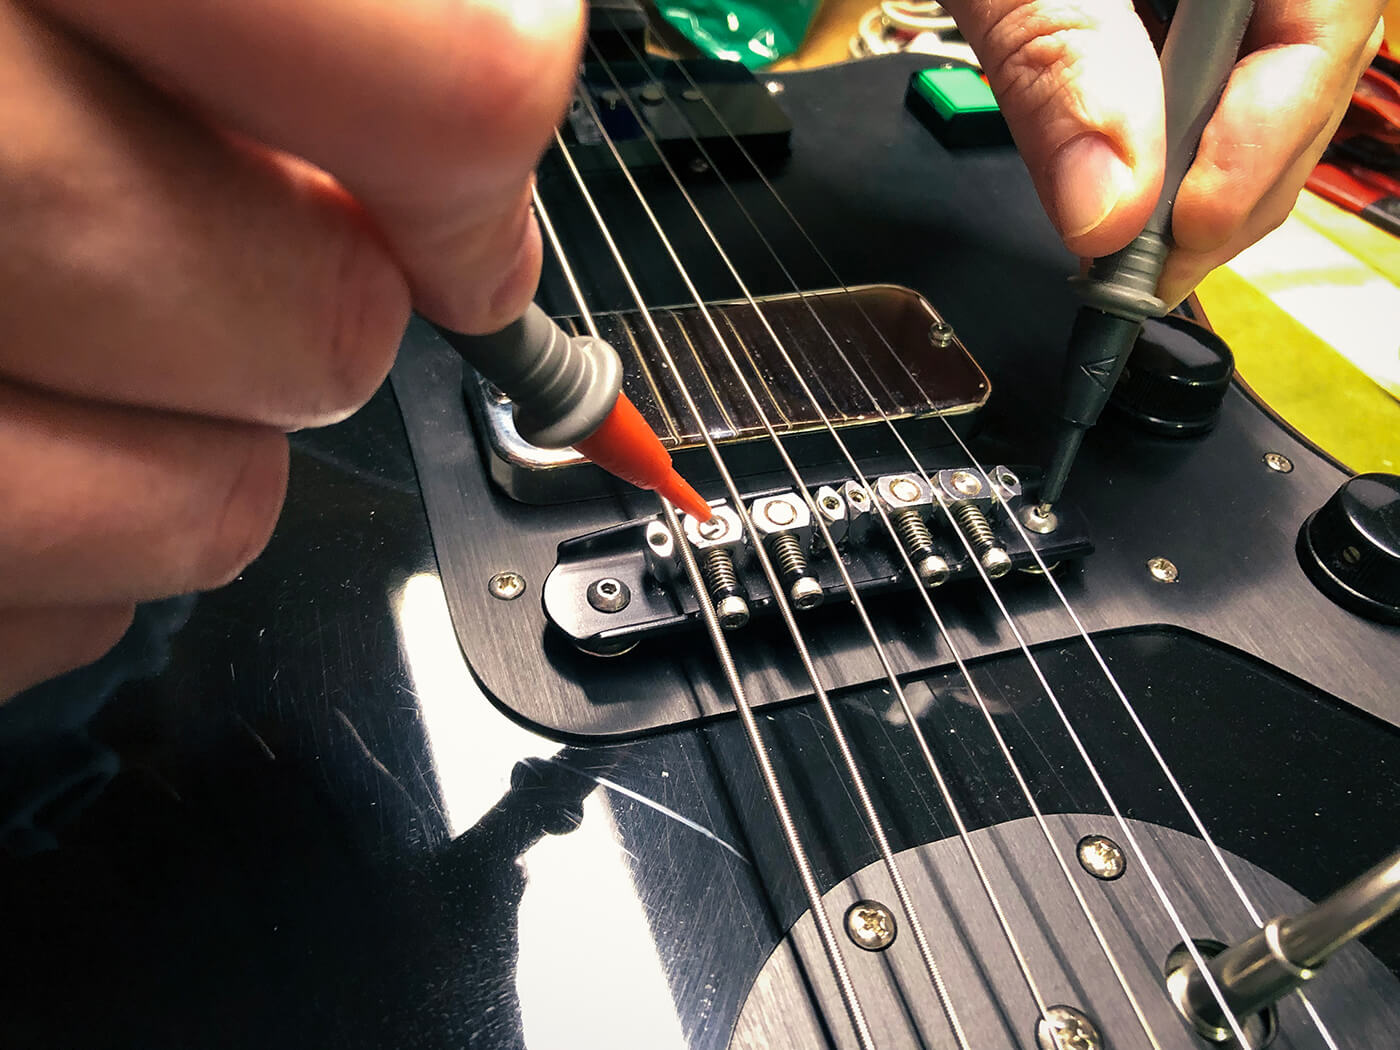
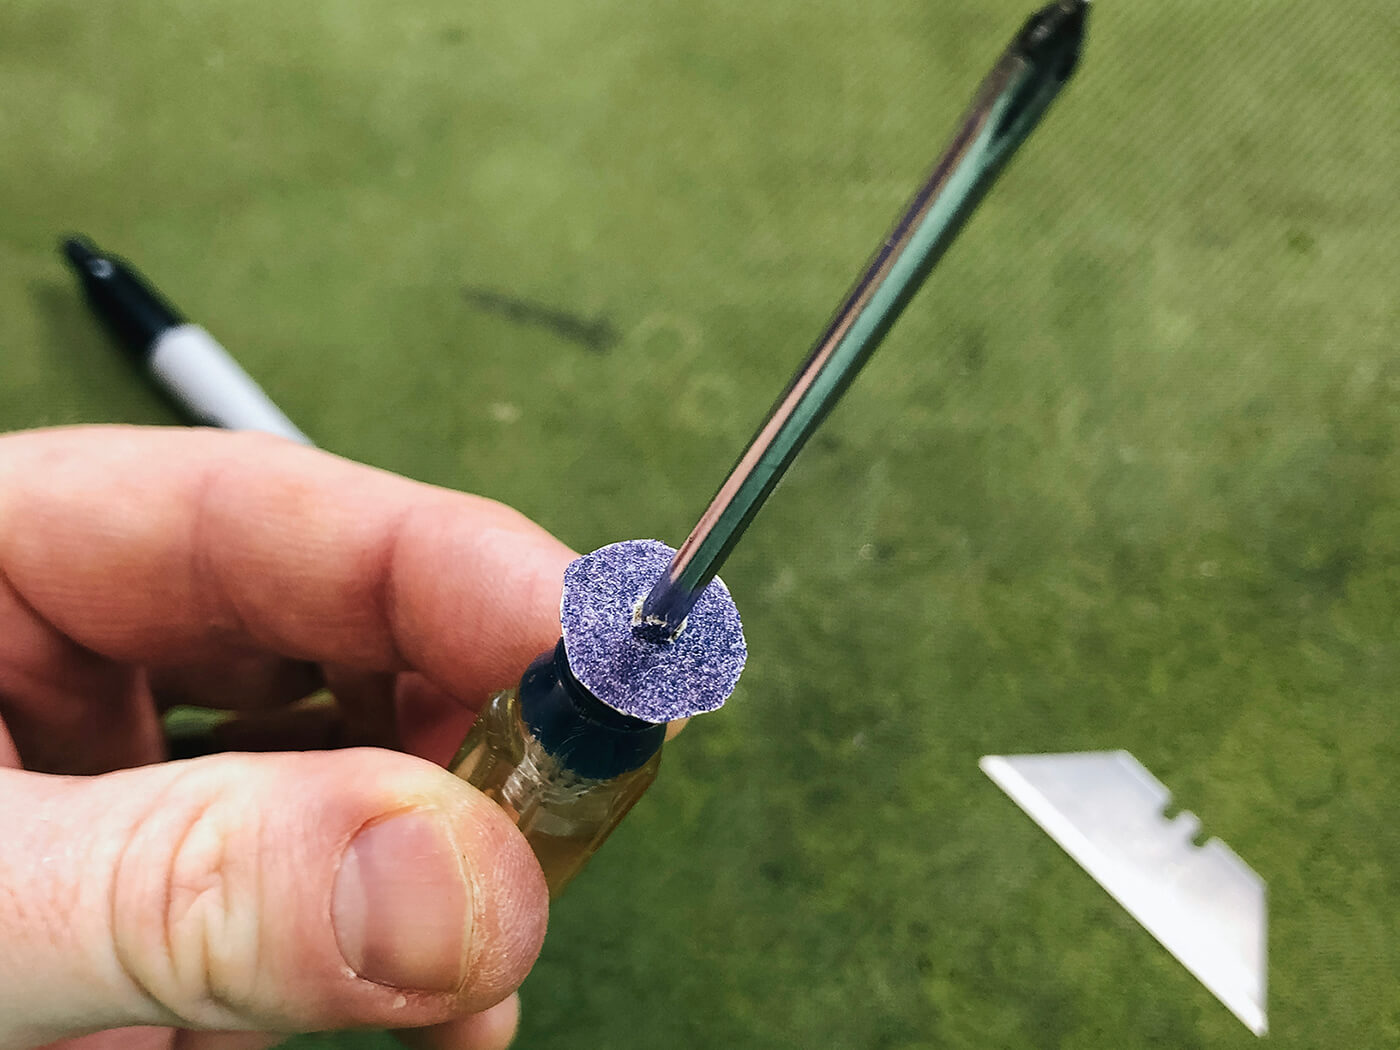
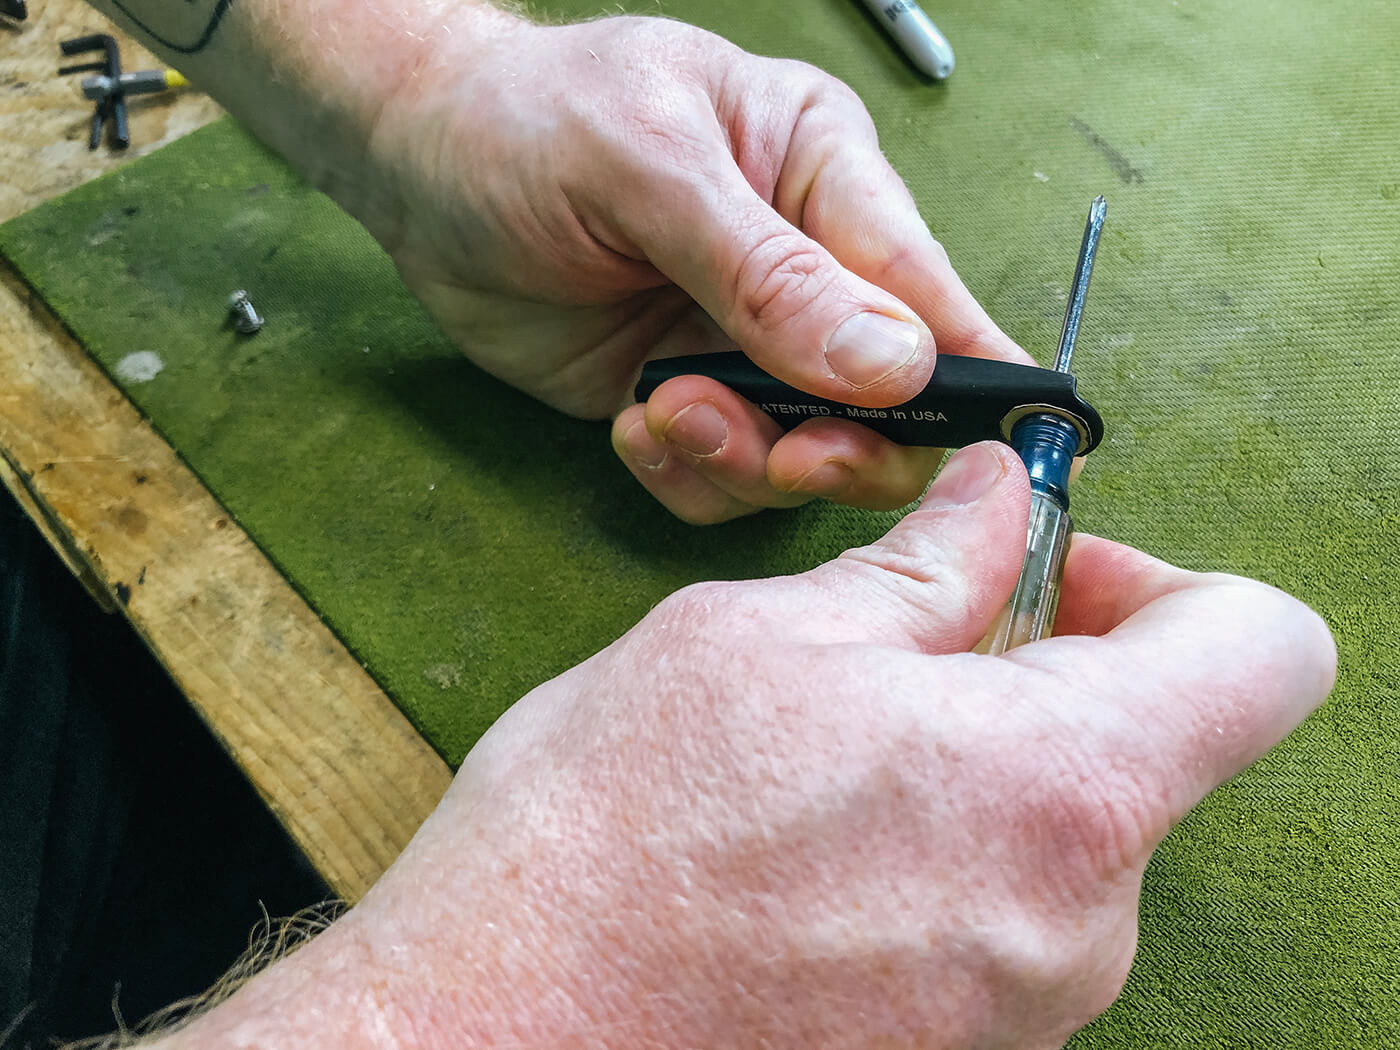
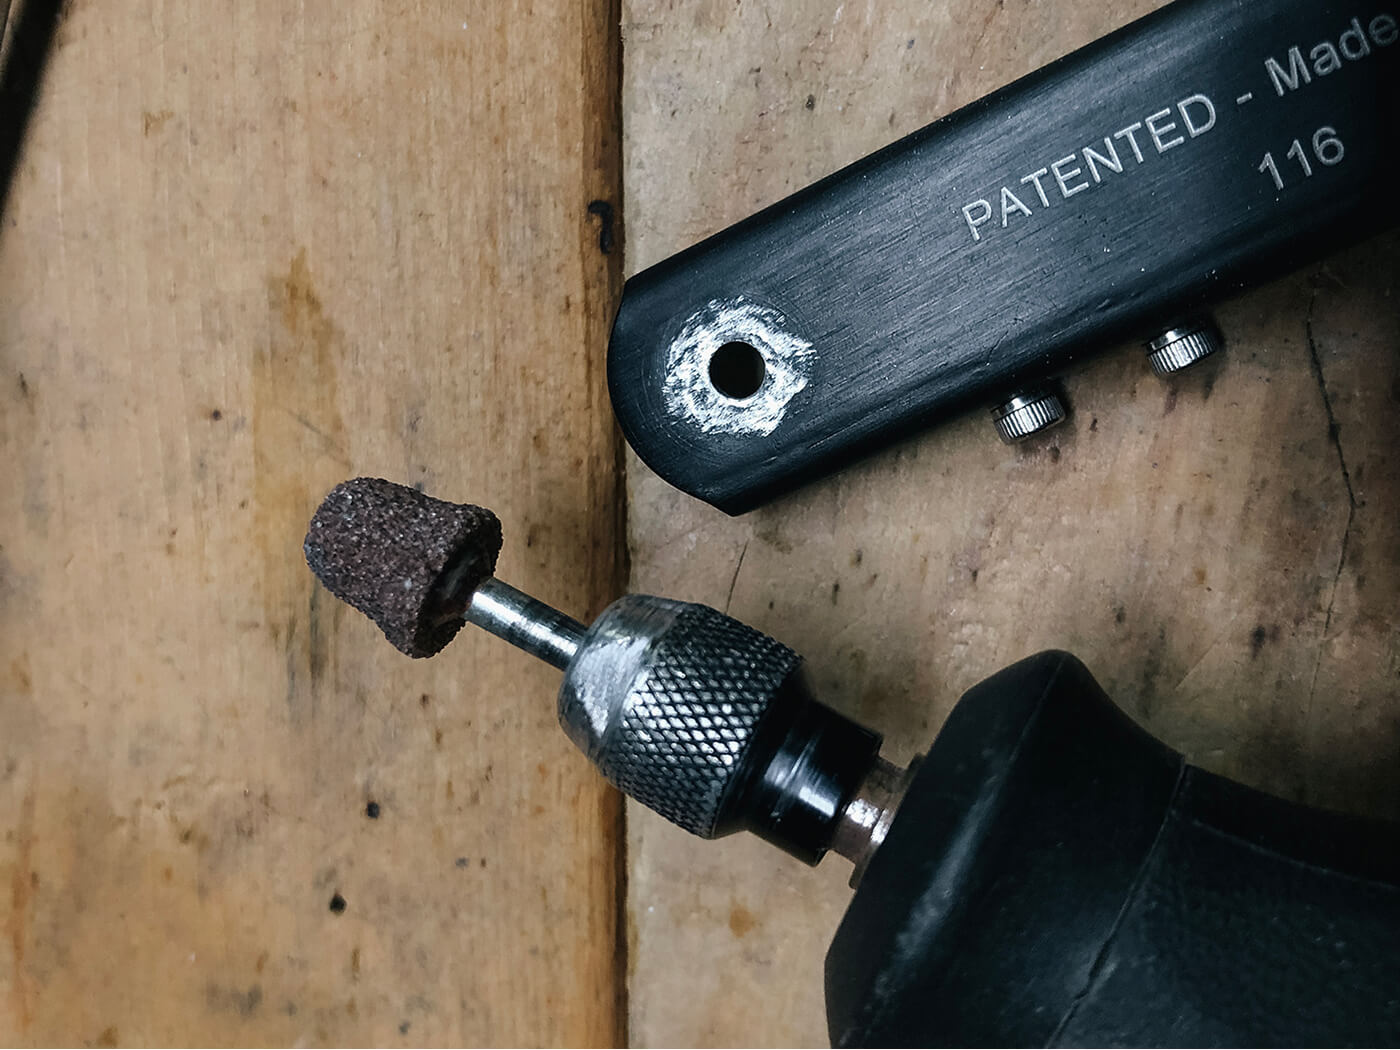
To do this, I cut out a circle of sandpaper and attached it to a small screwdriver, which I then inserted in the bridge post screw holes and spun around on the underside of the bridge base to mark how much material I wanted to remove. After that, it was a simple matter to break out a Dremel with a sanding attachment and get the job done quickly.
After I’d removed the black layer where the bridge and posts meet, I re-installed the bridge and fired up the multimeter to check my work. Sure enough, anywhere I touched a probe to bare metal produced a pleasant beep. Upon plugging in, the instrument was as quiet as Obi-Wan powering down a tractor beam.
Oh, and if you’re wondering why I didn’t remove material on top for the saddle height adjustment screws, the downward force and vibration of the strings has basically pushed them through the black layer, so they’re already touching the aluminium beneath.
For more from Mike, follow him on Instagram @puisheen.