Related Tags
The guitarist’s guide to home recording: 20 essential tips and tricks
From reamping to sample rates to settling on the perfect interface, read this before you start tracking your guitars.

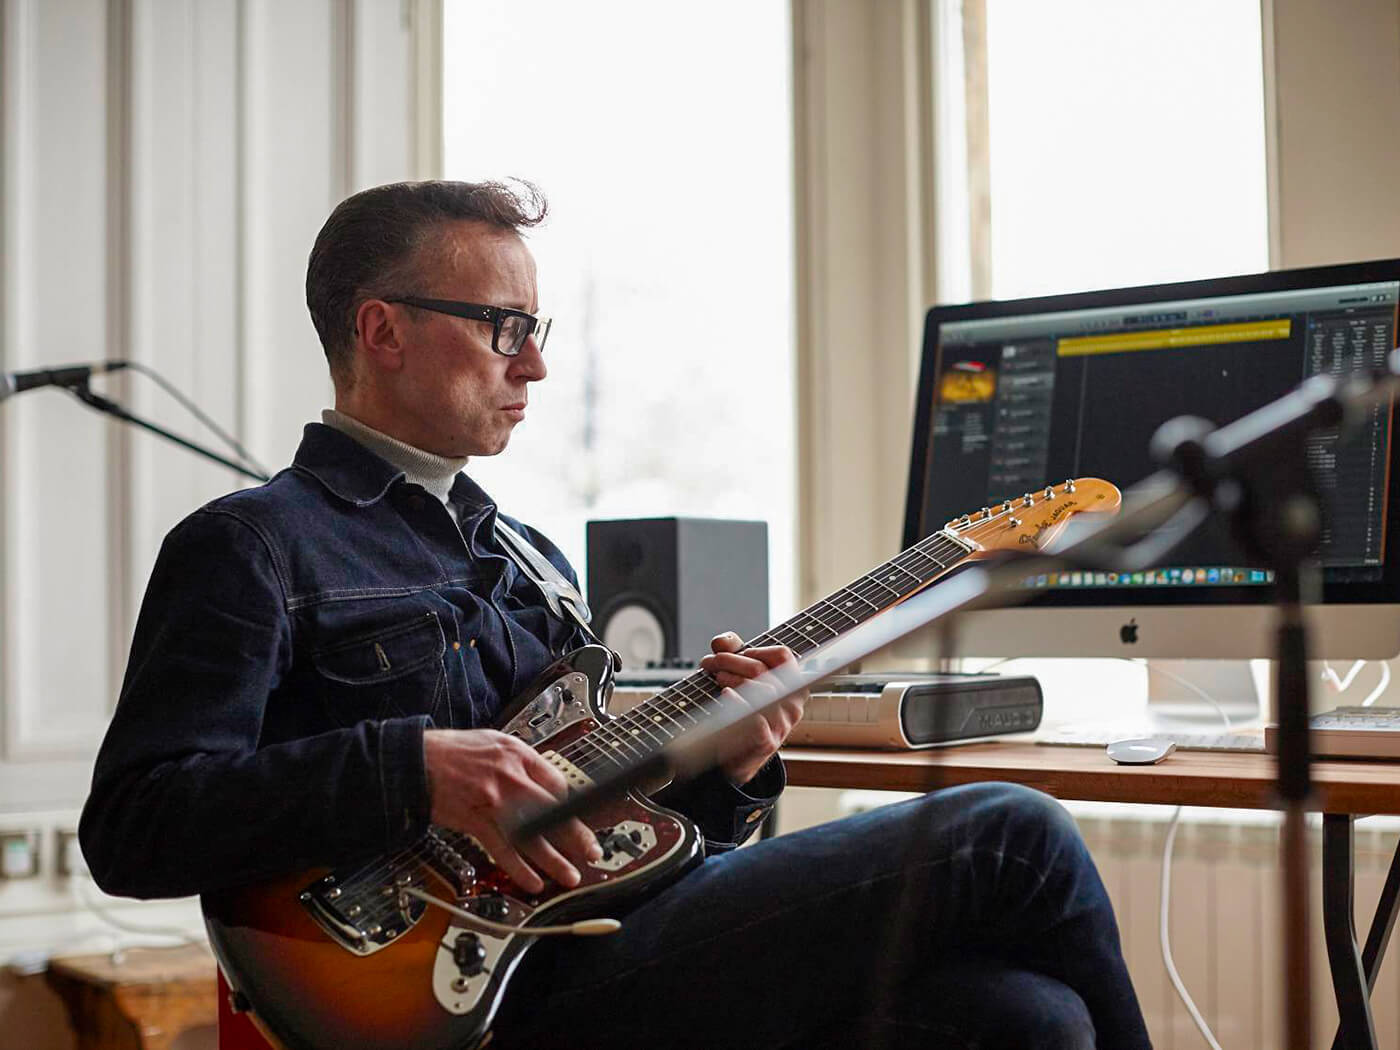
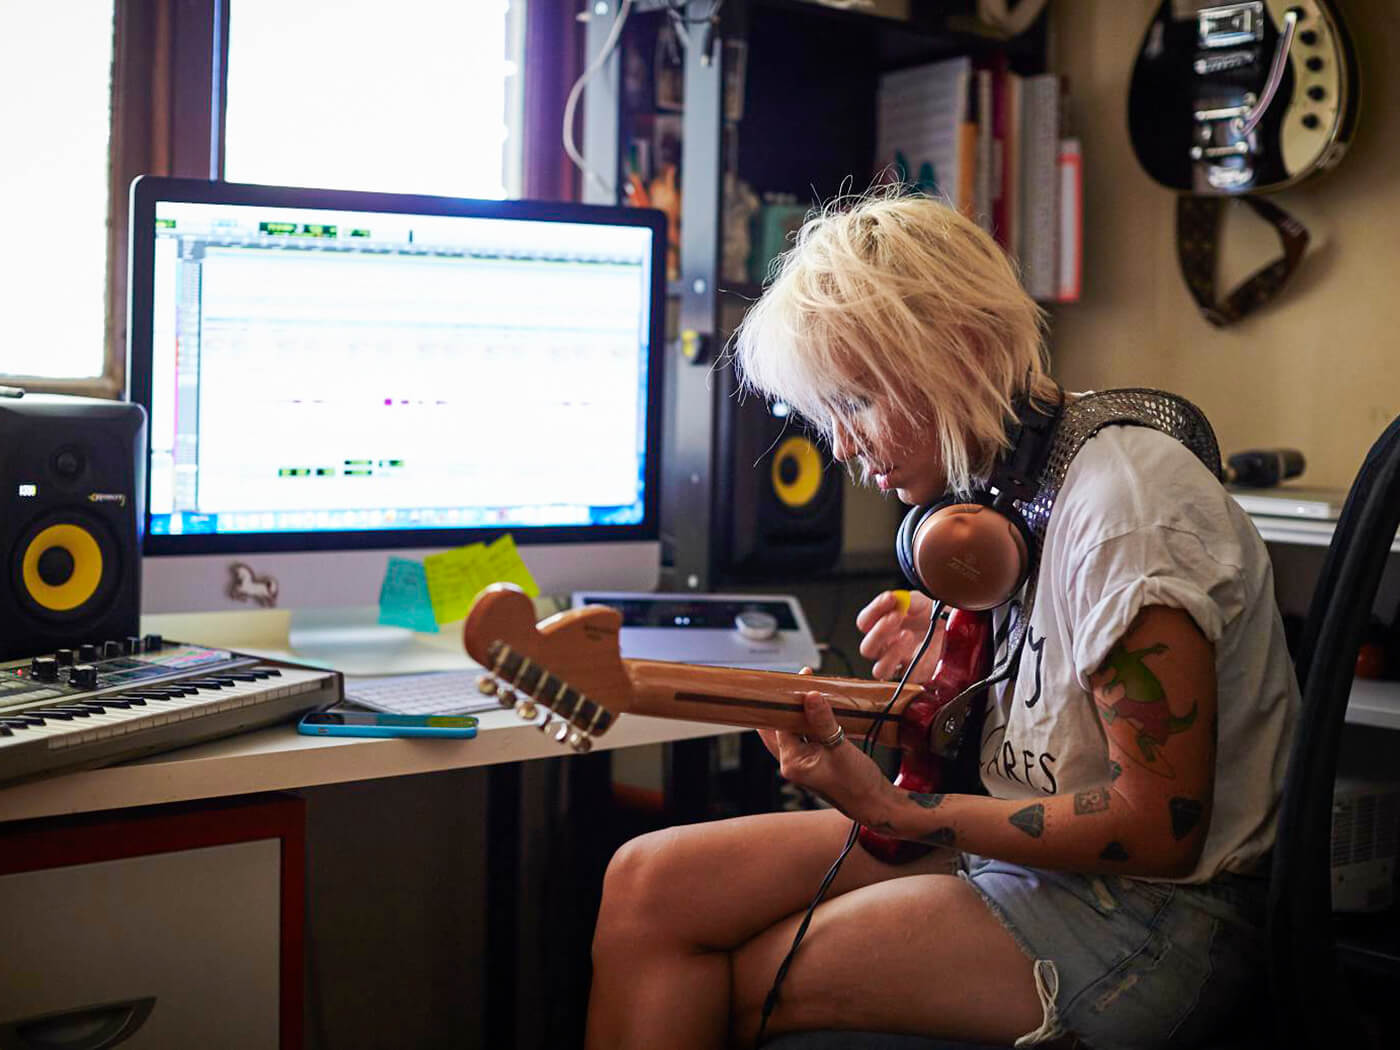
Even before lockdown, it was becoming clear that an SM57 on a grille cloth might not be either the most practical or best-sounding solution for electric guitar recording in 2020. Happily, it’s never been easier to capture professional guitar tones at home without waking up the neighbours. Whether you’re making your first foray into recording or planning a multi-layered magnum opus, here are 20 pieces of essential advice that will help you get the best results possible, whatever your budget.
1. Source is all
Whether you’re plugged into a laptop in your bedroom or shredding in the live room of a multi-million dollar studio, your guitar needs to be the best it can be. Perhaps more importantly, you need to be the best you can be. There’s no fixing poor intonation in the mix, and if your jack socket is crackly or your signal intermittent, even recording a scratch demo can turn into a draining experience.
Although limitations can sometimes be inspiring, whatever instrument you plan to use, it shouldn’t be an impediment to your creativity. Tune it up, make sure it’s acclimatised to the room temperature and tune it up again. The same goes for every part of your chain, from patch cables and pedals to your interface or amp. The only mistakes you want are the odd bum note, and you don’t want a great take to be ruined by a noisy signal chain.
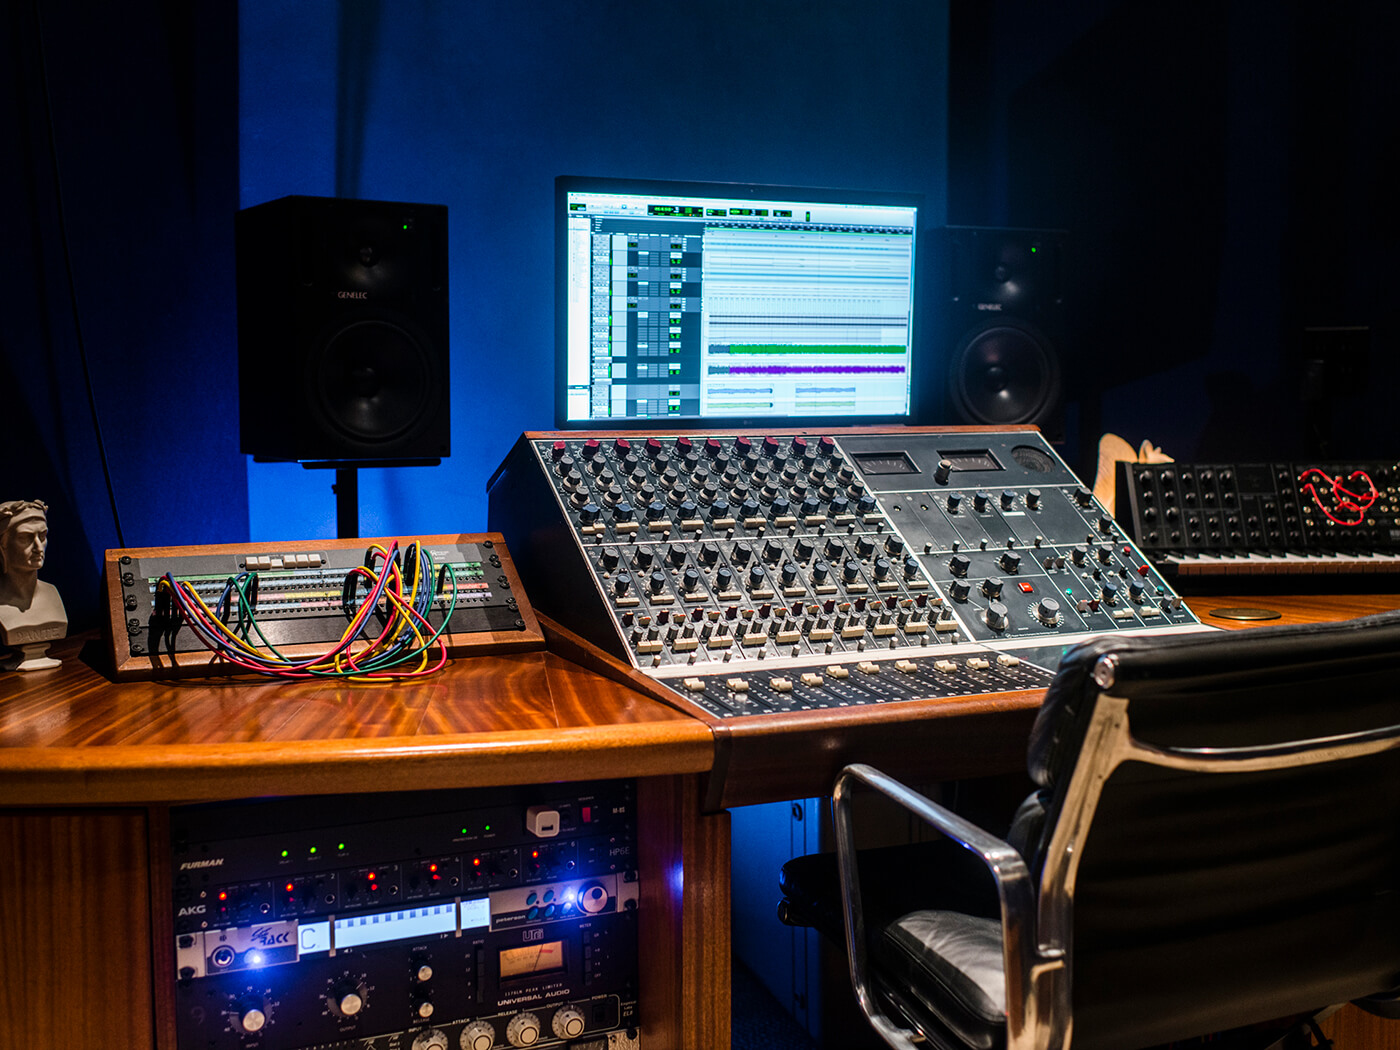
2. The right interface
In most cases a simple audio interface for your laptop, desktop or tablet is the best option for plugging in, as the less gear you need the more budget you have for other stuff: monitoring, cabling, other guitars. And you can never have enough guitars. At a bare minimum you’ll want it to have quarter-inch jack and XLR inputs, with outputs for headphones and monitors. If you’re planning on recording vocals or acoustic guitar, 48v phantom power drastically increases your microphone options too.
- READ MORE: How to record acoustic guitar like a pro
If you’re planning on getting your electric tones from software amp-modelling plugins then you may not need anything more than a pair of headphones and a basic audio interface to get started.
Even simple interfaces with two inputs and outputs are pretty powerful and sophisticated these days – Audient’s new EVO 4 (£99, evo.audio) includes Smartgain functionality that automatically and intelligently sets the input levels of your microphones or instruments to avoid clipping or signals that are too quiet. The former causes unwanted distortion if the input signal is too loud, while the latter can cause hiss when the level is boosted to match other instruments.
More ambitious budding recordists among you might want to consider interfaces with dedicated reamping outputs, multiple monitor outputs, more than a couple of line inputs, a range of digital I/O or internal mixer routing. Money no object? Check out the Universal Audio Apollo x16 (£2,747, uaudio.com).
3. Good monitoring and low latency
High-quality monitoring is vital for high-quality recording. For mixing this means the best monitor speakers and/or headphones you can afford. For recording, this means minimising the delay between what you play and what you hear (latency). More than a few milliseconds will throw your timing and feel unnatural. When recording with amp modelling plugins on a computer, the more raw CPU power you have, the better.
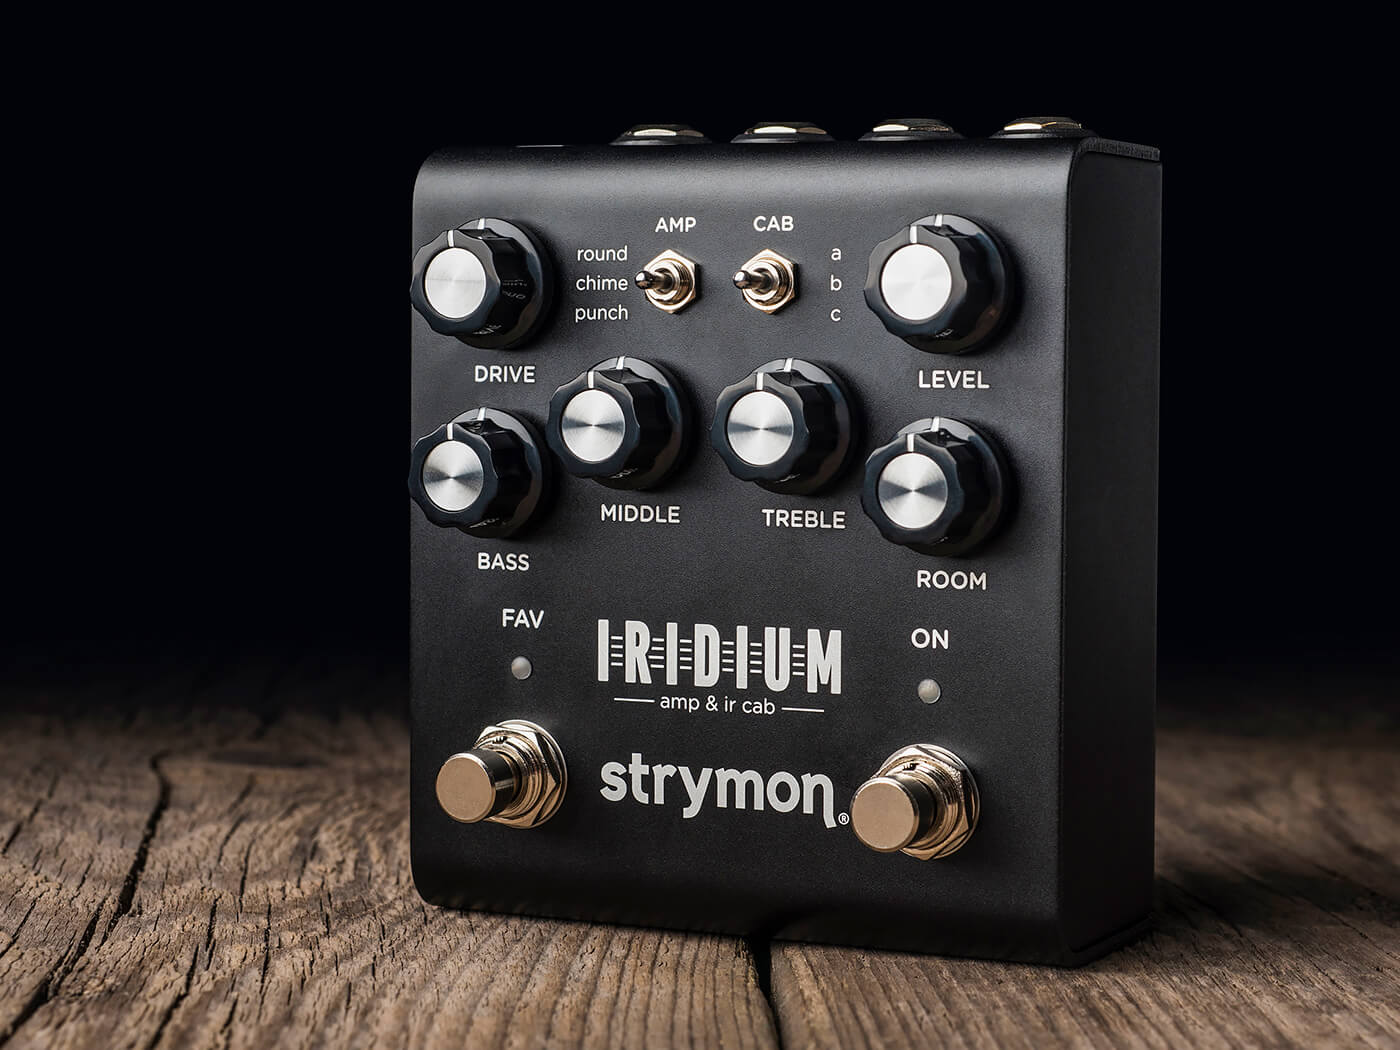
External DSP can help take the load off of your CPU, and interfaces such as Universal Audio’s Apollo range and Audient’s Sono (£419, audient.com) offer amp modelling solutions free from computer-based latency. Of course, another way to reduce the potentially for latency is to get your amp tones from a dedicated modelling unit such as the Strymon Iridium (£399, strymon.net) before the signal reaches your audio interface.
- READ MORE: The best audio interfaces for guitarists
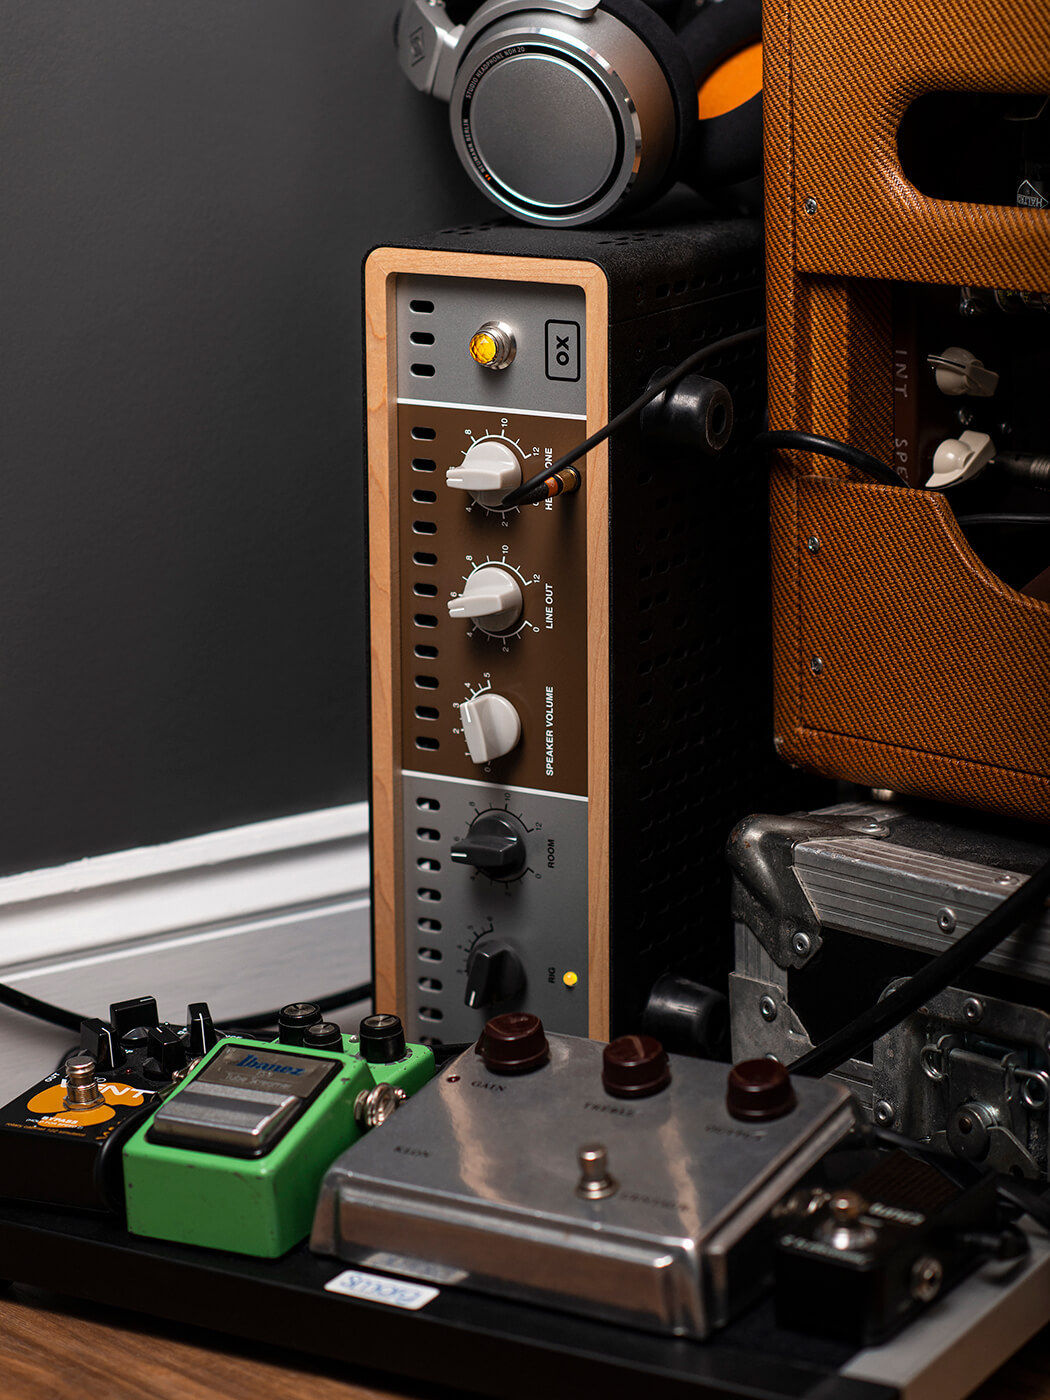
At the higher end, reactive load boxes with speaker emulation tech such as the Universal Audio OX (£1,150) and Boss WAZA Tube Amp Expander (£1,143, boss.info) offer a low/zero-latency monitoring path and the ability to record your favourite tube amp silently. In many ways, these offer a ‘best of both worlds’ solution that retains the feel and response of your favourite amp under your fingers but offers the convenience of direct recording.
4. Volume control
From old favourites such as the various Palmer speaker simulators (palmer-germany.com) to the aforementioned new wave of multi-function reactive load boxes such as the OX and the Torpedo series from Two Notes (two-notes.com), there are numerous ways to squeeze the roar of your favourite tube amplifier into a line level input without disturbing the neighbours.
However, before you cause a disturbance to your wallet, we recommend testing out some digital modelling plugins first to see if you can find tones you are happy with. In addition to dedicated plugins such as AmpliTube (ikmultimedia.com) and Guitar Rig (native-instruments.com), we’d encourage Mac users to explore the amp simulations in GarageBand and Logic. Unless you have a huge library of vintage and modern gear at your disposal already, you may find that the additional array of tones and effects offered by modelling plugins are a springboard for creativity as you venture into uncharted sonic territory.
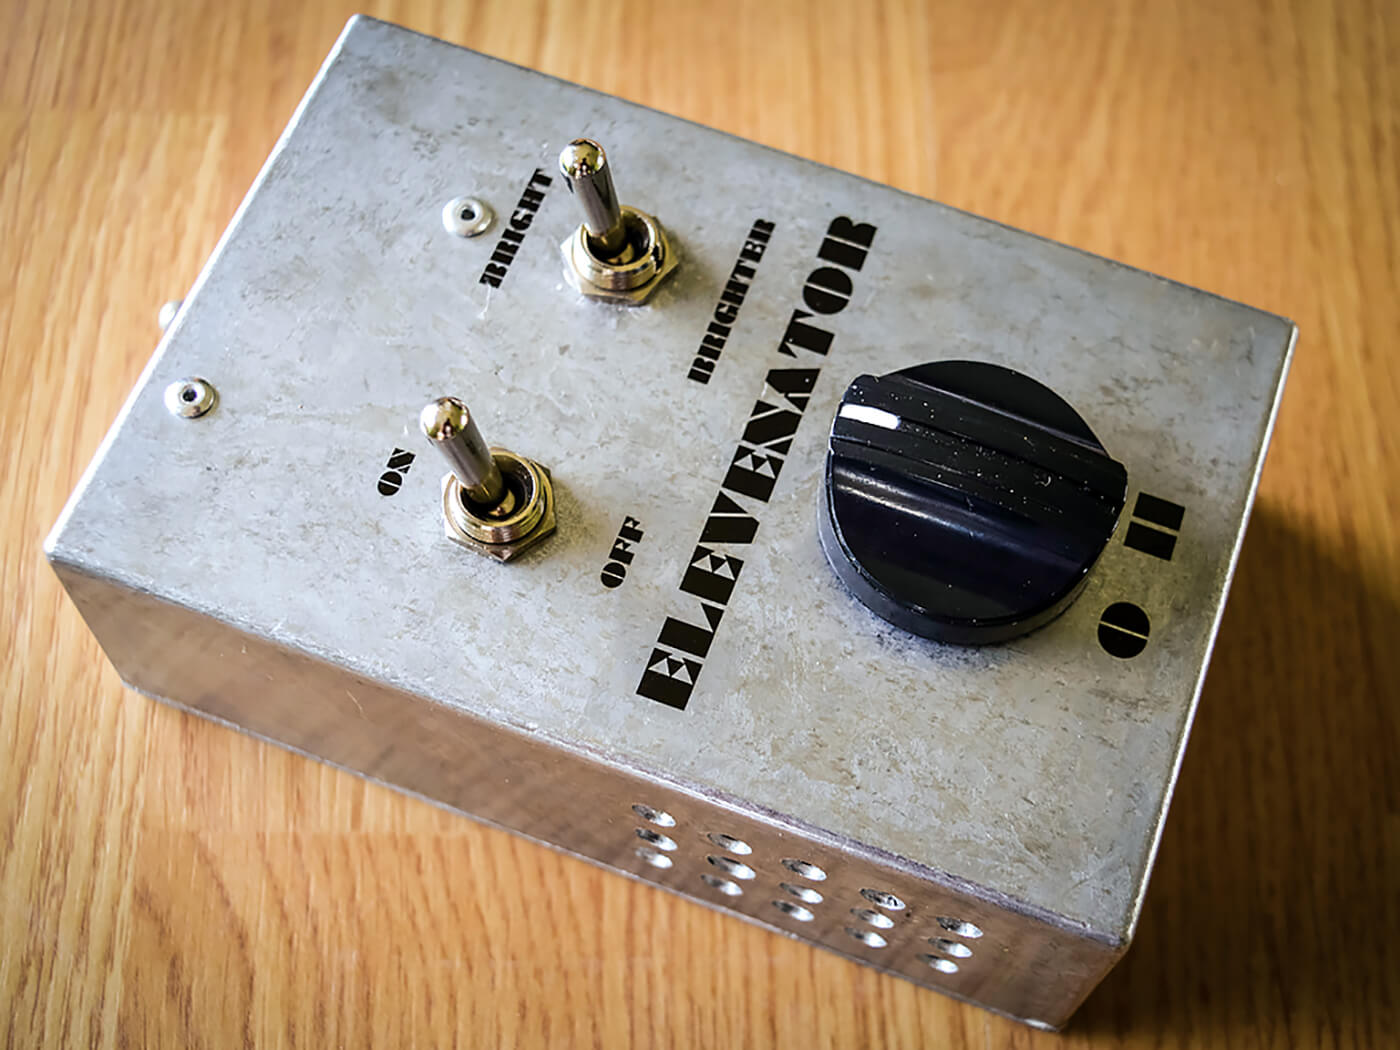
If only the hardware route will make you happy then some sort of speaker simulator is probably the best way forward, but before you try that, don’t discount the humble power attenuator. Using a power attenuator to bring the volume down to an acceptable level, you may still be able to get pleasing results by recording the old-fashioned way with a microphone. Numerous high-quality attenuators are available but if you are handy with a soldering iron, find out how to build your own for less than £50.
5. Better than the real thing?
Pro guitarists have been relying on impulse response (IR) speaker simulations for their live front of house mix for years, as well as using them in the studio. In a nutshell, IRs capture the sonic fingerprints of a mic’d speaker cabinet in a room with a three-dimensional quality that can be indistinguishable from a recording of a physical cabinet.
The advantages are obvious: total recall, consistency in any room/studio, hundreds of models to choose from, multiple virtual mic’ing options, no bleed, and of course cost and portability. The only real disadvantages are the lack of that tactile in-the-room experience and the possibility of wasting time auditioning hundreds of IRs.
Two Notes’ Torpedo Wall Of Sound plugin is free for the first 30 days and a great place to start. Alternatively, modelling stompboxes such as the Strymon Iridium not only come with convincing IR speaker sims onboard, but also allow you to load your own third-party IRs via usb, a shedload of which can be found either for free or for a reasonable fee online. Better than the real thing? Sometimes sonically, but always in ease and affordability.
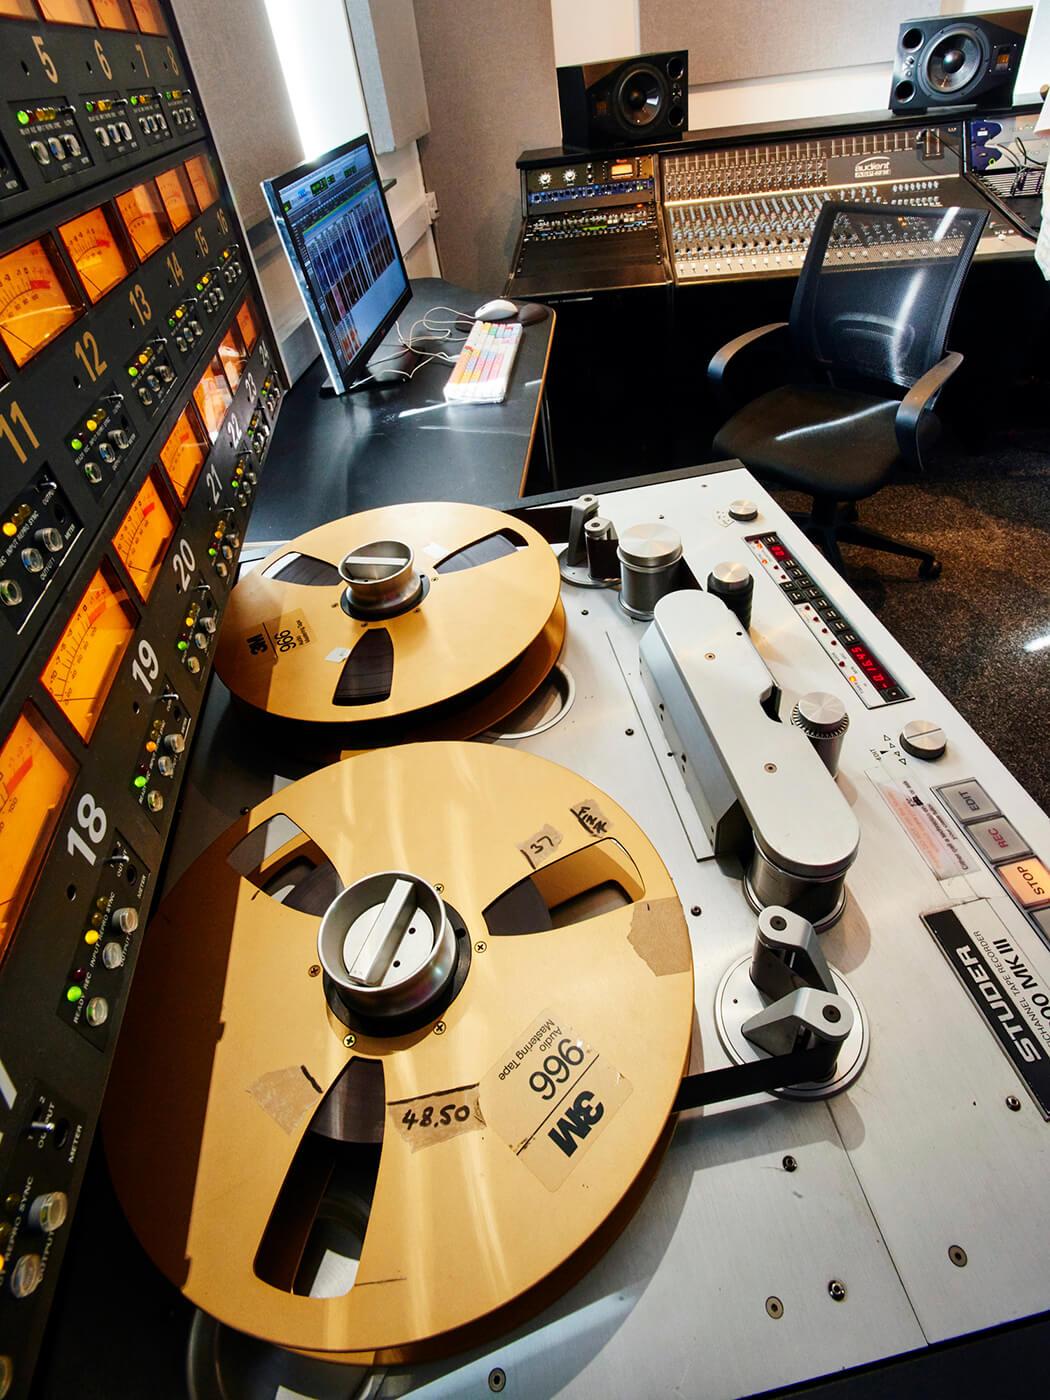
6. Everybody Hertz
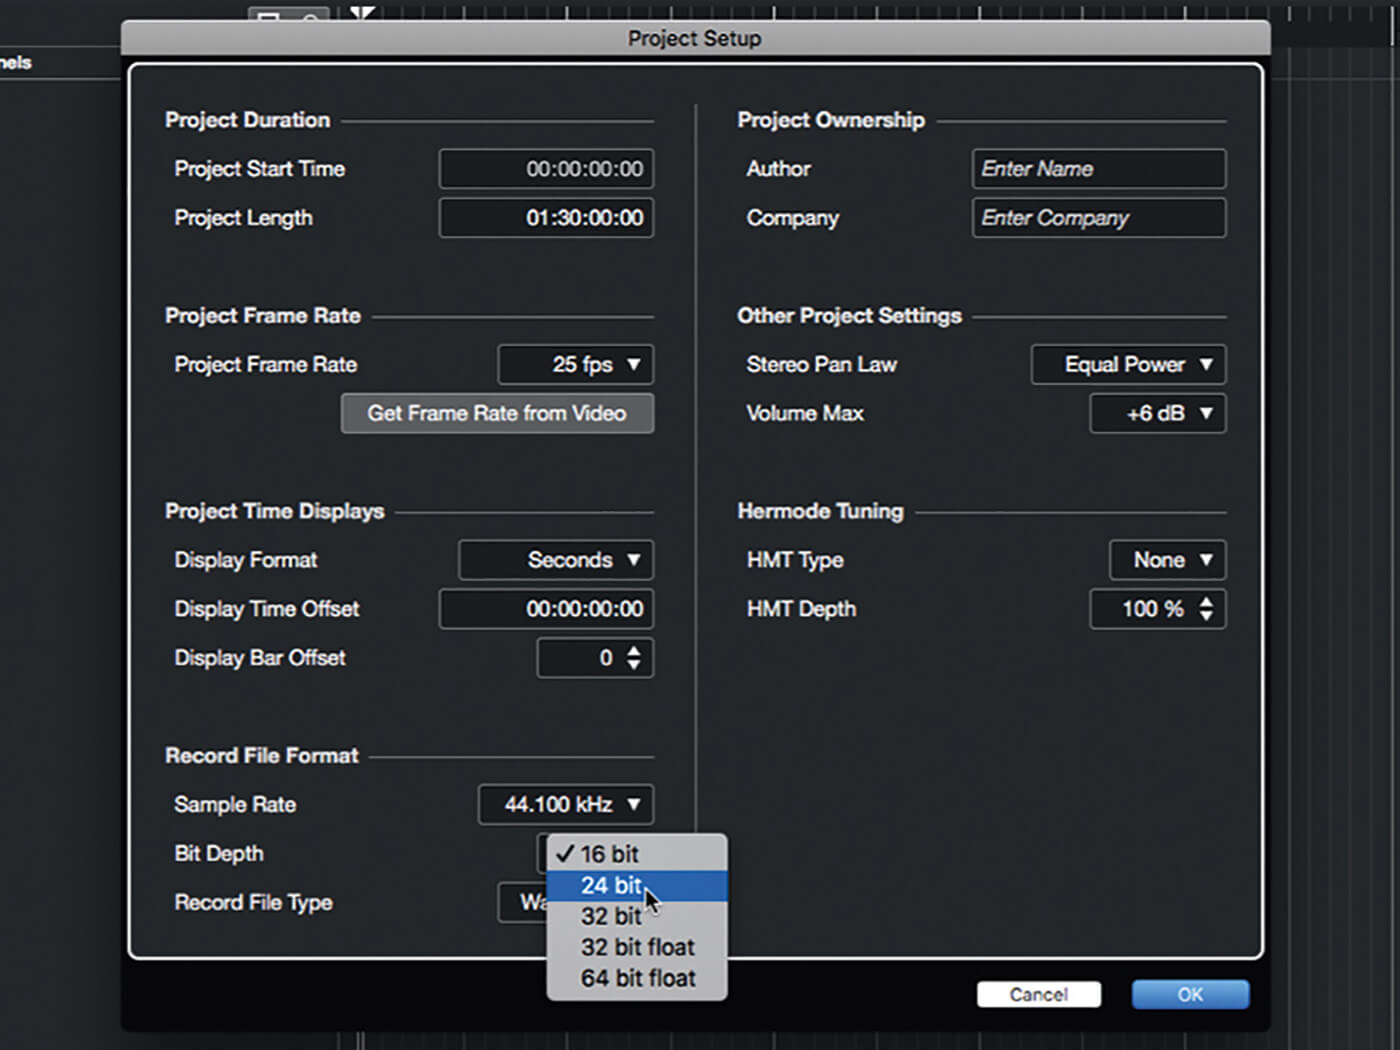
Digital audio resolution breaks down into two components: sample rate and bit depth. The CD rate of 44.1kHz (44,100 samples per second) and the common video rate of 48kHz are regarded as the basic sample rates. Higher sample rates, HD audio if you will, are multiples of these two, e.g. 88.2kHz, 96kHz, 176.4kHz and 192kHz. Despite hot debate on this topic, there are some audible and processing advantages to 88.2kHz and 96kHz; going any higher strays into snake-oil territory. The higher the sample rate the more disk space your recordings take up, and for most purposes 44.1kHz and 48kHz are fine, but do experiment with higher rates as equipment/software can behave differently.
With regard to bit depth, or the granularity of each sample, 16-bit is not dissimilar to human hearing, but it’s best practice to work at 24-bit as most analogue-to-digital converters operate at this level.
7. Kill your buzz
Prior to recording, eliminate as much noise at source as possible. This means the induced pickup hum from lighting (especially dimmer switches), mobile phones and computer monitors, so move your guitar around to see which positions and angles are the most/least noisy and toggle lighting sources to see which are birthing gremlins.
Hunt ground hum sources from wherever power sources are linked via audio connections. Whether it’s your laptop and pedal power supply, or an amp connected to a reamp output, make sure all power is drawn from the same point, observing socket fuse ratings (safety first). Toggle ground lift switches on DI boxes, interfaces and pedal power supplies and listen for audible changes. Finally check audio and power cables are kept apart from each other, or at least cross them at right angles to prevent induced hum.
8. Level playing field
Aim to record a clean signal, even if the source is pure filth. The interface input level should not ‘clip’, and setting it a bit lower beats overdriving the A/D converters – a source of distortion you don’t want to hear.
As guitar DI signals are highly dynamic, set your recording input level so that even your most animated thrashing does not clip. Boost pedals may be great at saturating a valve amp input stage but they will crunch your interface buffer in an unholy manner, so proceed with caution. Guitar modelling plugins/apps expect a large dynamic range and a relatively low input level so try to keep your input peak level below -10dBFS.
- READ MORE: The best tone apps for guitarists
Also be aware that a distorted tone has a lower peak level than a clean one for a similar perceived volume. At each stage, from tracking to mix, keep the peak levels well below clipping to prevent ‘bad’ distortions.
9. Right amount of wrong
The theory behind gain staging is simple – run each stage with plenty of headroom before distortion and well above the noise floor – but sometimes you need to hear it go wrong to understand it. This means distorting stuff to find where ‘linear’ responses end. Keep your ears peeled for ‘functional’ amplifier stages breaking up in a pleasing way as they are overdriven.
Juicy distortions can come from DI boxes, mic preamps, external effects units and hi-fi gear. If it has an amplifier stage it can distort, and it may well be the sludgy fuzz or ear-melting distortion you need. Even if you don’t need it now, one day it could prove key to a hunt for that mystery crunch, and you’ll know where to start. Explore, but protect your ears and monitors while you hoist the gain.
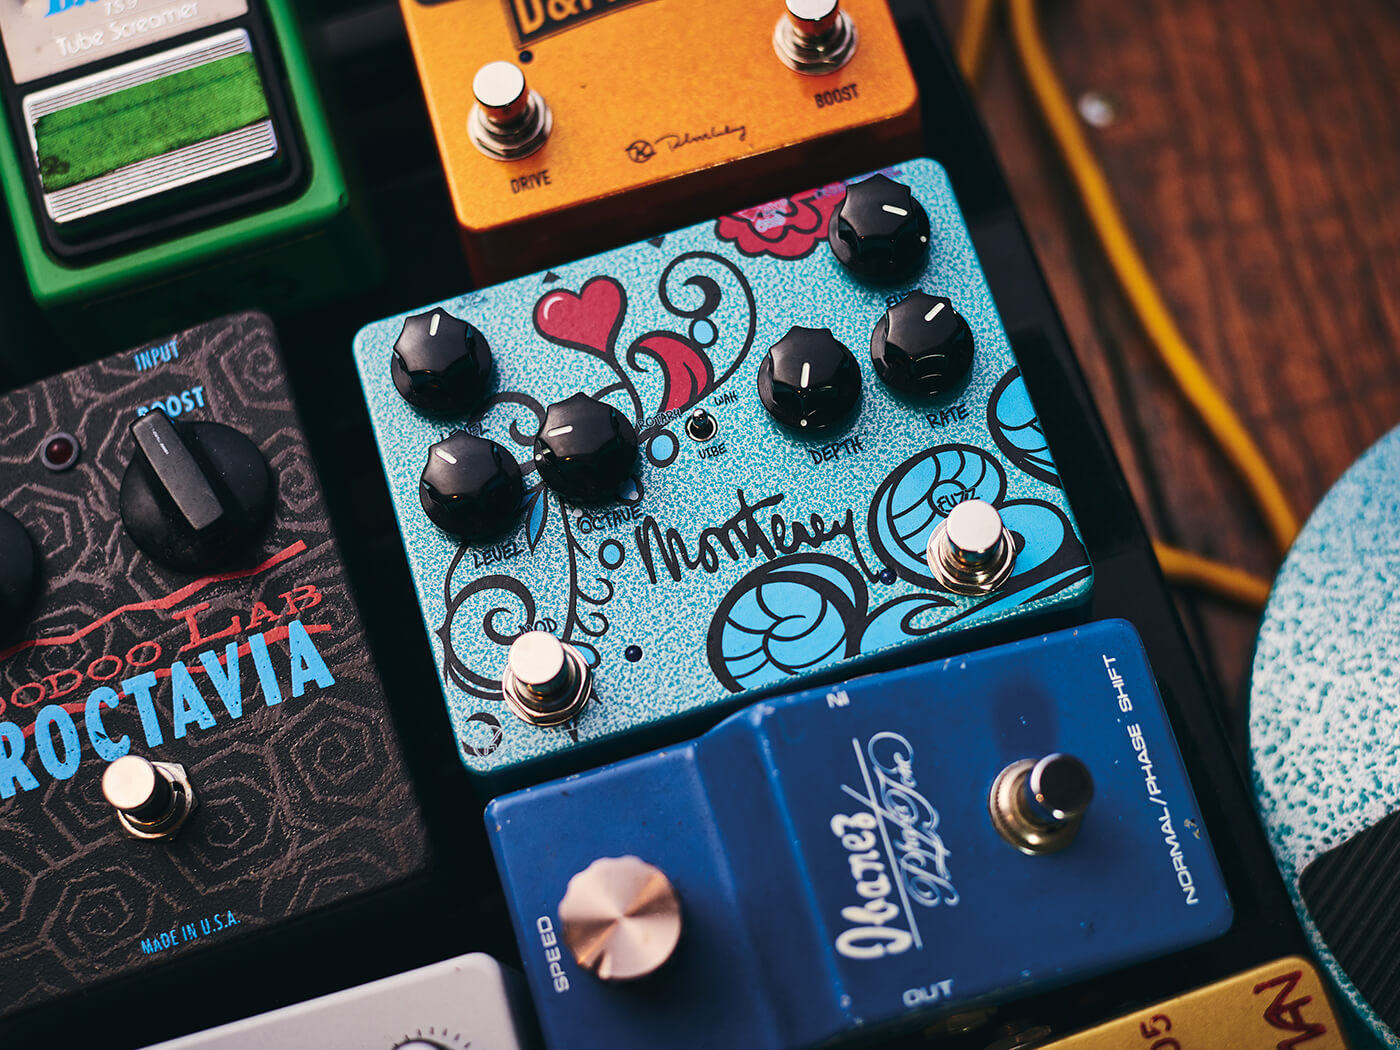
10. Stomp it out
Pedals can add noise, nibble at your tone, cause faults, and conduct power supply noise and ground hum. There is no need to invite unwanted noise and complication to what should be the shortest possible electrical journey from your pickup(s) to the A/D converter. Keeping your recording signal chain as simple as possible can also prevent you losing creative impetus to endless A/B comparisons between overdrive tones.
- READ MORE: The best pedalboard problem solvers
On the other hand, pedals are fun and stomping on the wrong button can take your recording in a whole new direction. Less is usually more but occasionally, more is more. Be aware of where noise enters your chain and take a moment to compare your tone through your pedalboard (all pedals off) versus direct into the amp or recording channel; it can be surprising what’s lost along that copper road.
11. Lightning in a bottle
Nobody made a great record by waiting until they could afford their dream guitar. Over the years, countless hit records have been made with pawnshop prizes and truly shonky gear. If you have a good idea, record it while it’s hot, even if that’s with your least favourite guitar or using a fizzy preset in your amp modeller.
Gear is just a means to an end, so if inspiration strikes, use whatever is to hand, even if it’s not your preferred recording chain. You can always try and better your original take later once the guitar/pedal/amp/interface you were saving for arrives, though in our experience, what is gained in sound quality can often be lost in feeling.
12. Trust your ears
It may seem a cliché but it bears repeating. We’ve all heard tales of how our favourite guitar tones were achieved, and though these can provide essential lessons on recording, it’s crucial to be aware of the role of circumstance or chance. Use the experiences of others as starting points or as blockage breakers when you come up short, but always prioritise what comes naturally to you and what you feel comfortable with in regard to recording style.
Central to this is trusting your ears as only you know what ‘right’ sounds like, and odds on it will sound right to many others too. So turn that mid knob all the way up, put the reverb before the distortion pedal if you want to – do whatever makes your ears happy. Further down the line you might change your mind, but at least you’ll have learned something instead of simply copying.
13. Mix-ready or not?
Who doesn’t want to track their guitar part gleaming with EQ, reverbed into space and pumping with compression? It can make sense to lay your part down as it’ll likely sound in the final mix – especially as the boutique effects boom has seen more and more players approach their guitars like a controller, playing the effects as much as the instrument itself.
However, there can be pitfalls. Though compression can be fun to play into, its dynamic range reduction can subtly alter your timing and phrasing so as to frustrate your efforts during recording. Also, an ‘epic’ sound early in the tracking process can soon be overwhelmed by additional instruments or take up much-needed mix space.
14. Best friend or worst enemy?
Whether it’s a simple compressor pedal, a plugin or a weighty rack mount studio classic, it’s important to get to know how the compressor you use actually behaves. Compressors can add extra bite to funky chops, but they can also render your fat rhythm part thin and lifeless.
- READ MORE: The best compressor pedals for guitarists
If you are unfamiliar with compression then try to use those with the simplest array of controls, and definitely avoid multi-band compressors until you’re confident with single-band types (which is most). It’s worth noting that the more distortion you use, the less compression will make a difference – distortion reduces dynamic range, the very food of compression. Unless you’ve created an unmistakably awesome sound with compression in the recording path (post-pedals) it’s best to not commit it to the recording as you cannot uncompress later when the track has come together.
15. Decision time
Virtual guitar rigs allow a near-infinite range of tone-shaping choices and adjustability, which can make finishing a track difficult as undecided layer piles onto undecided layer. One can waste mental energy second-guessing how the cool sound you dialled in will perform come final mixdown, so why not nip this procrastination in the bud early on?
Try implementing semi-arbitrary limitations such as allotting a maximum of five minutes to setting up your amp, bouncing to audio immediately after recording/editing (keeping the DI… or not) and deleting the plugin settings, or treating the DAW as a tape machine and limiting the track count to 16 or eight. Anything that helps build trust in your ears and instincts can only be a good thing as it will hone creative efficiency and show you how sheer chance can create moments of inspiration.
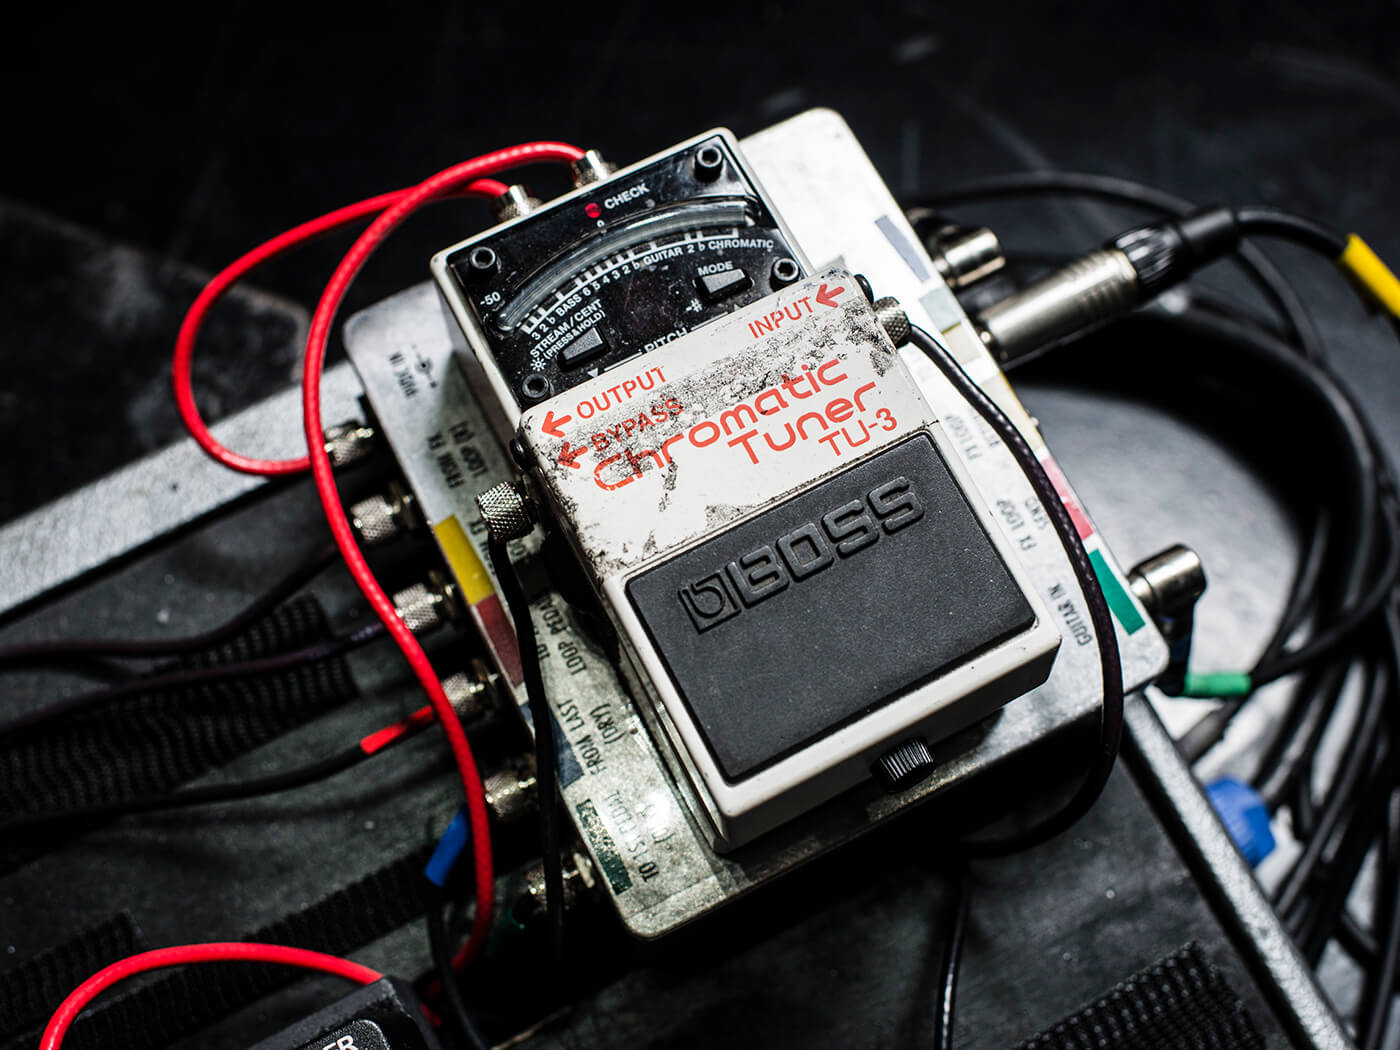
16. Role of the DI
However great your pedal setup or amp/mic combination, if your plain vanilla DI signal can be recorded then do so. Not sure how? Try using the spare output from a stompbox tuner such as a Boss TU-3 and routing that into your interface in parallel with the effected signal and onto a separate track in your DAW.
- READ MORE: The best DAWs for guitarists
It’s good to have a safety in case part of the rig dies partway through a real ‘keeper’ take, while sometimes distorted tones that sound great while tracking cause problems at mixdown due to the loss of punchy transients. Rolling in a slightly cleaner, punchier double with your DI signal running through a different amp or model can save the day without having to dial in dynamics processors.
You can also create a new element without having to play the part again, whether that’s running a darker amp tone through dense reverb for atmosphere or pitching up through fuzz and modulation to highlight a hook in the mix.
17. Re-amping rules
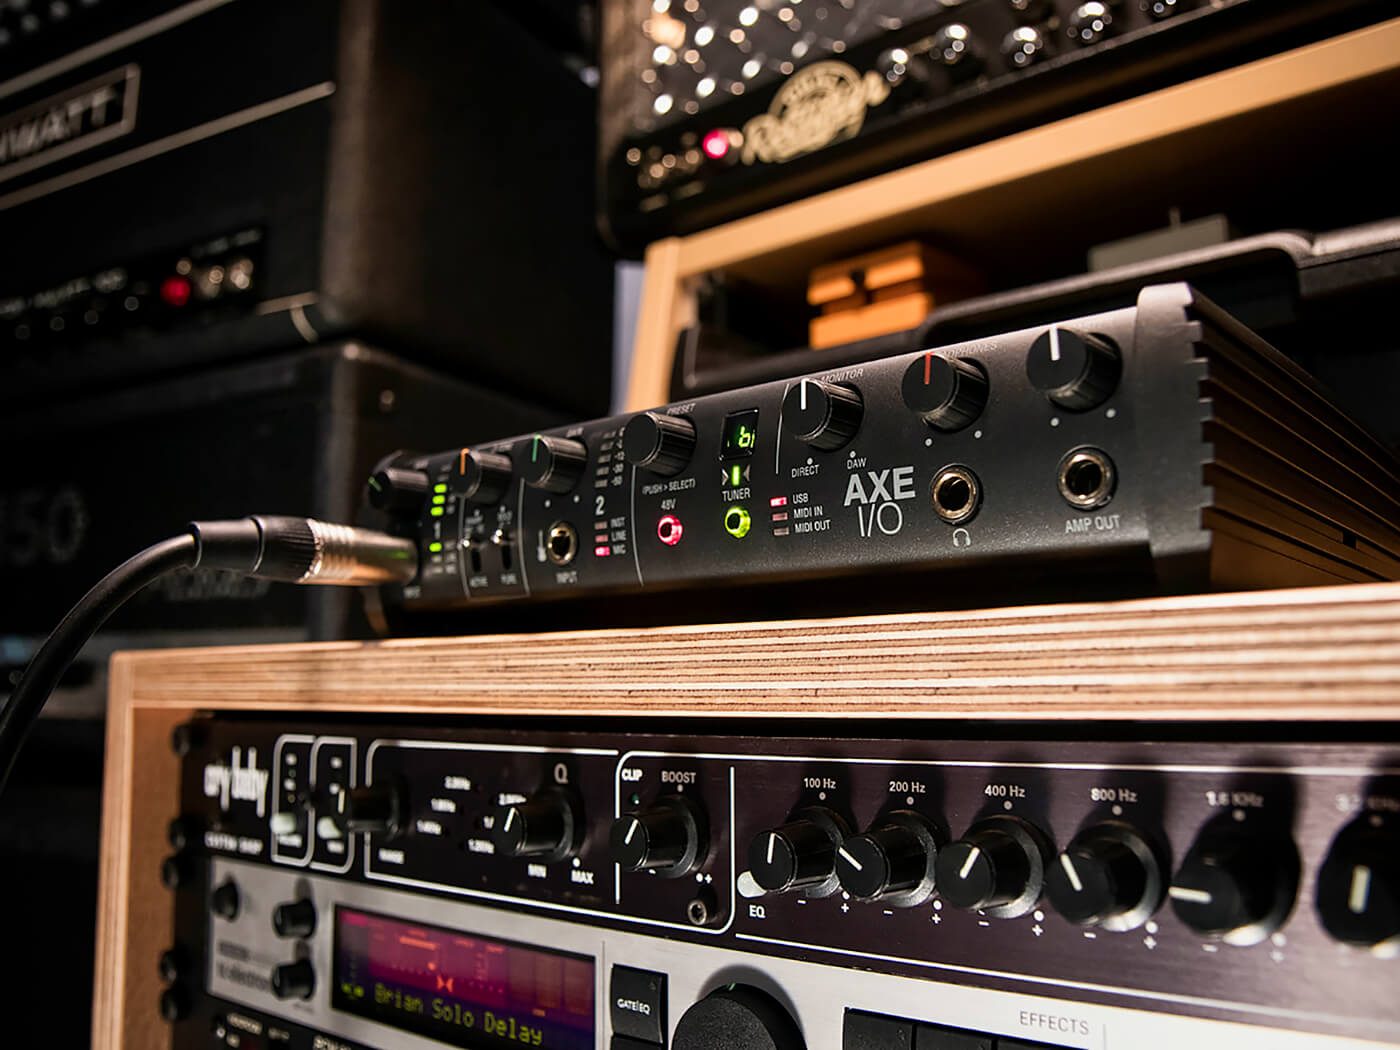
There are very few rules for reamping, which is why it rules. Your nominal guitar output level, which amps like to see and pedals like to screw with, is more than 20dB lower than line level. To reamp your guitar DI (or any other audio) it is possible to just drop a line level output by 20-25dB, but this will incur impedance-based frequency and phase problems, however small. If you have an interface loaded with a reamp output, such as the IK Axe I/O (£369, ikmultimedia.com) then you’re off to the races, otherwise look at investing in a reamp box such as Radial X-Amp or ProRMP (radialeng.com).
Reamping, whether through effects or actually blowing out of an amp, is particularly fun and rewarding as you have already done the hard bit – playing the guitar part. Now you get to tweak pedals in real-time and find that dual overdrive sweet spot.
18. The secret weapon
Over the years, everyone from Glen Campbell to Phoebe Bridgers has found the baritone guitar to be a huge source of inspiration, and there’s no doubt that the depth and harmonic interest generated by an instrument tuned B-B can enliven even the most mundane chord progressions.
Single-note lead lines into tremolo and spring reverb sound especially haunting and a good baritone can even double as a regular bass – select the neck pickup and run it through a bass amp model to enhance the low-end. Check out the Danelectro Vintage ’56 baritone (£599, jhs.co.uk) for the full Wrecking Crew experience.
19. Double trouble
While you’re in the zone after the ‘keeper’ take, why not pop another down safely, knowing the main part is in the bag? When playing along with the original, recording a double-tracked part can be a less pressured performance. Replicate the initial take and pan the parts hard left and right to add width to a mix and create a natural space in the centre for solos and vocals.
For a more creative approach, before you record the second pass, try switching pickup settings, tweaking pedals, changing the amp or even switching guitars. Double (or triple) tracking in this way can add bite or thickness when tucked behind the main take, while pulling doubled parts in and out of the mix can enhance verses, choruses and middle-eights.
20. Keep it creative
When the recording environment is relaxed, it’s easier to think creatively and act decisively. Positive recording experiences also provide techniques, practical and emotional, to cope with sessions plagued with problems. To this end, it can be worth not only getting the gear choices right but setting up an environment you feel relaxed in, whether that’s by employing mood lighting, incense or wall hangings.
Whatever makes you feel good will come through in the recording. If you’re not feeling it then why not have some fun? Dial up an OTT sound and splurge a crazed solo over your track, or see what noise can be coaxed from your guitar without playing a note. Sometimes invention can flourish when the pressure is off, and pop history is littered with happy accidents.
For more guides, click here.