Related Tags
DIY Workshop: 1965 Gibson Firebird restoration (Part 2)
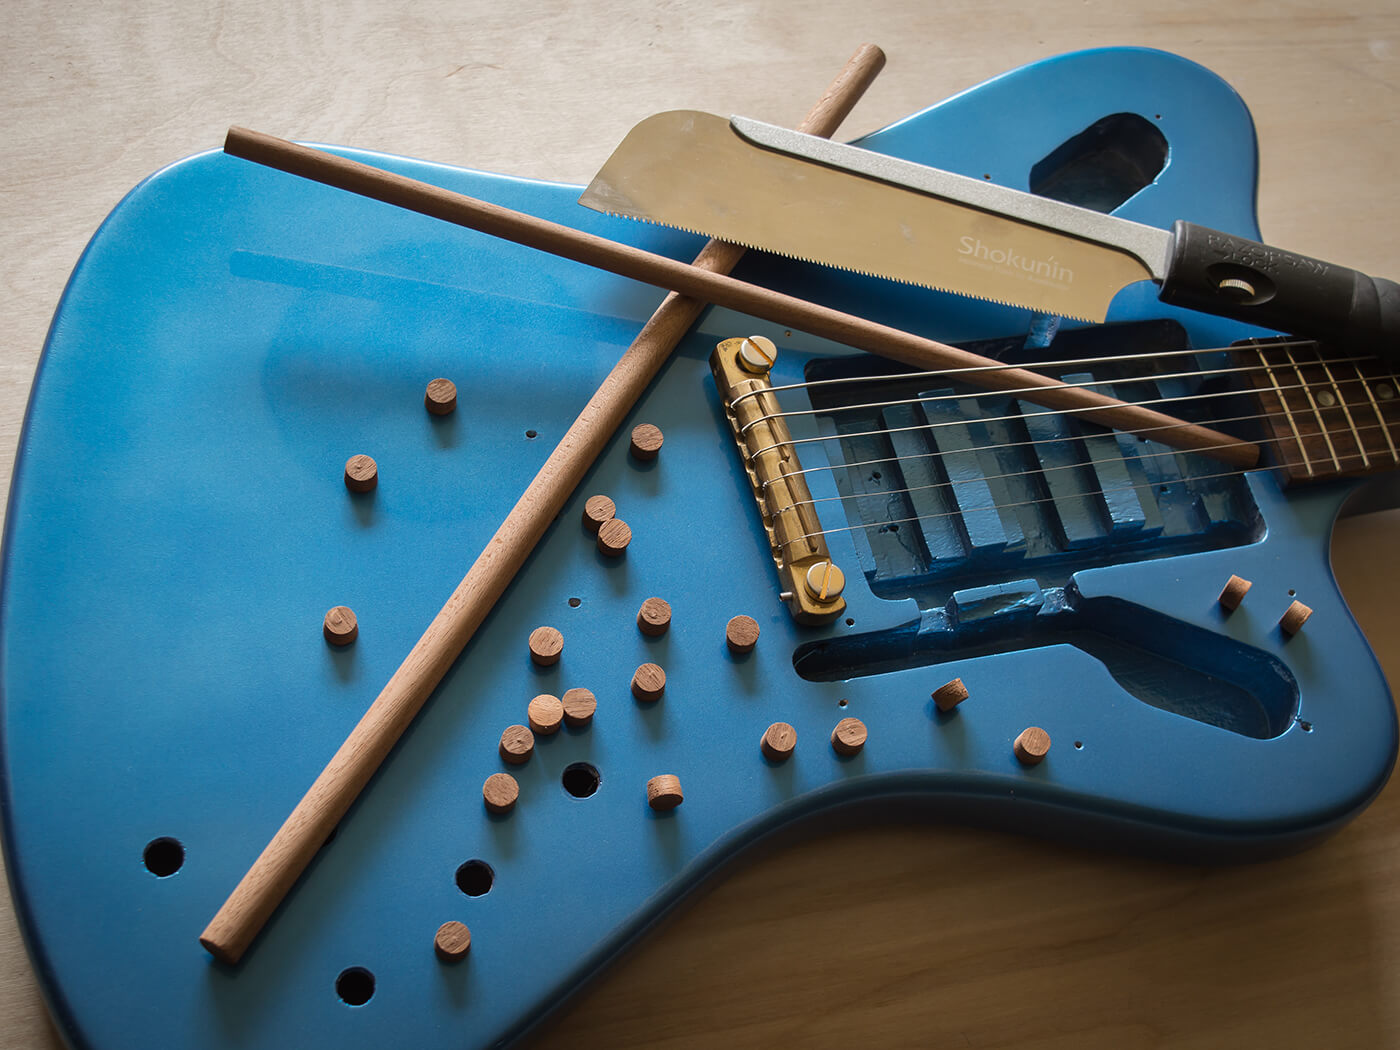
This 1965 non-reverse Firebird has really been through the wars, but it’s time to make it structurally stable, install the correct bridge and get it in the spray booth.
It has been a long while since our first instalment of this non-reverse Gibson Firebird restoration, but bad weather and too many other projects got in the way.
The guitar also had some serious issues that I was unsure about fixing but, having devised a plan of action, work recommences.
Plug holes
The owner has decided on a wraptail bridge but in addition to several plugged holes, the existing holes for the Gotoh bridge bushings are in the wrong positions for a wrapover unit. So first, I need to plug those too.
Placing a 15mm piece of dowel in the centre of each bushing, I tighten bolts into the bushings and they lift out easily. I gauge the hole depth with digital callipers and cut some 12mm mahogany dowels so they’ll press in and finish up a few millimetres shy of the surface. I also shape one end of each dowel so they match the end of the bit that was originally used to drill the holes.
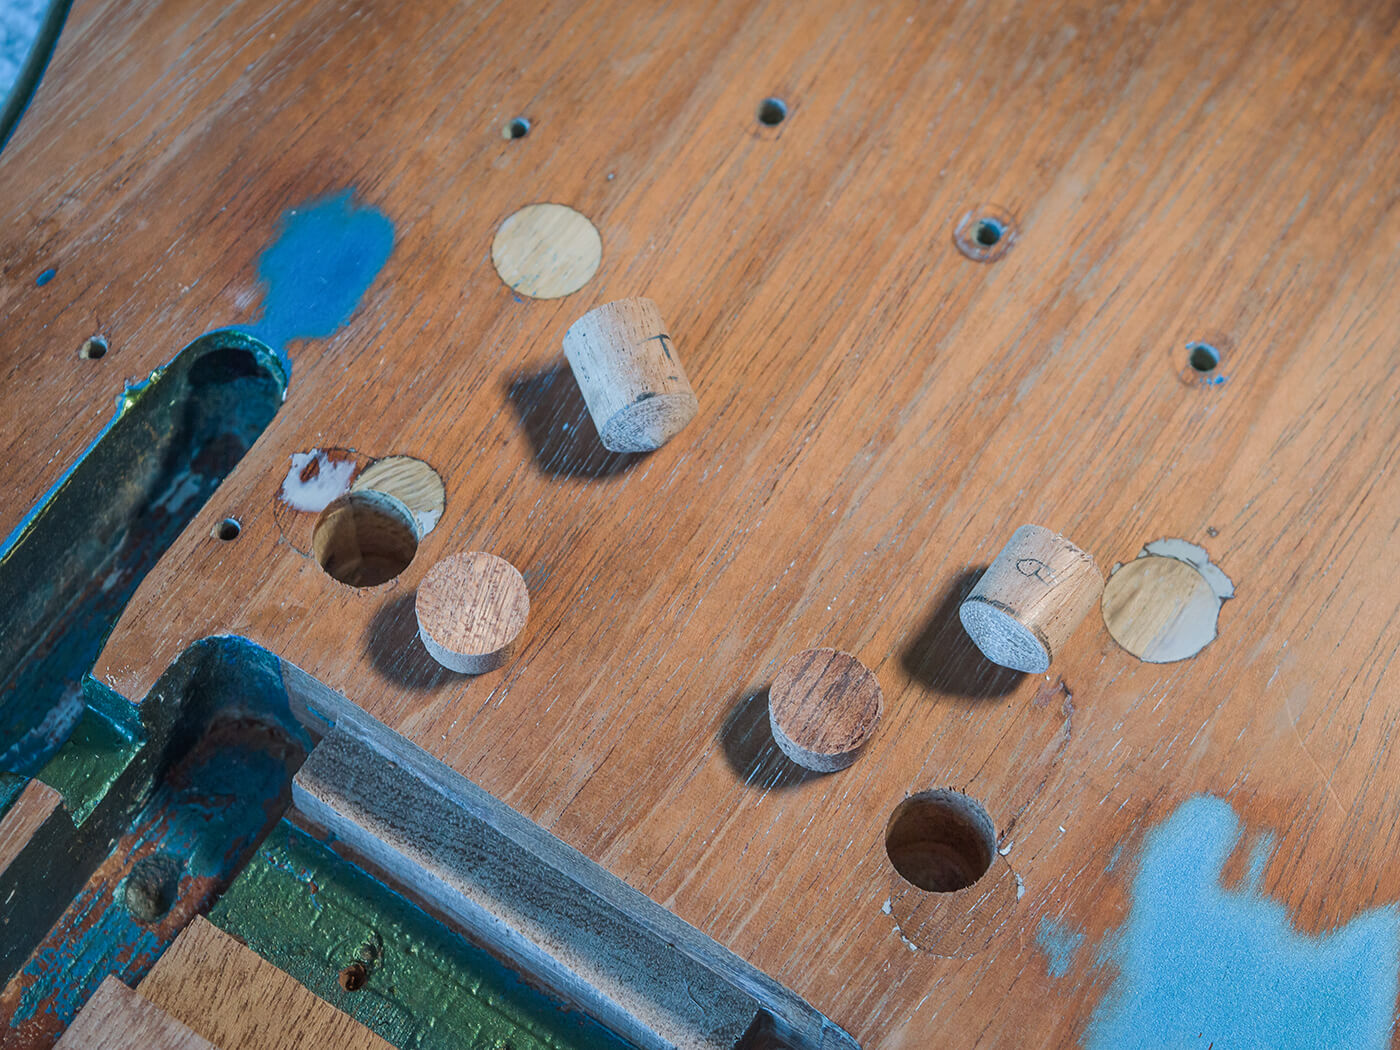
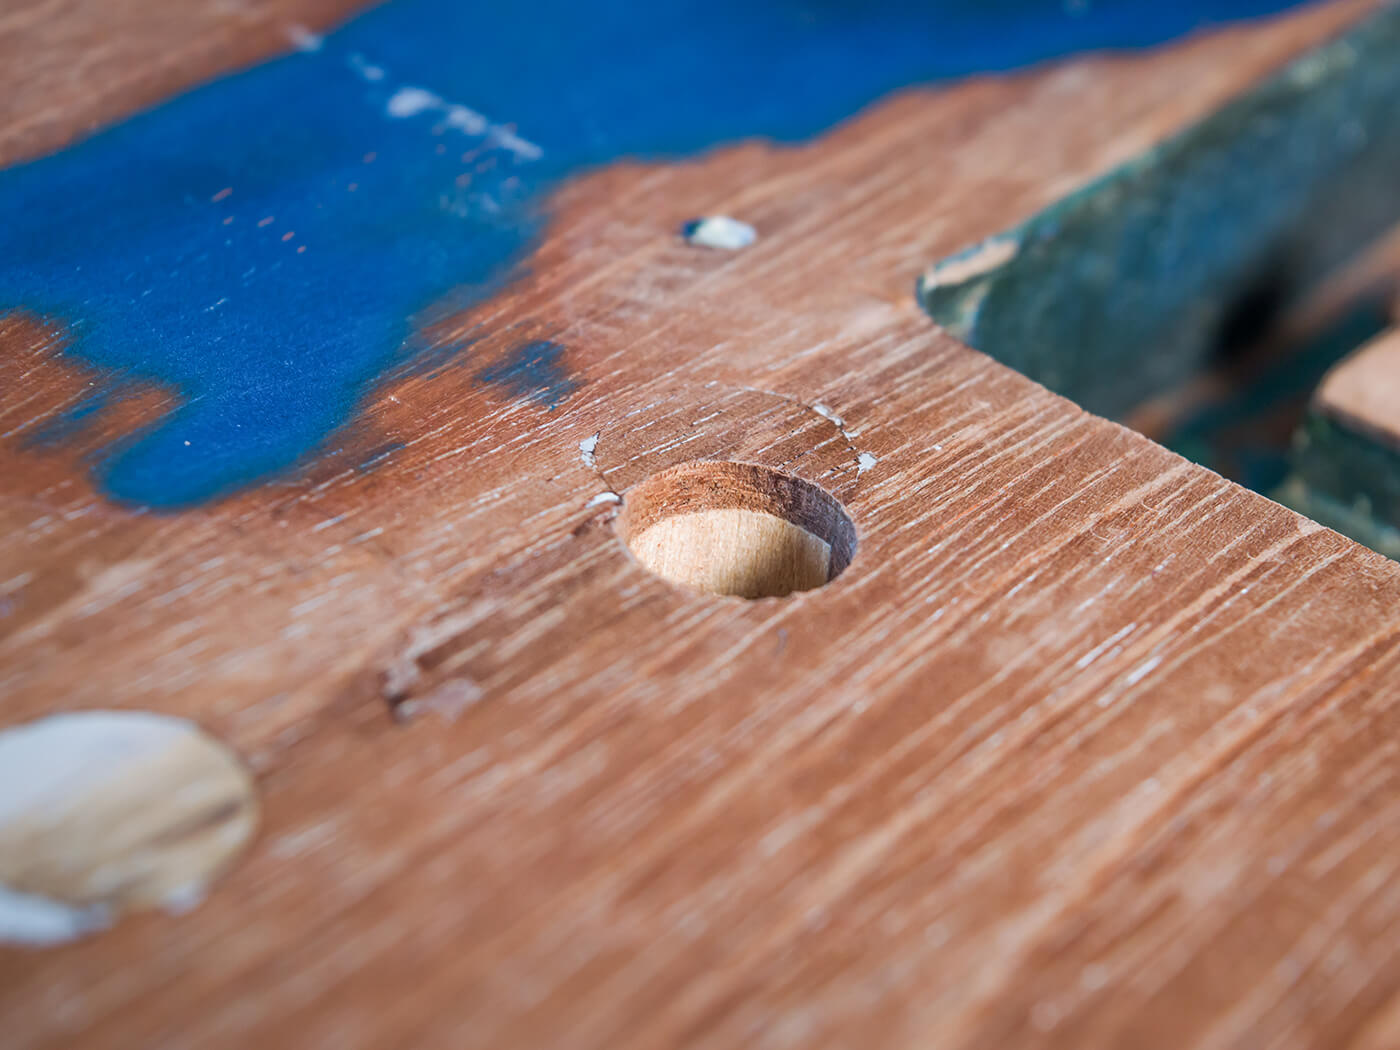
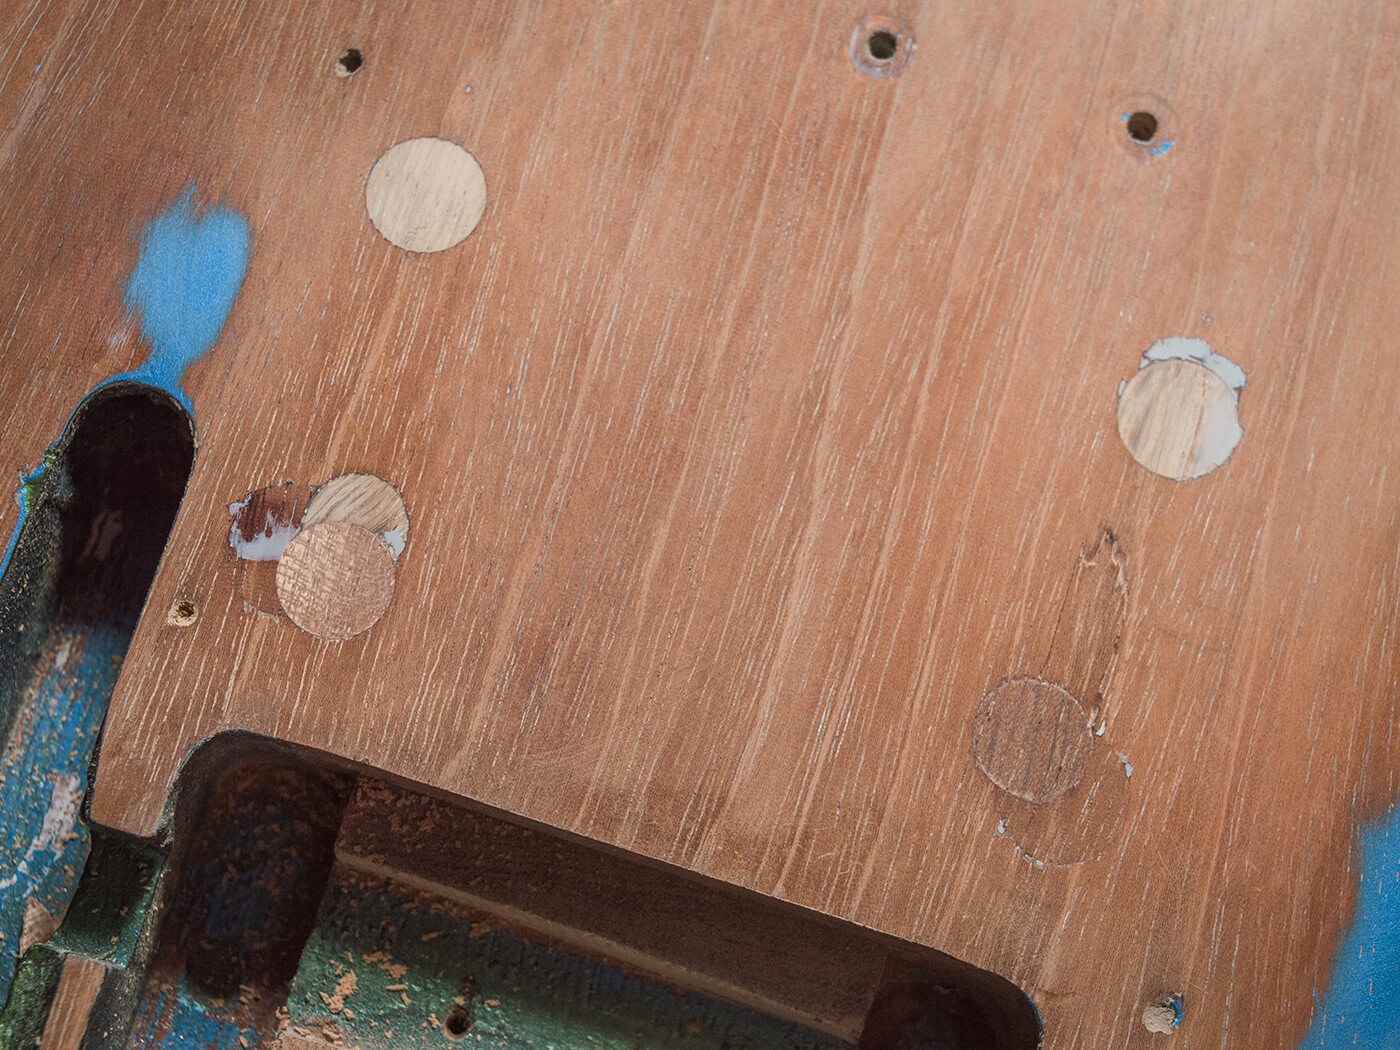
The dowels are glued in with Titebond and with more glue applied to the tops of the dowels, I tap 12.7mm tapered mahogany plugs into the holes. These plugs are flat sawn and I align the grain to match the body because this should minimise the chances of the plugs showing through the finish once the guitar is sprayed. I trim the excess with a flush cut saw and sand the plugs smooth with the surface.
Bridge building
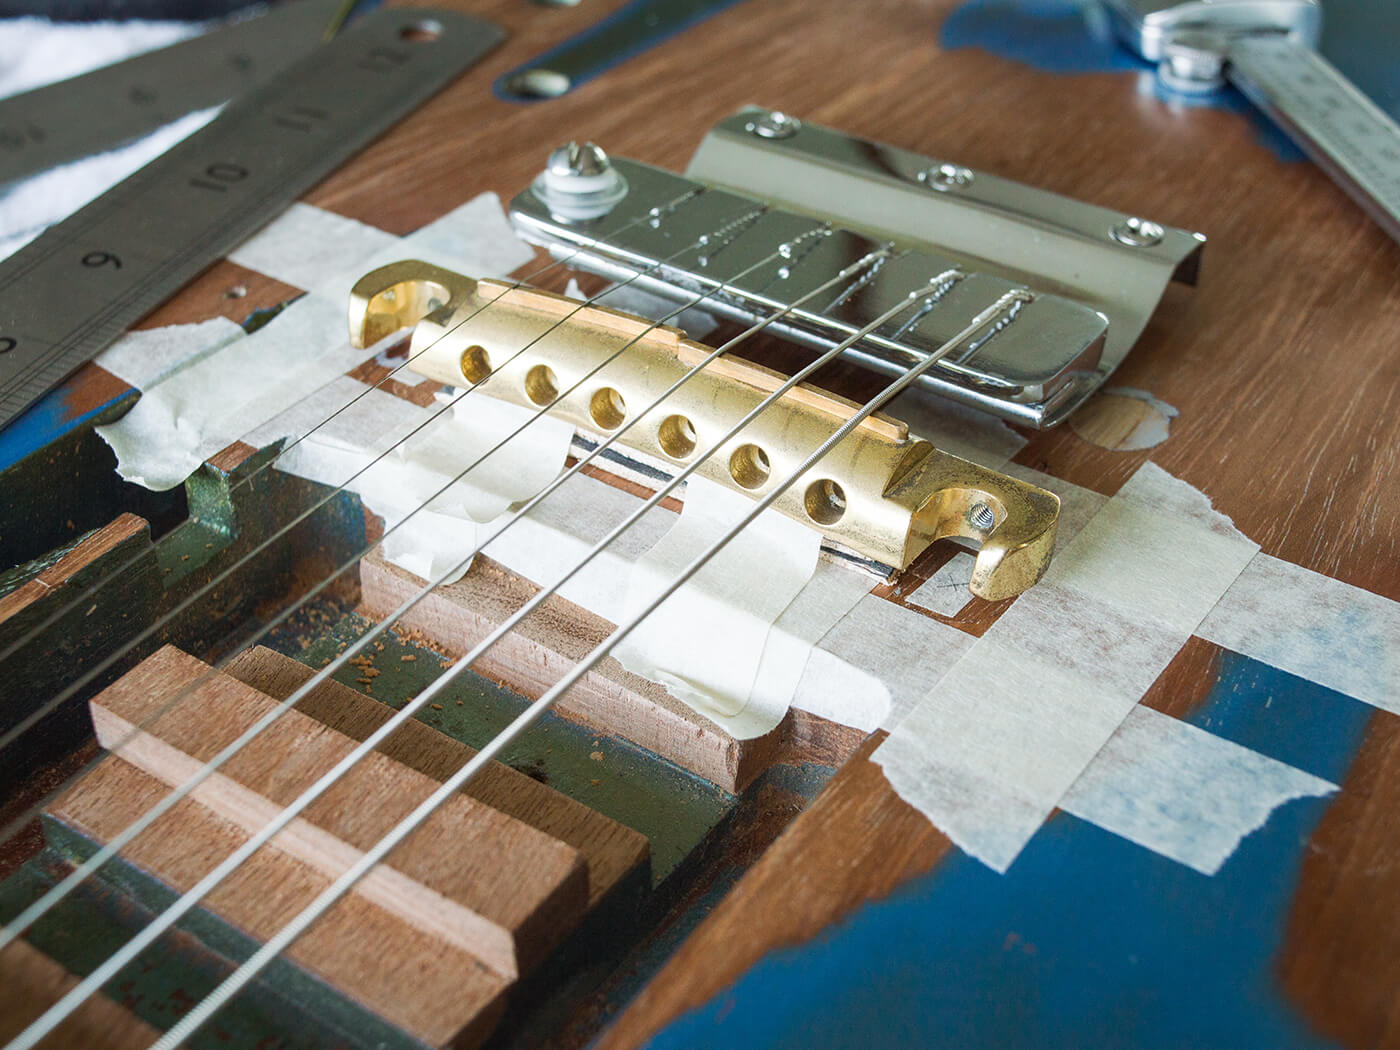
To determine the positions for the new bridge bushings, I begin by laying masking tape over the bridge area. With the Vibrola reinstalled to anchor the strings, I shim the wraptail up on strips of veneer so I can adjust the height for a useable action. The bridge is then shimmied back and forth until I’m happy with the intonation for all six strings.
To mark the centre points, I use a brad-point drill bit that fits tightly between the bridge ears, and the new bushing holes are made using a 13mm brad-point bit in a drill press. A smaller hole is drilled through the wall of the treble-side bushing hole into the control cavity. This is used for a new ground wire, which I install before tapping in the new bushings.
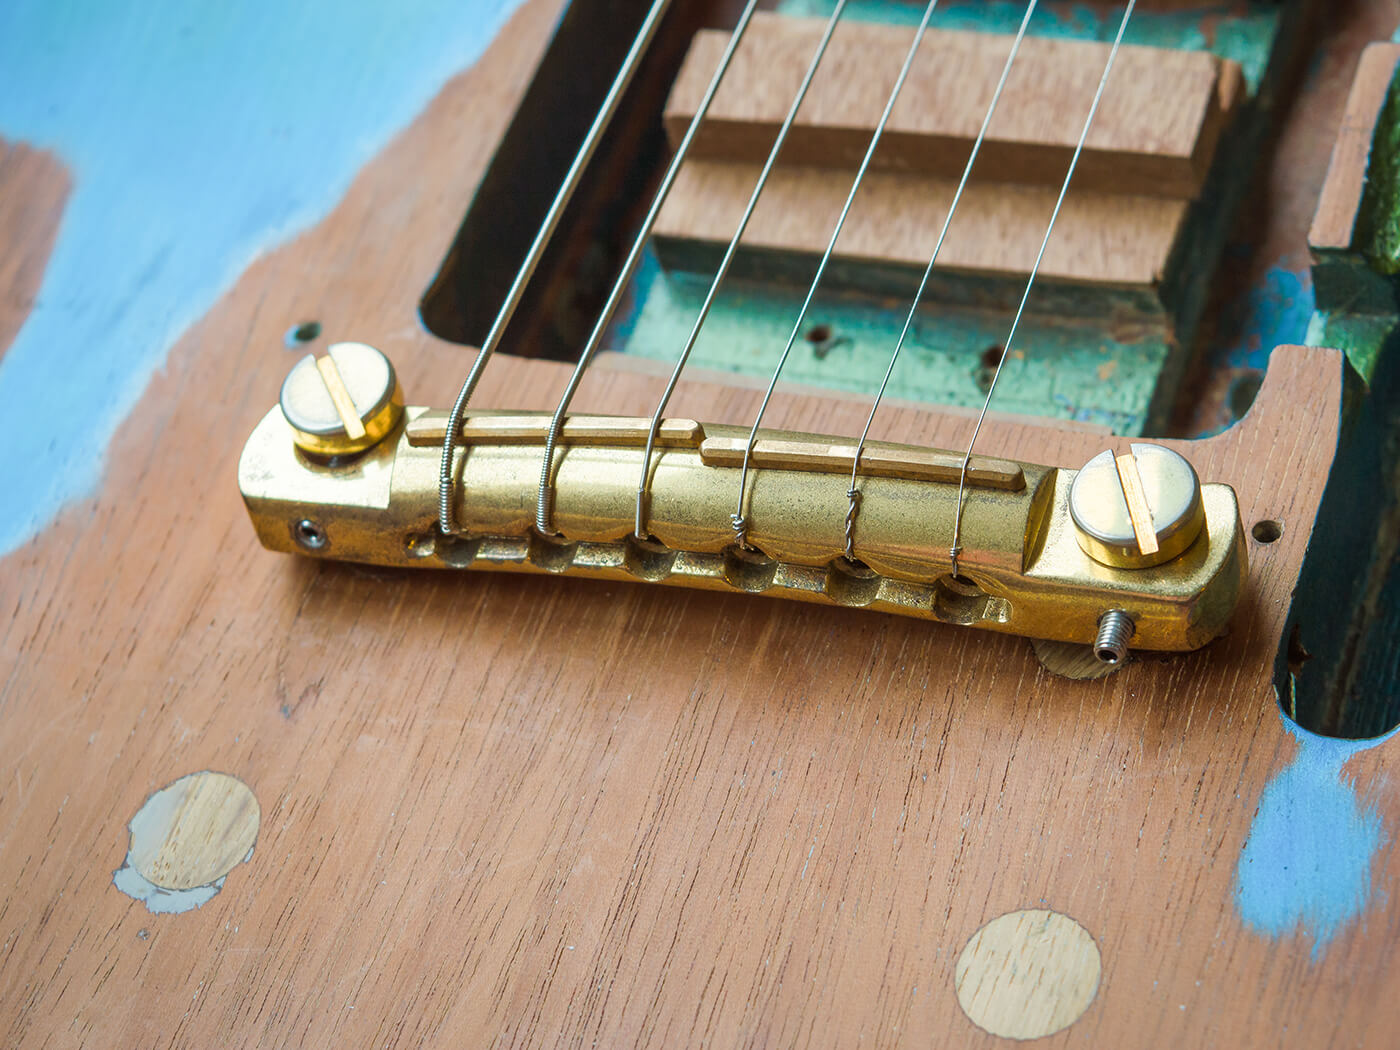
With the Firebird’s new wraptail bridge installed, I string the guitar up to check that everything lines up and plays nicely. The improvement in tone is extraordinary, with more volume, sustain and body.
Head aches
This guitar’s headstock had been subjected to some unusual modifications. The original six-on-a-plate tuners were replaced with diecast units and, at some point, the headstock was also modified for three tuners per side. All these holes had been plugged and the headstock was re-drilled for a set of Fender-style tuners. Over the years, I think this Firebird has worn four sets of tuners in total.
The guitar’s owner understandably wanted to revert to the original look, but the six-on-a-plate machinehead set he provided didn’t line up with the existing holes. This means I have to do some more plugging and drill six new holes. Unfortunately, a lot of the wood on the rear was blown out by the drill bit when the last holes were made, which complicates things.
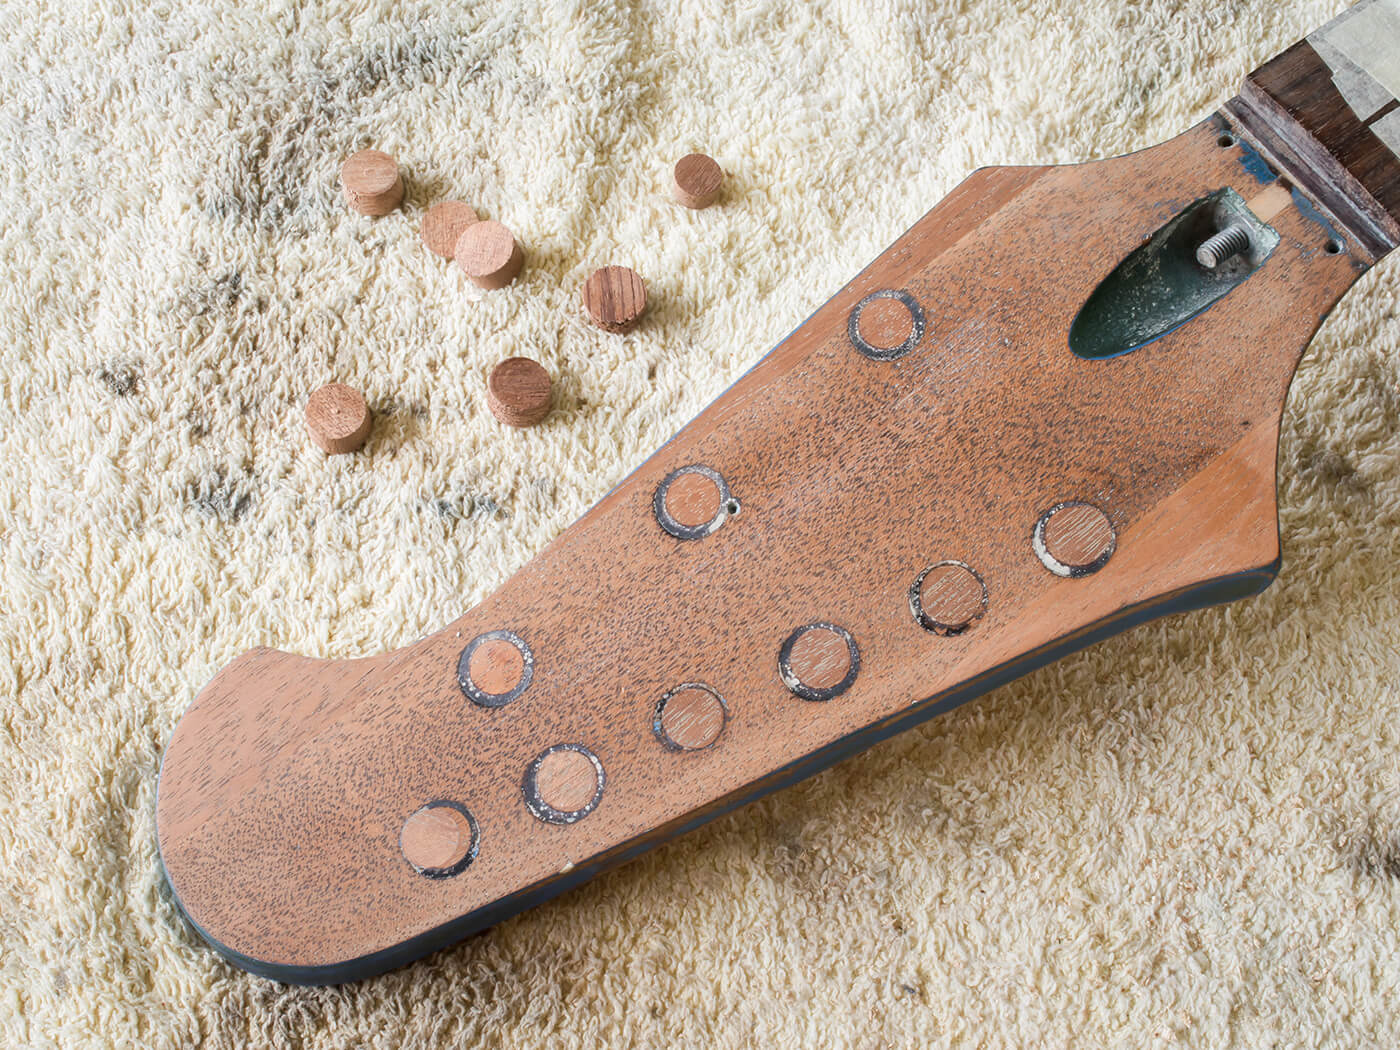
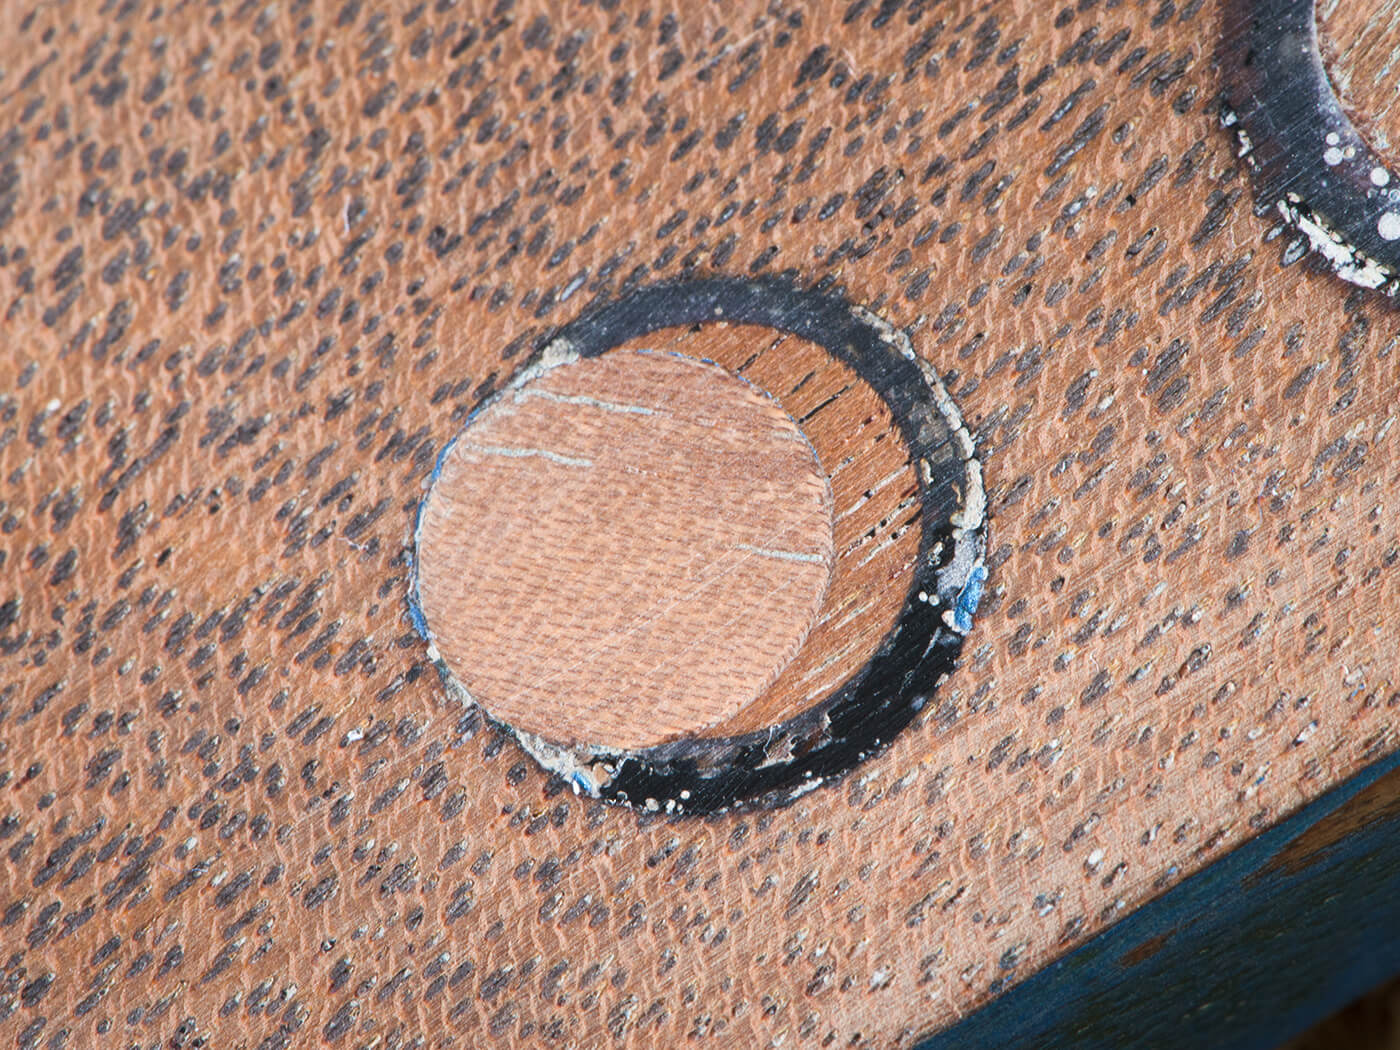
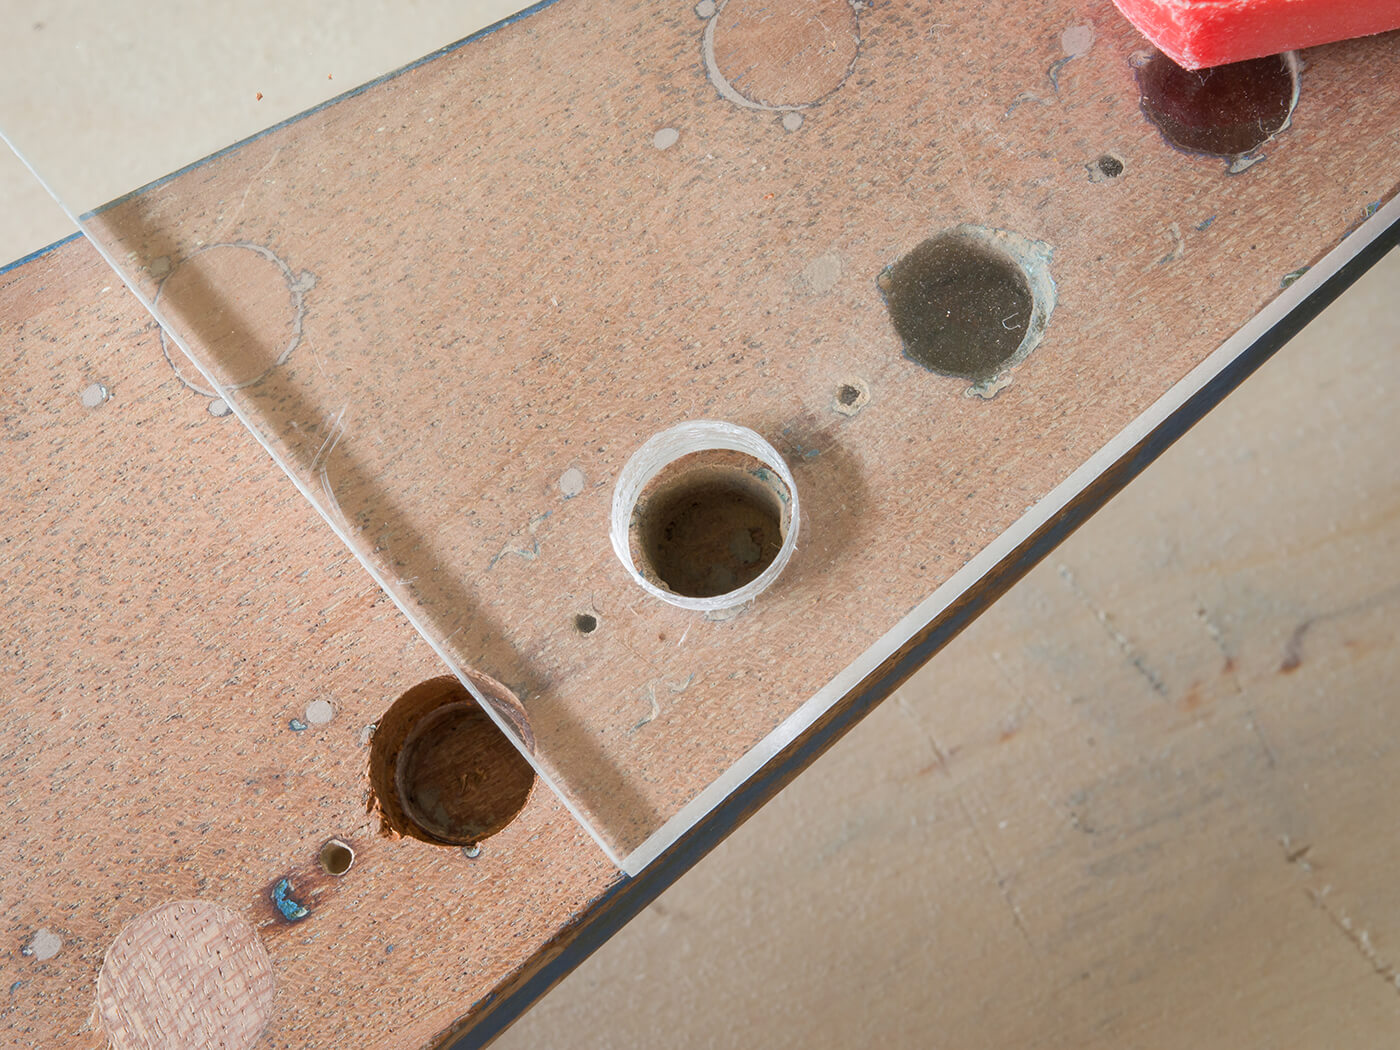
I begin by filling the neat 9mm tuner bushing holes at the front with flat-sawn 9.5mm (3/8”) mahogany plugs and levelling them off. The blown-out areas on the back require 12mm plugs to disguise the damaged areas and the damage dictates the position of the plug holes. To guide the bit, I drill a 12mm hole in a piece of Perspex so I can position each plug individually.
The front plugs have only filled about 3mm at the front of the tuner bushing holes, so I glue 9mm wide mahogany dowels in, leaving them a couple of millimetres shy of the surface. Next, I glue in the rear plugs and once they’re levelled off, I start thinking about installing the vintage-correct tuners.
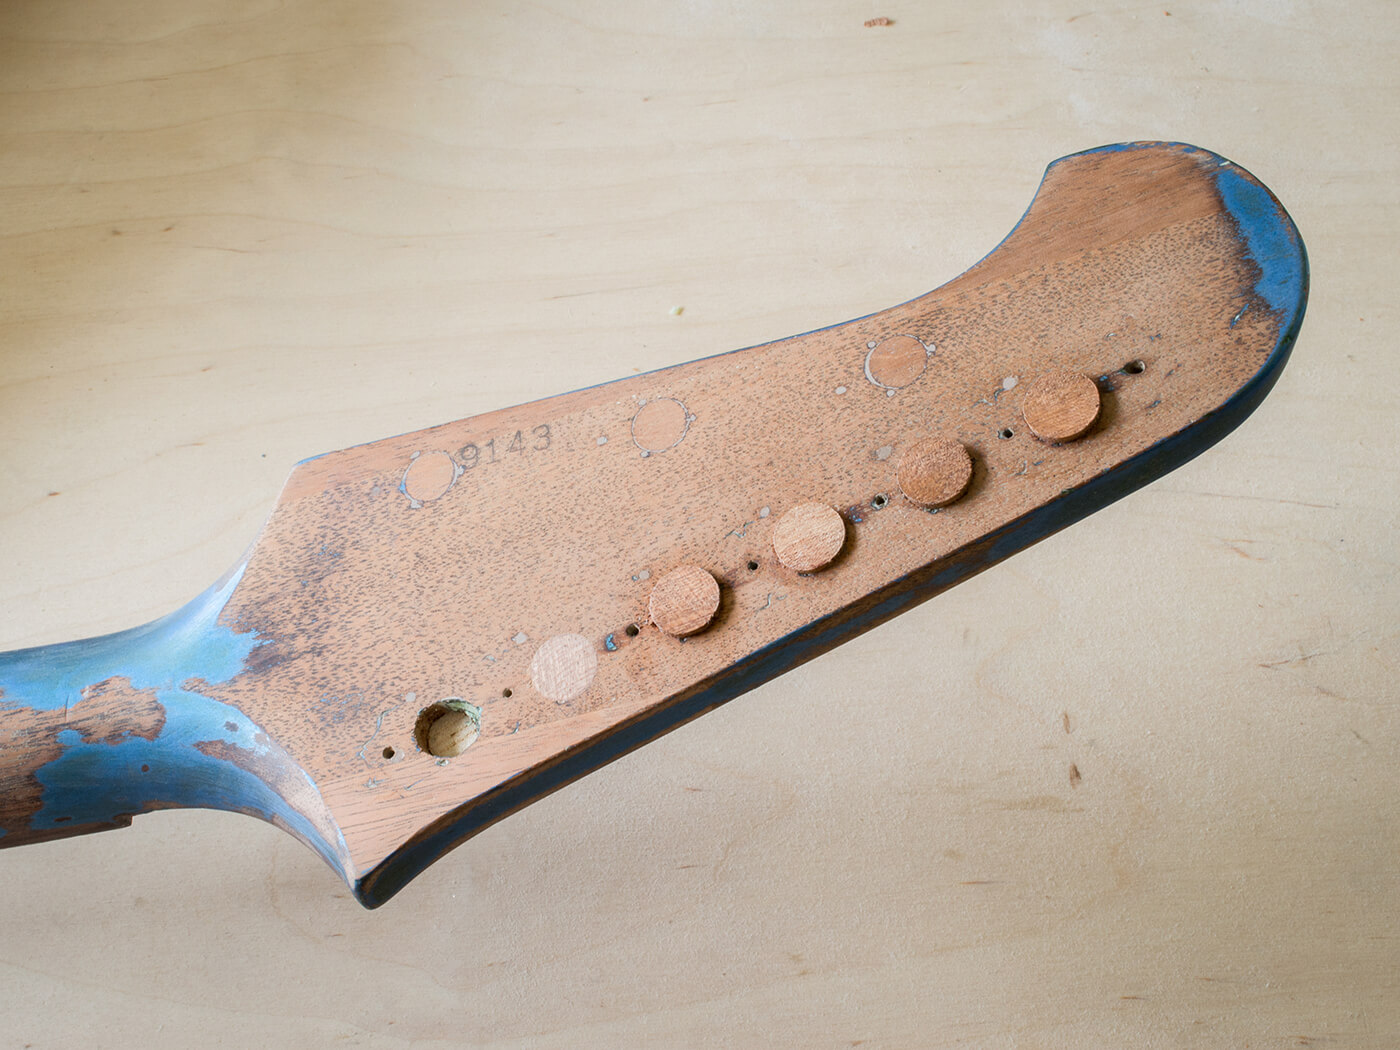
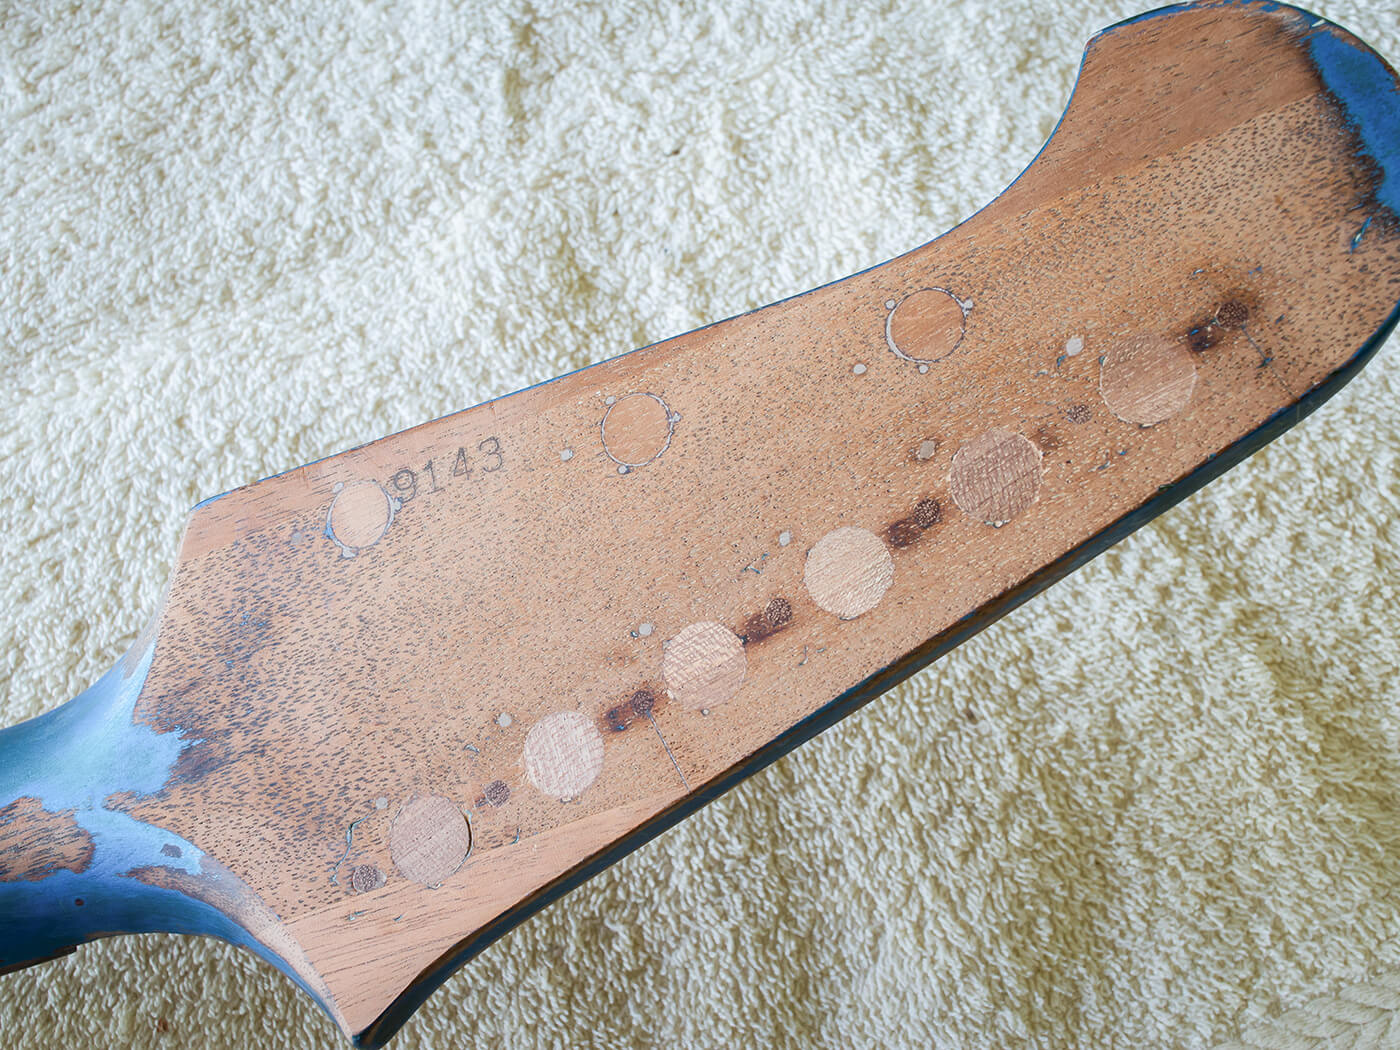
Despite the numerous plugs and patches, I can still tell where the original tuners were fitted. Having identified the bushing hole positions, I realise that the existing screw holes don’t line up, so seven more plugs are needed. This time I place 6mm mahogany dowelling into a pencil sharpener, create a sharp tip and cut about 5mm off the end. I tap this into a screw hole, let the glue dry and level it off.
The process is repeated for each tuner-screw hole – along with the trussrod cover screw holes. I estimate that the headstock has had forty plugs and dowels since it was made – but I’m still not done. I can accept the plugs showing through the finish at the back, and most will be concealed under the tuners anyway, but I’d prefer the front to continue looking pristine.
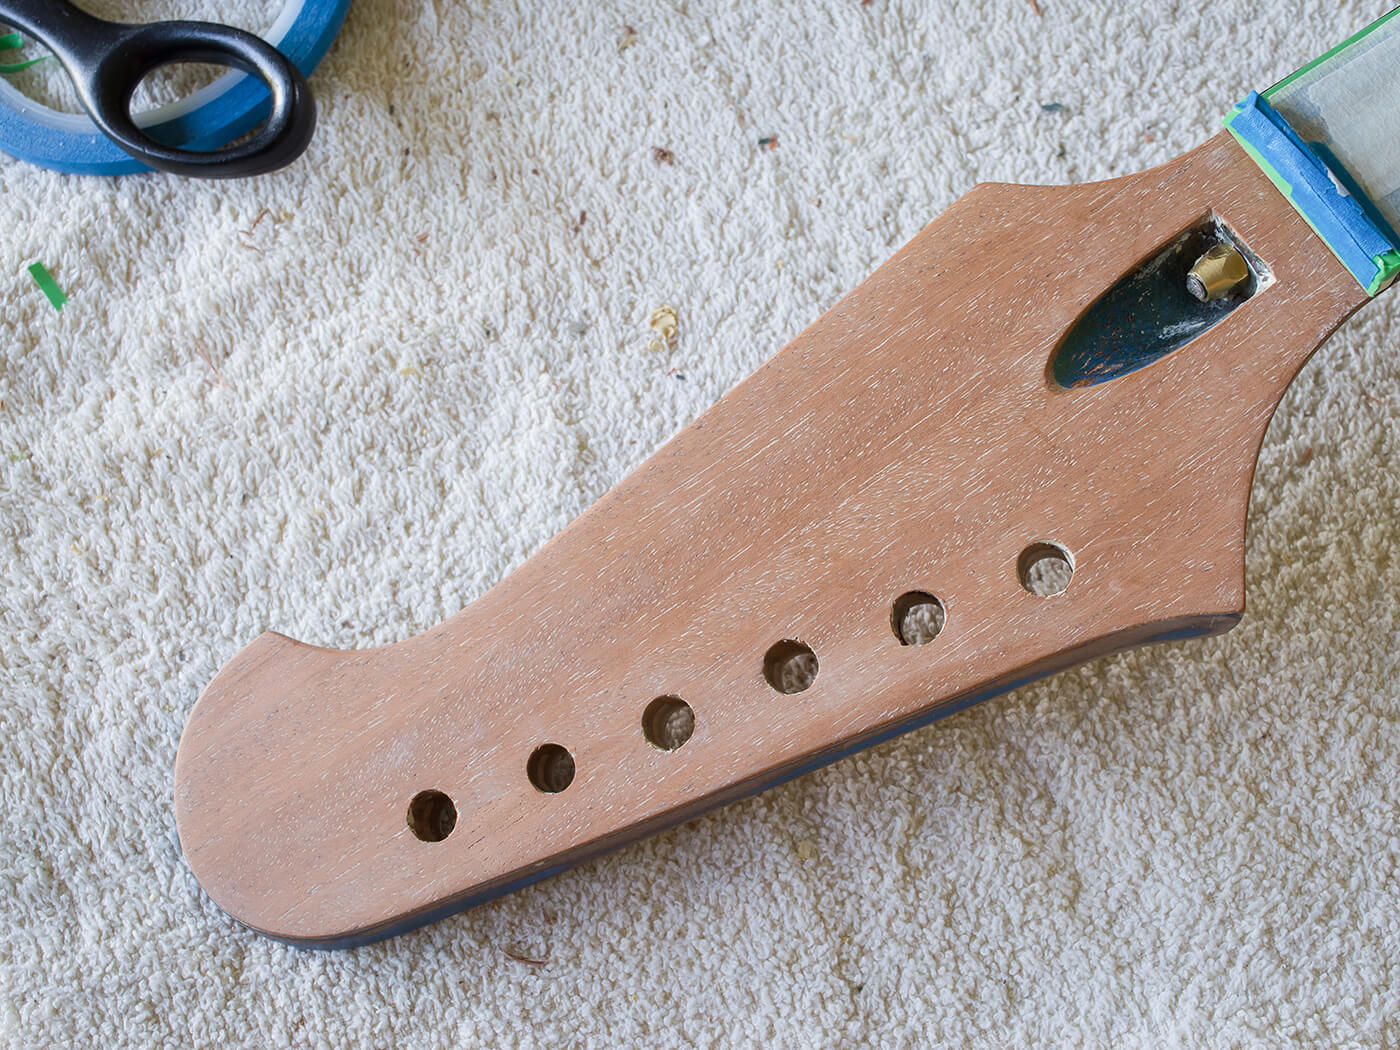
The only guarantee of that is to apply veneer to the headstock face. I figure the headstock has been sanded so many times that a 0.4mm veneer won’t do it any harm. After sanding the face as level as possible with flat sanding block, I cut some mahogany veneer slightly oversized, glue it with Cascamite and keep it pressed against the headstock using masking tape around the edges, and a flat caul with several clamps.
Back in blue
All the repairs have taken a sunburst off the menu, so a decision is made to stick with a Pelham Blue finish. The existing finish is pretty rough, but rather than strip the whole body back to bare wood I sand through the tinted clear layers, grain fill where necessary and respray with clear sanding sealer, followed by Pelham Blue and several coats of clear gloss.
The guitar was set aside for a month before I cut and polished to the high gloss you can see in the photographs. Next time, I’ll be relic’ing the parts and the finish, and reassembling the guitar.
For more information on Huw’s work visit huwpriceguitar.com.