Related Tags
How to change the pickups in your Stratocaster
A new set of pups can transform your instrument – here’s how to swap them out of your Strat or S-type guitar.
The allure of putting a new set of pickups and potentially transforming the sound of your guitar is always lurking for any guitar player. And for Strat players especially, the relatively accessible and straightforward nature of the pickups and pots all being mounted on the pickguard makes it an even more tempting prospect.
Whether you’re replacing your pickups because of a fault or just changing your sound, there’s a world of them to choose from – whether they’re a big name or a boutique brand, pretty much everyone does a set of Strat single-coils, and there’s a huge amount of sonic variety and options contained within.
We’re not here to tell you which one you should choose, as it’s incredibly subjective, instead we’re going to show how to change a set of Strat pickups yourself. With a little time and patience, you can wire up your Strat with a fresh set of pickups and transform the guitar for the better.
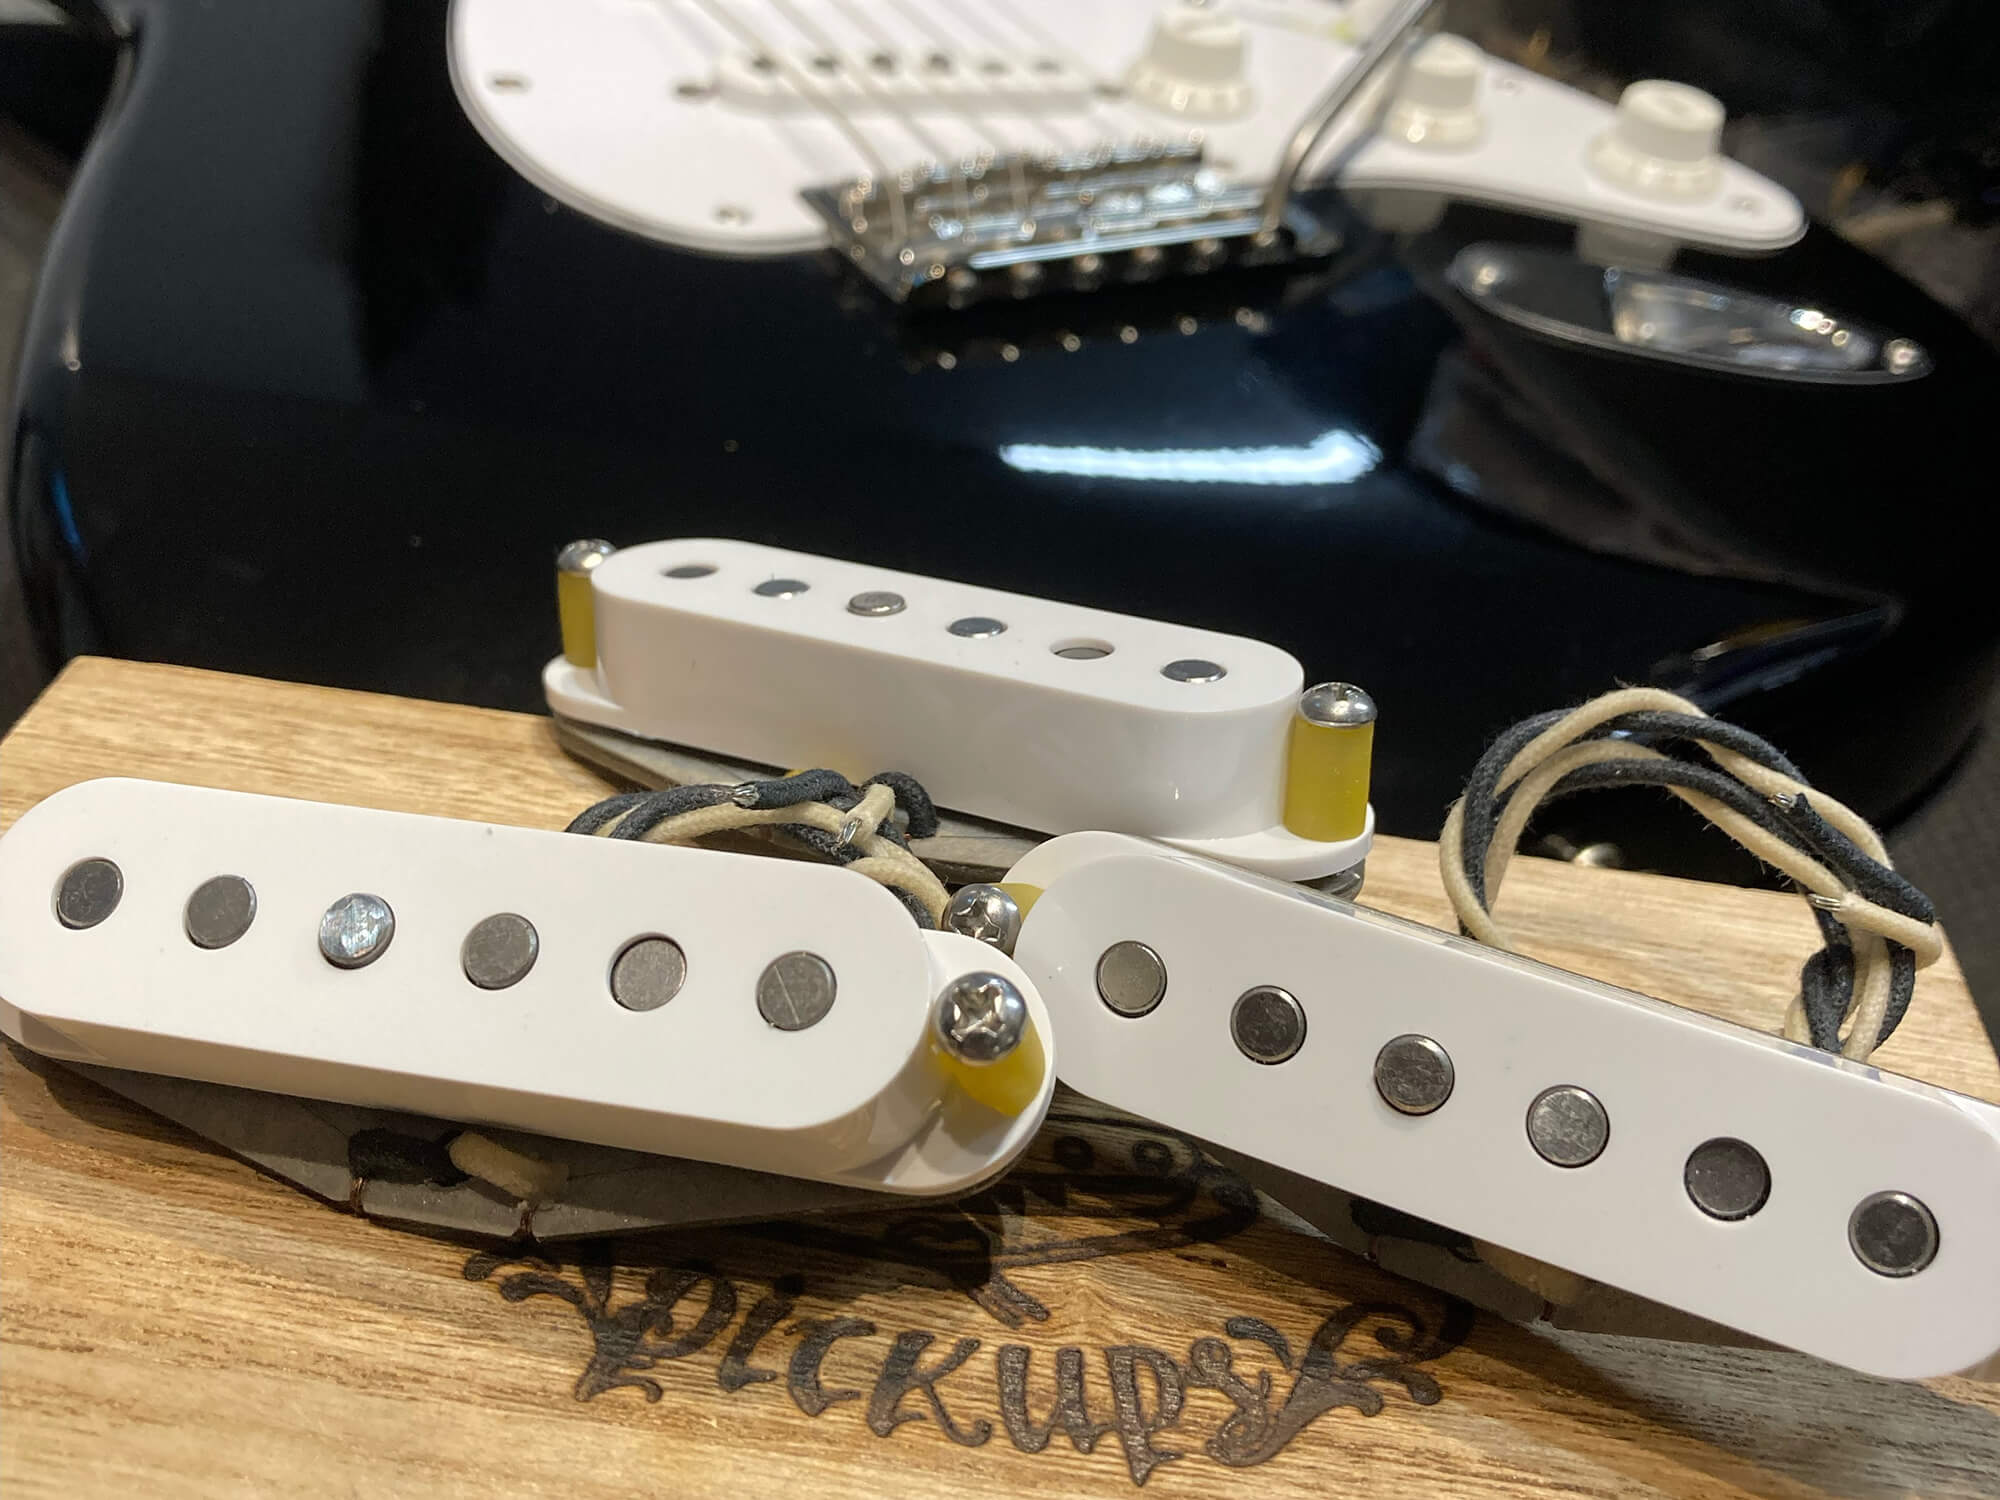
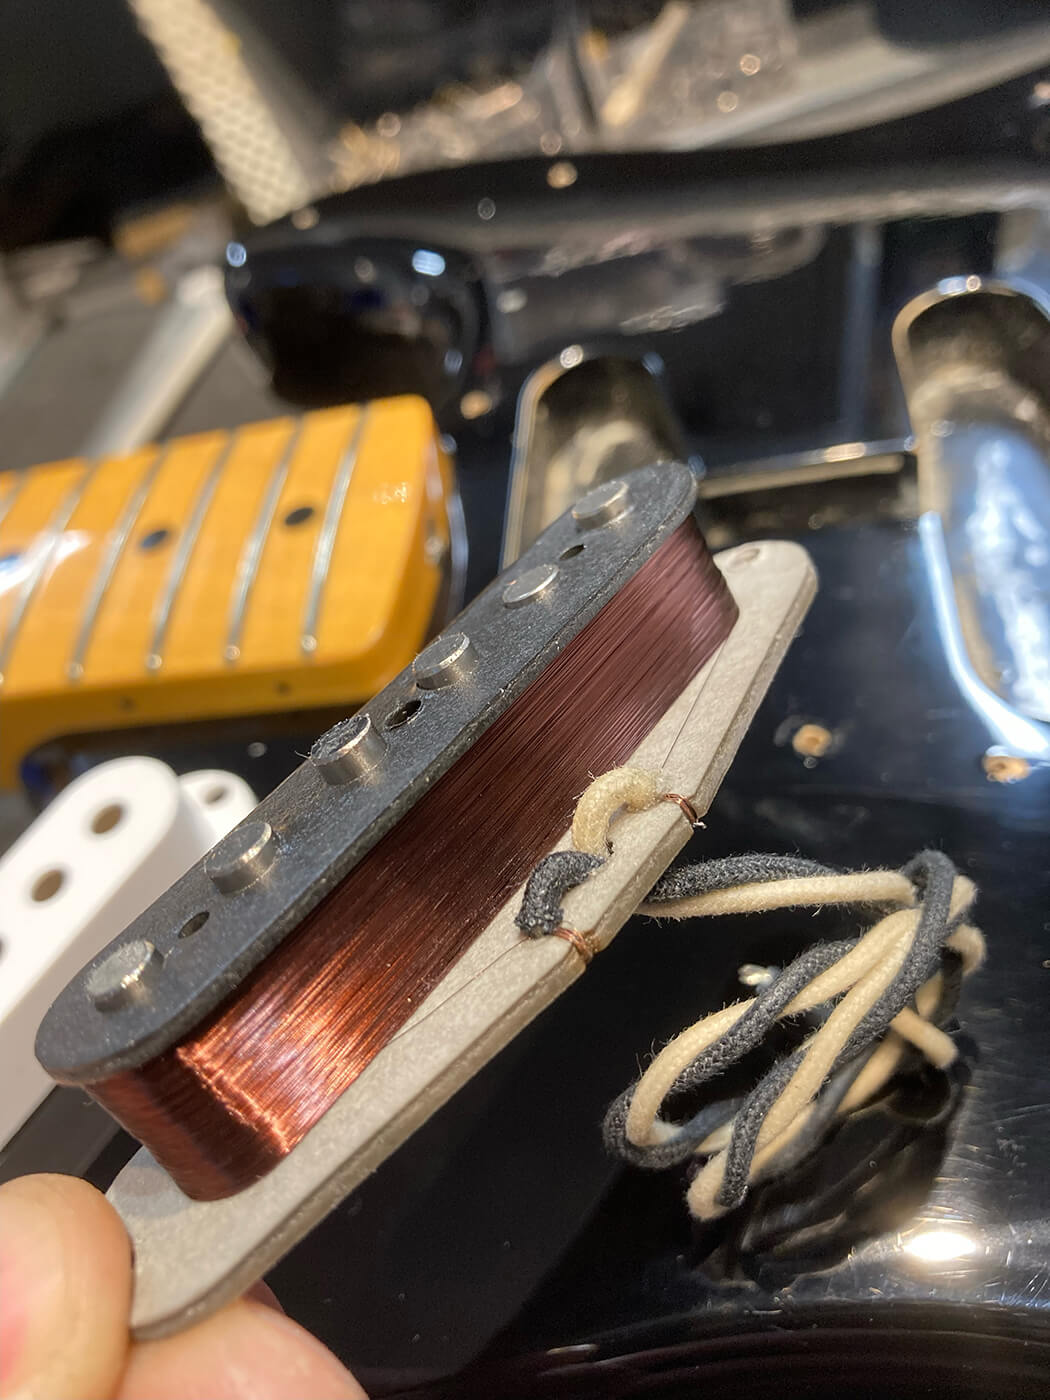
For this we’re using a Custom-built Fender Japan ST-68X hybrid Stratocaster as our subject, and we’re changing the existing Fender Custom Shop pickups for a set of House Of Tone, 68’ Specials.
What you will need:
- Soldering iron
- Wire cutters
- Solder sucker
- Solder
- Stratocaster or S-type guitar
- New pickups
- Patience
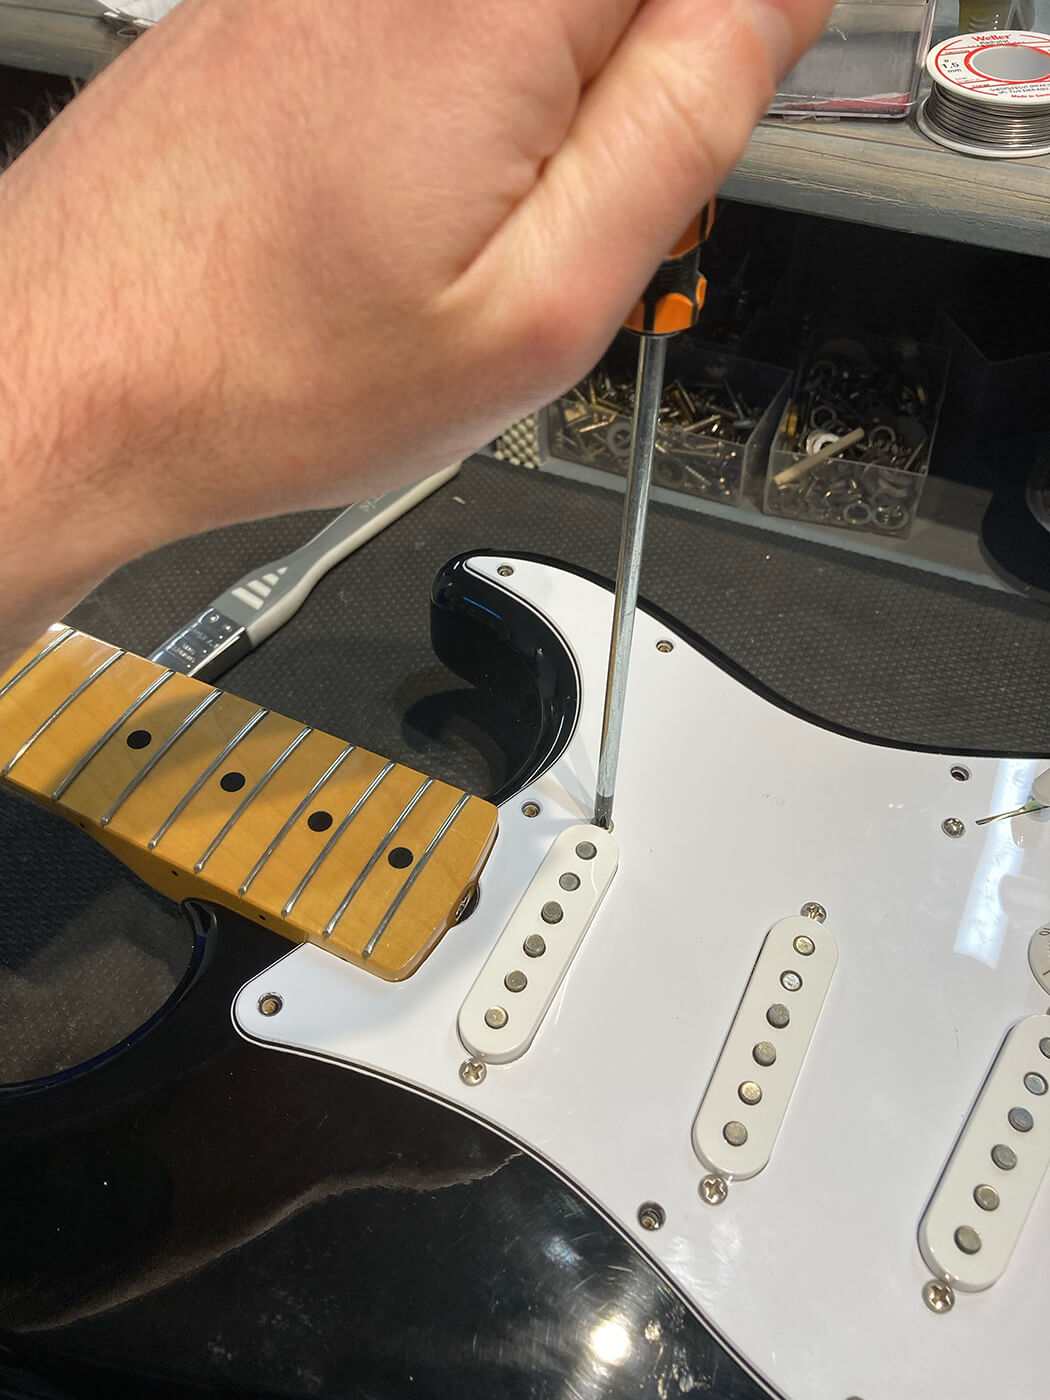
To begin, remove the strings from your Strat. Once the strings are off, remove each scratchplate screw and carefully flip the pickguard over onto a soft surface, such as a cloth or tea towel, to prevent scratches.
With the pickguard removed, examine the way the wires are connected. You could even make notes on what wire goes where. Sketching a quick diagram can help too.
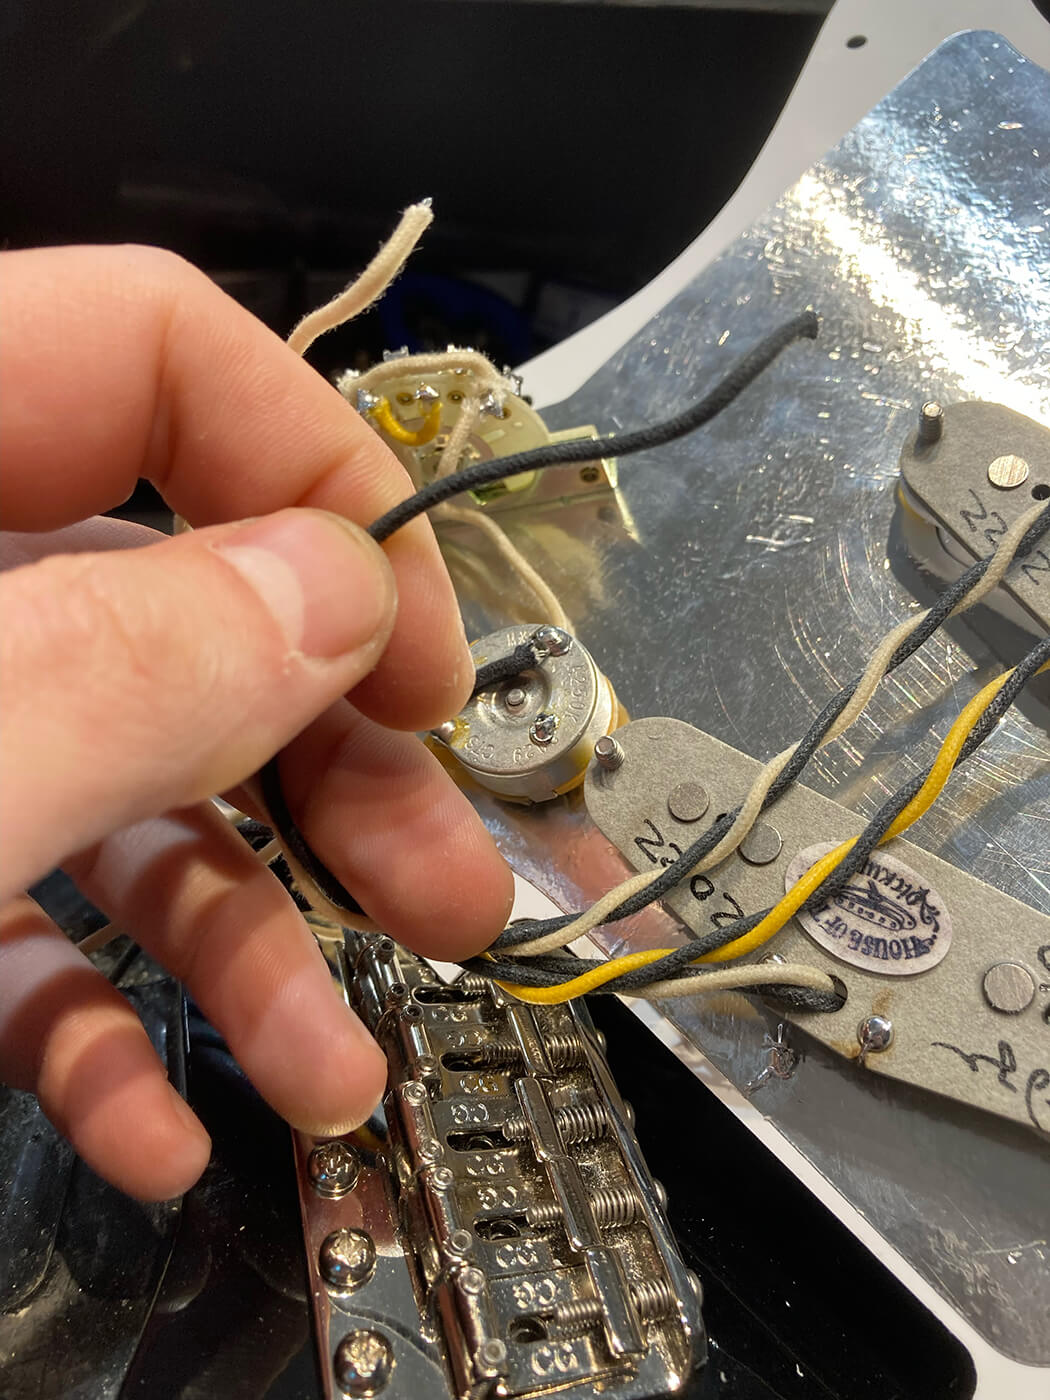
Now we have to remove two wires from two different parts of the guitar: the earth (usually a black wire), and a live or hot wire (usually white). These will be soldered to the back of the volume pot and the correct tab on the switch.
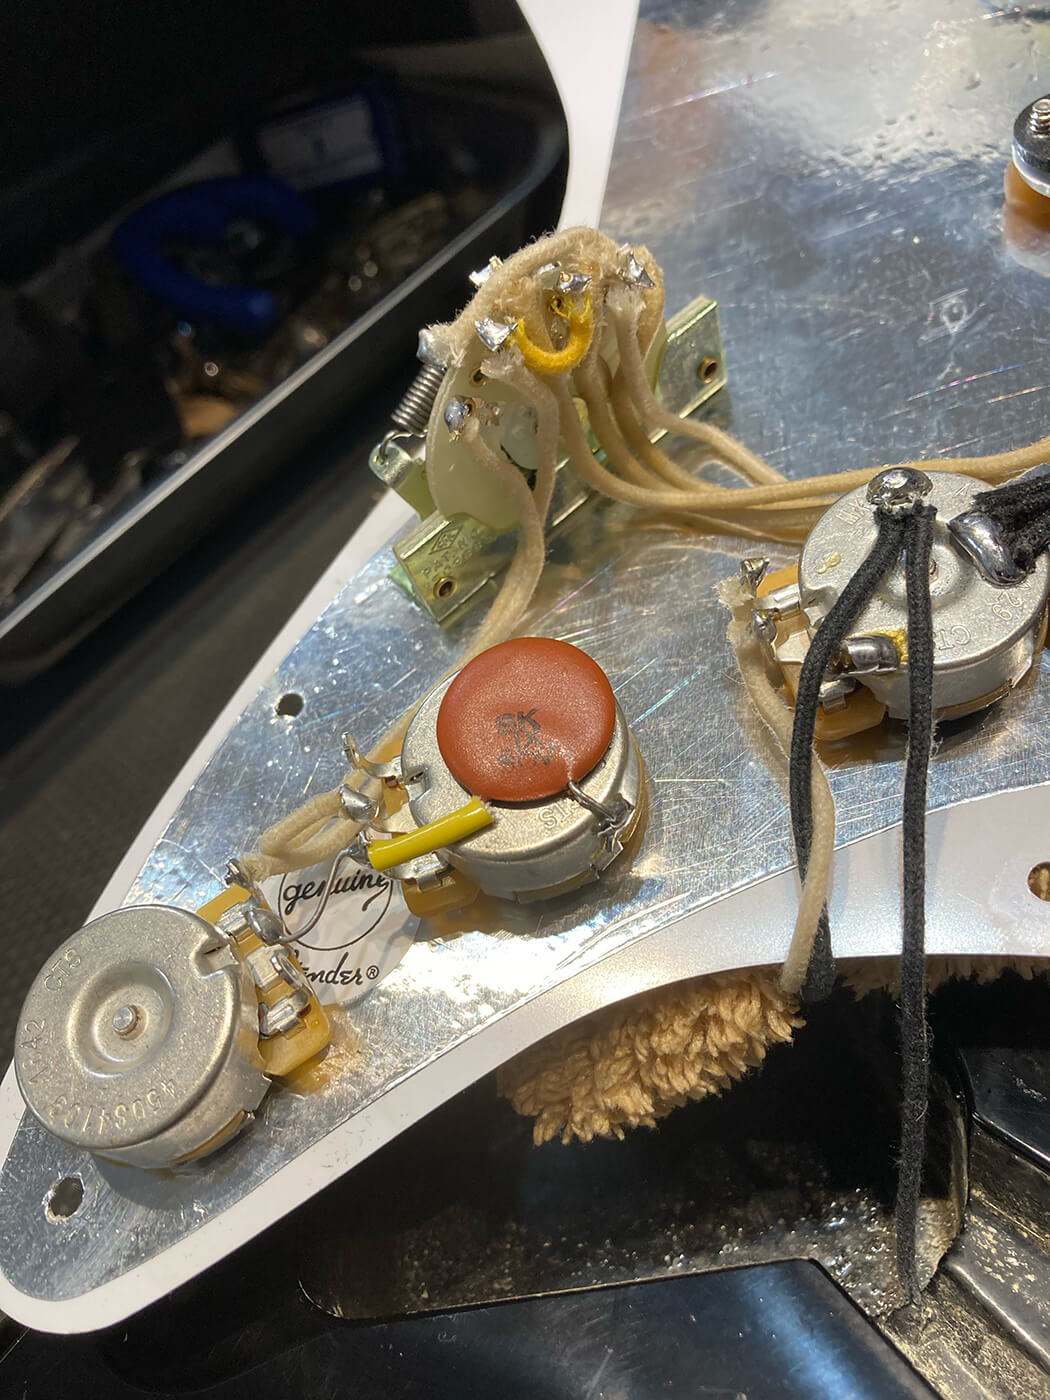
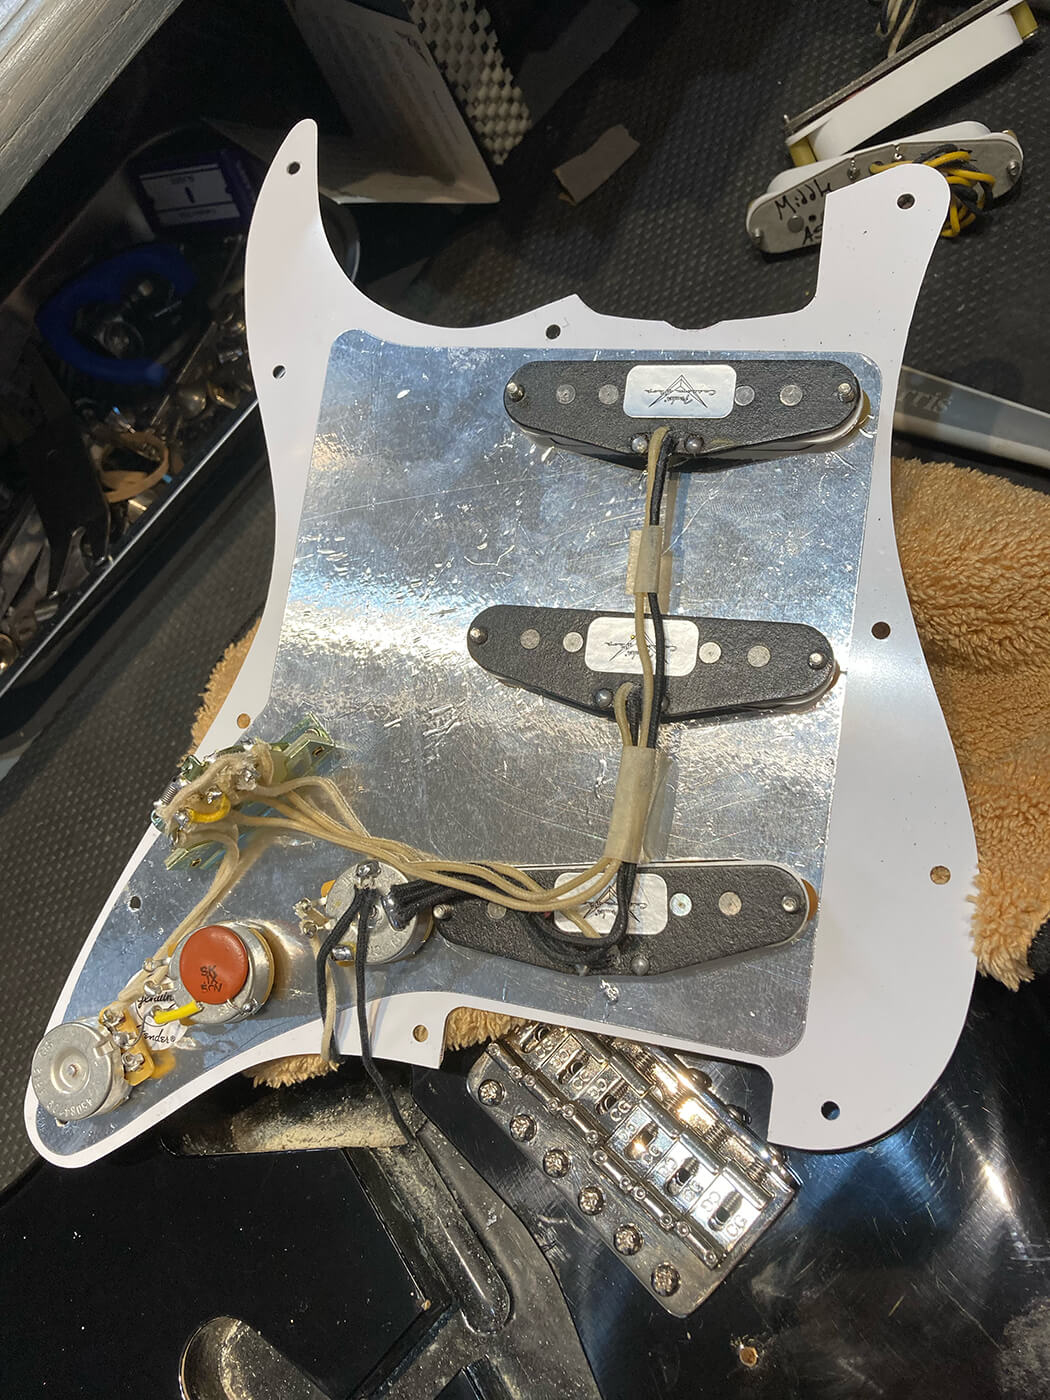
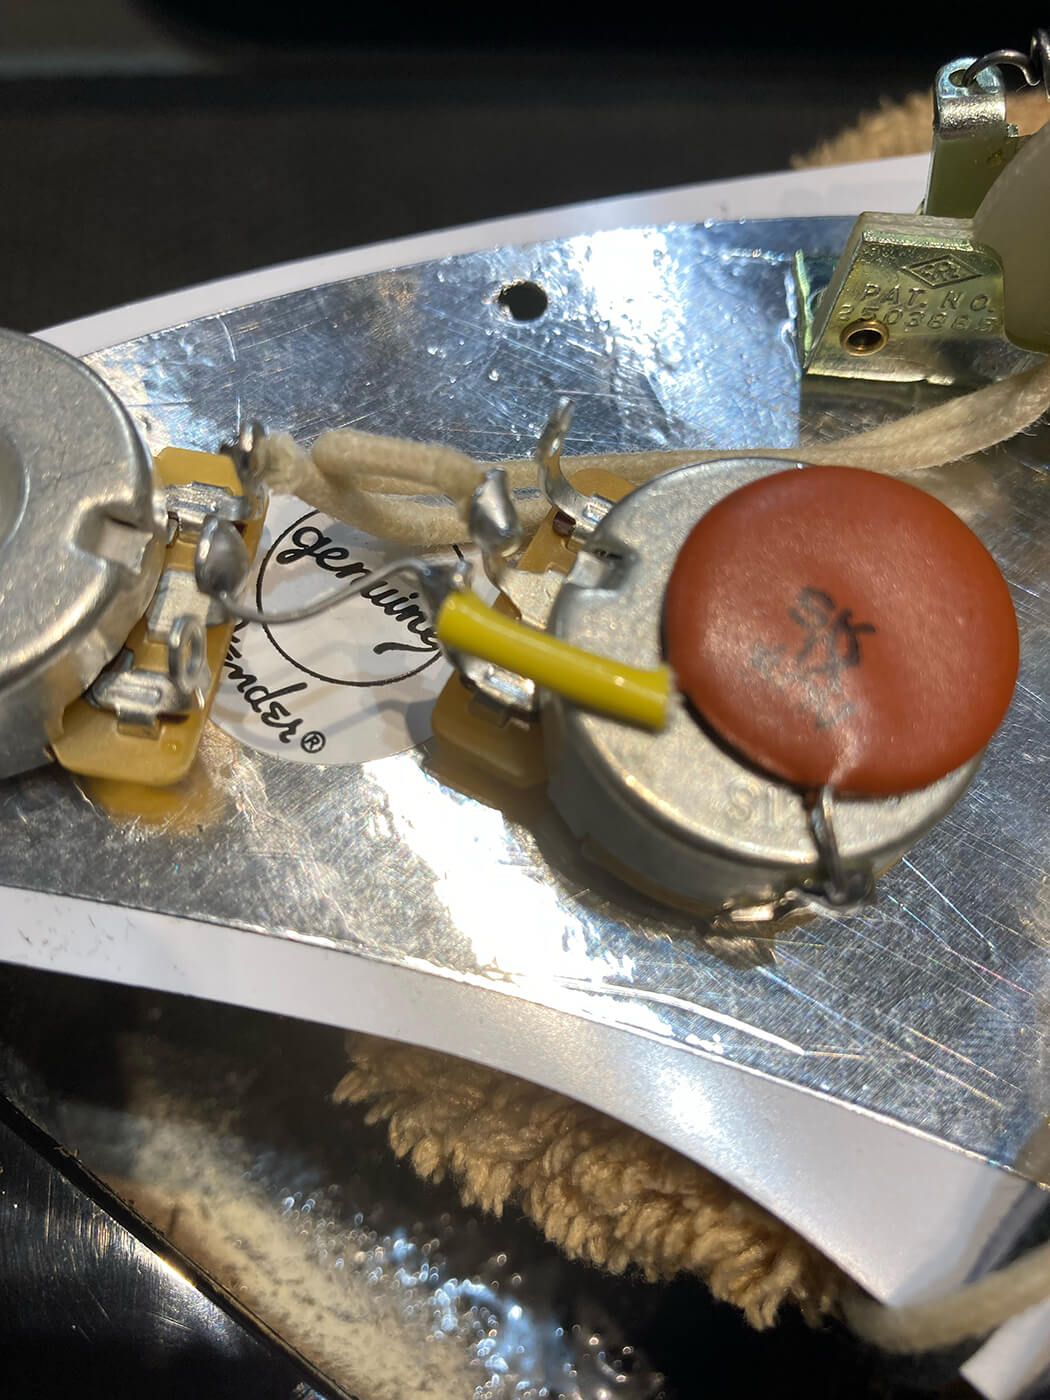
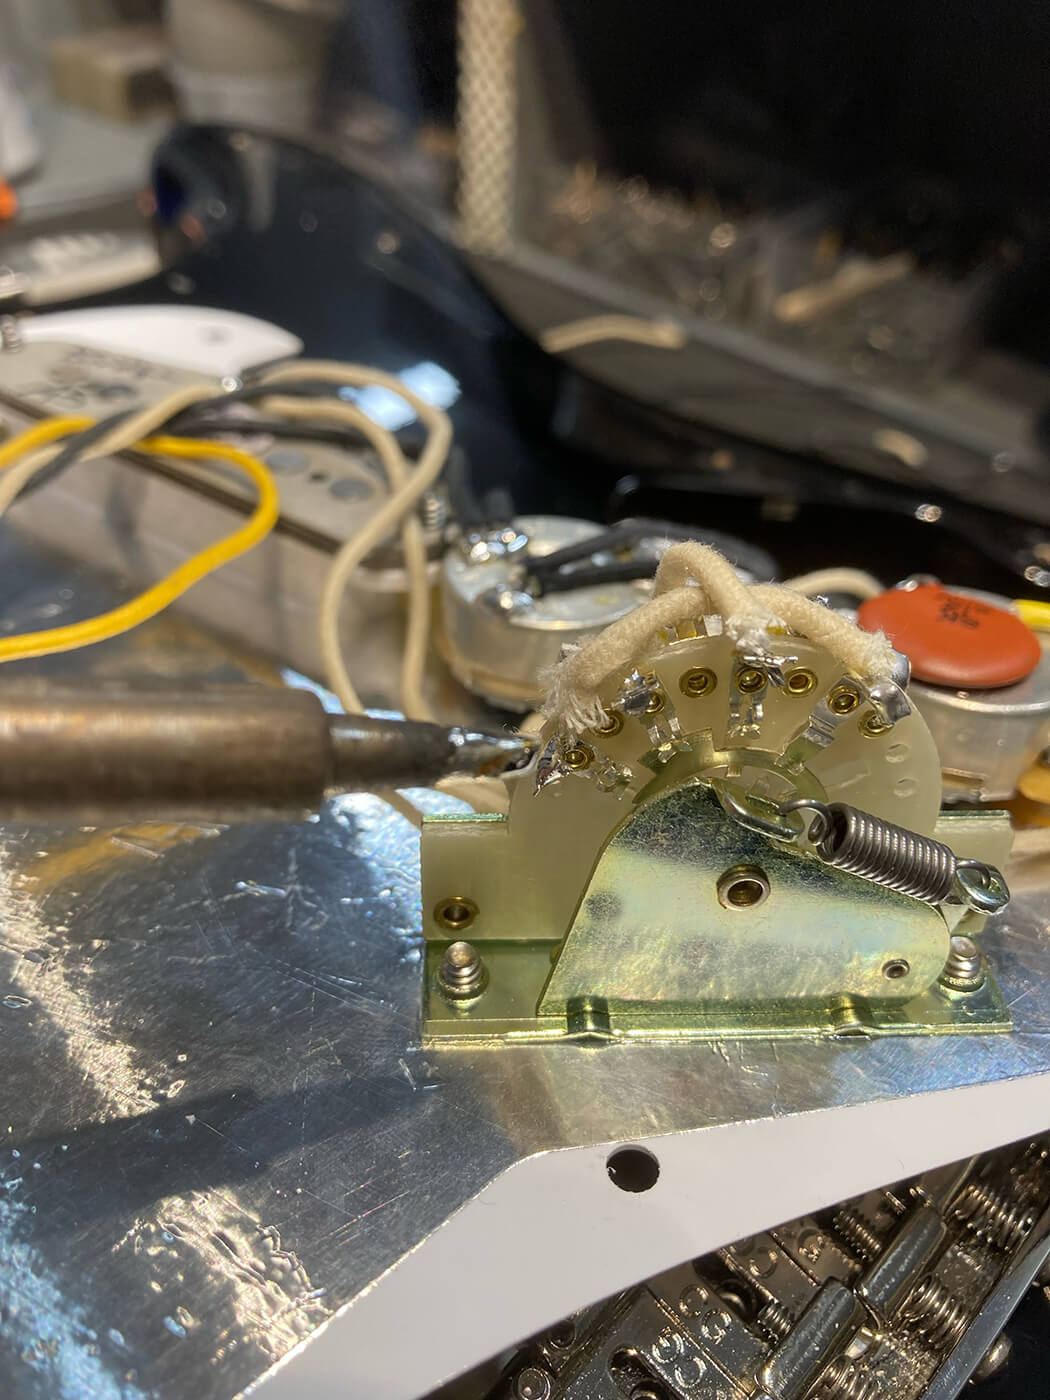
This guitar has had plenty of mods over the years, and has some high-end appointments including 250k CTS pots, CRL 5-way switch, a period-correct, red dime Luxe capacitor, switchcraft jack socket and cloth wire which is close to original Strat spec. If you’re upgrading your pickups, this might also be a good time upgrade your other electronics – but that’s a column for another day!
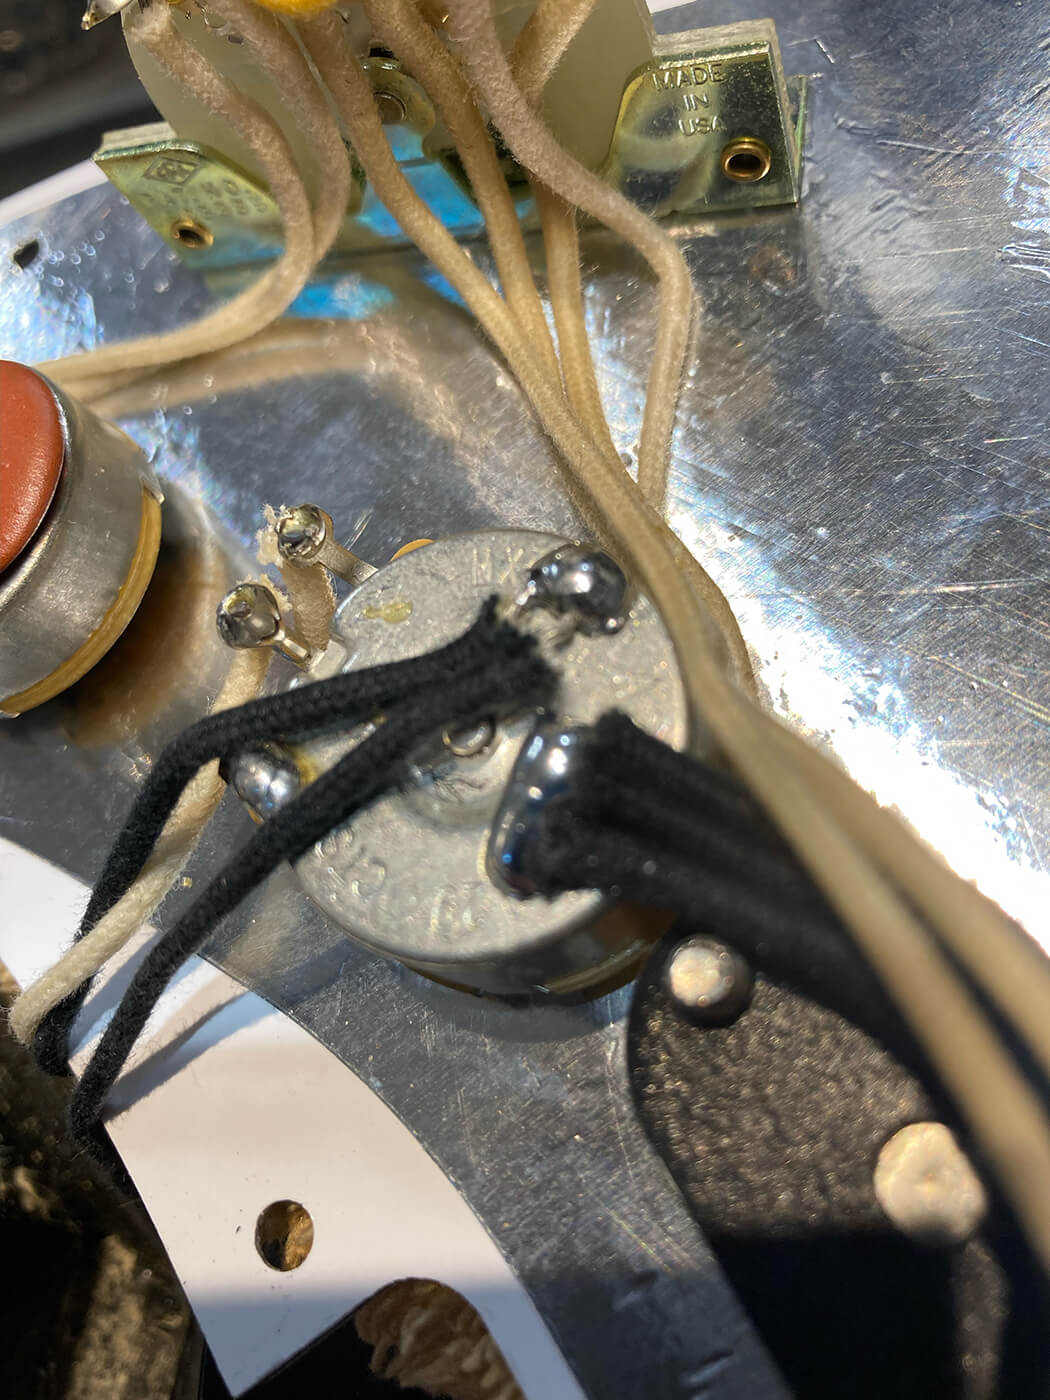
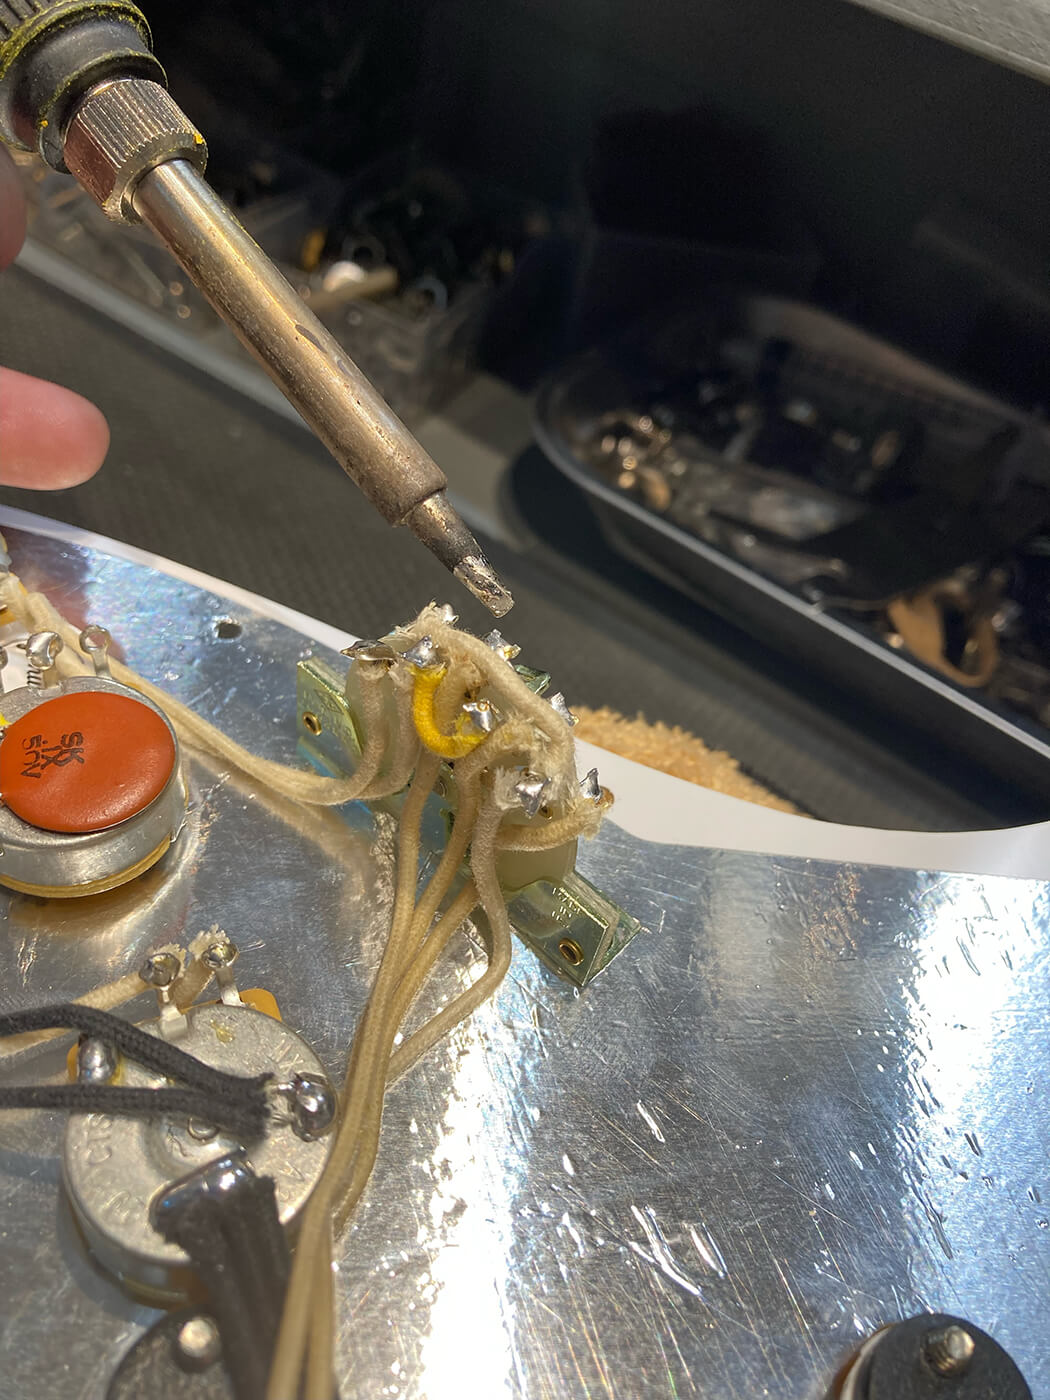
First, ensure you have enough heat to easily melt the solder you’re using, and then use your soldering iron to gently touch the solder on the back of the volume pot and remove the old earth connections. As soon as those connections are hot, use the solder sucker to quickly remove it, otherwise the solder will soon set again.
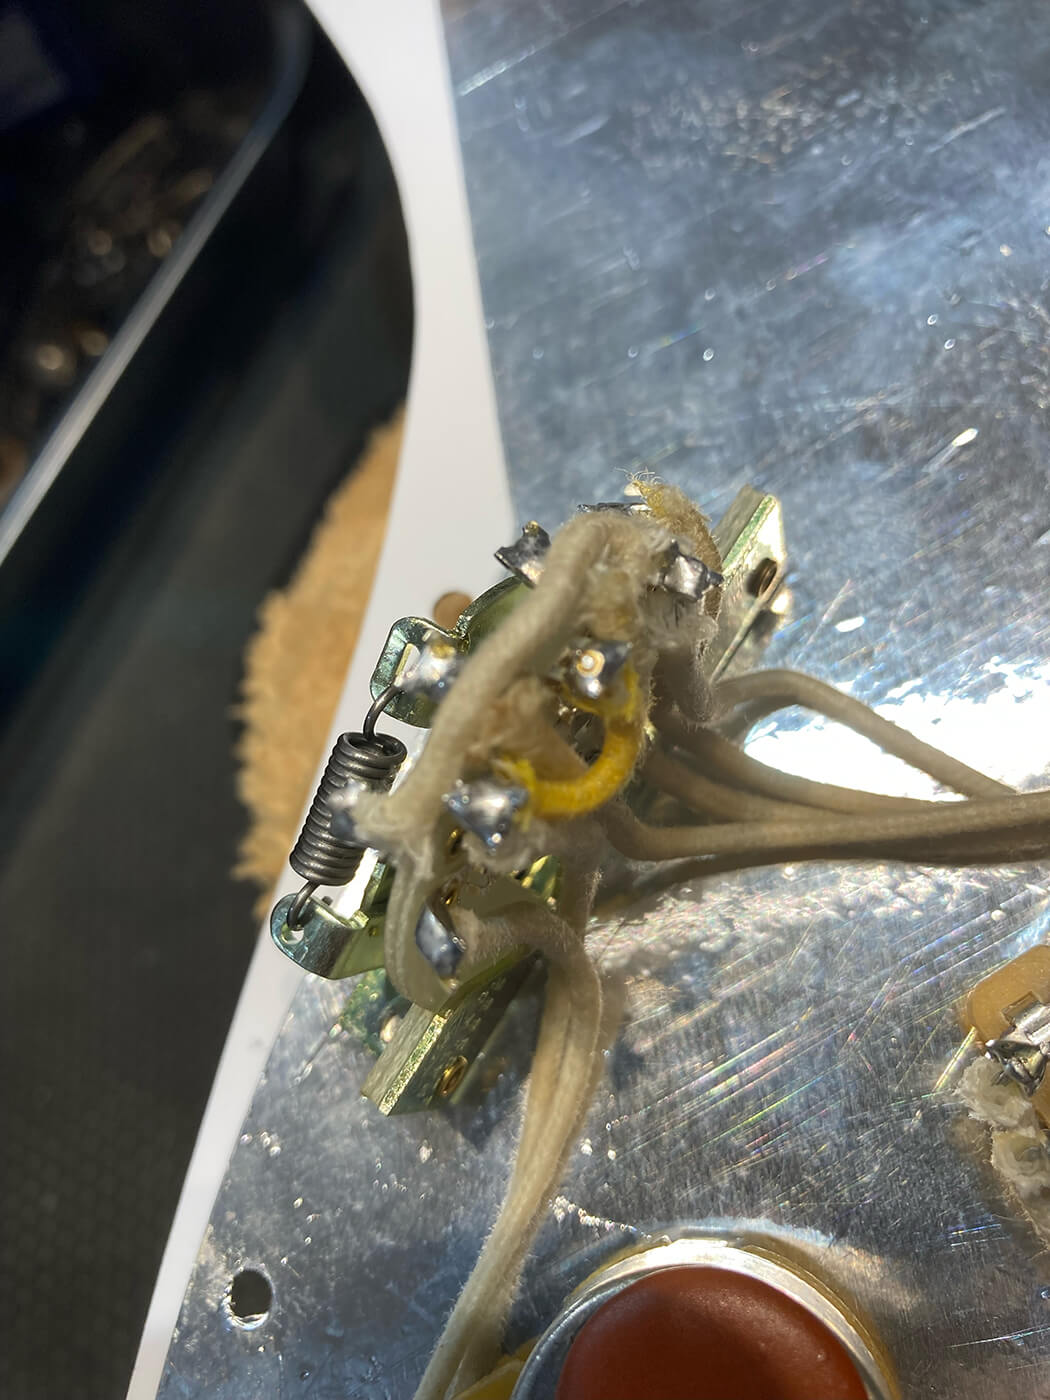
Once these connections have been safely removed, repeat the process on each of the live wires on the switch. Be careful not to leave the soldering iron pressed against each component for longer than you have to, as they can be easily damaged beyond repair.
Once you’ve de-soldered the pickups, unscrew them from the pickguard and keep them safe in case you want to swap them back later.
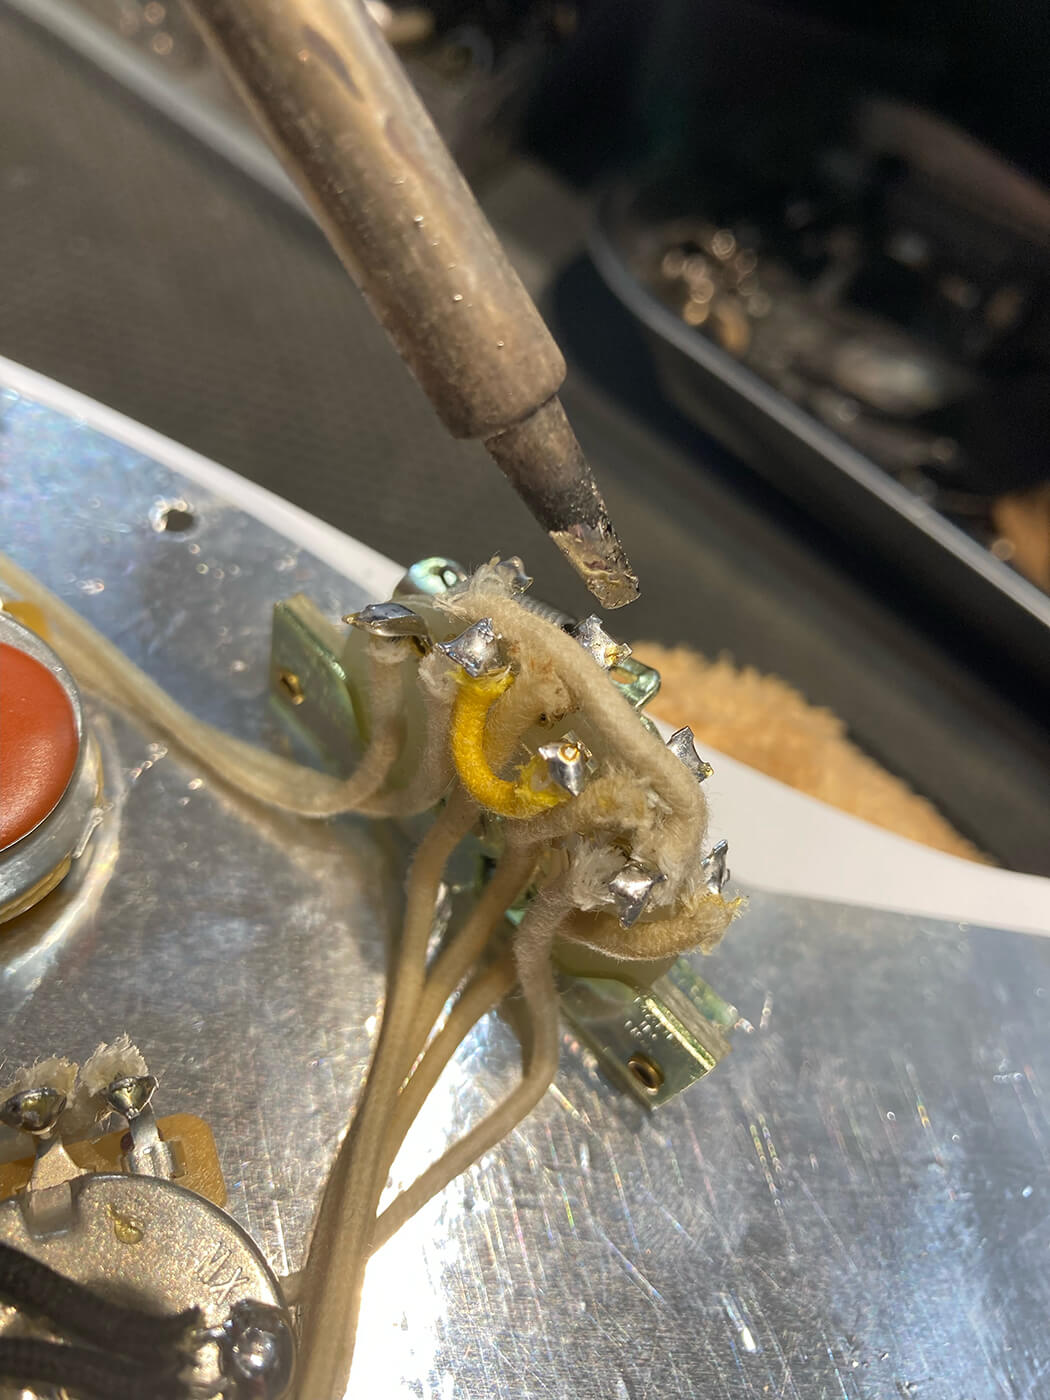
While you’re here, check if any of the other wires are loose or causing intermittent faults, and touch them up if need be. You’ll be able to see loose joints by gently touching them with your iron. If necessary, add a small amount of solder until the connections are solid again.
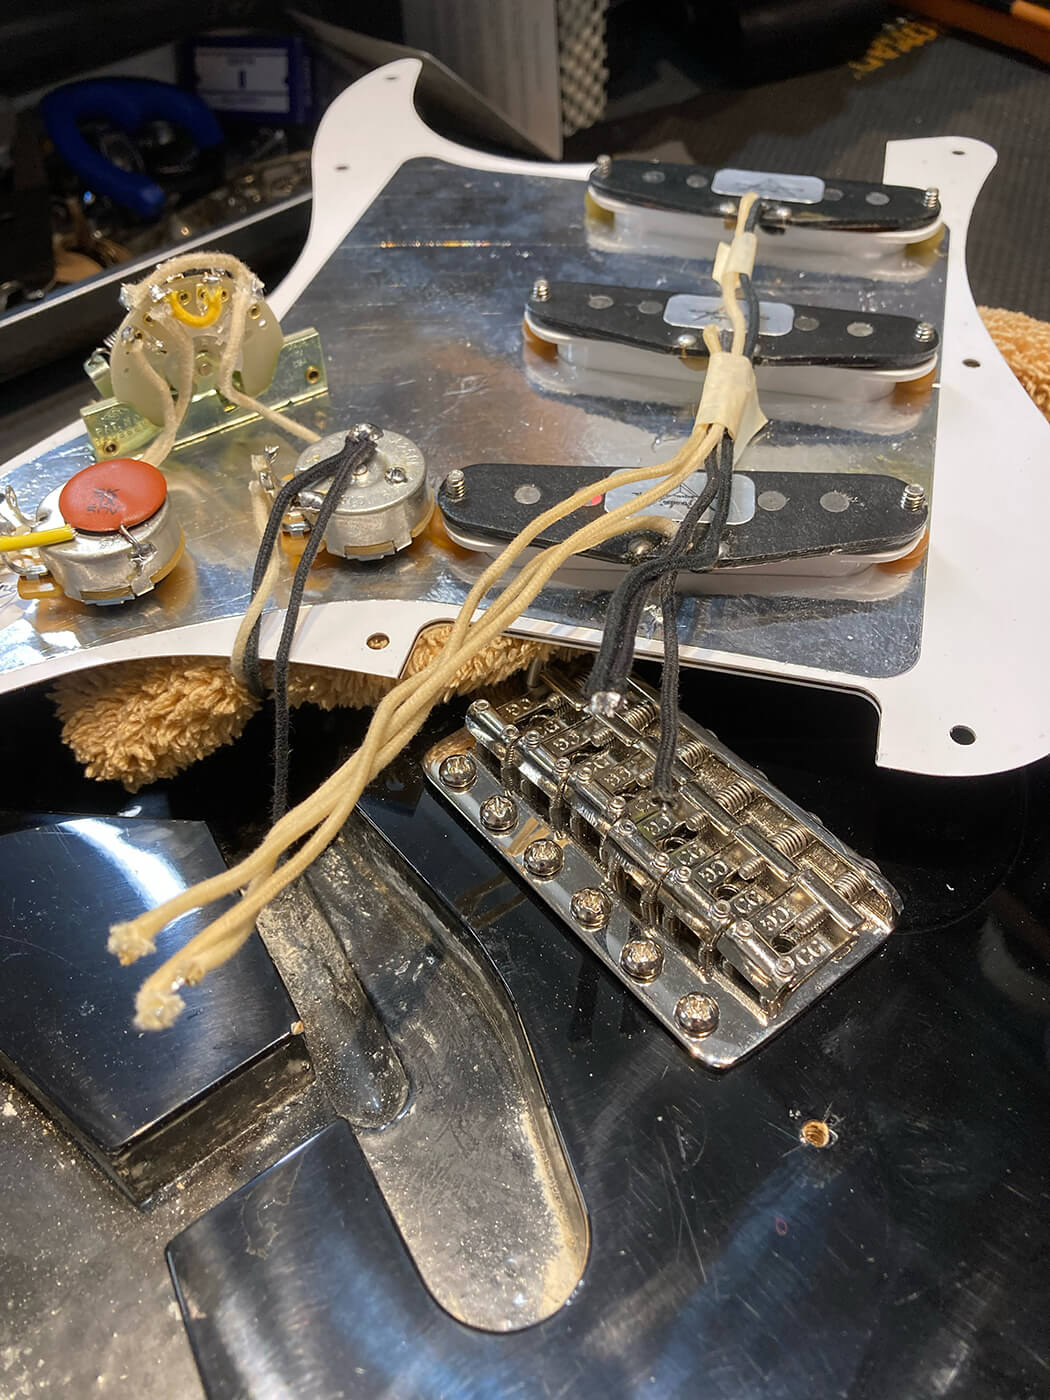
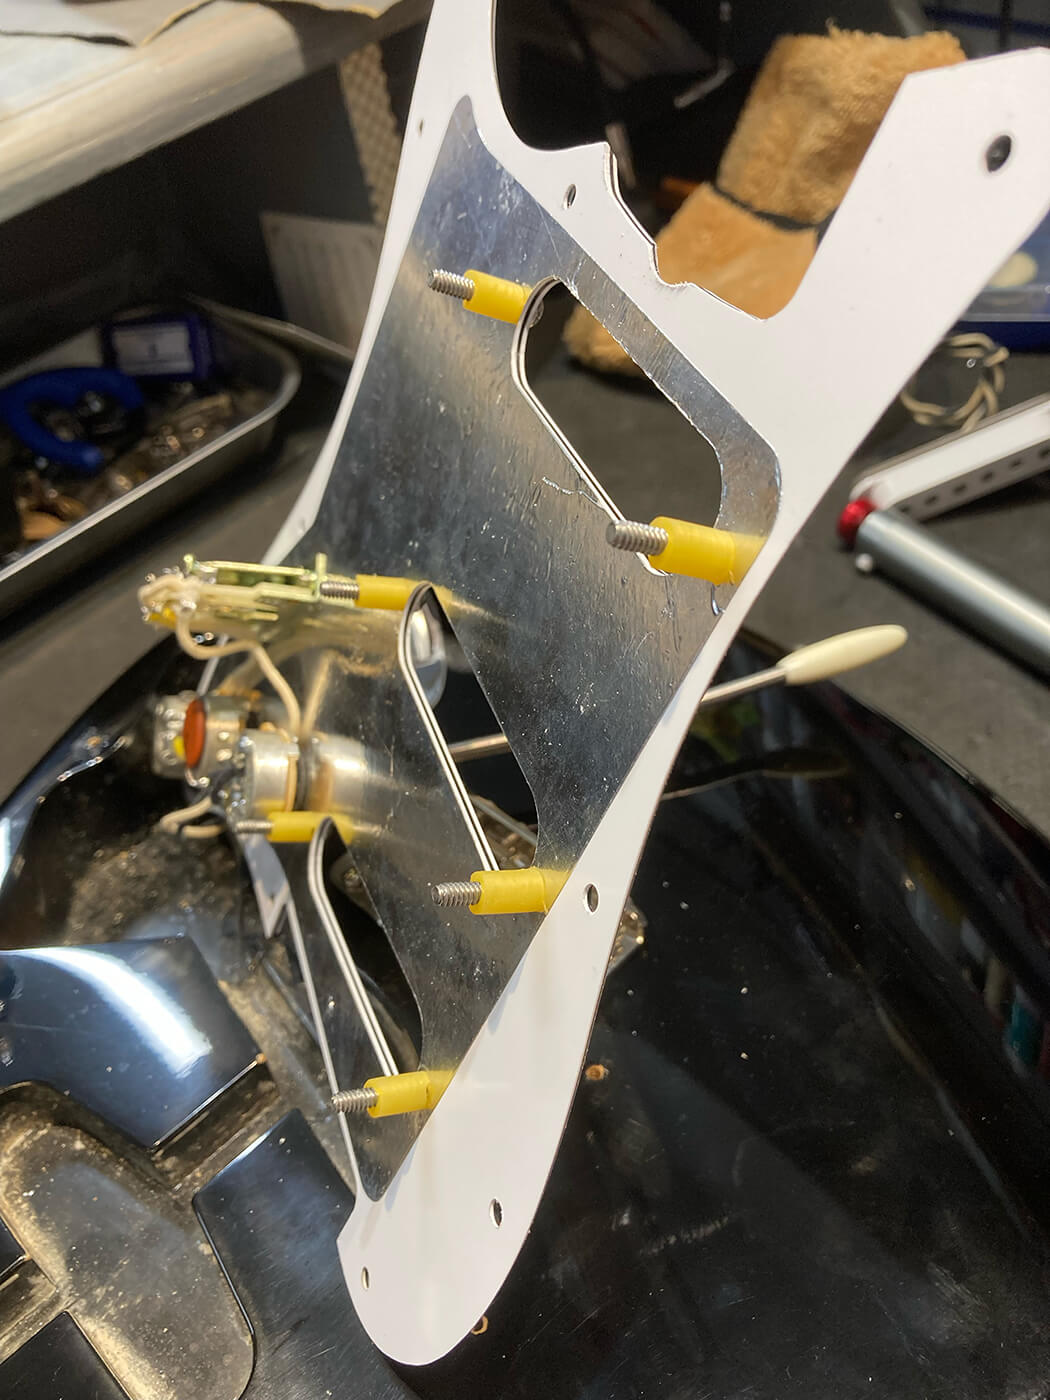
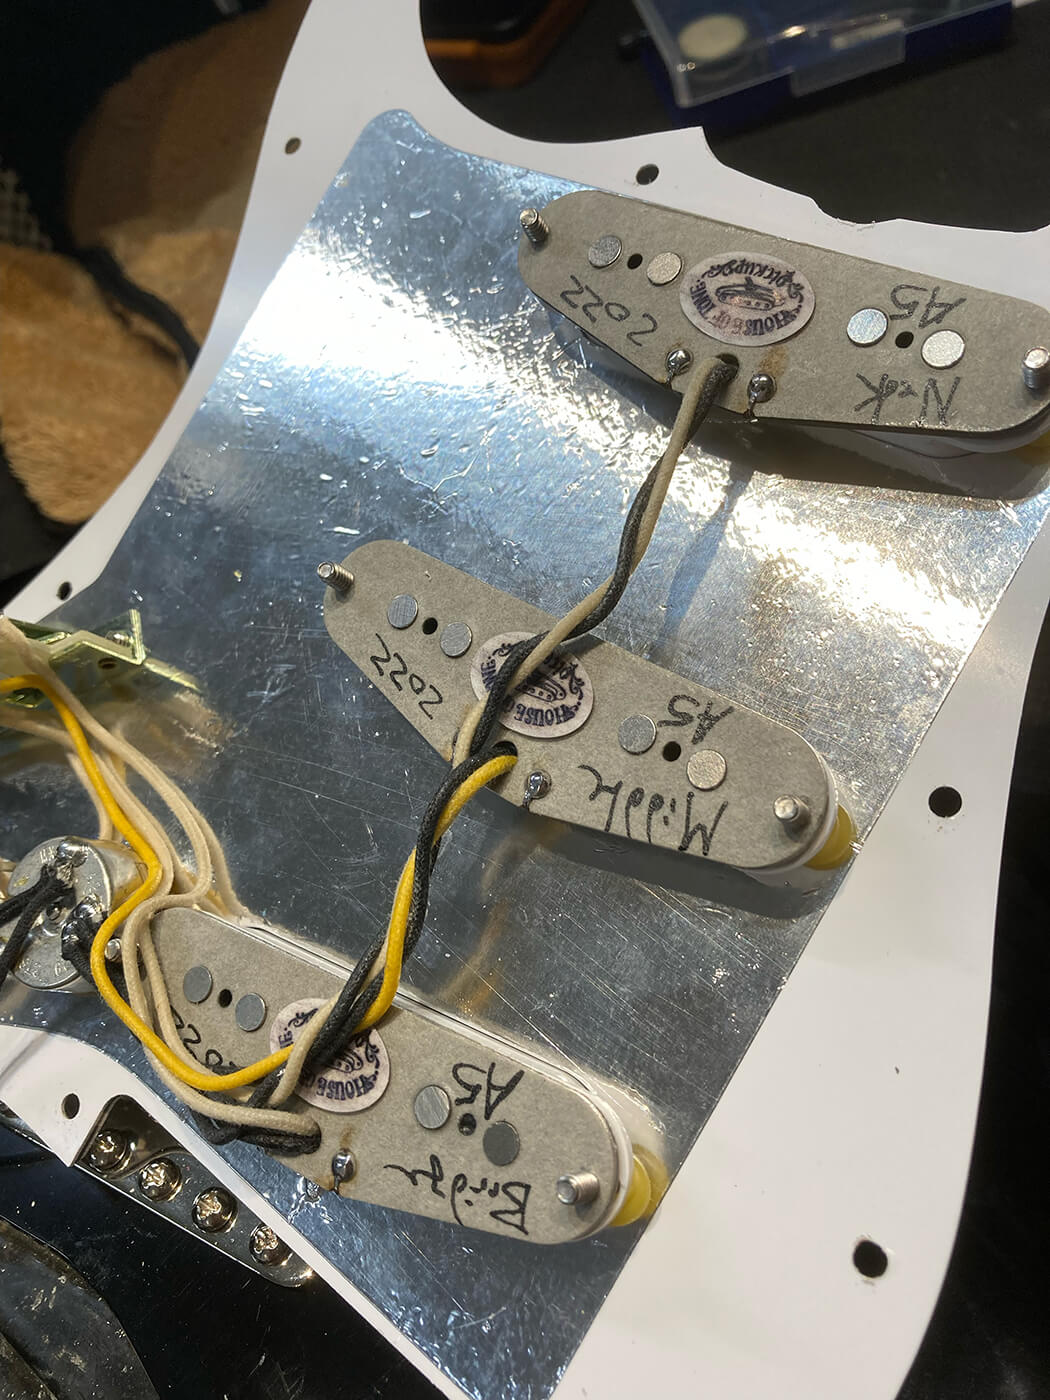
Assuming all your other solder joints are okay, mount your new pickups to the pickguard. Most good manufacturers will supply surgical tubing or springs with their pickups to aid in this process. In this case, House of Tone has provided the classic Fender surgical tubing.
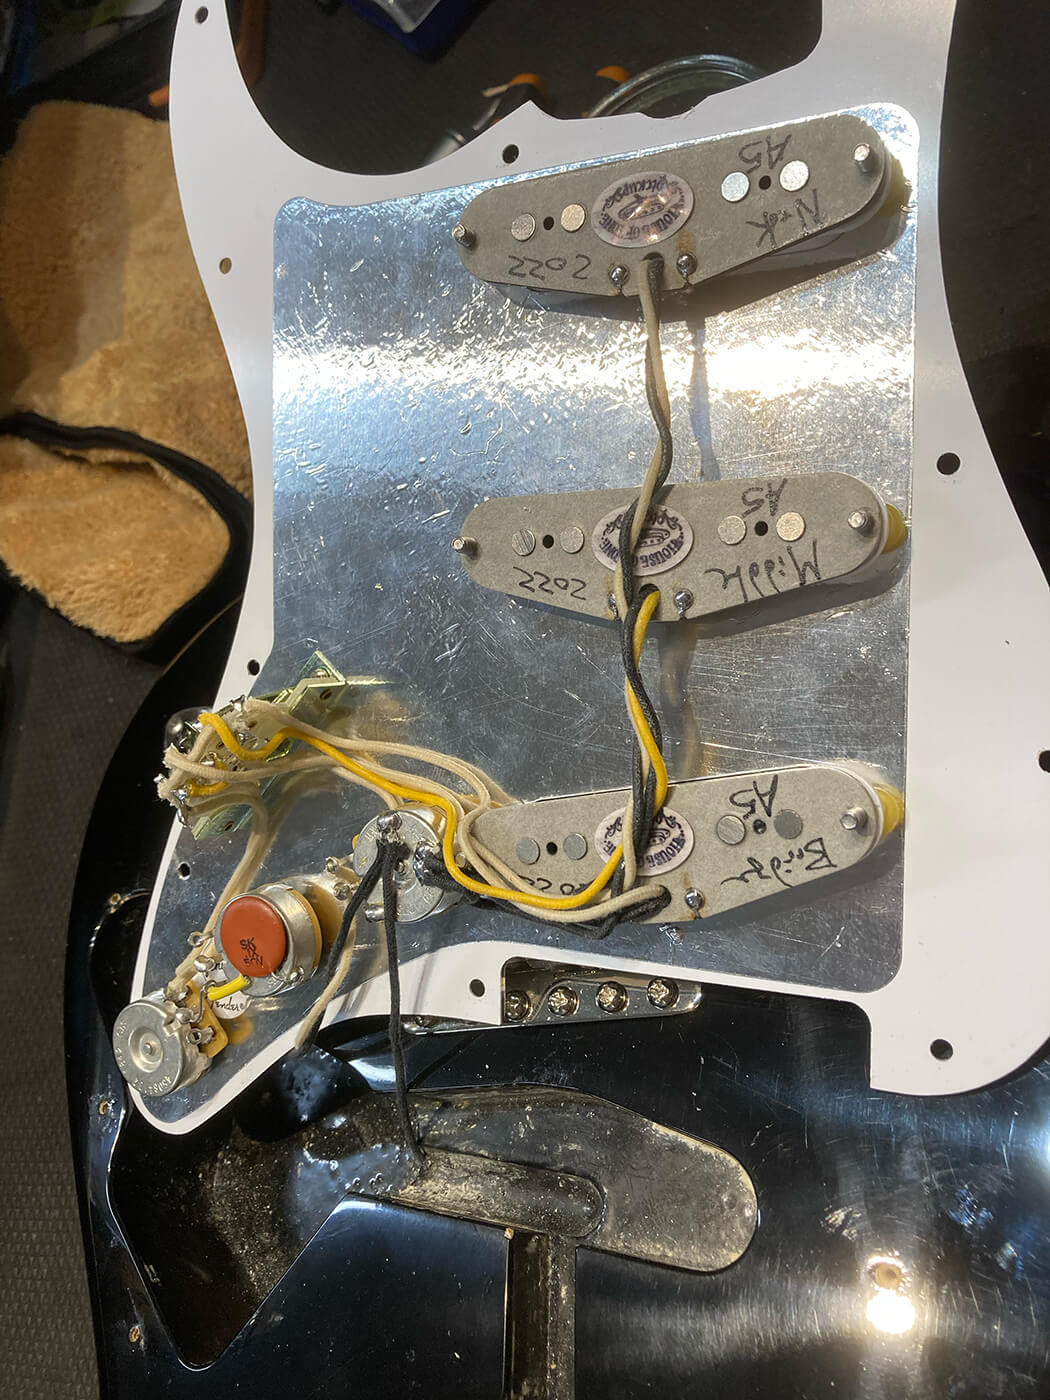
When mounting your new pickups to your Strat or S-type’s pickguard, be sure that you have the correct pickups in the correct position. Reputable manufacturers should mark the pickups with their designated position within the guitar. Here, House of Tone has labelled each individually.

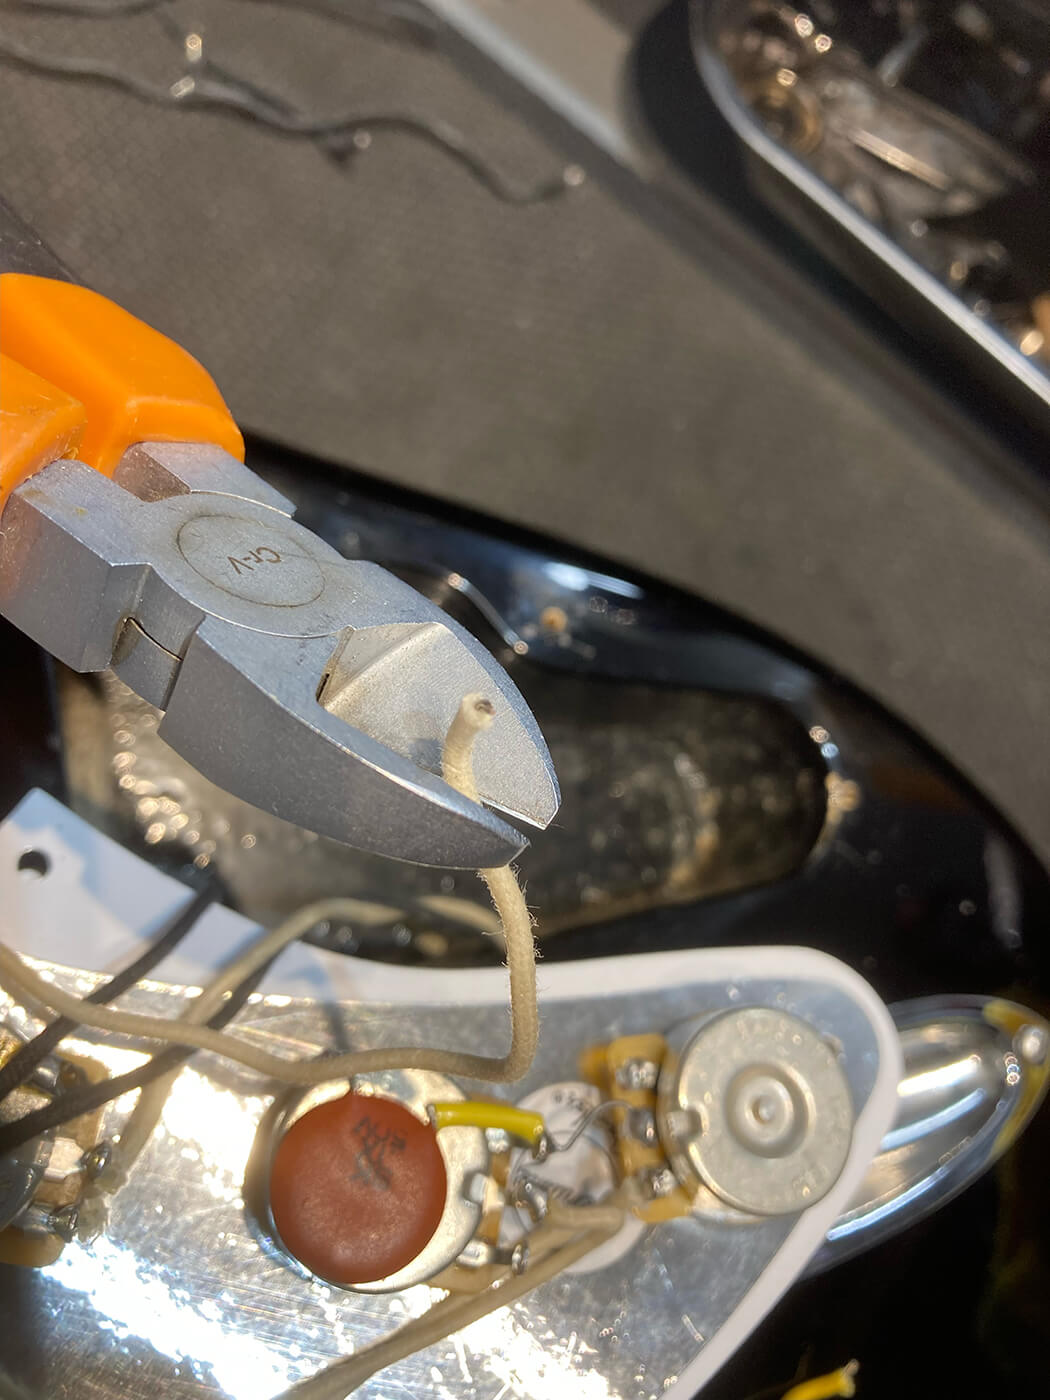
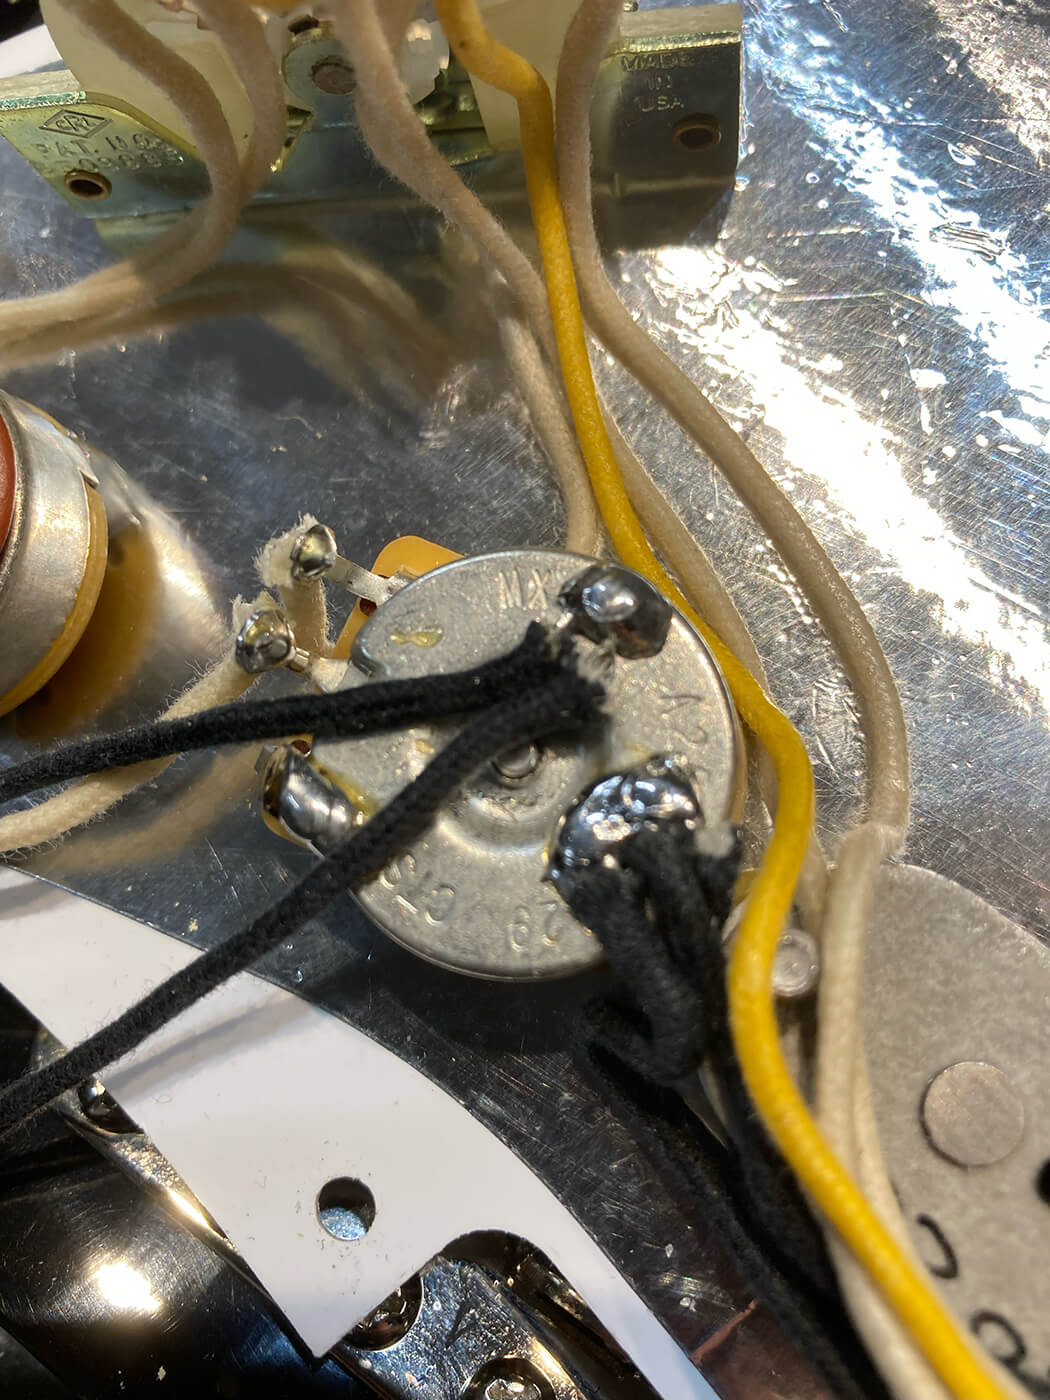
Once you’ve mounted the pickups, trim the wires at the point at which they run vertically from the neck to the bridge pickup, then at about a 90-degree angle, as pictured. Your earth wire from the bridge pickup will usually be the shortest.
Excessive wire around this area can cause pickguard warping, due to the wires pressing against the pickguard from the inside, so do your best to keep it trim.
When the earth wires are a safe length to reach the back of the volume pot, solder each one onto the pot. You can solder all three together if you wish, but it might make it a pain to remove them individually in future.
Ensure the live (white) wires are a safe length and follow on from the same place as the earth wires, along the wiring channel, a design that dates back to 1954.
Once the wires reach their corresponding terminal on the switch, strip them back and solder them with a small amount of fresh solder. Aim for nice, clean, shiny solder joints on all connections. Give each wire a gentle pull to ensure it’s firmly connected.
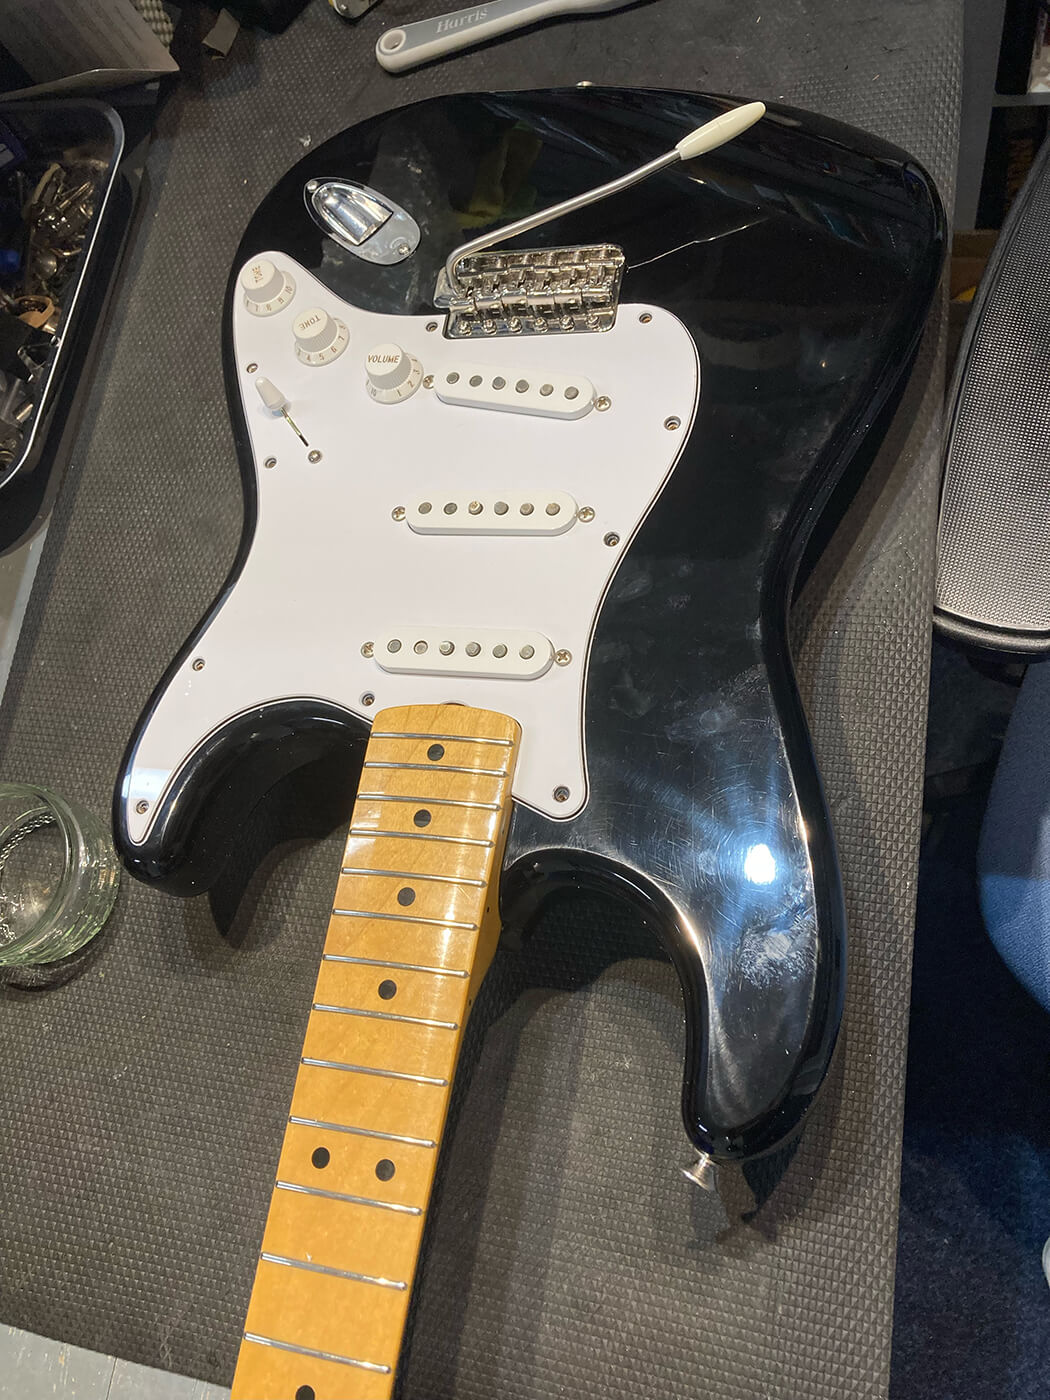
With the wires in place, turn the pickguard back over and ensure a clean fit to your Strat or S-type’s body. Don’t allow any wires to fall inside the body of the guitar, and always use the correct routing channels. You could add masking tape or small cable ties to the wires here to keep them bundled together.
Before you screw the pickguard back down, plug the guitar in, turn the volume up and tap each pickup with a small screwdriver to test whether you’re getting a signal through. Use your selector switch and go through each pickup combination with the tone controls to check that you’re getting the correct position and tone to the pickup you’re tapping.
If all the pickups are doing what they should, screw the pickguard down and give your guitar the best setup it’s ever had. Congrats, you’ve just performed open-’guard surgery on your Strat. Now turn it up and enjoy the fruits of your labour!
Hopefully now we’ve gone through this, those of you reading this feel the need to change your pickups if the current ones aren’t doing the job you want.
We’d like to thank the excellent Gerry Hayes of Haze Guitars for his excellent book regarding guitar wiring called Complete Guitar Wiring which is absolutely essential reading for those wishing to get into DIY guitar wiring.
In his book he describes various diagrams and components in excellent detail, it is a staple at my repair shop and it should be on every decent guitar repairer’s shelf – check it out!
For more guides, click here.