Related Tags
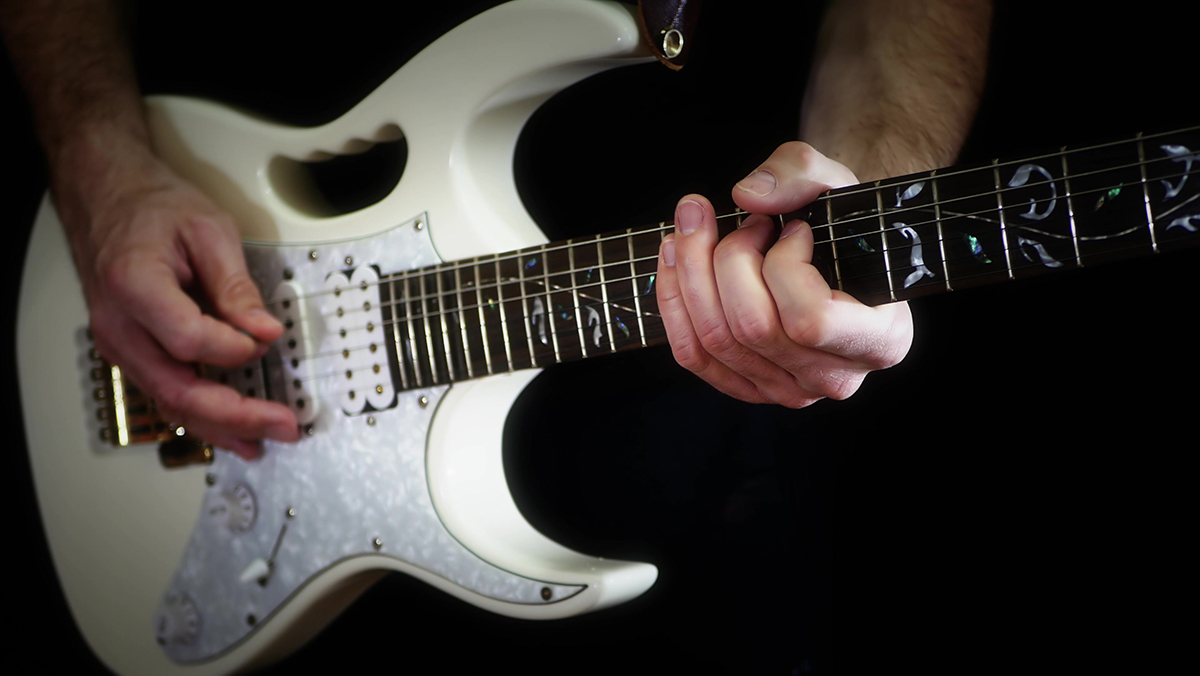
Guitar Technique for Beginners 2: Left-hand techniques
Dress up your playing style with hammer-ons, slides, bends and other fundamental fretboard techniques.
Now that you’ve got a firm grasp (pun intended) on your neck technique, it’s time to pick up slightly fancier moves. Well, we say “fancy,” but really, these are the fundamentals of guitar playing that novices should learn to deploy: hammer-ons, pull-offs, slides, bends and vibrato.
Think of these as “conjunctions” in language—the “ands,” “buts,” and “althoughs” that make sentences flow and bridge separate concepts. The idea is to use these individual techniques to musically segue from one note or passage to the next.
After this lesson, you’ll be able to:
- Play hammer-ons and pull-offs
- ‘Slide’ up and down the fretboard
- Bend strings a whole and half-step up
- Make notes more expressive with vibrato
- Incorporate all the above techniques in your playing
Hammer-ons and pull-offs
Picking a note with your right hand isn’t the only way to make it ring. Hammer-ons and pull-offs accomplish that with only the strength of the fingers on your left hand. (Or vice versa for all you lefties out there.)
Hammer-ons
A hammer-on is, as its name suggests, to use a fretting-hand finger to strike a string like a mallet. It’s typically used in a two-note sequence: You play the first note like you normally would, then cut that note short by hammering another finger on a higher fret on the same string, effectively sounding another note.
The physics behind it is simple: You’re playing the second note with the ‘leftover’ string vibrations from the first. Or, playing a pair of notes with one right-hand movement.
So why use a hammer-on instead of plucking or picking the string again? A hammer-on removes the sound of the pick attack, yielding a softer, more rounded tone. Whether they’re applied in short passages or complex solos, hammer-ons make your playing ‘flow’ or ‘cascade’ rather than start and stop. This forms the basis of ‘legato’ guitar style.
Pull-offs
A pull-off is the reverse of a hammer-on, and is used when the second note is at a lower pitch—or fret—than the first. It is, however, trickier to, err, pull off than a hammer-on.
Start by positioning two fingers (your index and ring fingers, for example) on the same string but on different notes. With your ring finger on what’s called the “leading note,” pluck or pick the string. Before the note trails off, use that finger to ‘pull’ the string away from you, and then lift it off the fretboard while the string’s still vibrating. All this should occur in a split-second.
If done right, you’ll hear the second note emerge from the first in one fluid, sustained sound. Remember: You need to actually pull the string—it’s not as simple as merely lifting your finger off the fretboard. Otherwise it’d be called a “lift-off.”
Exercises 1 & 2: Hammer-on and pull-off
Here are two simple exercises that’ll help you master hammer-ons and pull-offs: one along a string and the other across them. They’re centered around the chromatic scale, and are meant to increase your fretting hand strength, co-ordination between your fingers, and familiarity with the distance between frets.
Exercise 1
You’ll be using the “1-4,” “1-3” and “1-2” movements introduced in our previous lesson, where the numbers refer to the fingers on your left hand: “1” is your index finger and “4” your pinky.
Start by placing your index finger on the third fret of the E string (the G). Strike the note as you normally would, then hammer-on the sixth fret (the A♯) with your pinky, but don’t move your index finger. Then play the G again with the index, and hammer-on the fifth fret (the A) with your ring finger. And then play the G again, followed by a hammer-on on the fourth fret (the G♯) with your middle finger. This constitutes one ‘rep,’ to borrow the gym term.
After the first rep, shift your entire hand up one fret, and repeat all the way until your pinky reaches the 12th fret.
And once you’re all the way down there, reverse the entire exercise: Instead of hammering on to a higher fret, pull-off to a lower fret. The “1-4,” “1-3” and “1-2” movements now become “4-1,” “3-1” and “2-1,” respectively.
While you’re taking these small steps up and down the fretboard, listen out for any bum notes or buzz. They indicate something’s not quite right with your fretting hand—in most cases, you’ll only need to use more strength.
Exercise 2
This exercise is similar to the previous one, but requires you to move across the six strings rather than up and down the neck.
Start in the same position as Exercise 1, and begin the “1-4,” “1-3” and “1-2” movements. But once you’ve completed the first movement, move your fingers from the E to the A string. Practice the moves on that string, then shift to the D string, then the G—you get the drift.
Once you’ve reached the thin E string, reverse the sequence by playing “4-1,” “3-1” and “2-1” with pull-offs towards the thick E string.
Slides
Slides provide an even smoother transition from one note to the next, and are typically used to connect notes on the same string that are located far apart from one another.
You only need one finger for a slide. First play a note, then, while keeping the pressure on the string as it vibrates, glide your fretting finger either up or down the neck. You’ll hear the notes link up via a gradual increase or decrease in pitch—compare this to a hammer-on and pull-off’s ‘jump’ in pitch.
When sliding, remember to hold your fretting finger firmly against the fretboard. You should feel the fret wires under your fingers as you slide (that’s where your callouses help), and the second note should ring out as clearly as the first one.
Exercises 3 & 4: Slides
As slides use a full arm movement rather than a small finger one, these exercises are meant to acclimatize your left arm to the range of your neck.
Exercise 3
Begin with your index finger on the seventh fret of the G string. Hit the string and slide your finger two frets up to the ninth fret. Strike the string one more time and then slide again, this time to the 11th fret. If done right, you’ll have two fluid movements across four frets.
It’s a ‘wax on, wax off’ type of exercise. What you’re doing is training your arm muscles to remember the distance between two frets and four frets at the portion of the neck on which you’re most likely to slide. You may find the exercise repetitive. But that’s precisely the point.
Exercise 4
This exercise reverses the movement from a slide up to a slide down. Begin with your index finger on the 11th fret, then slide it down two frets to the ninth, and then again to the seventh.
String bends
Bending strings is a method of shifting a note’s pitch without altering the position of your hand. It’s the most expressive left-hand technique there is, and it’s responsible for the ‘organic’ feel of playing the guitar—you won’t be able to do this on most other instruments.
Before we get into it, it helps to understand the physics. Bending a string increases its tension, which shortens the vibration’s wavelength and, in turn, raises the pitch of a note. Bend the string more and the note will rise in pitch accordingly.
Here’s the most basic way to bend a string. Hold down a fret with your ring finger, but keep your index and middle finger firm on the same string. Strike the note, then as the string vibrates, push the string up towards the low E string.
And this is where it boils down to your ears: You’re meant to stop the bend once you reach the pitch you desire. Most string bends go up a whole or half-step, but you can elicit weird in-between pitches, too, unlike with the other techniques in this lesson.
Vibrato
Consider this analogous to an exclamation point in writing. A vibrato emphasizes a single note by giving it a ‘shimmer’ or ‘flutter.’ Technically, you’re using a flurry of very short bends to repeatedly stretch and contract the string—and the result is a note that briefly goes out of tune before returning to it.
There are a plethora of ways to play a vibrato, but we’ll start with the two most common: with either your index or ring finger.
Index finger
Position your index finger on any fret, preferably on the thinner strings. Then, using the finger as a pivot point, twist your entire hand left and right, almost as though you’re flapping a wing. You’ll want to ensure you’re keeping enough pressure on the fret. This method achieves a faster ‘quivering’ sound, but requires far more finger strength than the second way.
Ring finger
Begin with your fingers in the positions of a string bend. Strike a note and, with your ring finger, bend the string towards the low E—but only just so—then bring your finger back down, away from the low E. Repeat the up-down motion at a steady pace and distance for as long as you’d like, or until the string stops vibrating.
Exercise 5: Combining the techniques
The best way to combine all these techniques into an exercise is with a guitar lick. Here’s a clip of a simple passage whose notes are strung together with bends, slides, hammer-ons and pull-offs—with a few vibratos in-between.
Try chaining together the fifth, seventh and ninth frets, on various strings, with and without these techniques. You’ll notice the latter will be devoid of dynamics, life and expression. Or, in other words, all the stuff that makes playing the guitar so damn fun in the first place.