Related Tags
DIY Workshop: 60s Stratocaster pickguard project
A two-part series on how to assemble and design a Stratocaster pickguard that’s reminiscent of those from the early 60s.
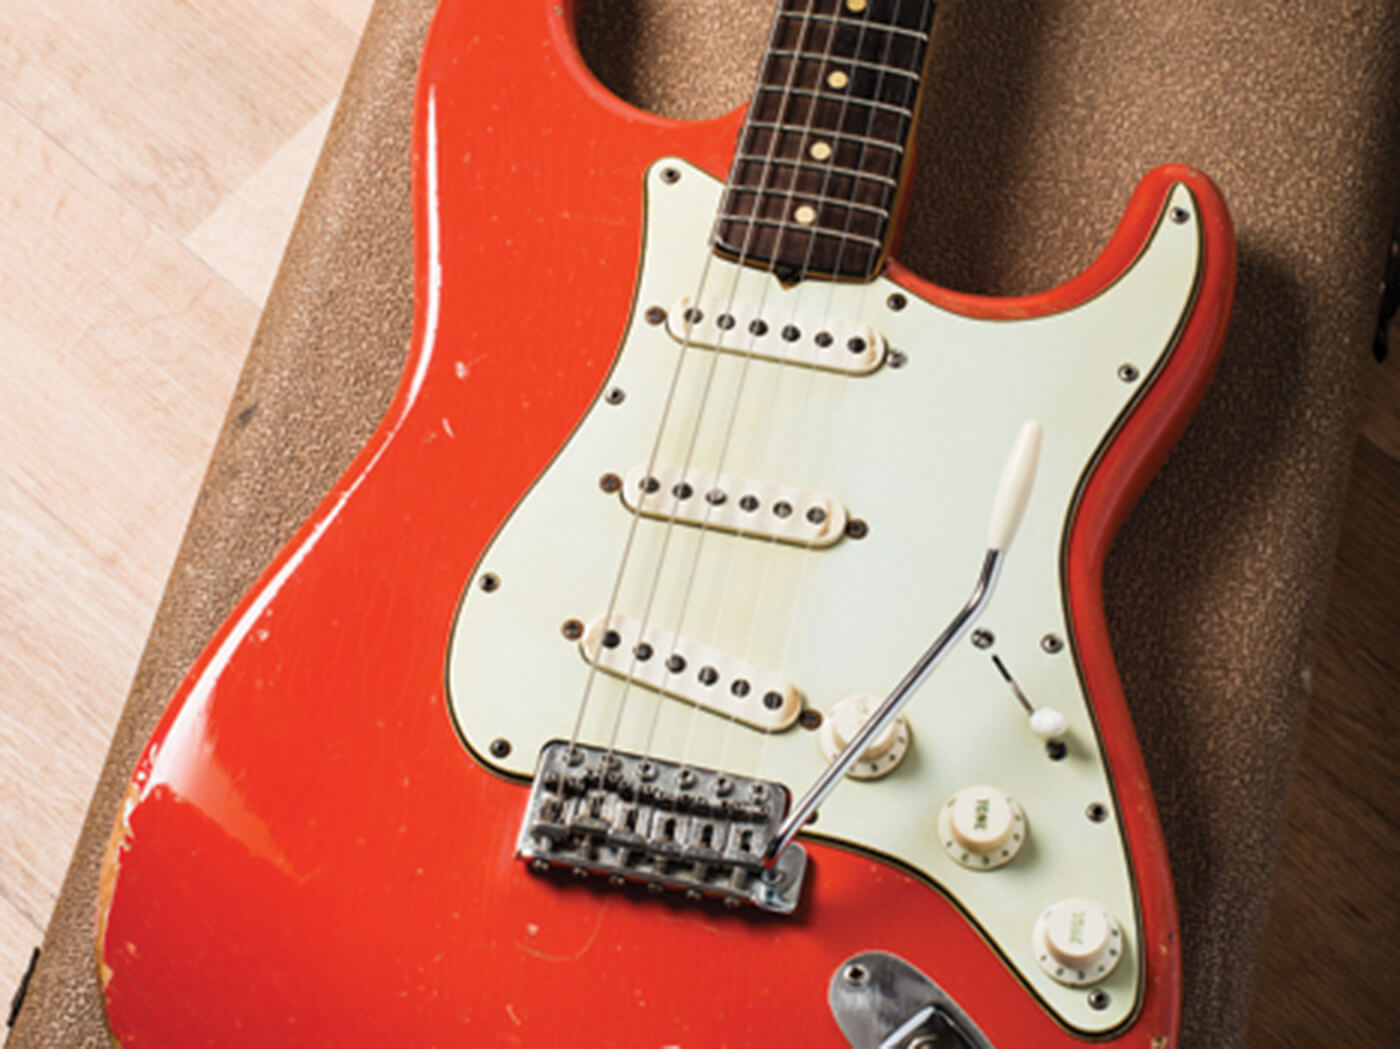
The search for that vintage Stratocaster ‘look’ has always ranked highly on most players’ to-do-list. Though the conversation often centres on period-specific pickups, one component is often overlooked: the pickguard. This piece not only completes the vintage equation but contributes to the guitar’s tone.
In this two-part series, we’ll show you how to put together an early-60s-style Stratocaster pickguard, covering assembly, design and the application of wear.
An overview

The first half of the series gives an overview of the components and parts needed to perform this assembly. You’ll find information on how to select the right pickguard and append a shielding plate. There are also detailed explanations of how pots and capacitor value can shape the guitar’s tone.
Assembling the ‘new’ pickguard
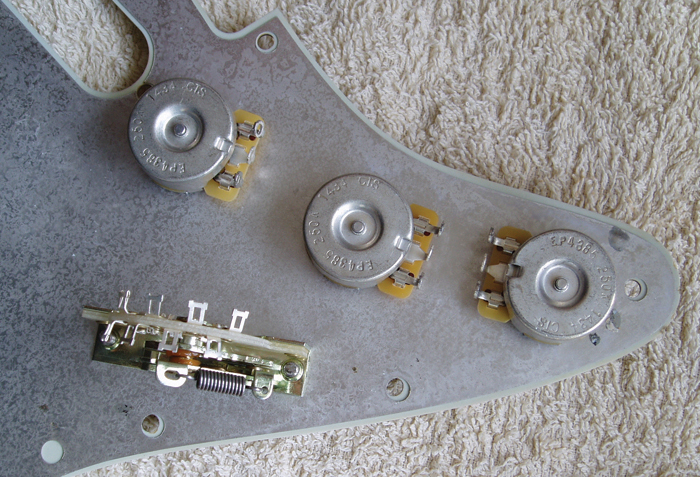
Part two focuses on the actual assembly process. You’ll learn how to perform relic’ing on the pickguard and its surrounding constituents. The pickguard can be aged with the help of some strategic chipping, while the screws, pots and switches are aged electronically. The final step involves mounting the external components onto the pickguard and hooking up the pickups to their respective potentiometers.
For more DIY projects you can do at home, check out this page.