Related Tags
DIY Workshop: How to adjust your guitar’s truss rod
If you understand what their limitations are and how to adjust truss rods safely, it’s easy to do it yourself.
All images: Huw Price
Adjusting the truss rod is fundamental to any guitar maintenance routine but it’s widely believed to be dangerous, and even that necks can be ruined in the process. You needn’t be afraid of this humble device – but first, some background.
Back in the day, Leo Fender insisted that his earliest necks were so strong they didn’t need truss rods. However, touring musicians returning to California from the Canadian cold soon persuaded him otherwise. Wood responds to heat and humidity by expanding and contracting, and it only takes a very small movement forwards or backwards for that perfect action to become uncomfortably high, or for the strings to start buzzing on the frets.
Most guitar manufacturers realised this when steel strings became the norm and necks needed to withstand far greater tension as a result. In 1934, Martin began installing a steel T-bar to maintain neck straightness, and other manufacturers followed suit with their own versions. But necks would still bow under tension, so manufacturers still felt obliged to produce very fat necks to minimise the issue.
Gibson had quite literally been ahead of the curve – employee Thaddeus McHugh invented an adjustable steel truss rod and filed for a patent in 1921. US Patent #1446758 was granted in 1923, and this allowed Gibson to carve much slimmer necks than its competitors.
Most truss rods only act in one direction, so they’re primarily intended to correct up-bows. Necks can also develop back-bows, so dual-action truss rods were developed to allow neck adjustment in both directions.
When to adjust
Every spring and autumn, I get calls from customers saying their guitars need a setup, with common complaints being high actions, string buzzing and tuning issues. Often, a full setup isn’t needed because the neck is the only thing that has moved and all that’s required is a minor truss rod adjustment. The same can also apply when trying a different brand of strings or changing string gauge.
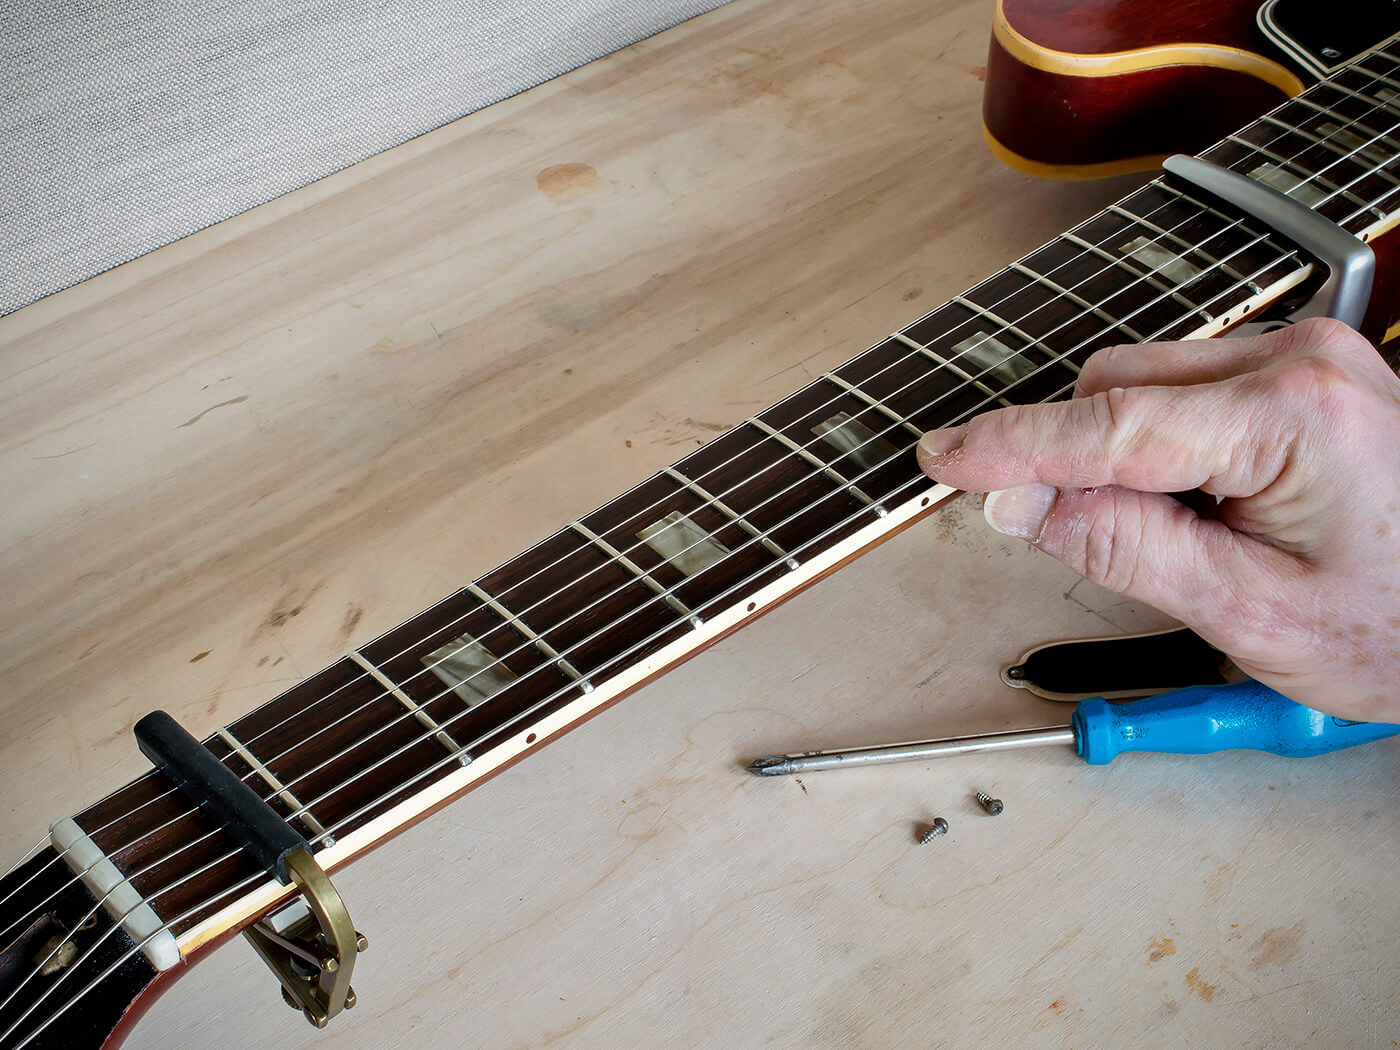
How to check your guitar neck for curvature
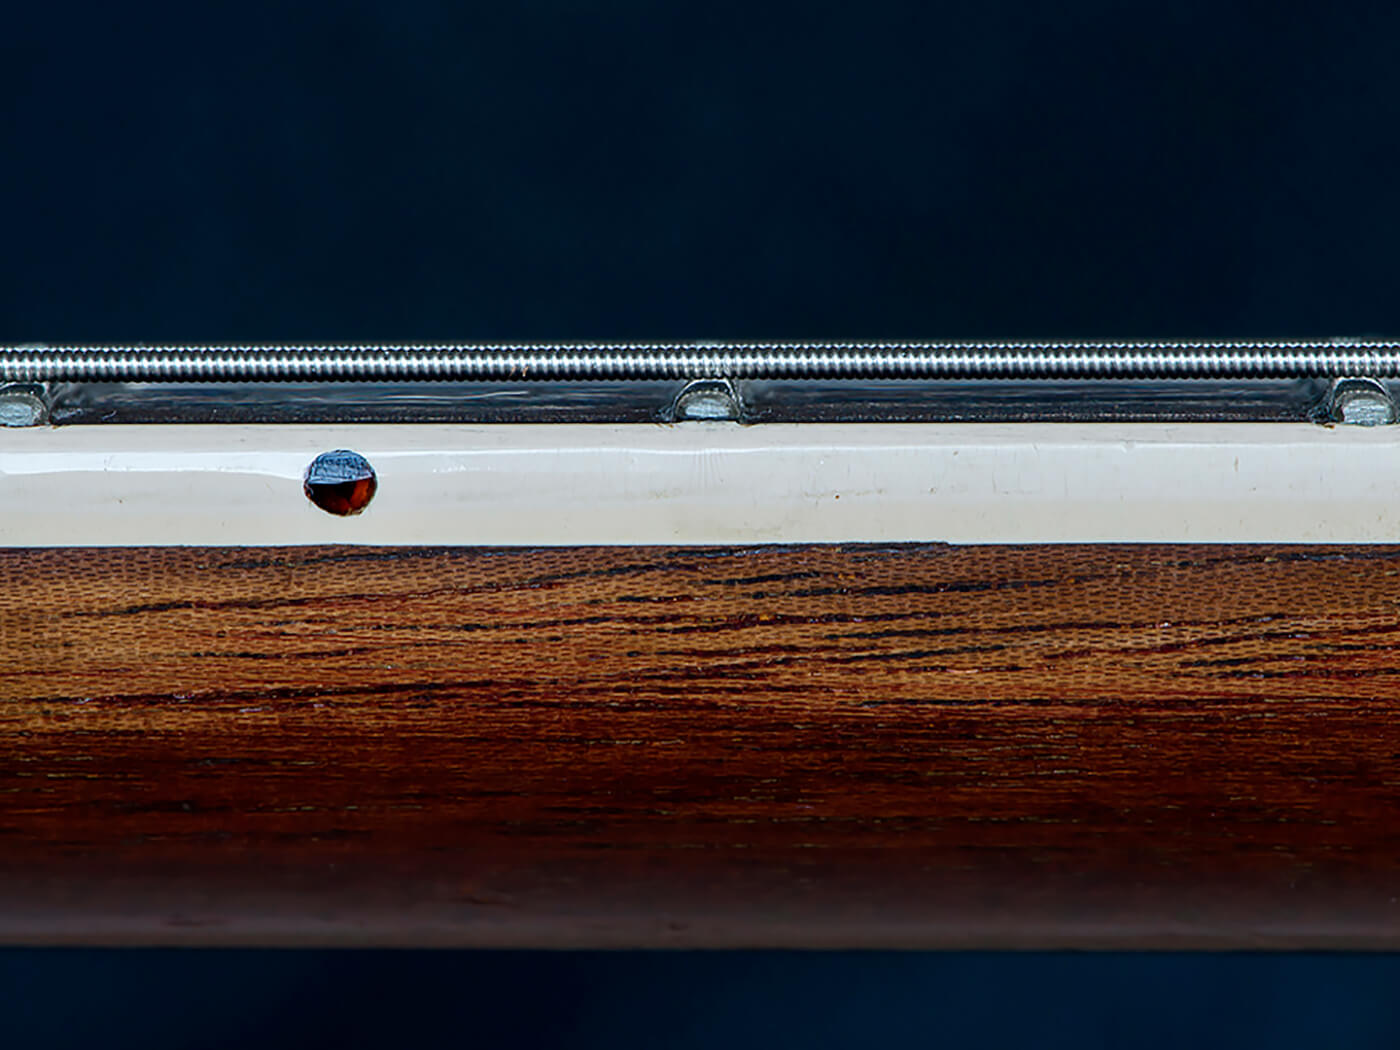
You can assess neck straightness by fretting a string in two places simultaneously – at the first fret and somewhere around the point where the neck joins the body. Using a capo or two can help. Look for a gap between the top of the 7th fret and the underside of the string. If there’s no gap and you have been experiencing fret buzzing, the neck is probably flat or back-bowed. Conversely, a large gap and a high action might indicate an up-bow.
How neck straightness impacts string height and intonation is fairly easy to visualise. Imagine the neck is totally straight and the strings are running parallel to the fretboard from the nut to the bridge. If truss rod tension is released, the strings will pull the neck into an up-bow, so the nut increases in height relative to the bridge and the strings move higher above the fretboard.
Conversely, an excessively tight truss rod can force the neck into a back-bow, where the nut drops in height relative to the bridge and the strings move towards the fretboard. Neck bows also alter the distance between the nut and bridge, which can cause intonation problems.
Another tell – especially on single-cutaway, Les Paul-style guitars – is easy playing up to somewhere around the 16th fret, where the strings begin to buzz and choke. This usually indicates an up-bow that levels out where the neck meets the body. If the bridge has been dropped to compensate for the raised action, the guitar may play nicely, but only up to that point. Straightening the neck and raising the bridge invariably solves the problem while retaining a low action.
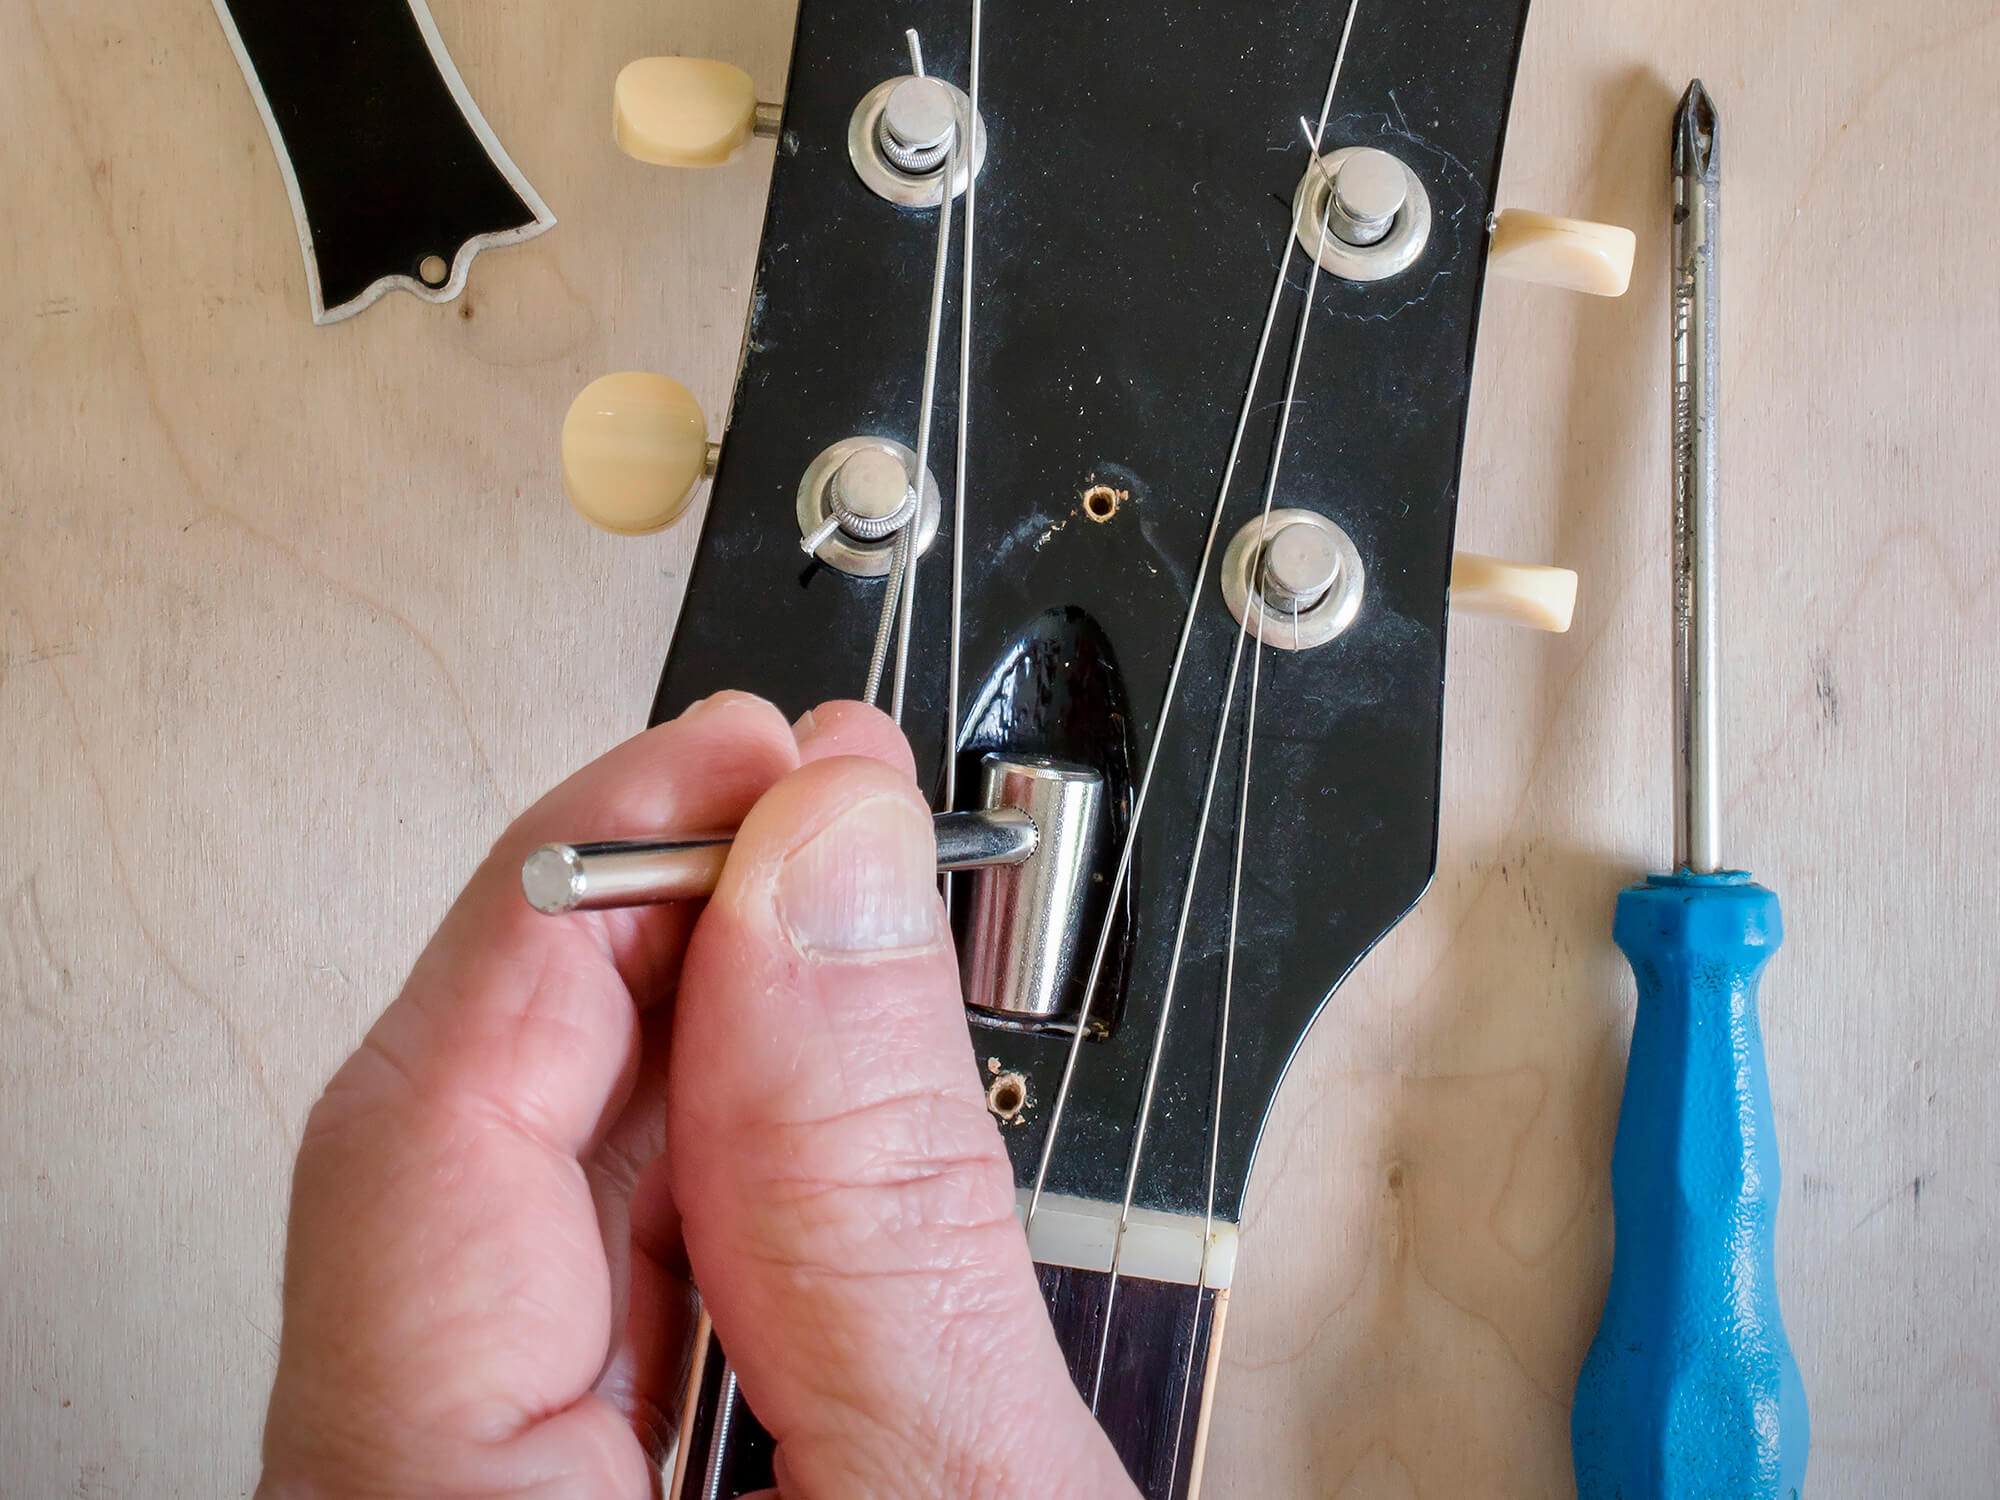
How to adjust your truss rod
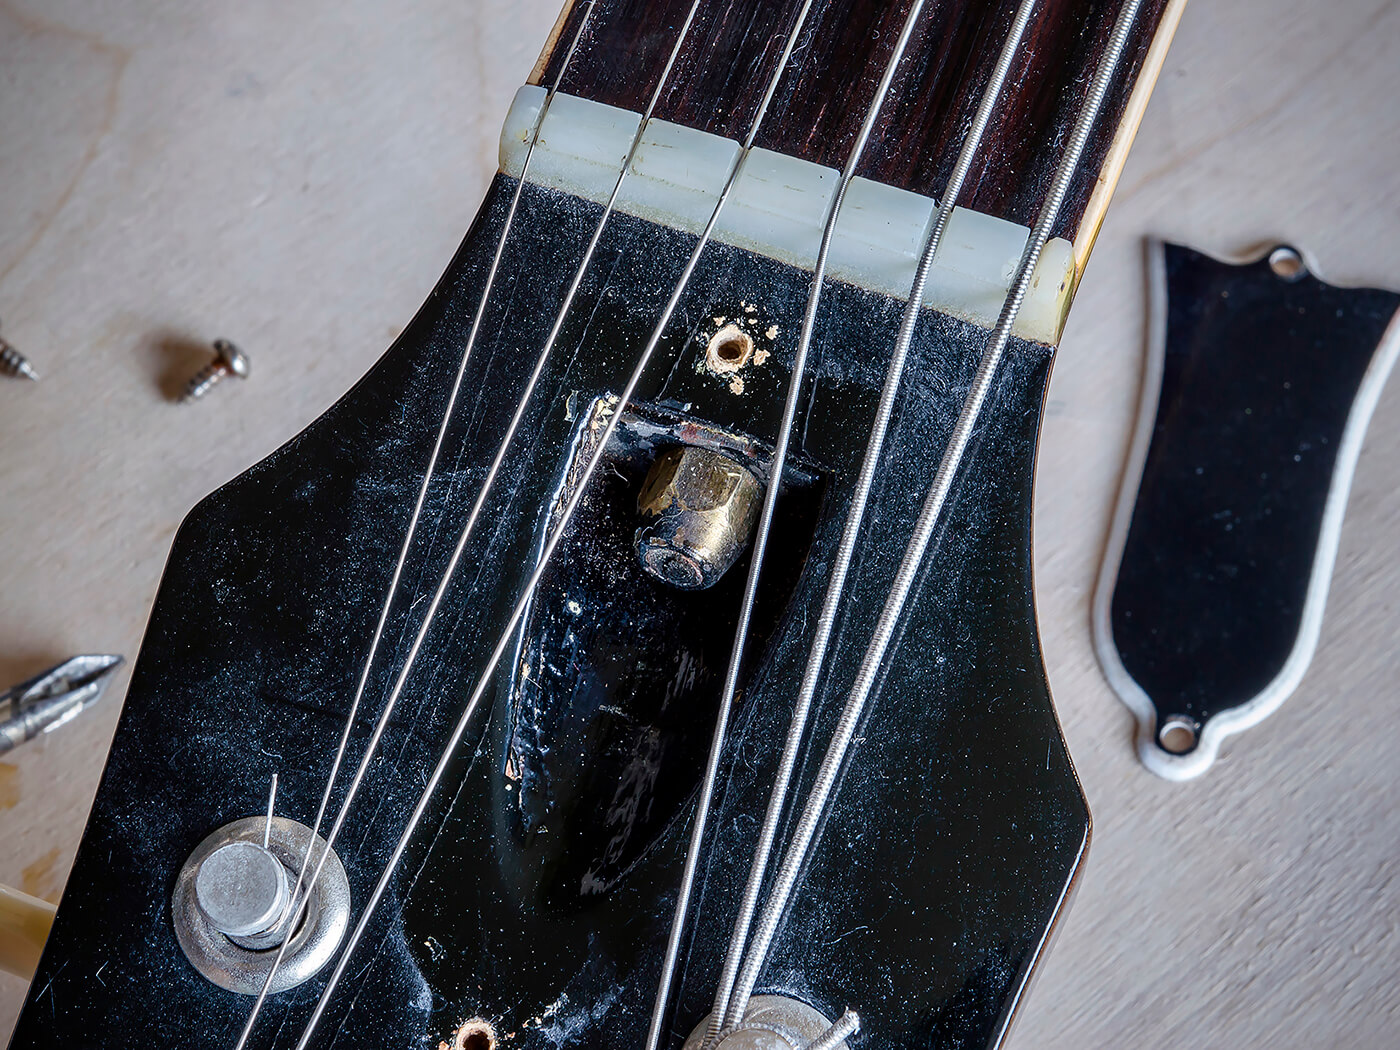
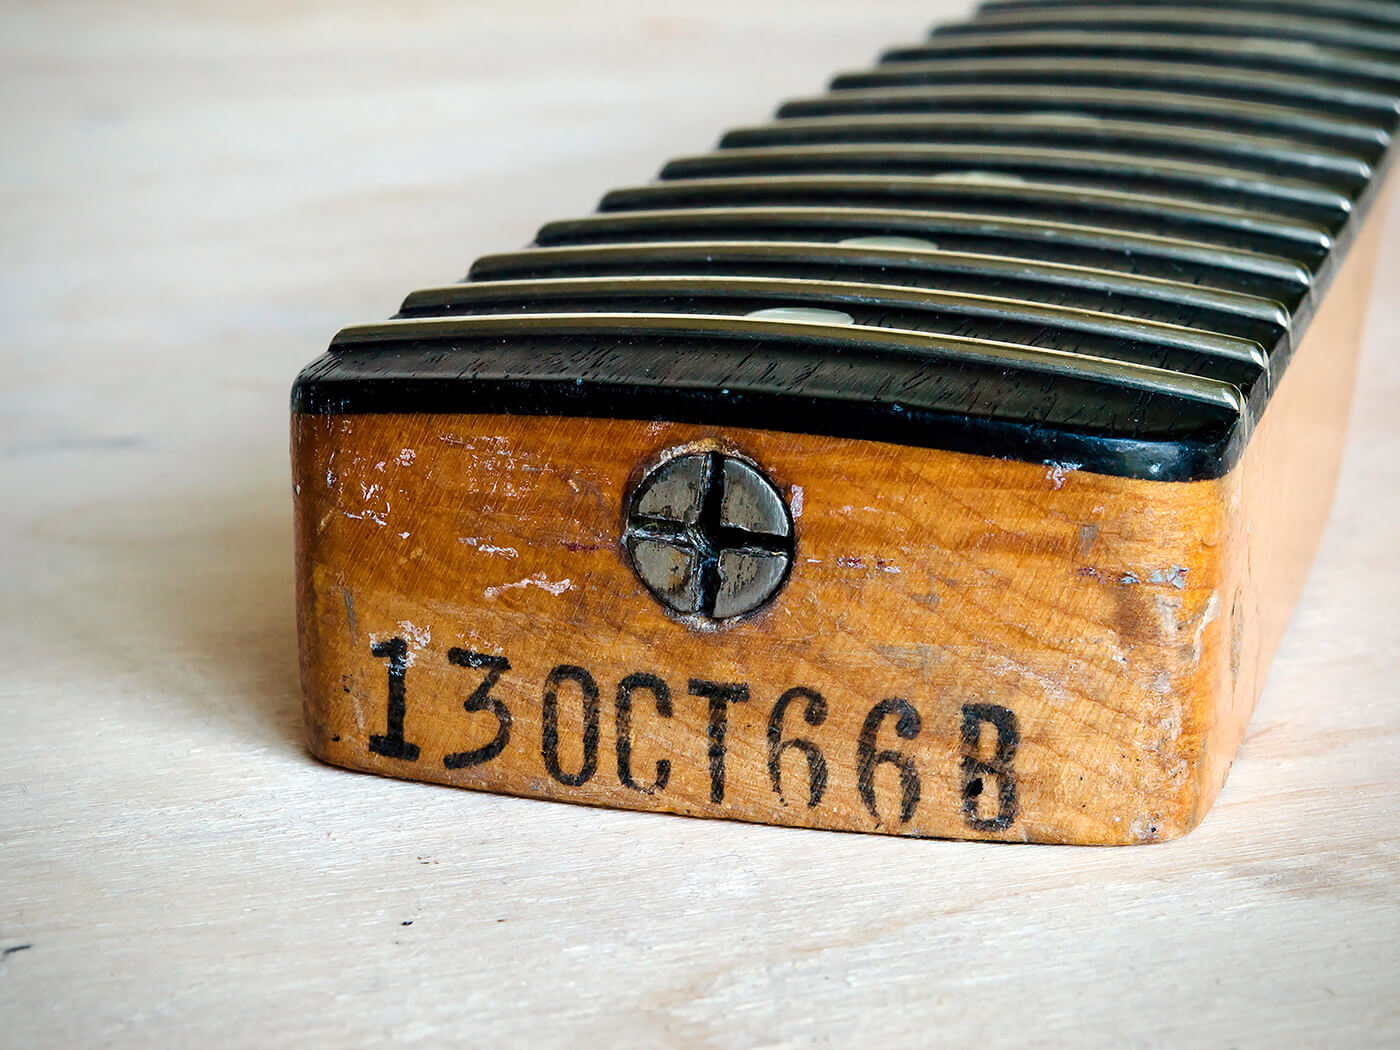
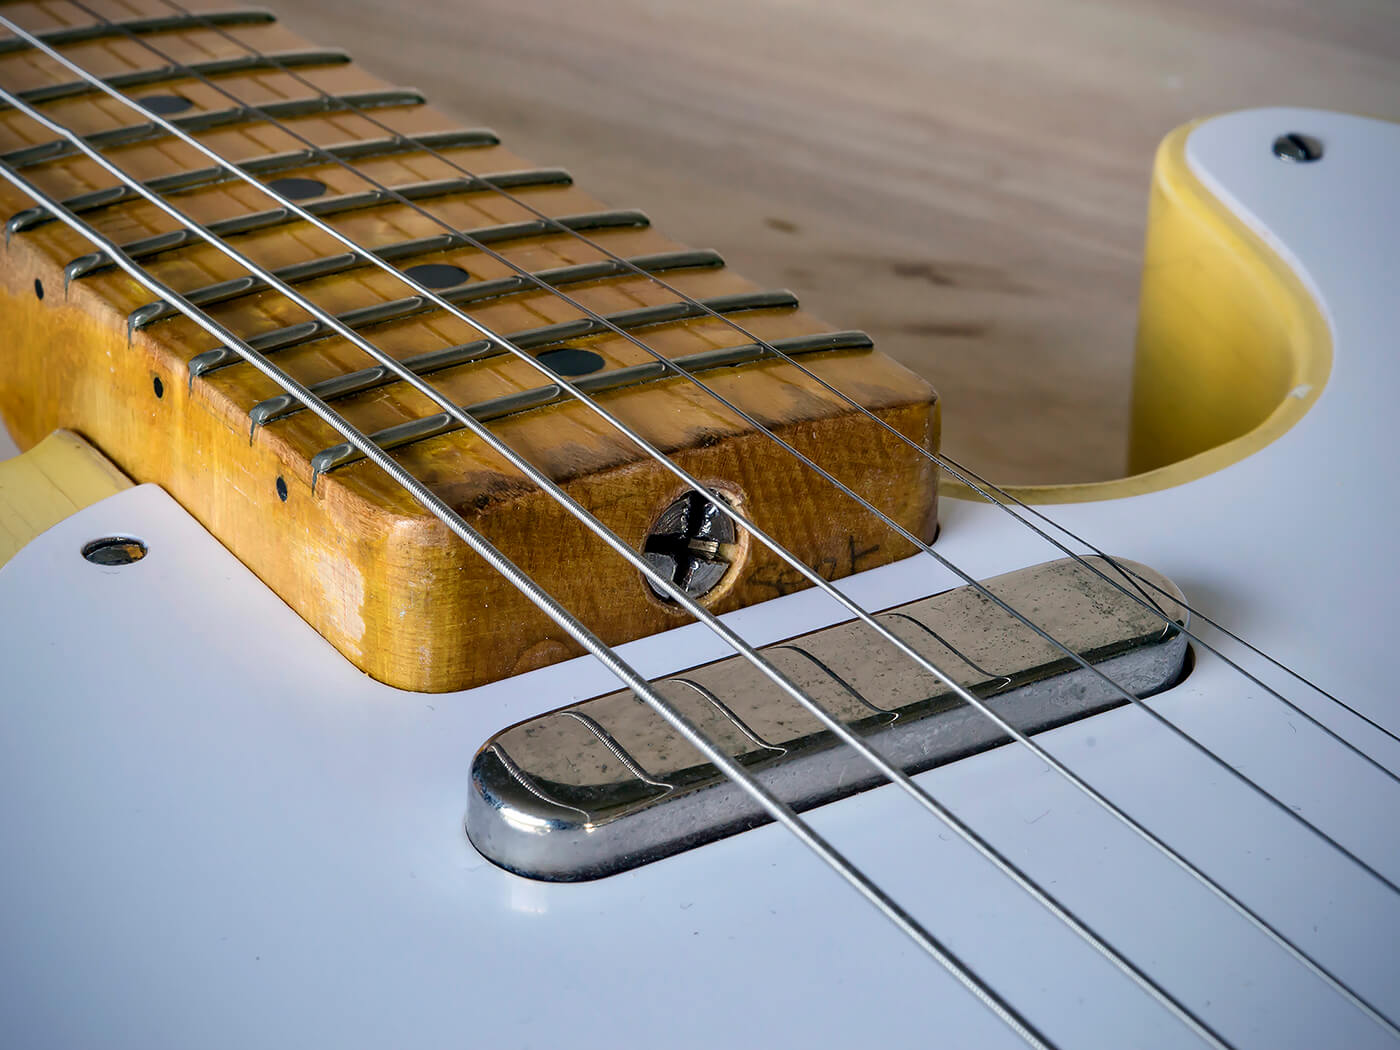
First, you need to locate the exposed end of the truss rod. If there’s a hole or cover plate next to the nut at the headstock end, that’s where you’ll be making your adjustments. Vintage-style Fender necks and many acoustics are adjusted from the body end, which can complicate things, but I’ll come back to that later.
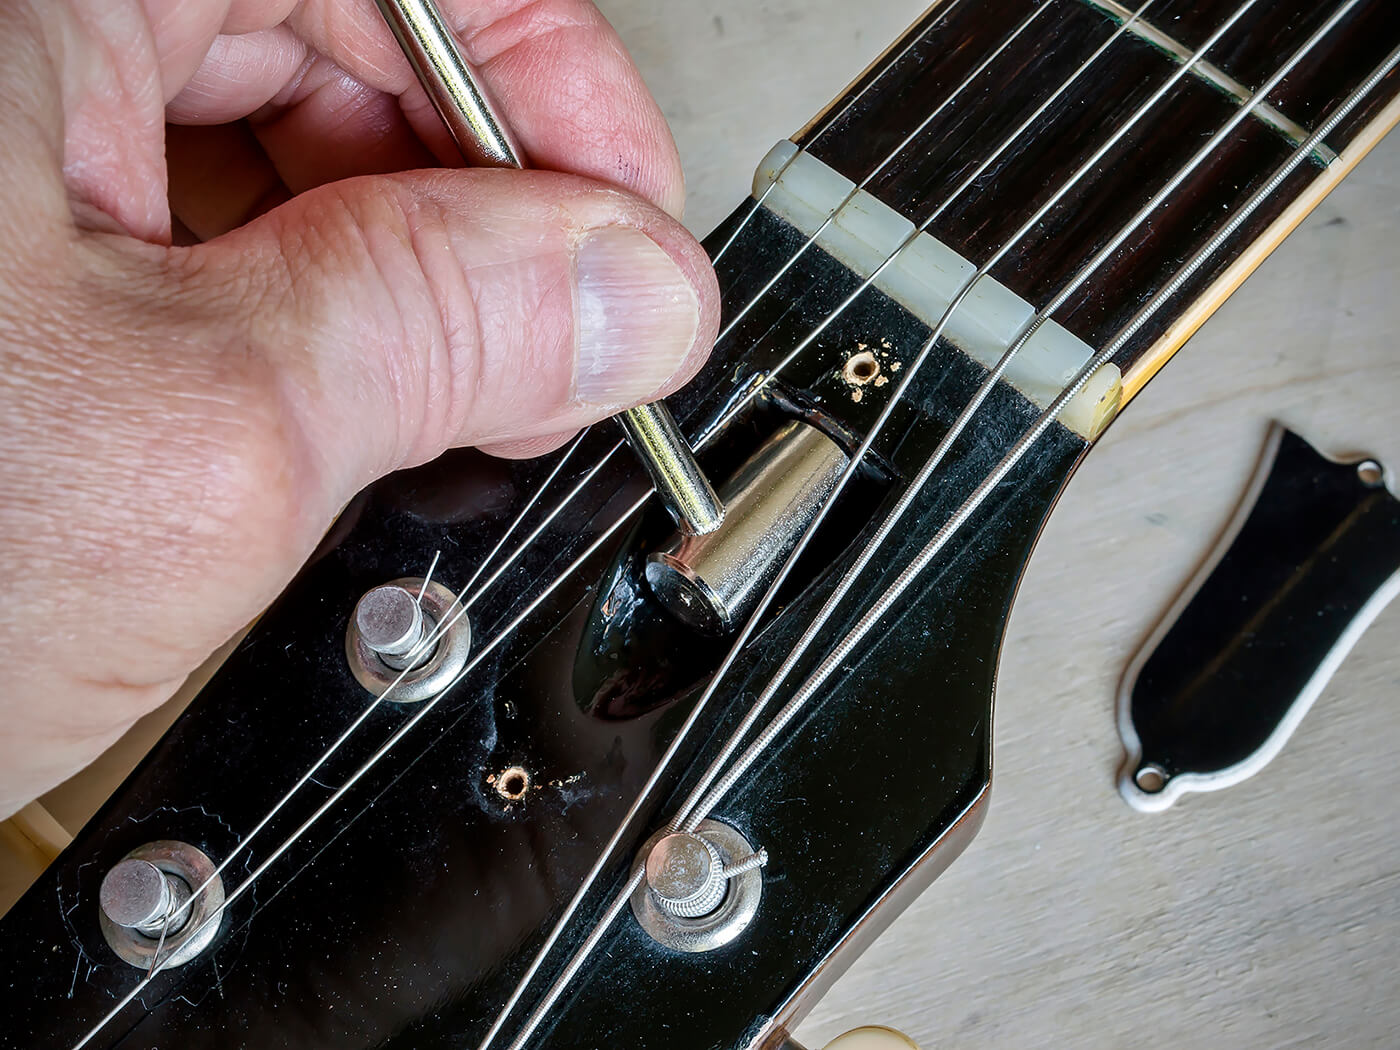
Tightening a truss rod to correct an up-bow involves turning the adjuster clockwise. To correct for a flat neck, or a back-bow, the truss rod has to be de-tensioned by turning it counterclockwise and the string tension will complete the job. Whenever possible, I always adjust truss rods with the strings tuned to pitch. The principle is fairly simple, but here’s where you need to be aware of potential dangers.
Truss rods are designed to make minor corrections and are only effective within a fairly narrow range. If your neck’s bow is severe, trying to fix it by adjusting the truss rod may end up snapping the rod or stripping the threads on the rod. Either may render the truss rod and the neck itself unusable.
When starting to adjust truss rods, take things very slowly, work in increments that do not exceed an eighth of a turn, and allow things time to settle down between adjustments. If you’re finding it difficult to turn the rod, stop and leave it to a professional. Similarly, if your adjustments appear to have little effect, or slackening off a truss rod completely doesn’t correct a back-bow, leave it to a pro.
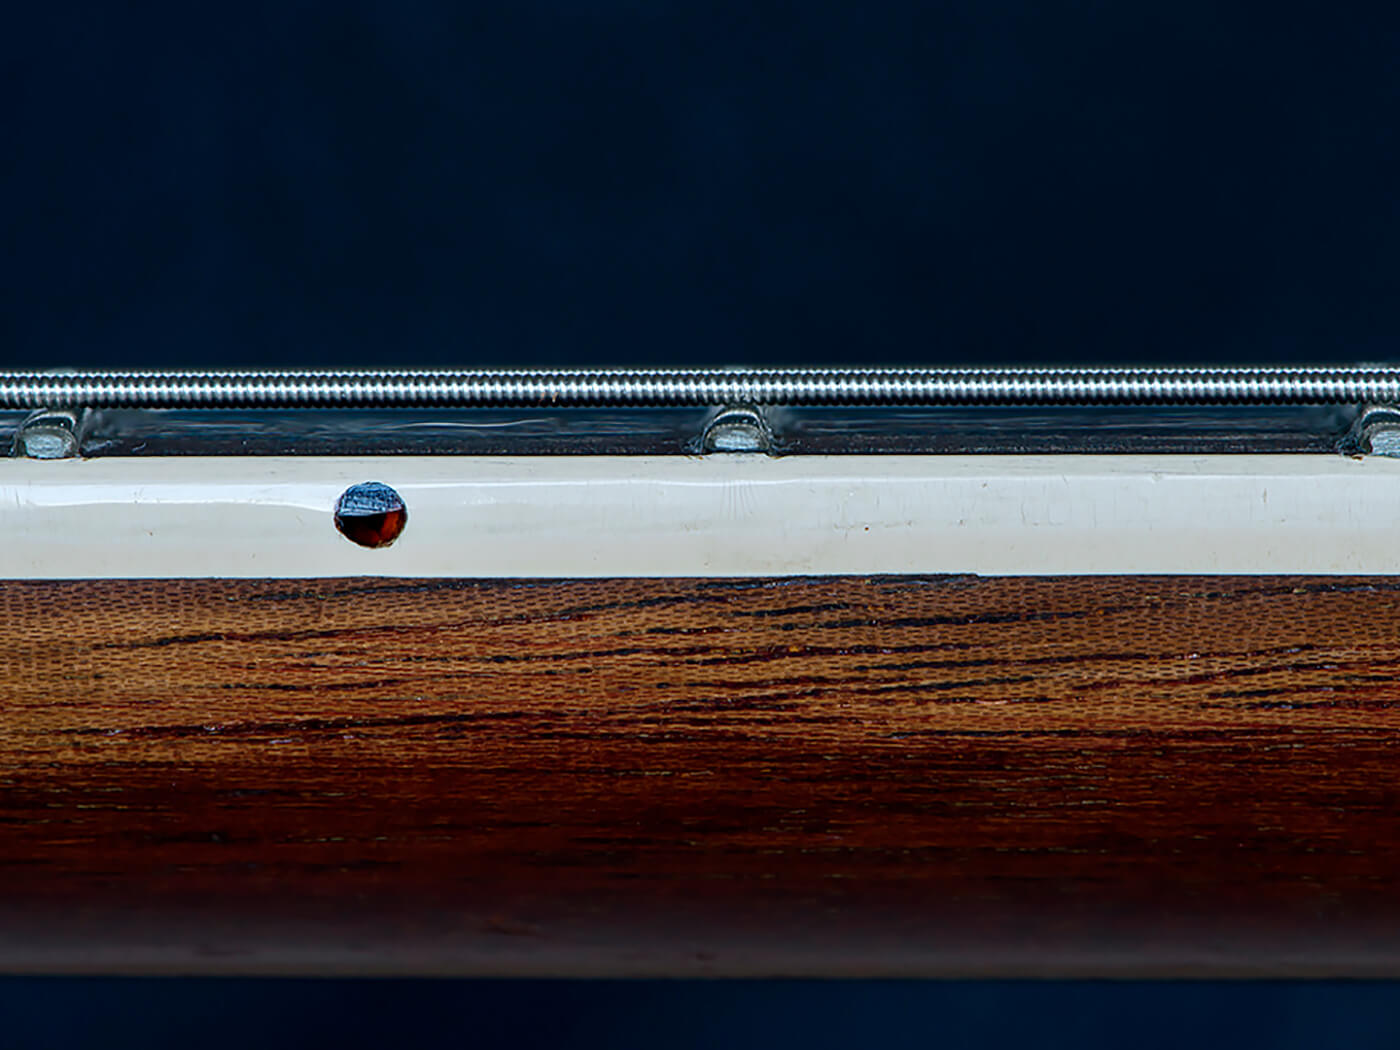
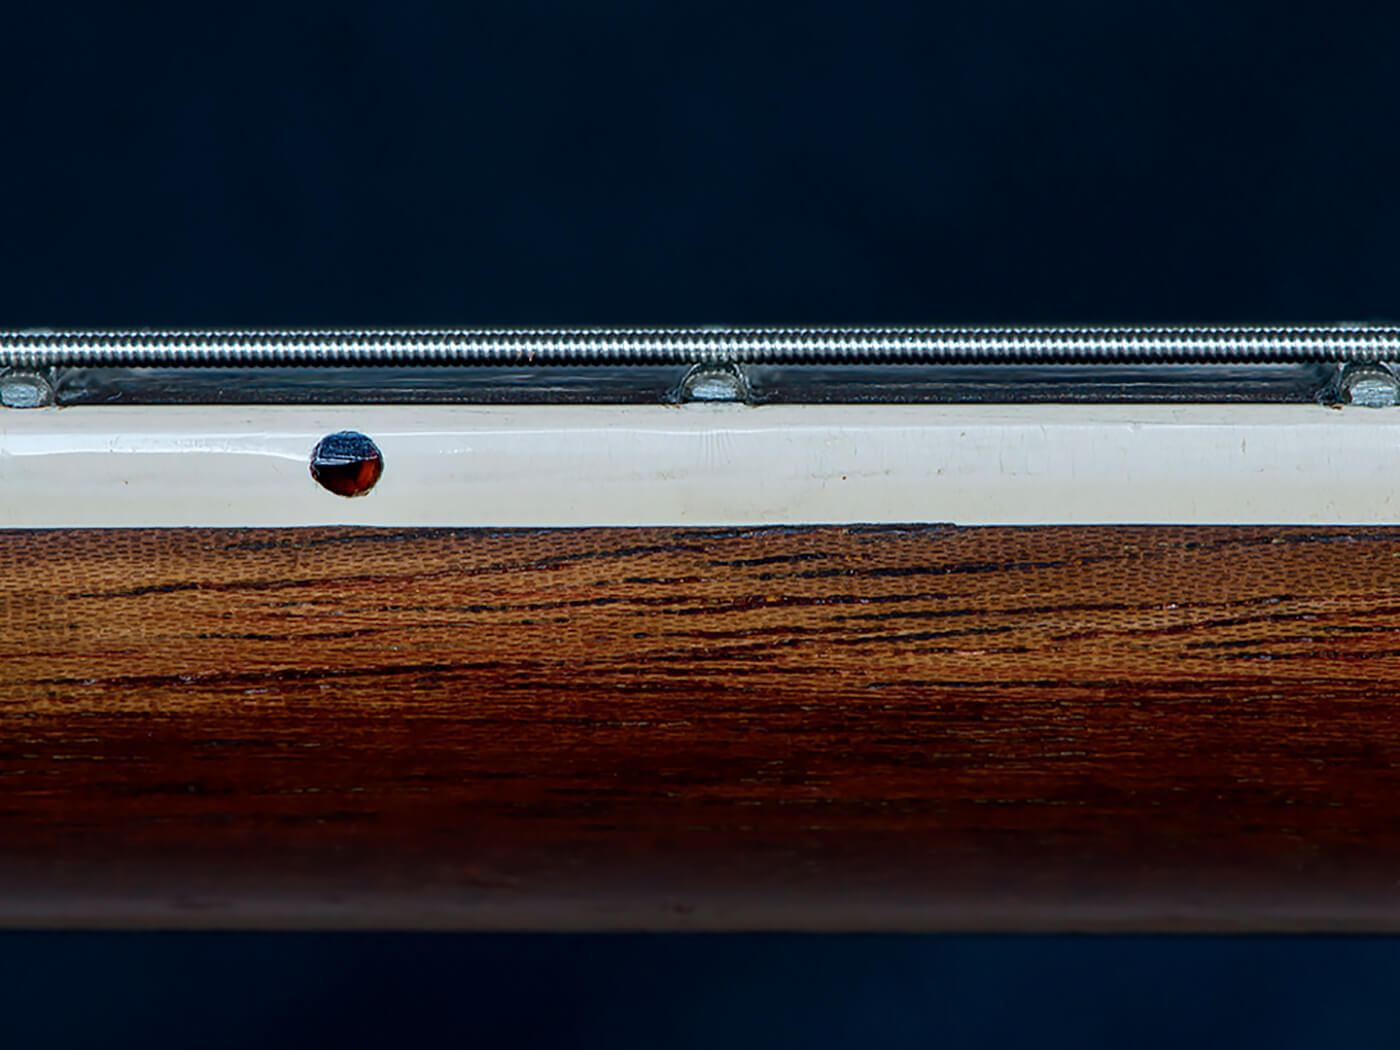
A back-bow is never a good thing and you can only get away with a completely straight neck if the frets are perfectly levelled. String displacement is greatest at the midpoint, so for buzz and rattle-free playing you’ll almost certainly need a slight gap between the 7th fret and the string. Feeler gauges can help, but I tend to go by ear and feel. You can decide for yourself how much fret noise is tolerable.
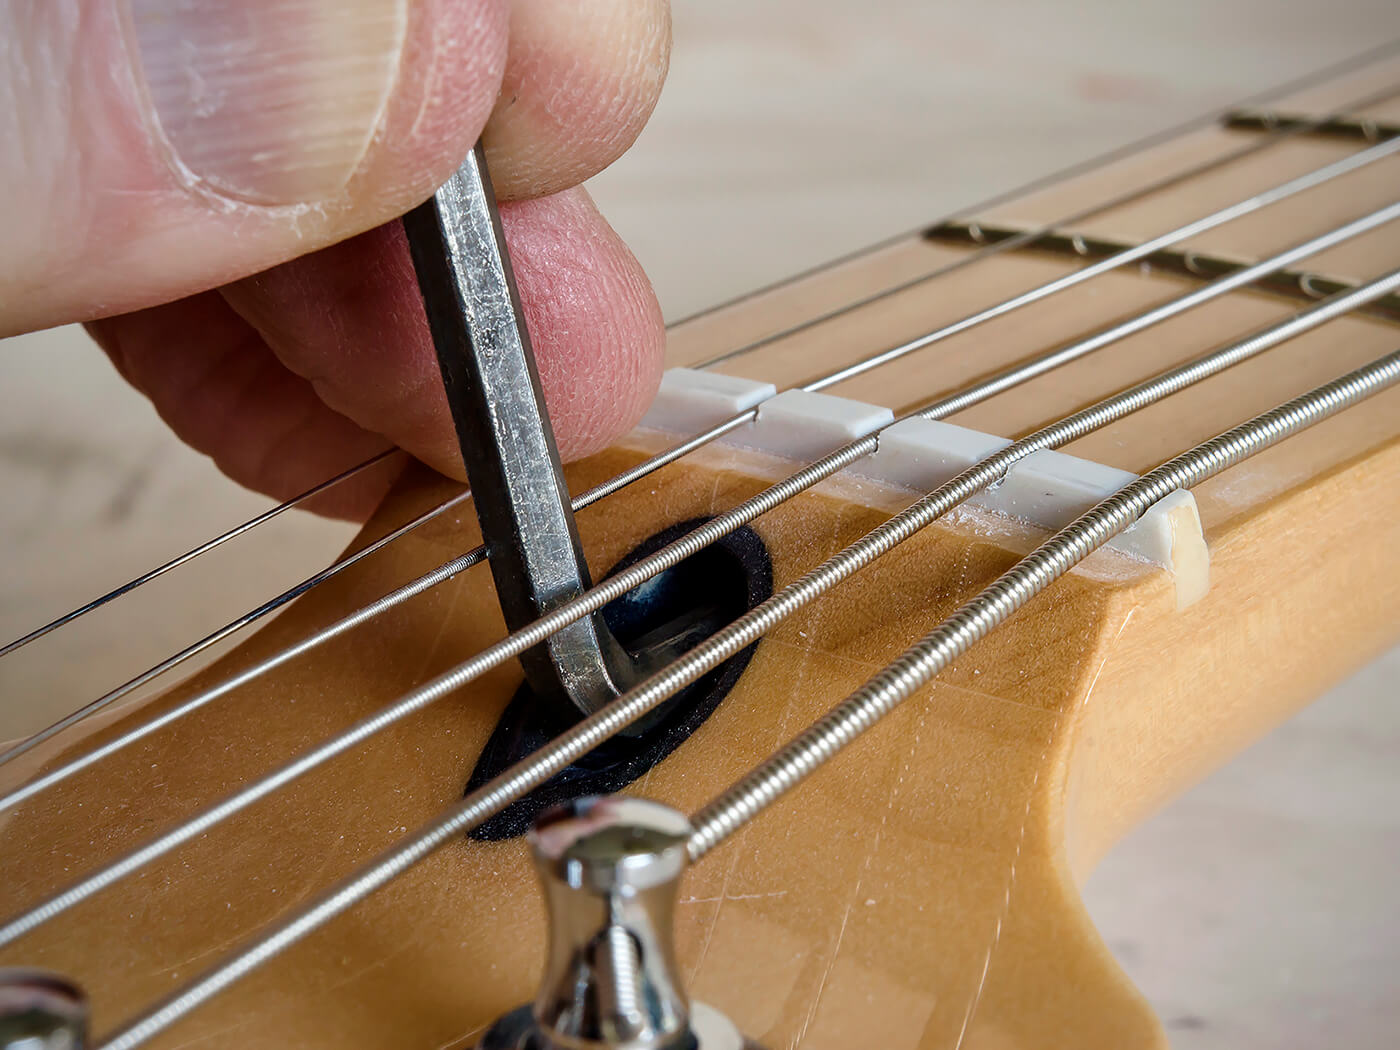
Tiny adjustments can make a noticeable difference to tone and playability, and I generally find that guitars ring clearer and sustain for longer when there is some tension on the truss rod. Vintage-style Fender necks present the most problems because the strings generally need to be slackened off and the neck partially lifted out of its pocket in order to adjust the truss rod. Adjusting this type of truss rod is just the same, but you might need to pop the neck in and tune to pitch a few times before you arrive at the optimal tension.
Tools you need
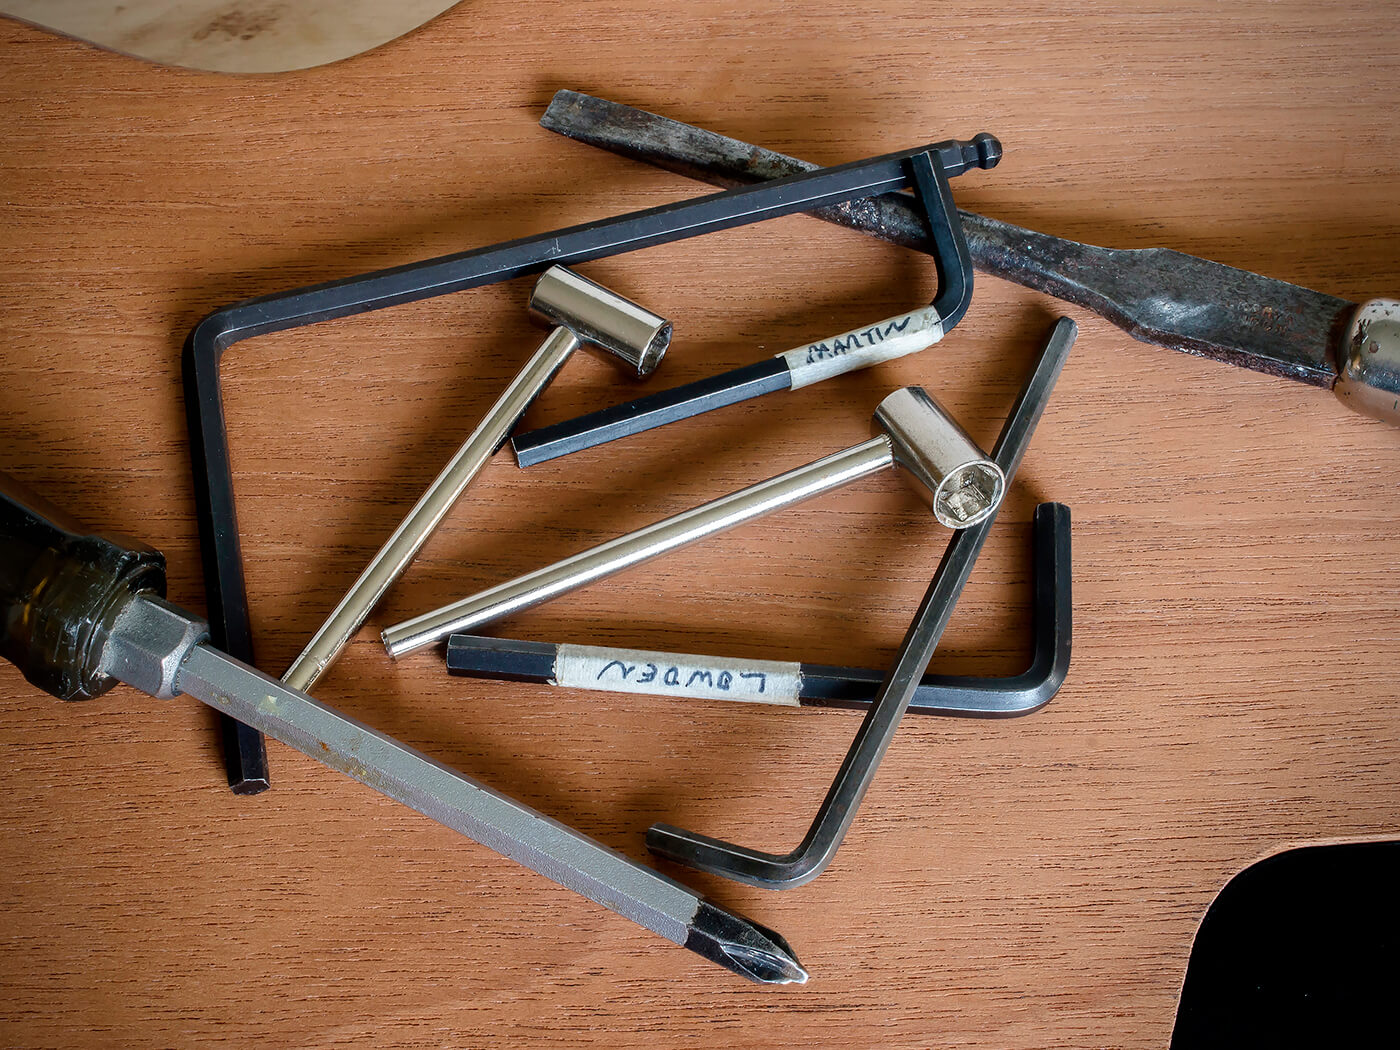
Expensive or highly specialised gadgets are not necessary for truss rod adjustment, but you do need the correct tools. Depending on the guitar, you’ll need a large cross-head or flathead screwdriver, an Allen/hex wrench or a socket wrench. Tools are readily available online and acquiring the an Allen or socket wrench of exactly the right size will help you to avoid damaging the truss rod nut.
Those acoustics with truss rod access under the soundhole will require a long Allen wrench to pass between the strings and get in deep enough to prevent you scratching the finish. If you’re lucky, the guitar’s manufacturer will have included the correct tool inside the case. Good luck, and let us know how you get on!