Related Tags
How to hang your guitars on the wall properly
Want to have a wall full of your favourite guitars without that nagging worry that they’re going to fall off? Our step by step guide will help you on your way.
Guitars are great, obviously, but they tend to get in the way, don’t they? Unless you’ve got a palatial home studio set-up, having all your guitars out on stands is both messy, cluttered, and an accident waiting to happen – we all remember Domino Rally, right?
But what’s the alternative? Well, you could just keep your guitars in their cases – there’s no doubt that a case is absolutely the safest and best place to store your guitars when you aren’t using them. But it’s also a bit of a hassle, isn’t it?
So many of us struggle to find the time to play guitar as much as we’d like these days, do we really want to cut into that time with the extra admin every time we play? And if inspiration strikes, do we really want to have to go under the bed or into the cupboard to get the guitar we want to play, and risk the moment passing? Exactly.
So if we agree that having your guitars close at hand is both handy and useful, but that having them all on stands takes up too much space, what’s the answer? Yes, friends, the answer is wall-hangers – not only does having your guitars on the wall save space and keeps them safe from accidental knocking over, but it allows you to display your beautiful instruments in an unquestionably rock ‘n’ roll way.
But it’s a bit scary, isn’t it? The thought of a few screws being all that stands between your guitar and a six-foot drop onto a hard floor… but don’t be afraid, we can show you how to keep your guitars are safe and secure on the wall…
What you’ll need:
- Wall hanger
- Mounting screws and plugs
- Tape measure
- Spirit level
- Pencil
- Hammer drill
- Hammer
- Screwdriver
Step 1 – The Right Tools For The Job
You (hopefully) wouldn’t transport your Custom Shop Strat in one of those cheap gigbags that you get with the cheapest GSO student guitars, so why are you trying to cut corners when you’re suspending it eight feet in the air?
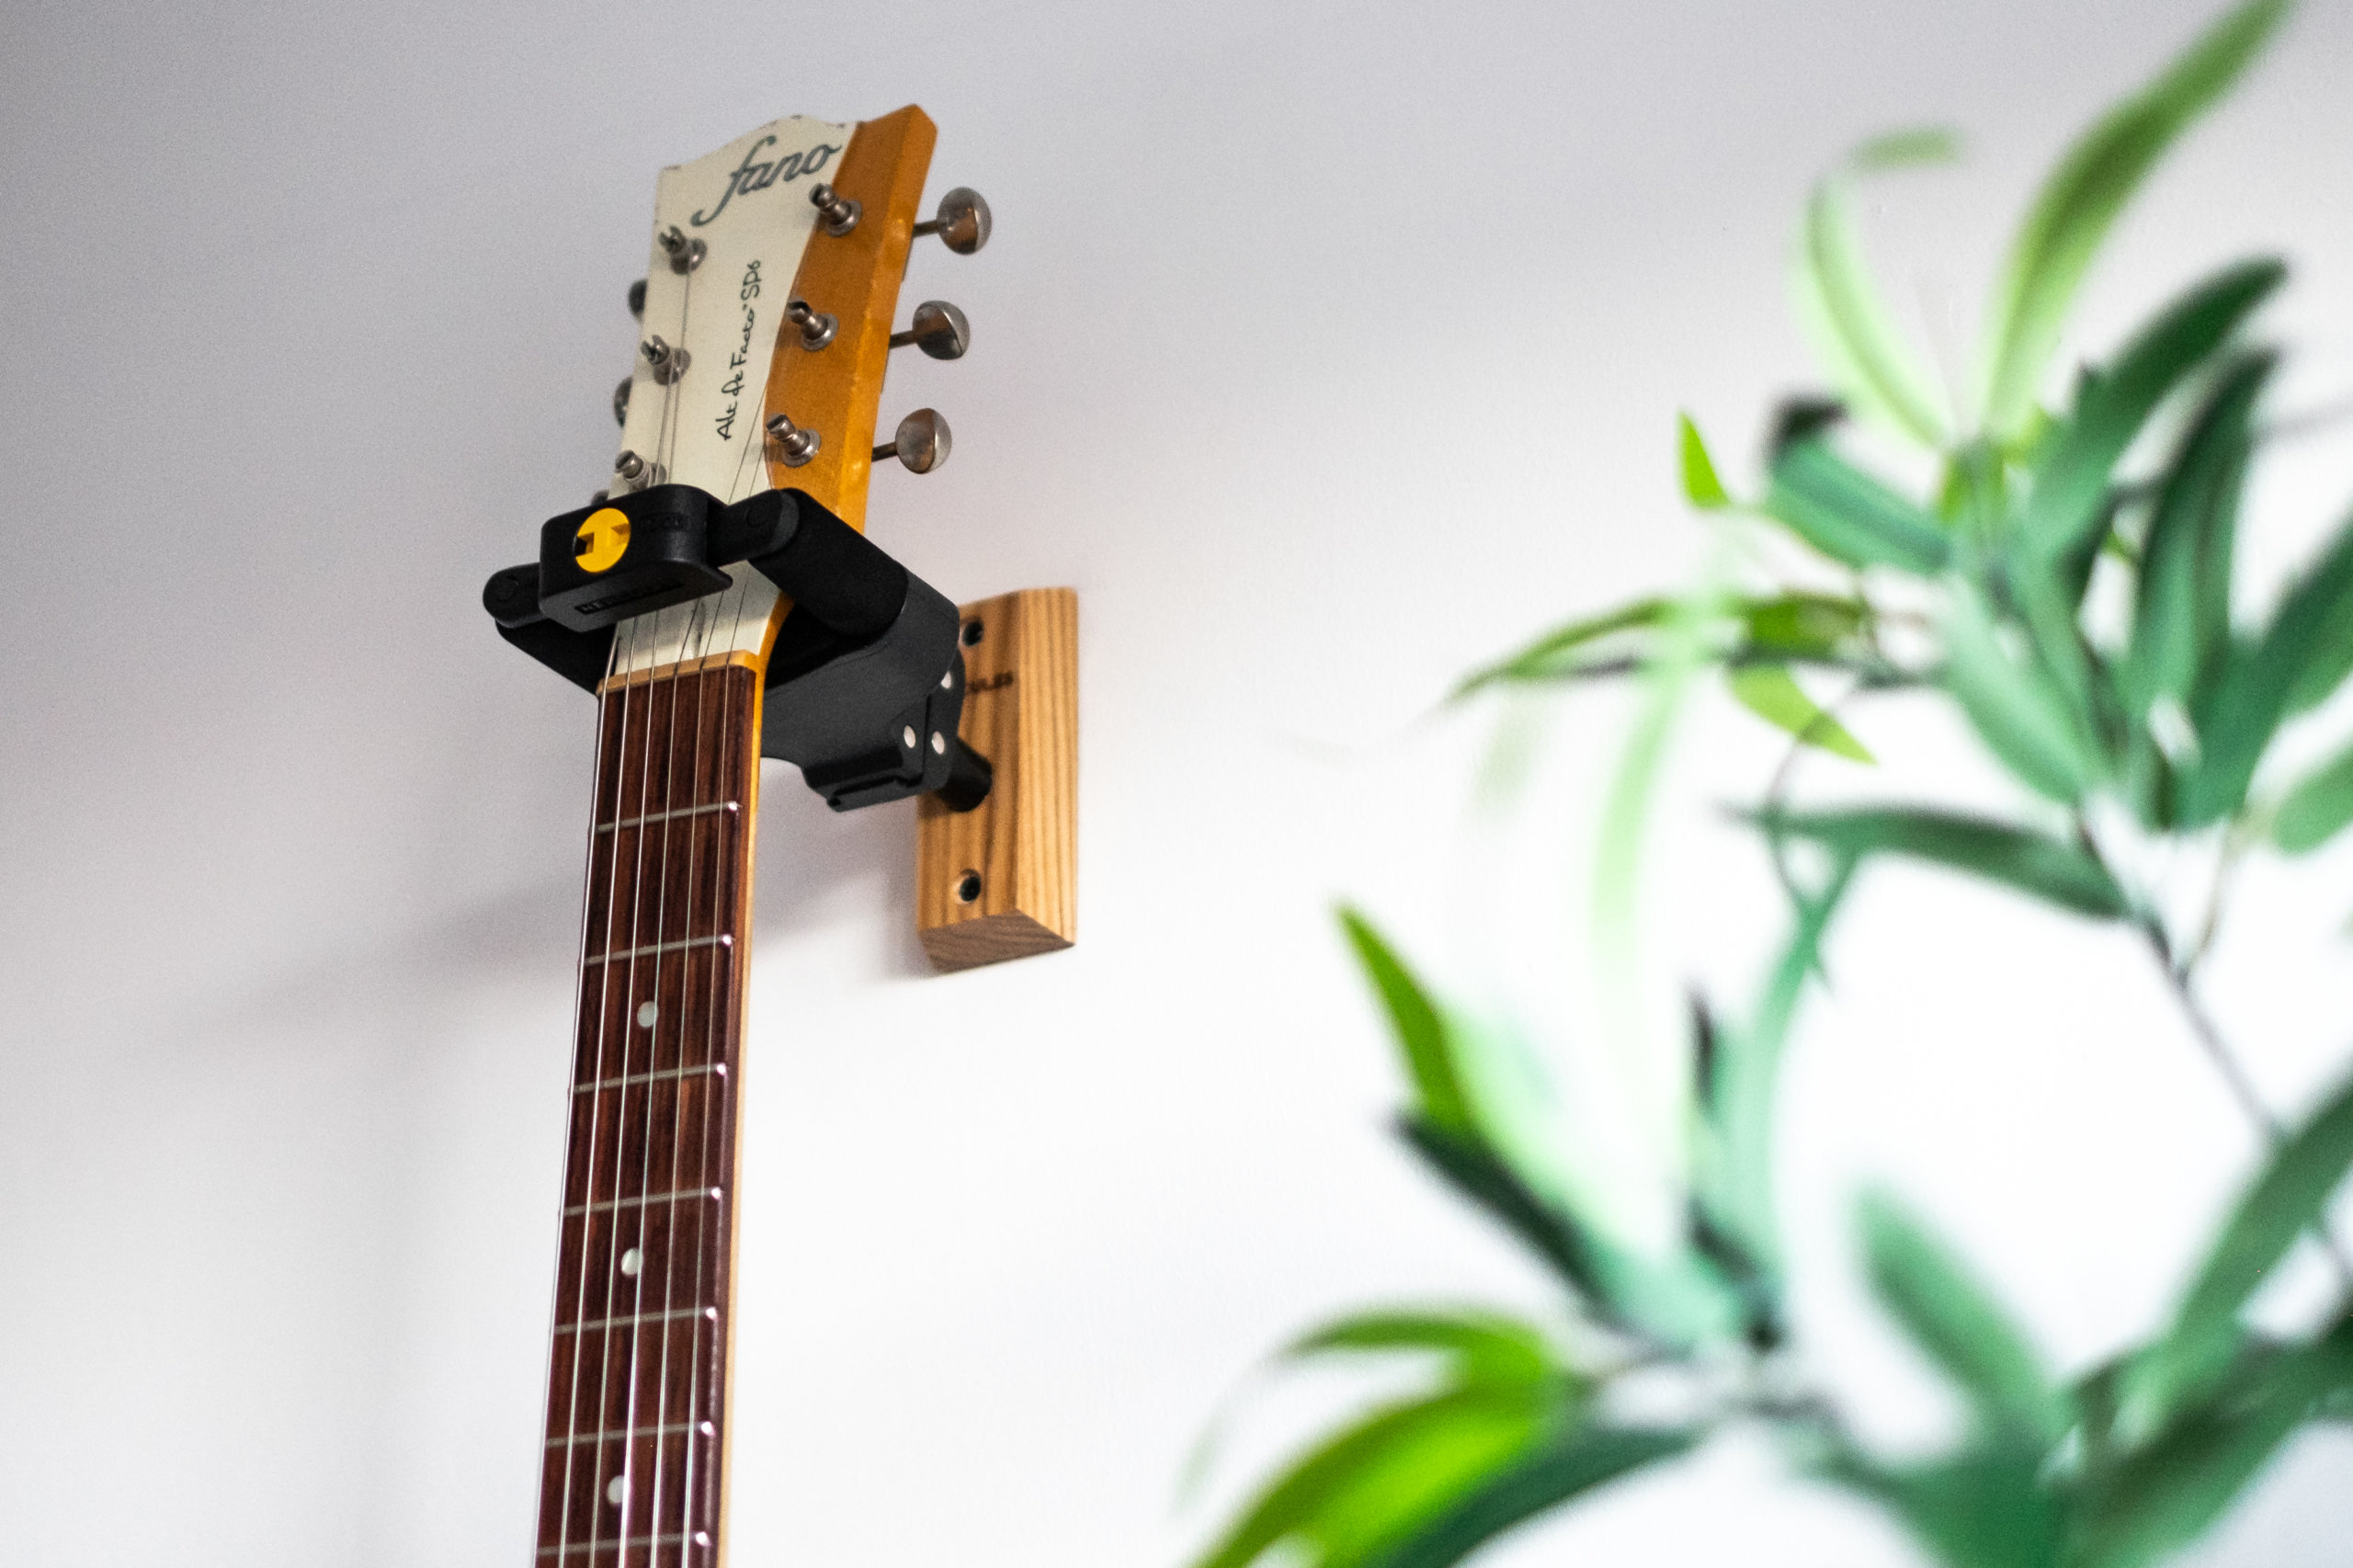
If you’re going to do this, do it right – get yourself a quality hanger from a reputable manufacturer. We’ve chosen to use the Hercules GSP38WB Plus for our guide for several reasons – firstly, because we know and trust that Hercules makes good quality products, but also because of the extra reassurance that comes with the presence of the Auto Grip System widely seen on the brand’s popular guitar stands.
The AGS is a clever bit of engineering, which grips and locks the neck of the guitar into the hanger when you put it in place, meaning that there’s no chance your guitar will get knocked and slip off the hanger.
It also comes with NINA (Narrow Instrument Neck Adjustment) – rubber inserts that allow you to use your hangers for instruments such as mandolins and banjos. If you want more reassurance that it’s solid to the wall, Hercules offers the GSP38 with a three-screw metal backplate, but for most guitars and walls, the two-screw wood block will be fine.
Step 2 – Choose The Right Wall
This is perhaps the most important part of this whole process – choosing the correct wall to hang your instruments on. By far the most straightforward and reassuring option is to hang the guitar into a solid masonry wall. Not sure if your wall is solid? Give it a firm tap – if it sounds in any way hollow, you should look elsewhere if possible. For most modern brick/cinderblock houses, an external wall is probably your best bet here.
If you don’t have access to a solid wall, however, that doesn’t mean your dream of guitar-hanging nirvana is over. There are ways to hang heavy objects on plasterboard/drywall, but it does complicate matters.
If your wall is fairly sturdy, simply pop to your local hardware/DIY store for some hollow wall anchors – these come in various different configurations, but given that these anchors are often designed to hold flat-screen TVs on walls, they should be more than sufficient. Our best advice is to ask in-store, and be sure to double-check that the bolts for the anchors are small enough to get through the holes in your hangers!
Alternatively, you could drill directly into the wooden wall stud – you’ll need a wall scanner to find these, but if you’re drilling into a plasterboard wall, you’ll need one of those to make sure that there’s no pipework or wiring near where you’re drilling anyway for safety reasons.
Step 3 – Prepare Yourself
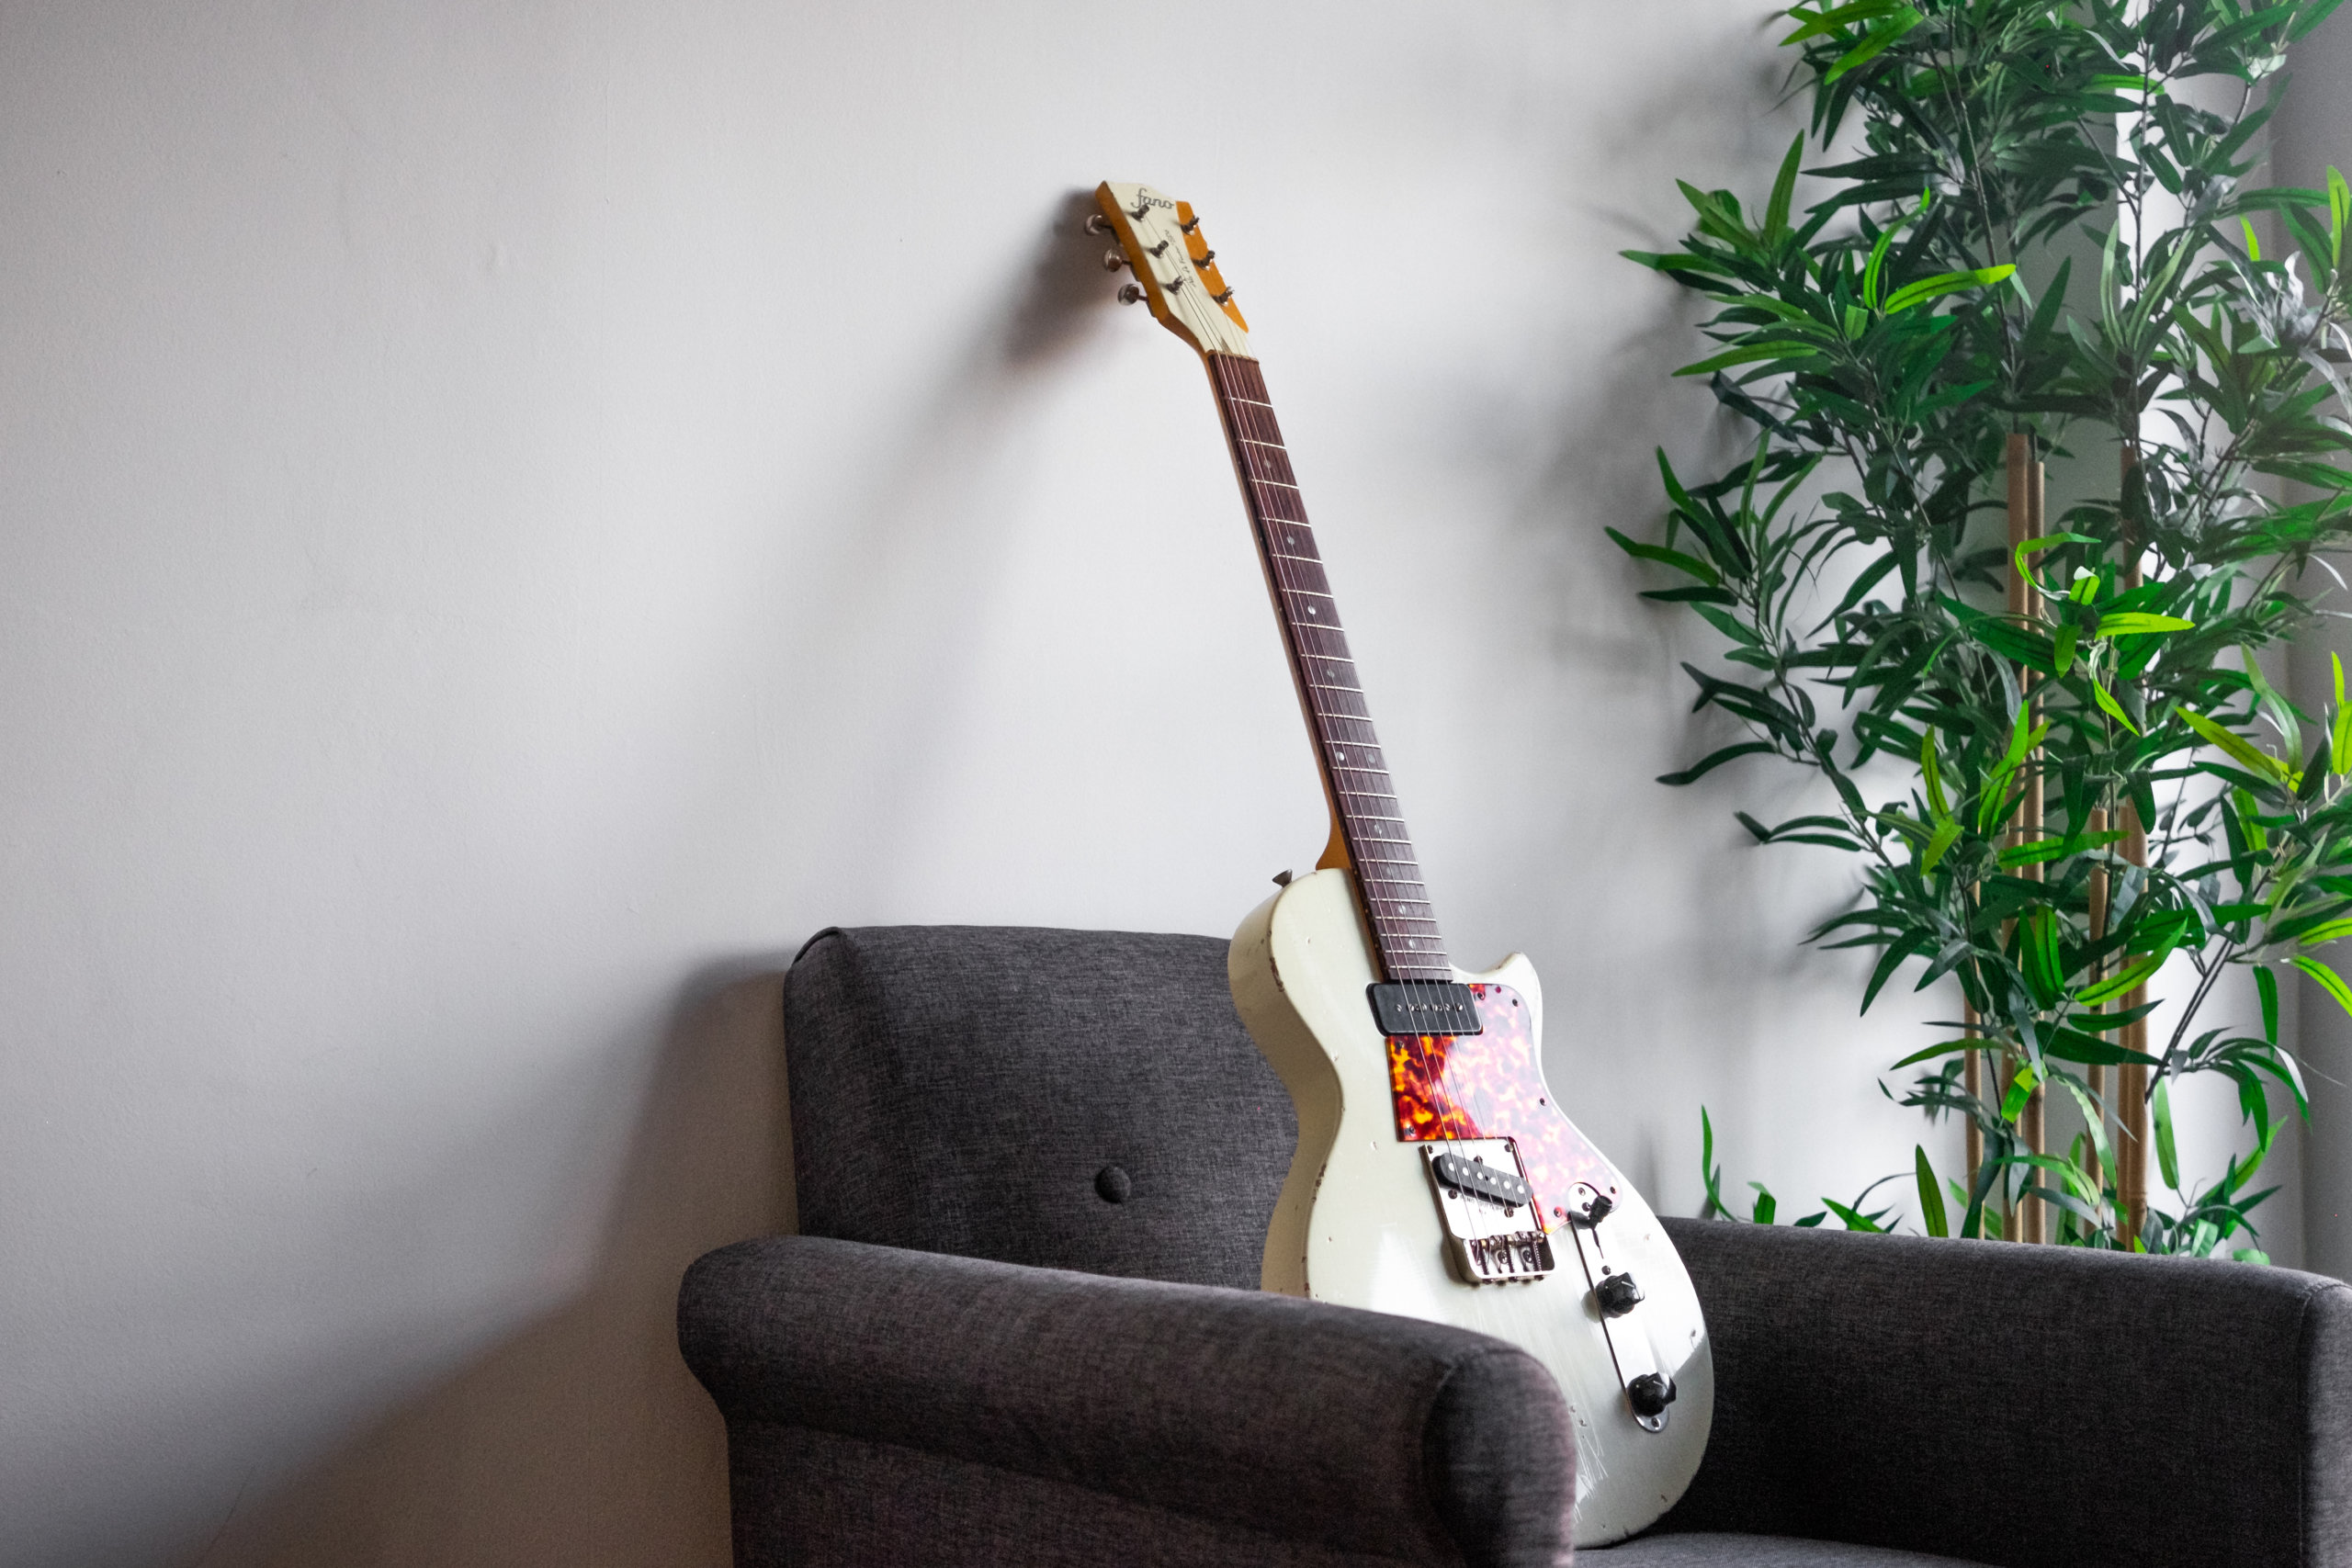
For the sake of simplicity, we’ve chosen to mount our hanger on a solid external wall. The most important part of the prep is deciding where you want the hanger to go, and ensuring that it will allow the instrument to hang unencumbered – you might need an assistant to help you with this part.
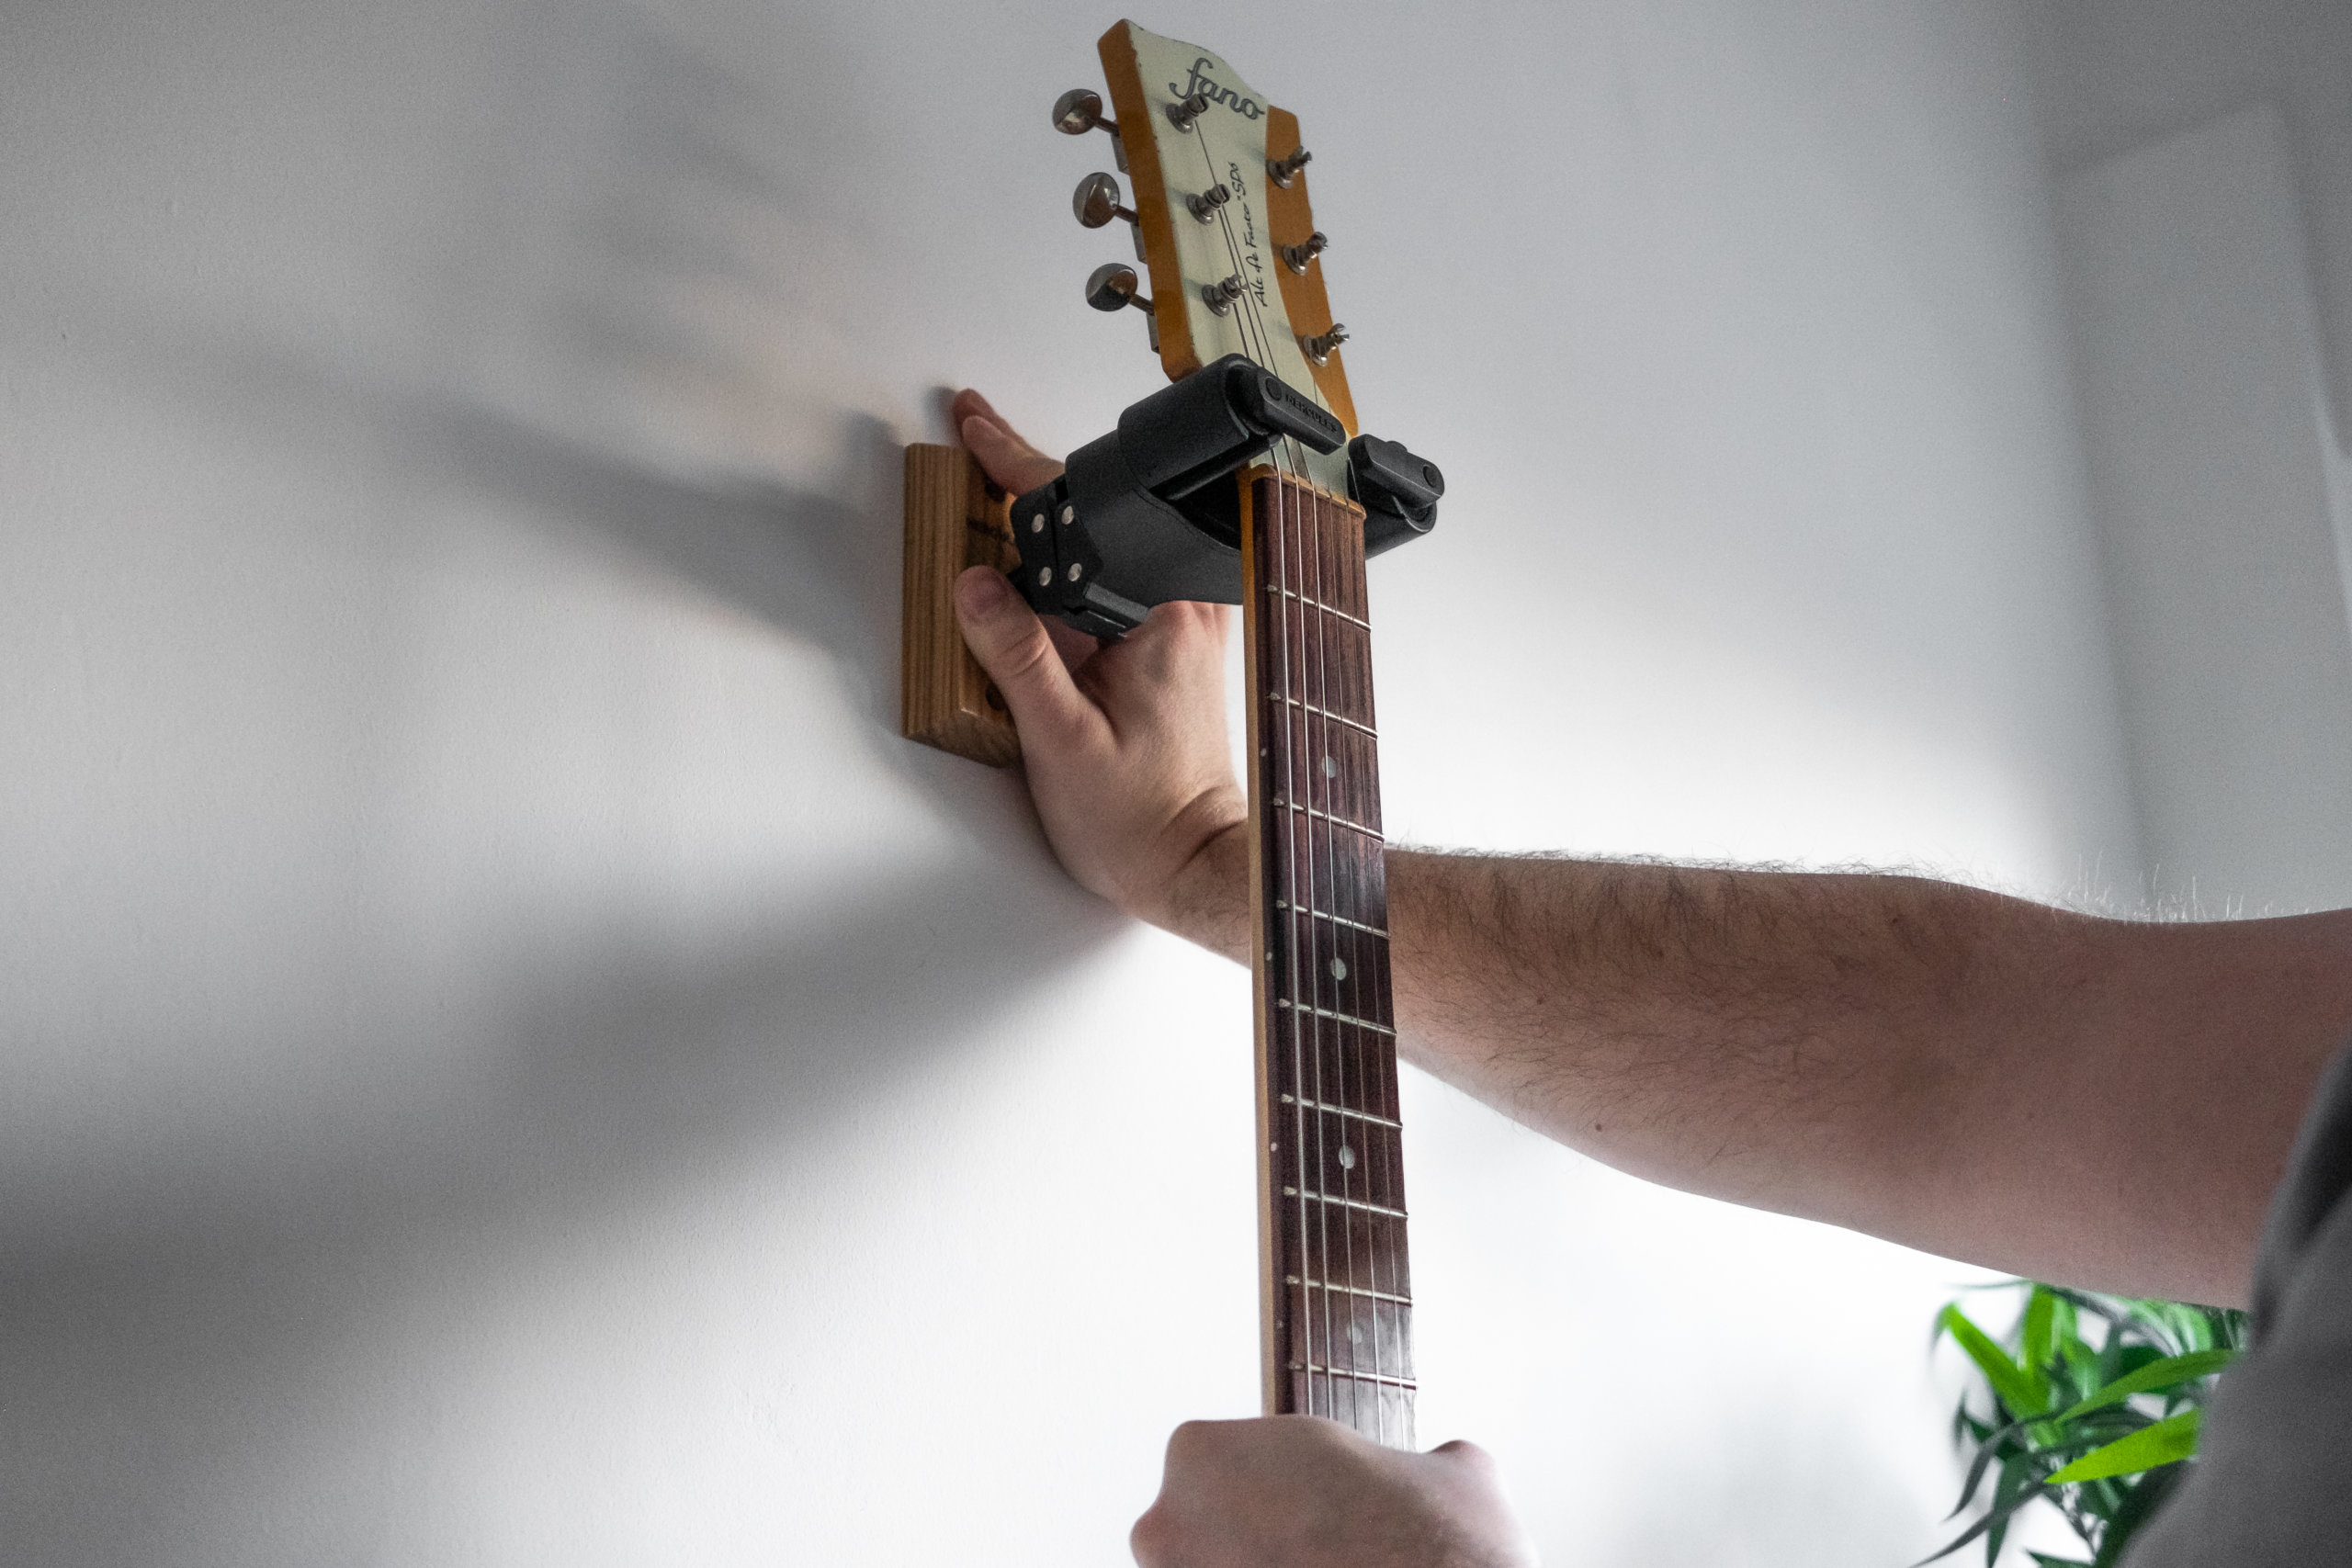
To do this, take your guitar and place it face down on a soft surface, then take the hanger and hook it into place around the headstock. Holding the hanger in place, measure the distance from the top of the mounting block to the very bottom of the guitar – this will let you know the minimum clearance you’ll need on your walls to mount the instrument.

Place the hanger where you want it on the wall make a small pencil mark at the top of the mounting block, and then measure the same distance down the wall. This is to make sure that nothing in between is going to get in the way of the guitar – watch out for furniture, mouldings, plug sockets… you don’t want anything that would stop the guitar hanging straight and true.
Next, you’ll need to double-check that there’s nothing potentially deadly or ruinous in the wall itself. This is unlikely in an exterior wall, but to be on the safe side get yourself a wall scanner – these cheap hand-held devices will be able to spot anything amiss.
Step 4 – Get The Tools Out
Now for the fun part – power tools! If you’re drilling into masonry, you’ll need a hammer drill (an electric screwdriver won’t cut the mustard here) and the appropriate drill bits for what you’re drilling in to. Our Hercules hanger helpfully comes with the screws and plugs we’ll need to mount it on a solid wall.
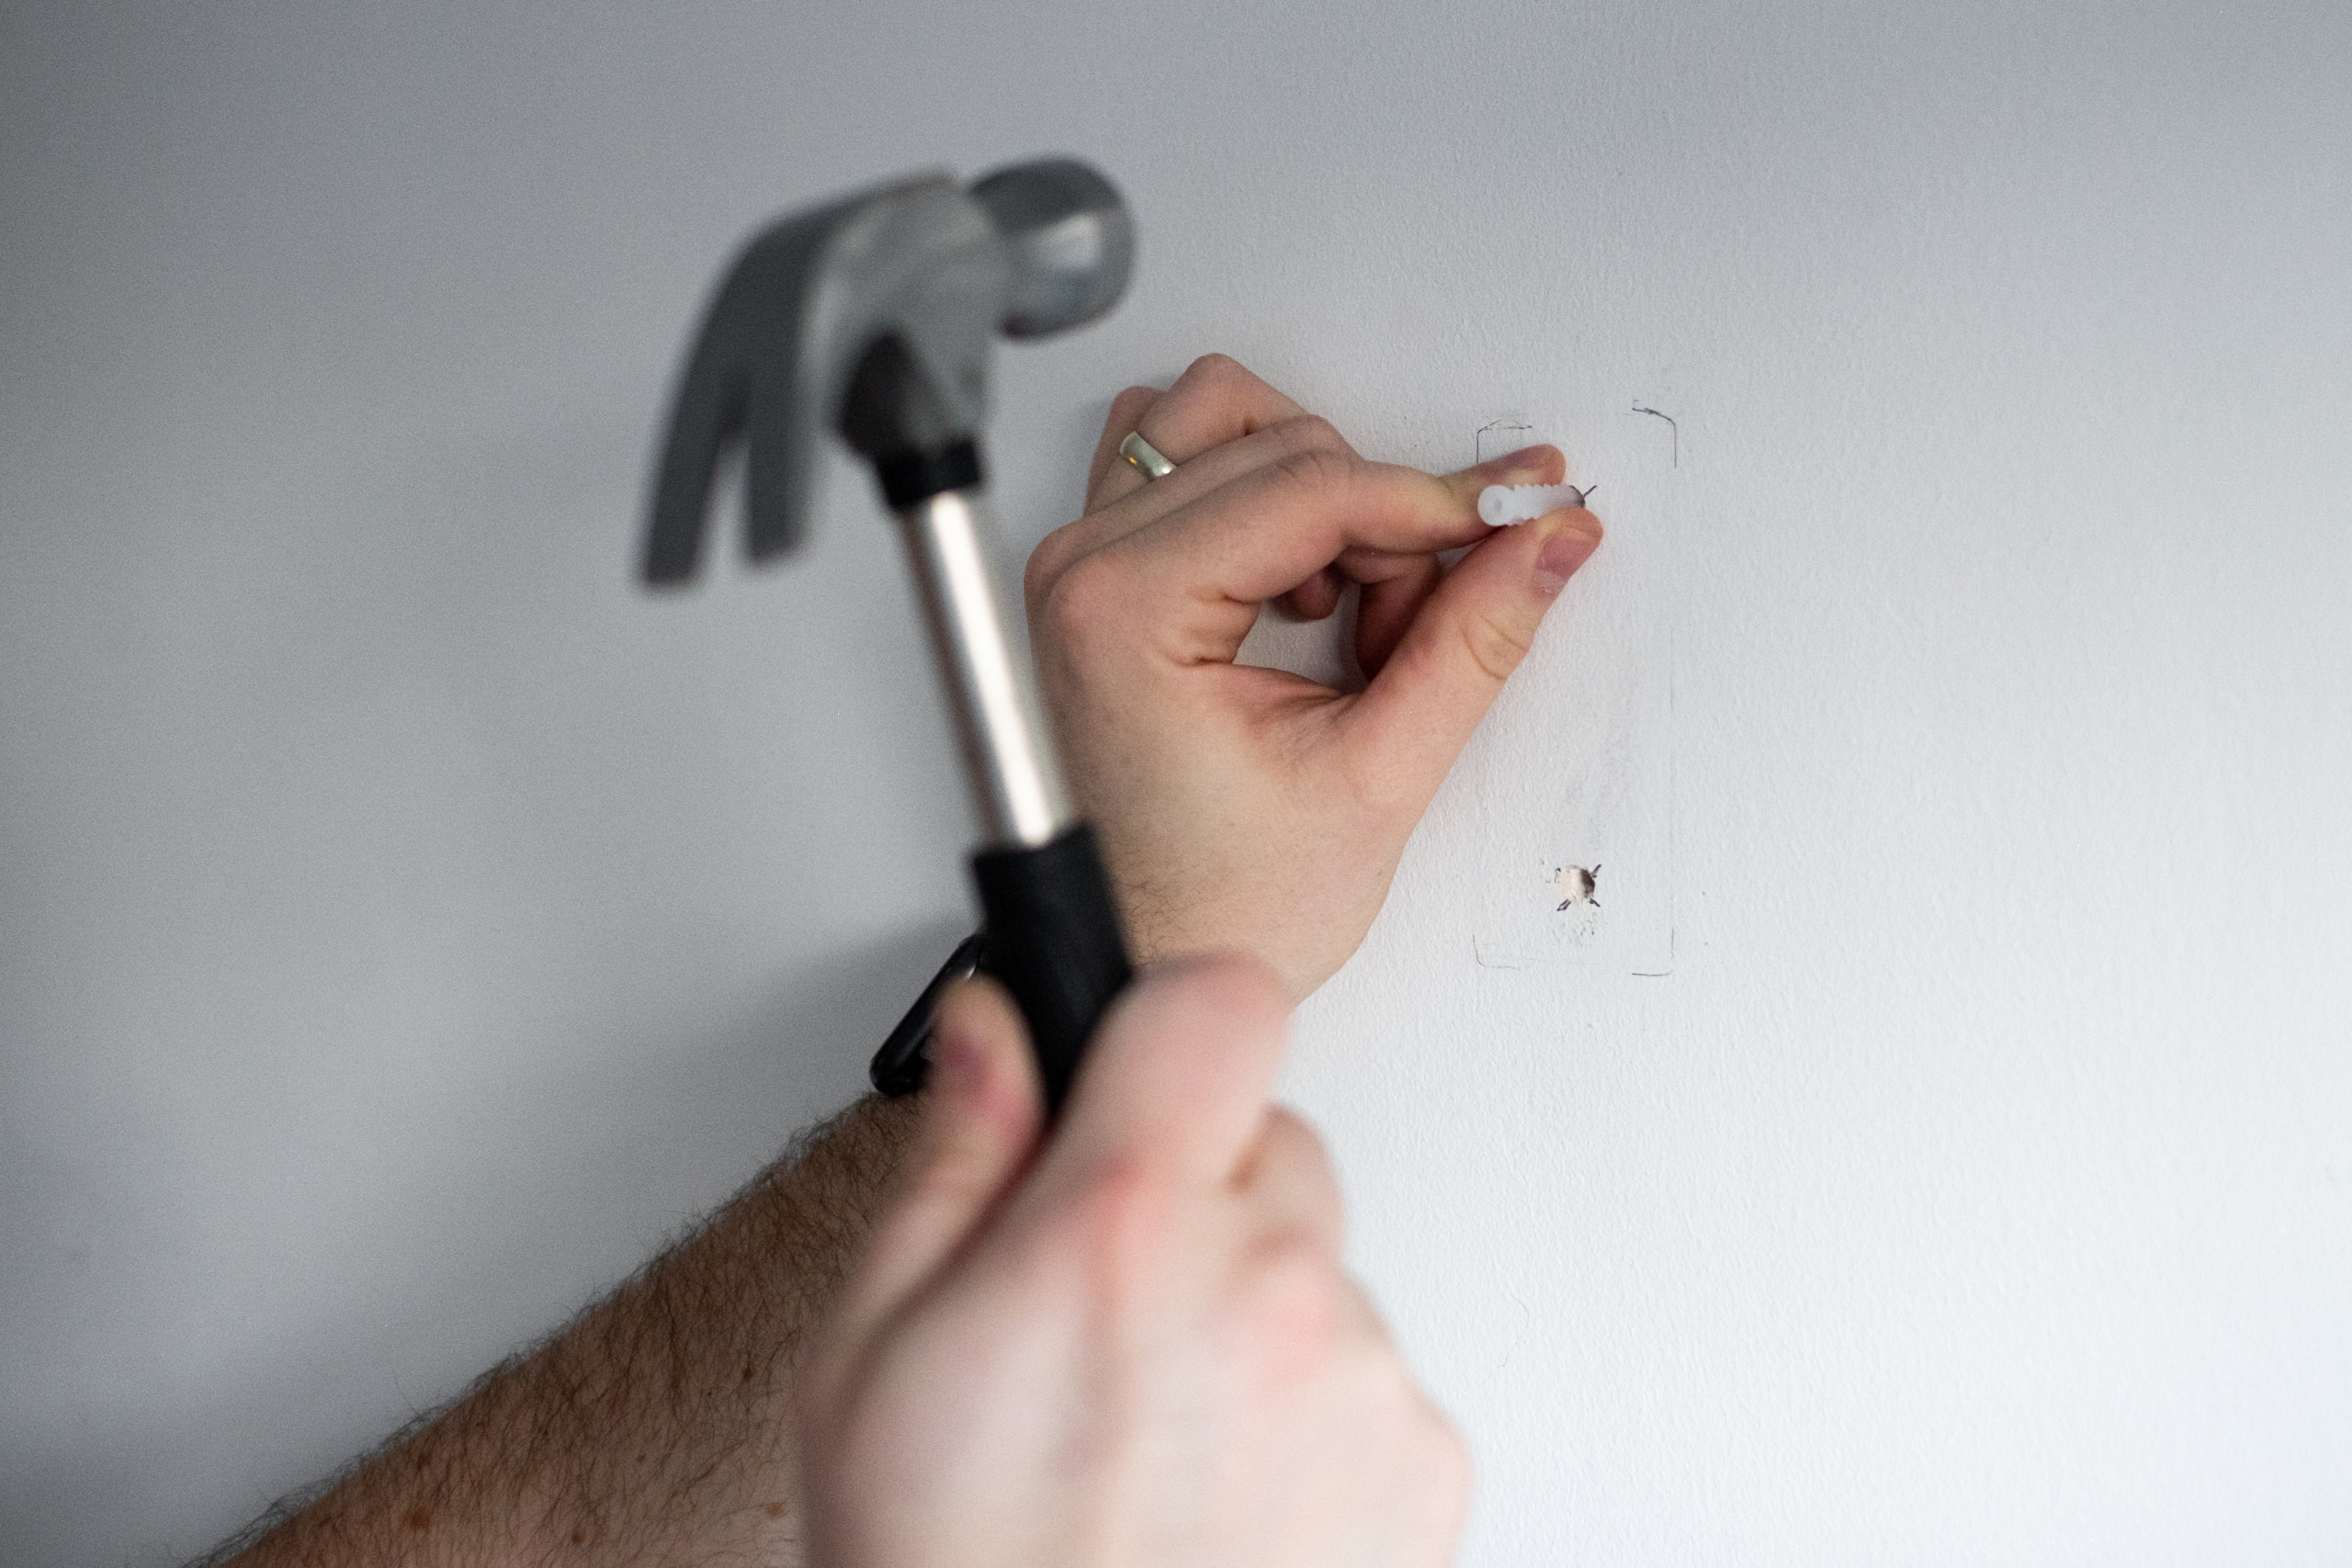
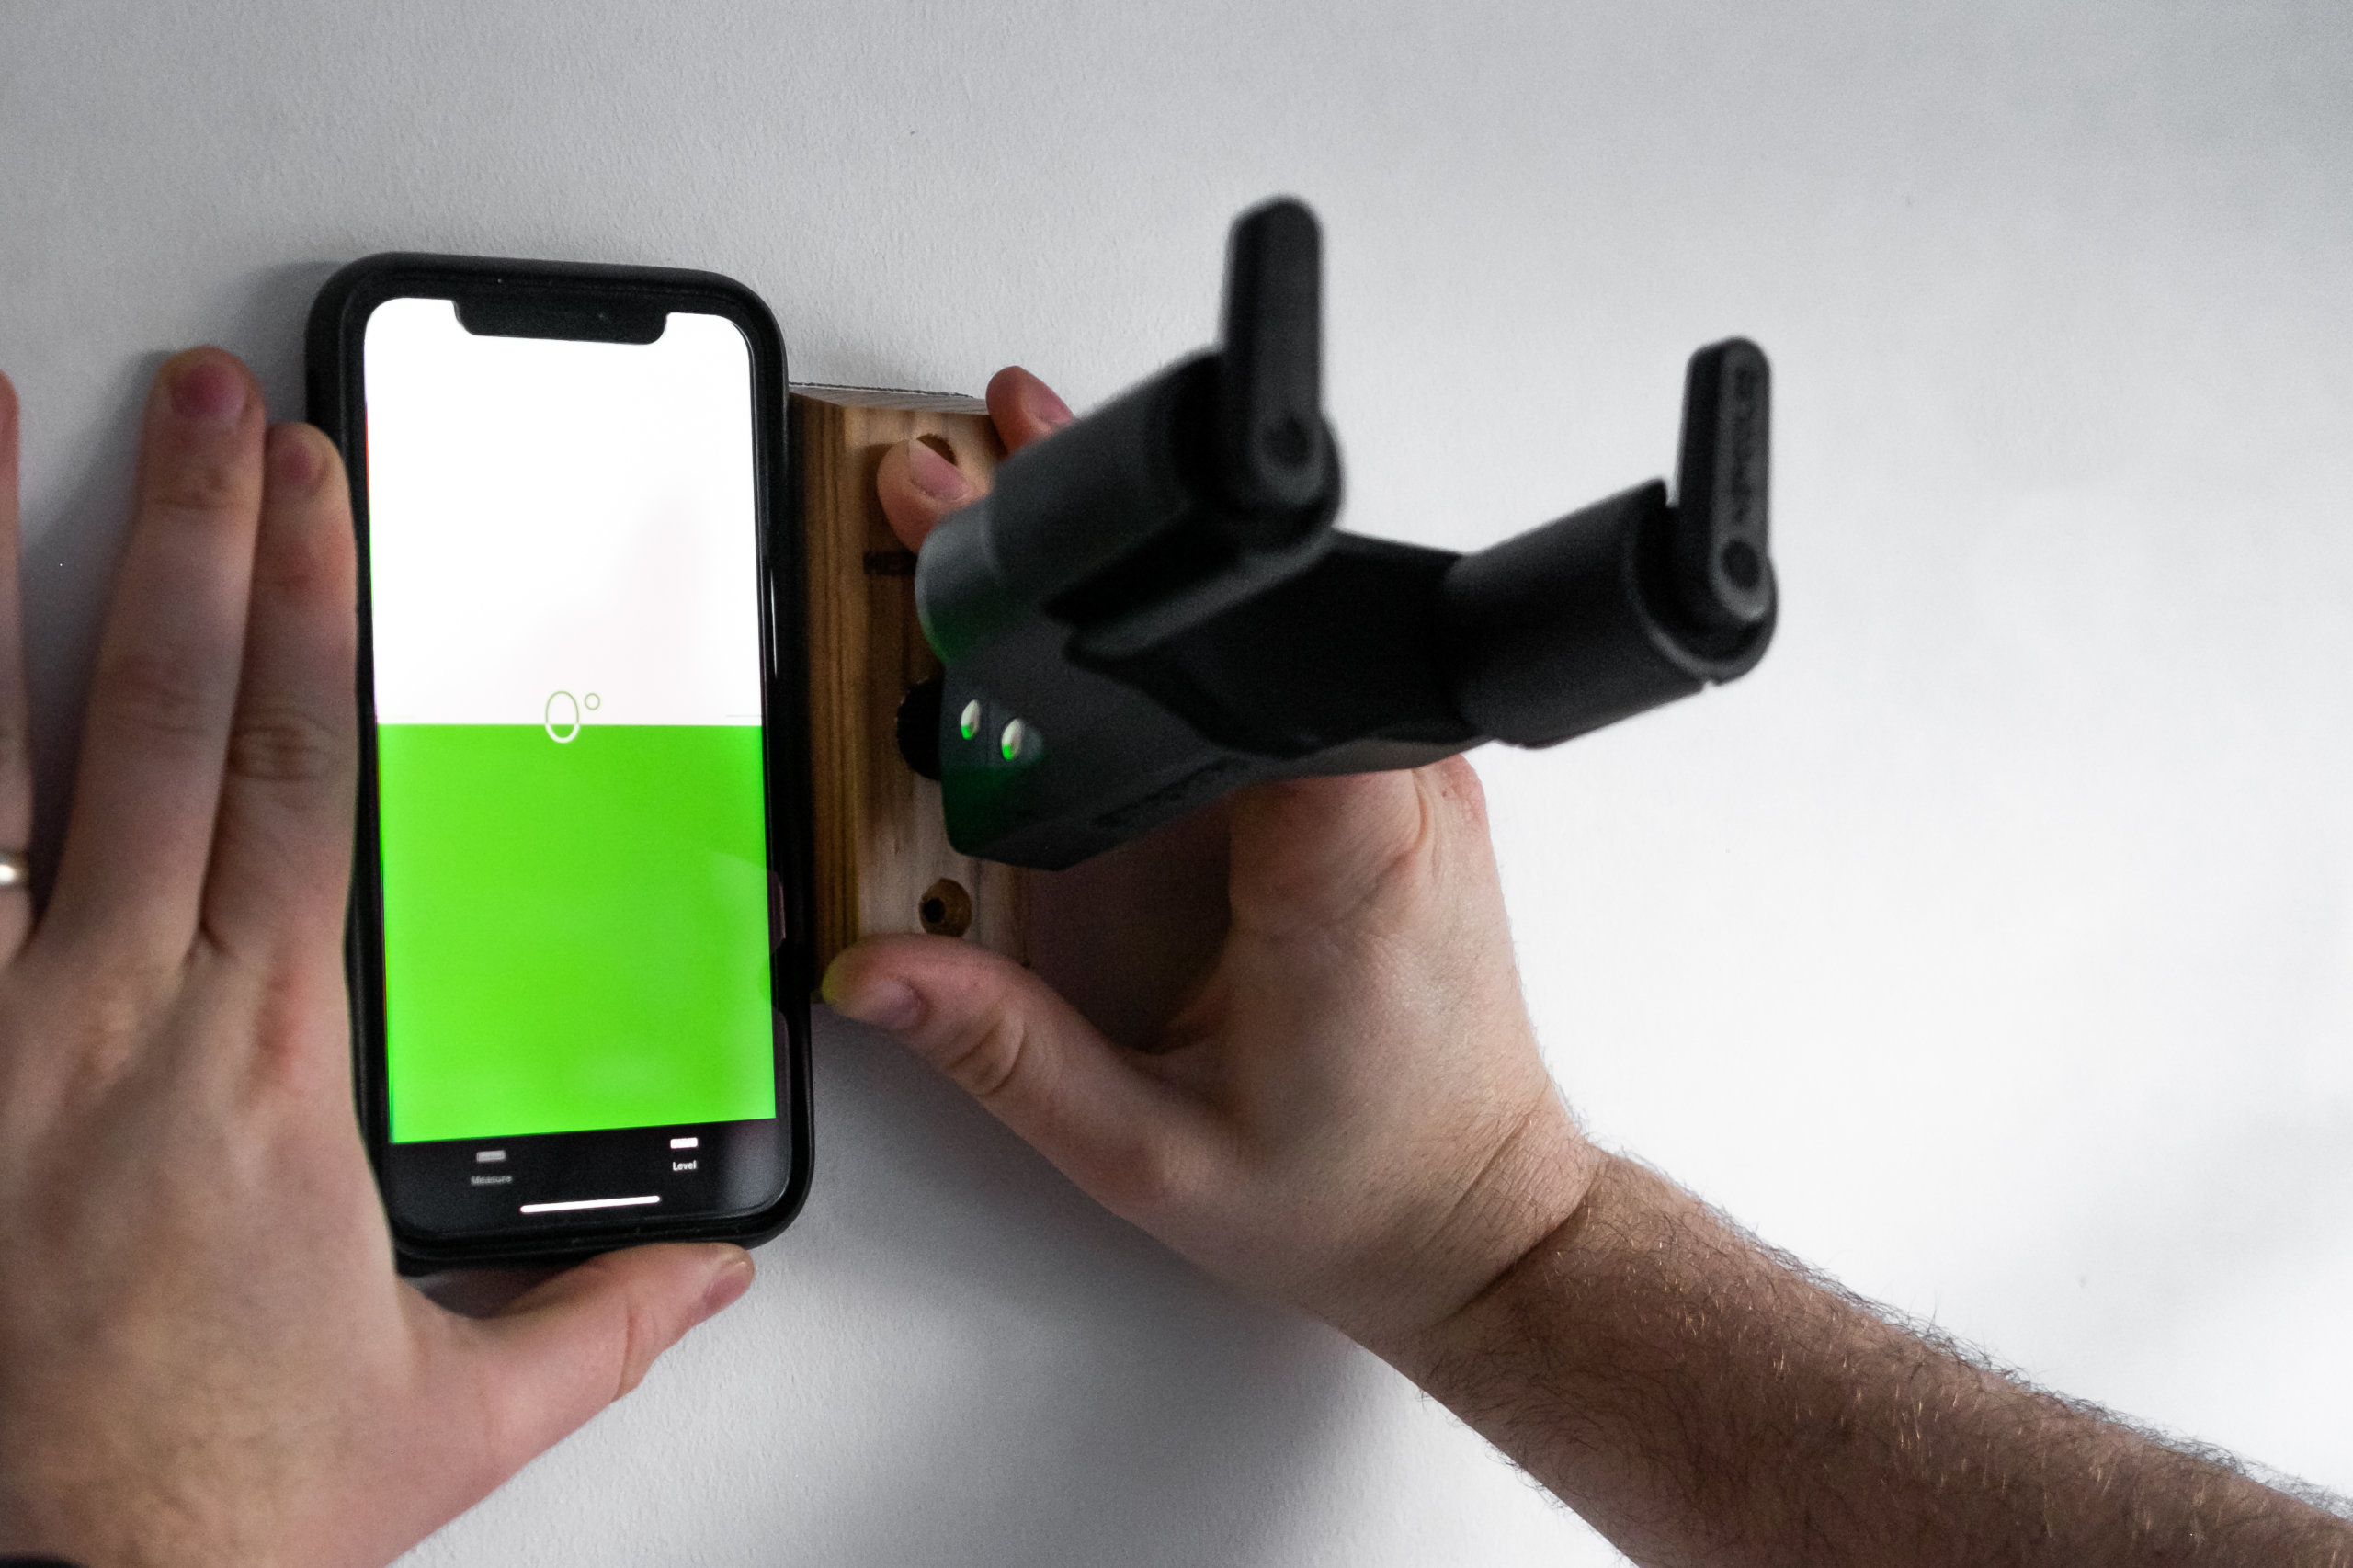
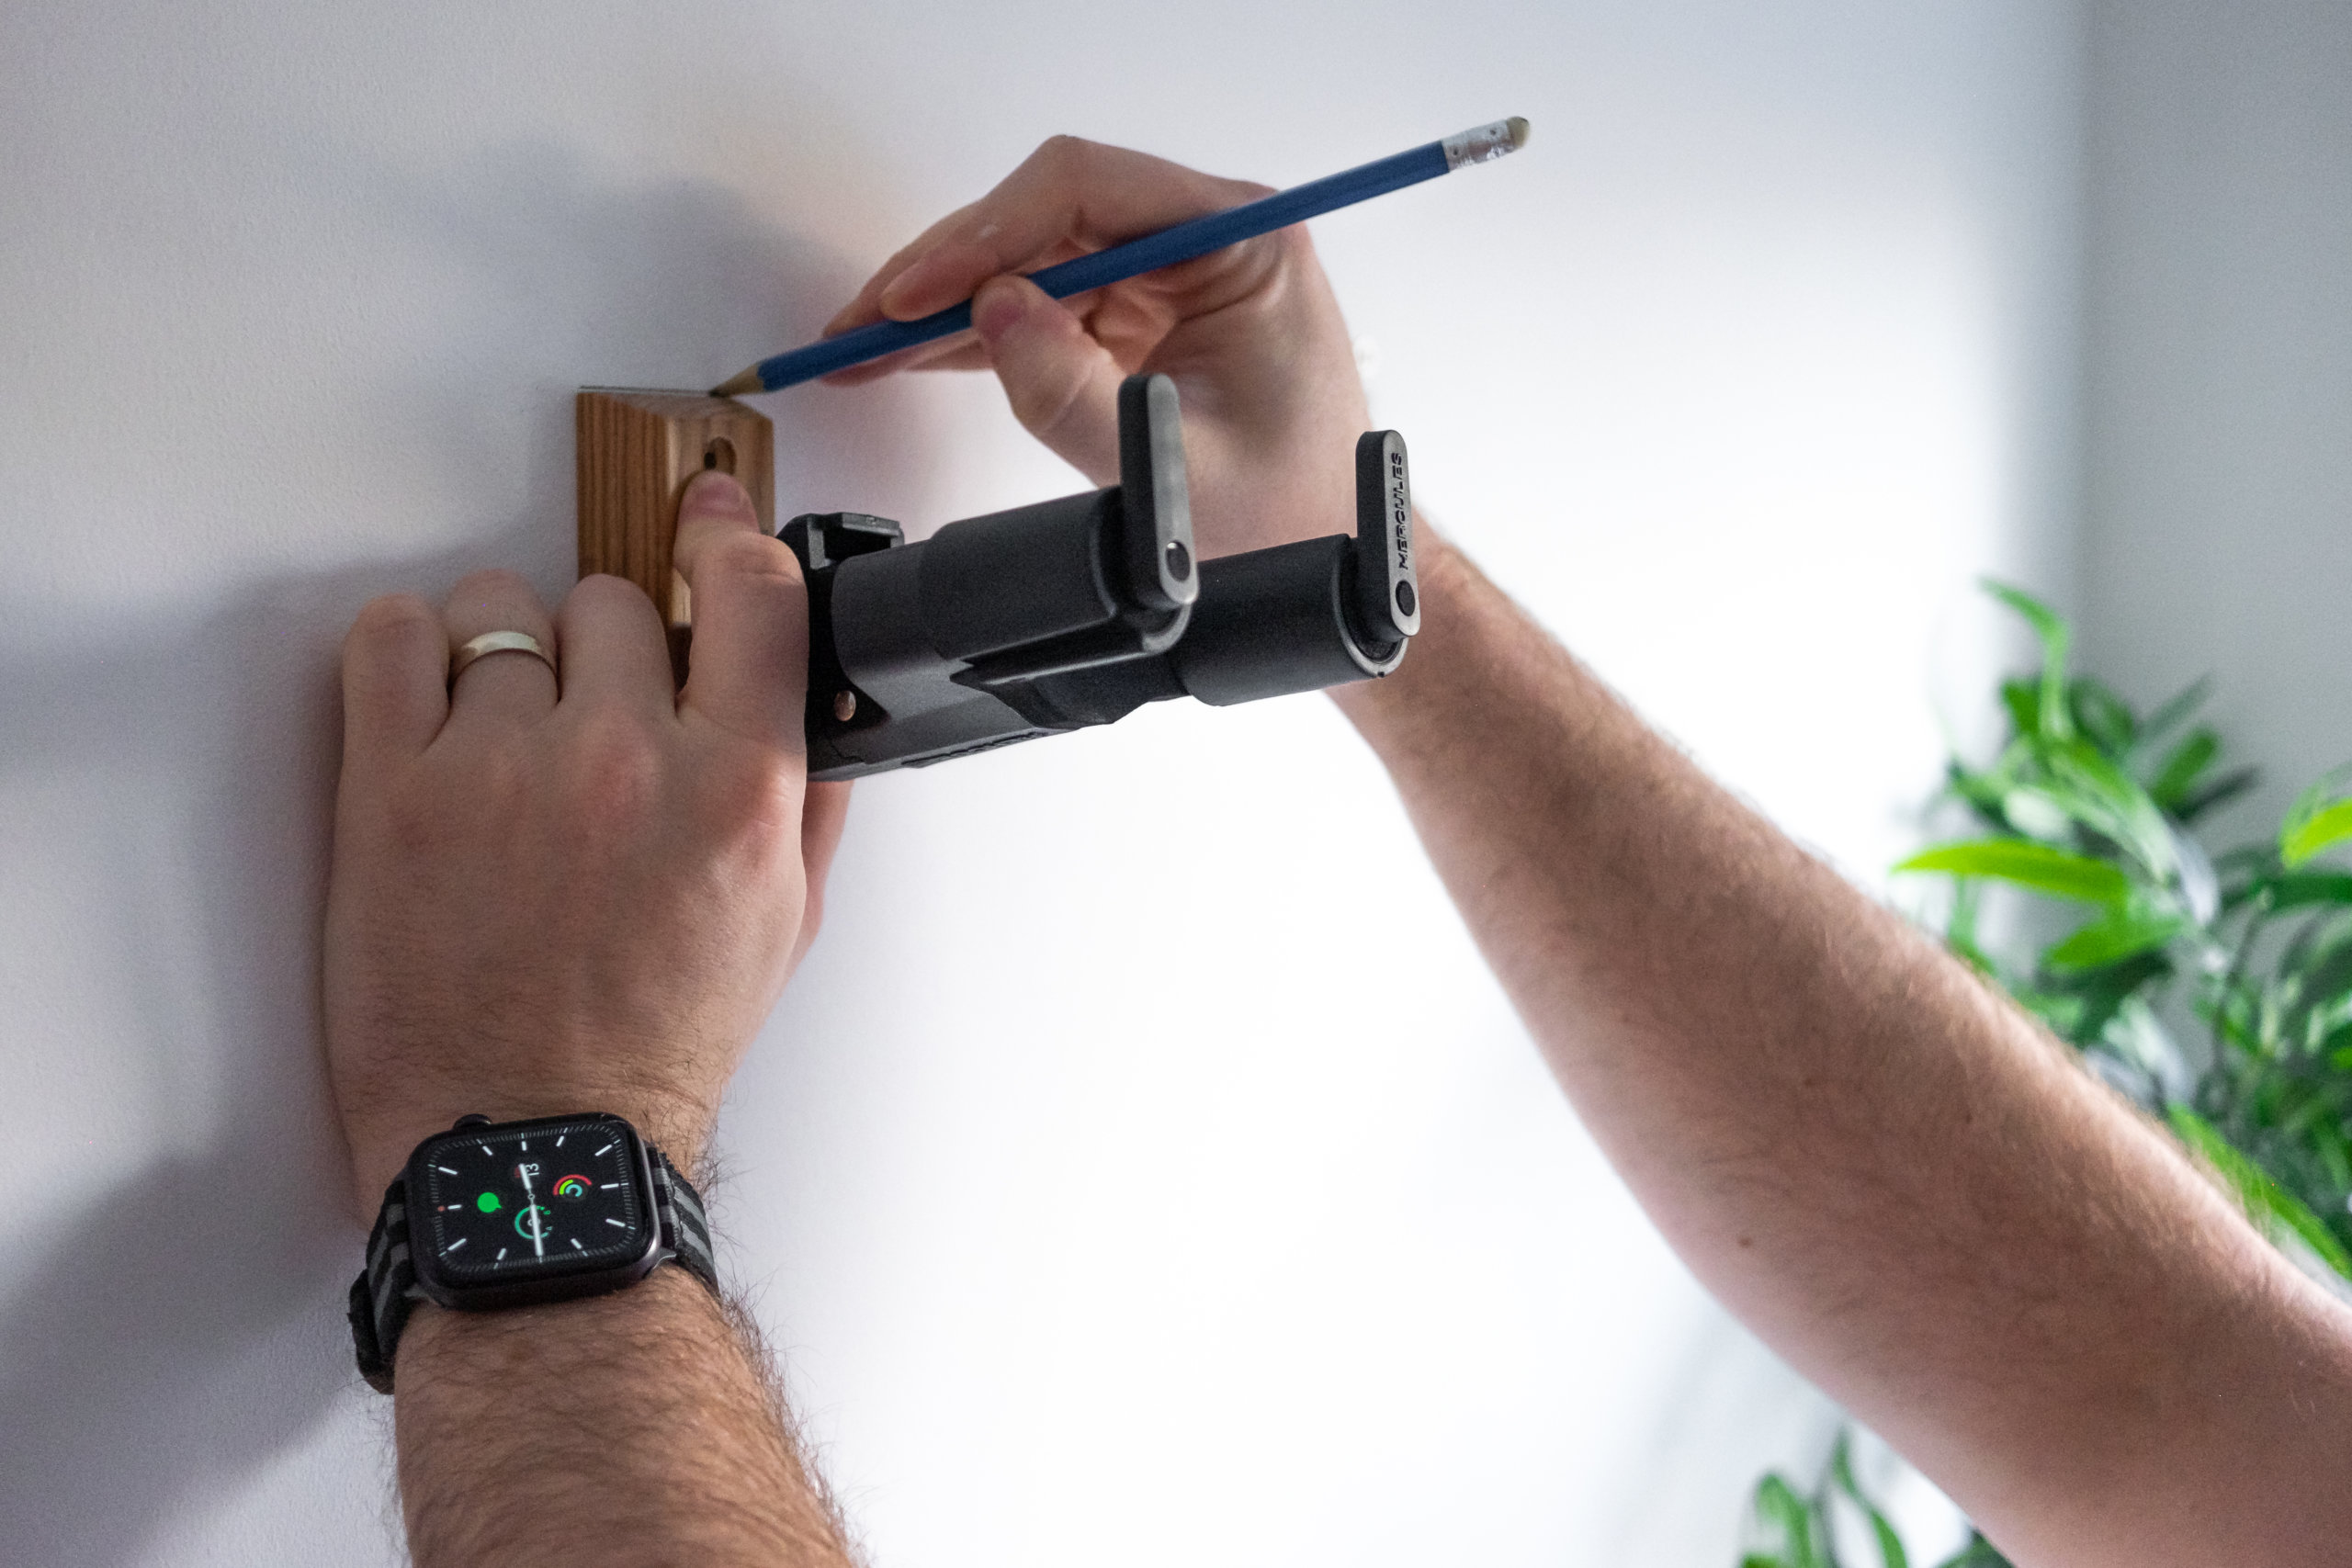
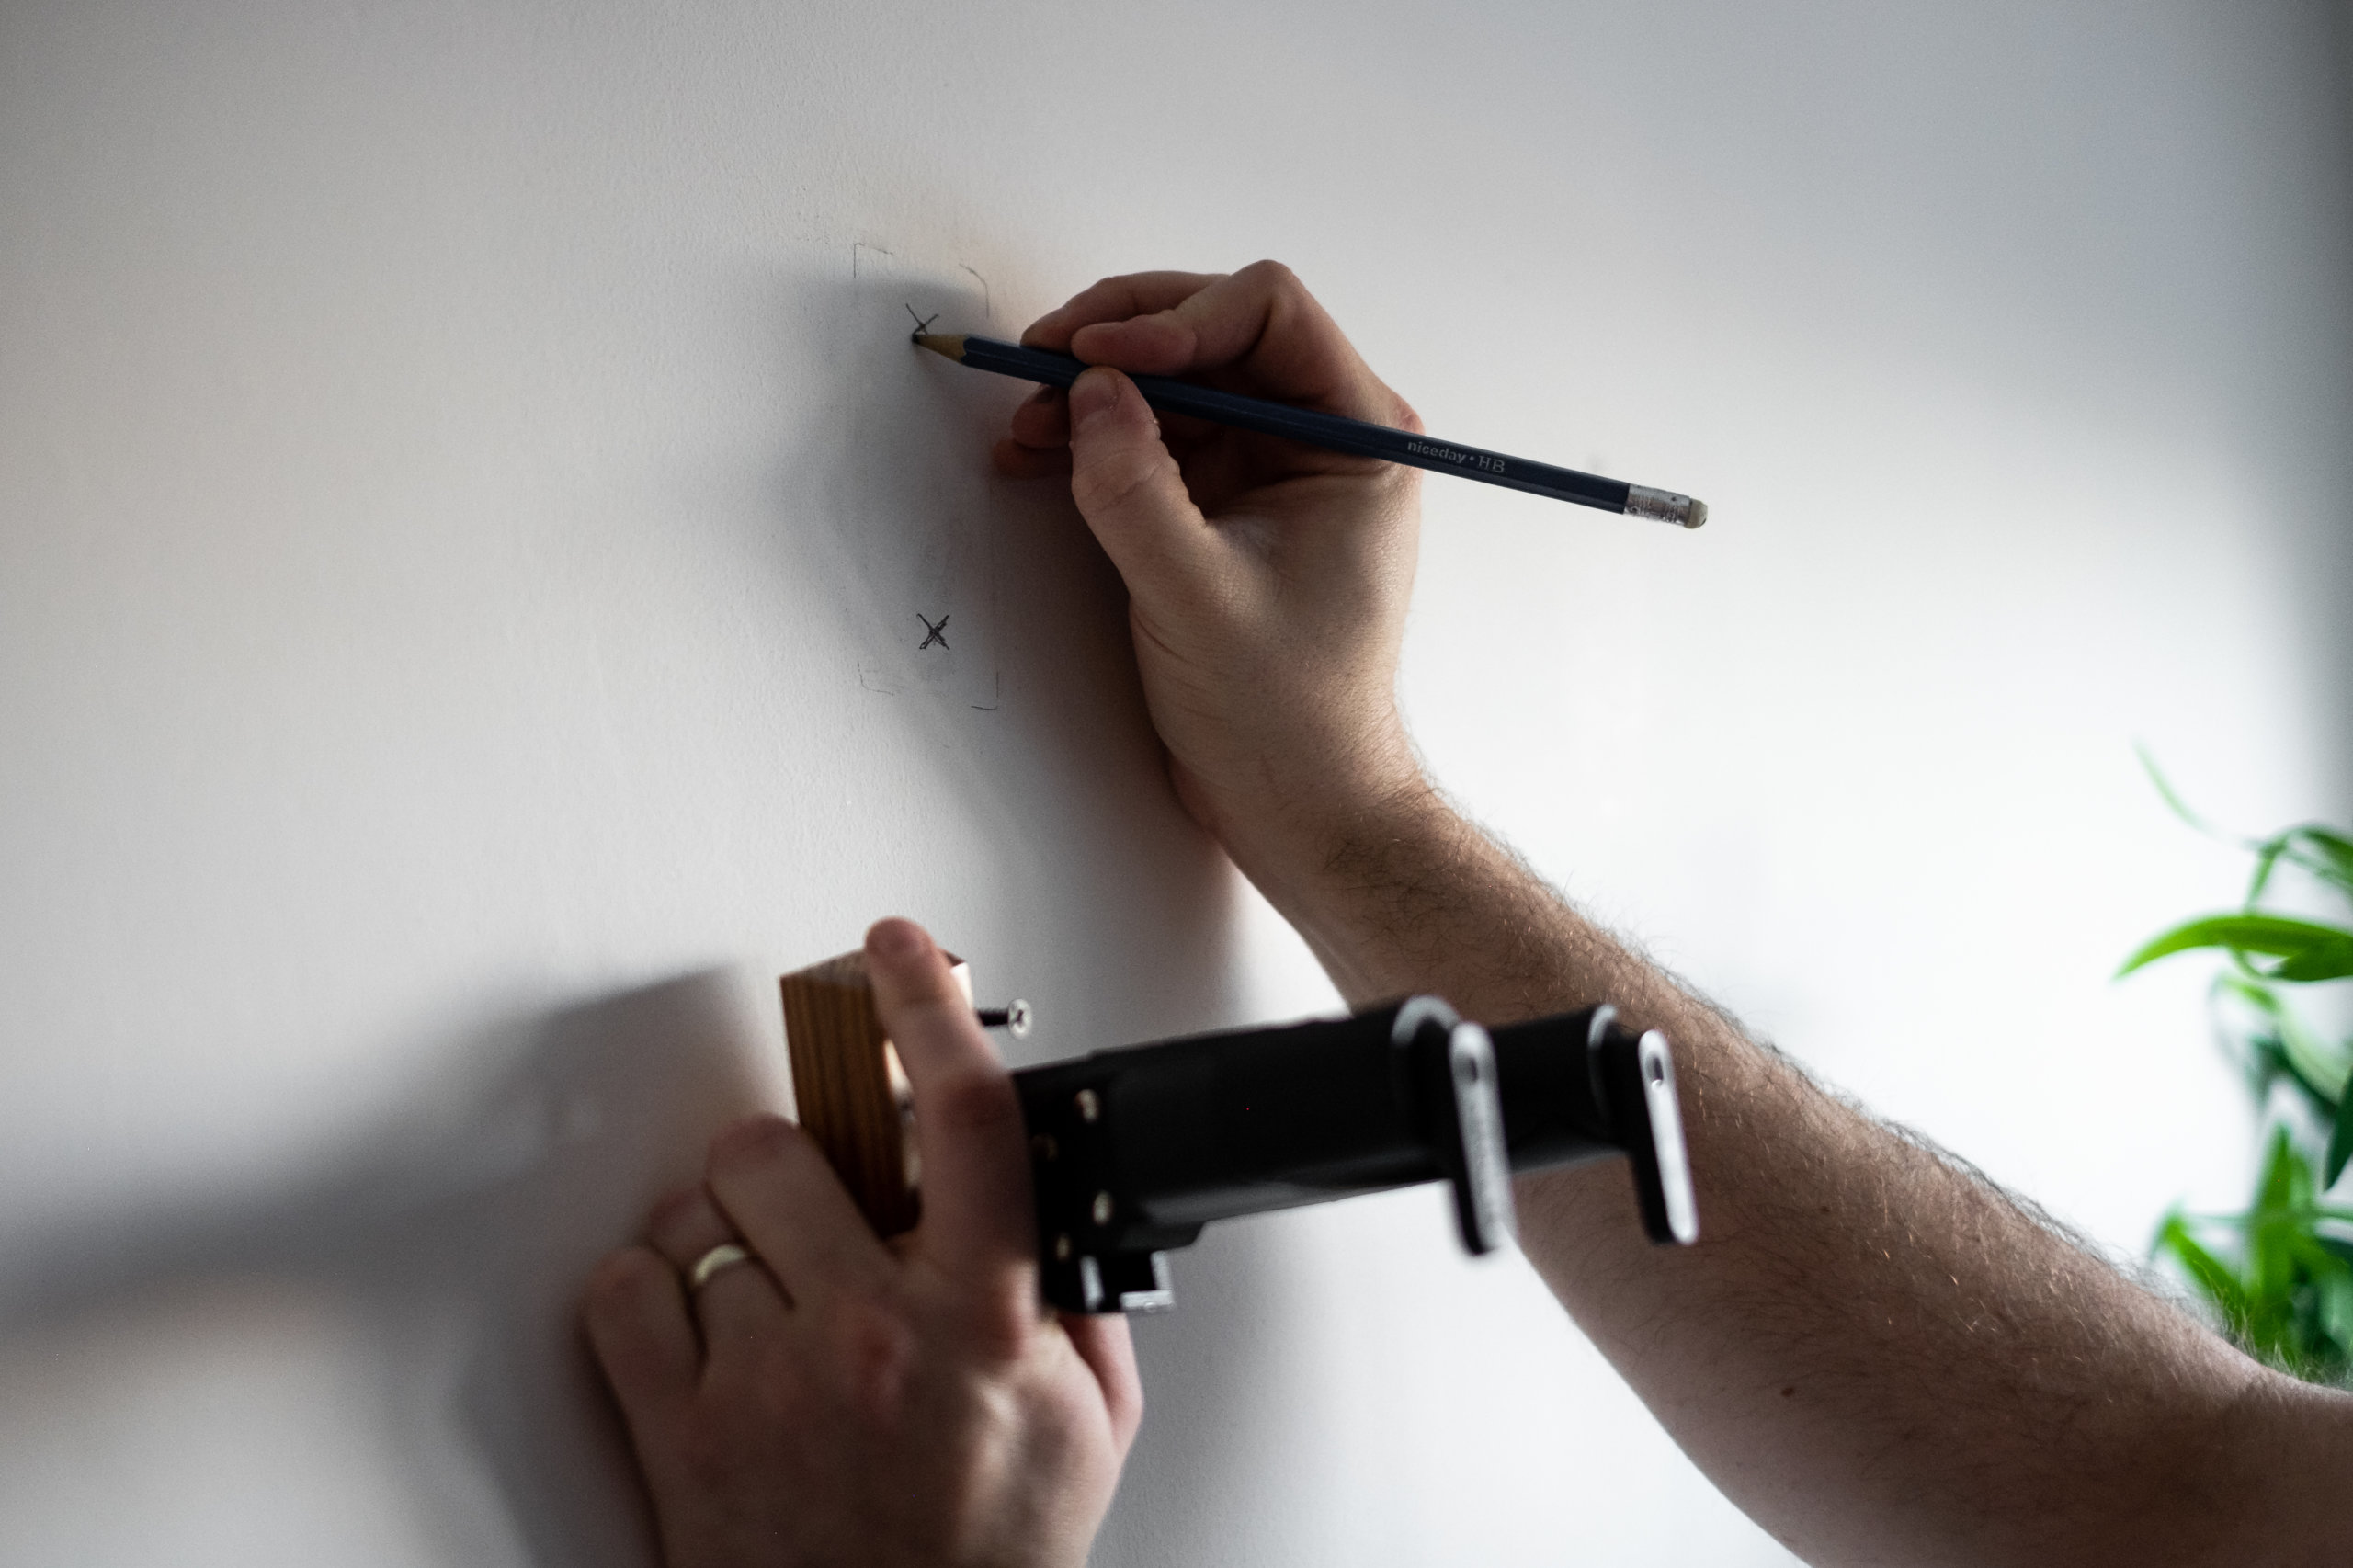
After ensuring that the place you want to drill has no pipework or wiring behind it, place your hanger on the wall and lining up the spirit level against the hanging block to ensure it’s level, mark the top and bottom of the block with your pencil and also mark where the screw holes on are.
Take the block away and you should be left with a pretty clear indication of where the holes you’ll need to drill are.

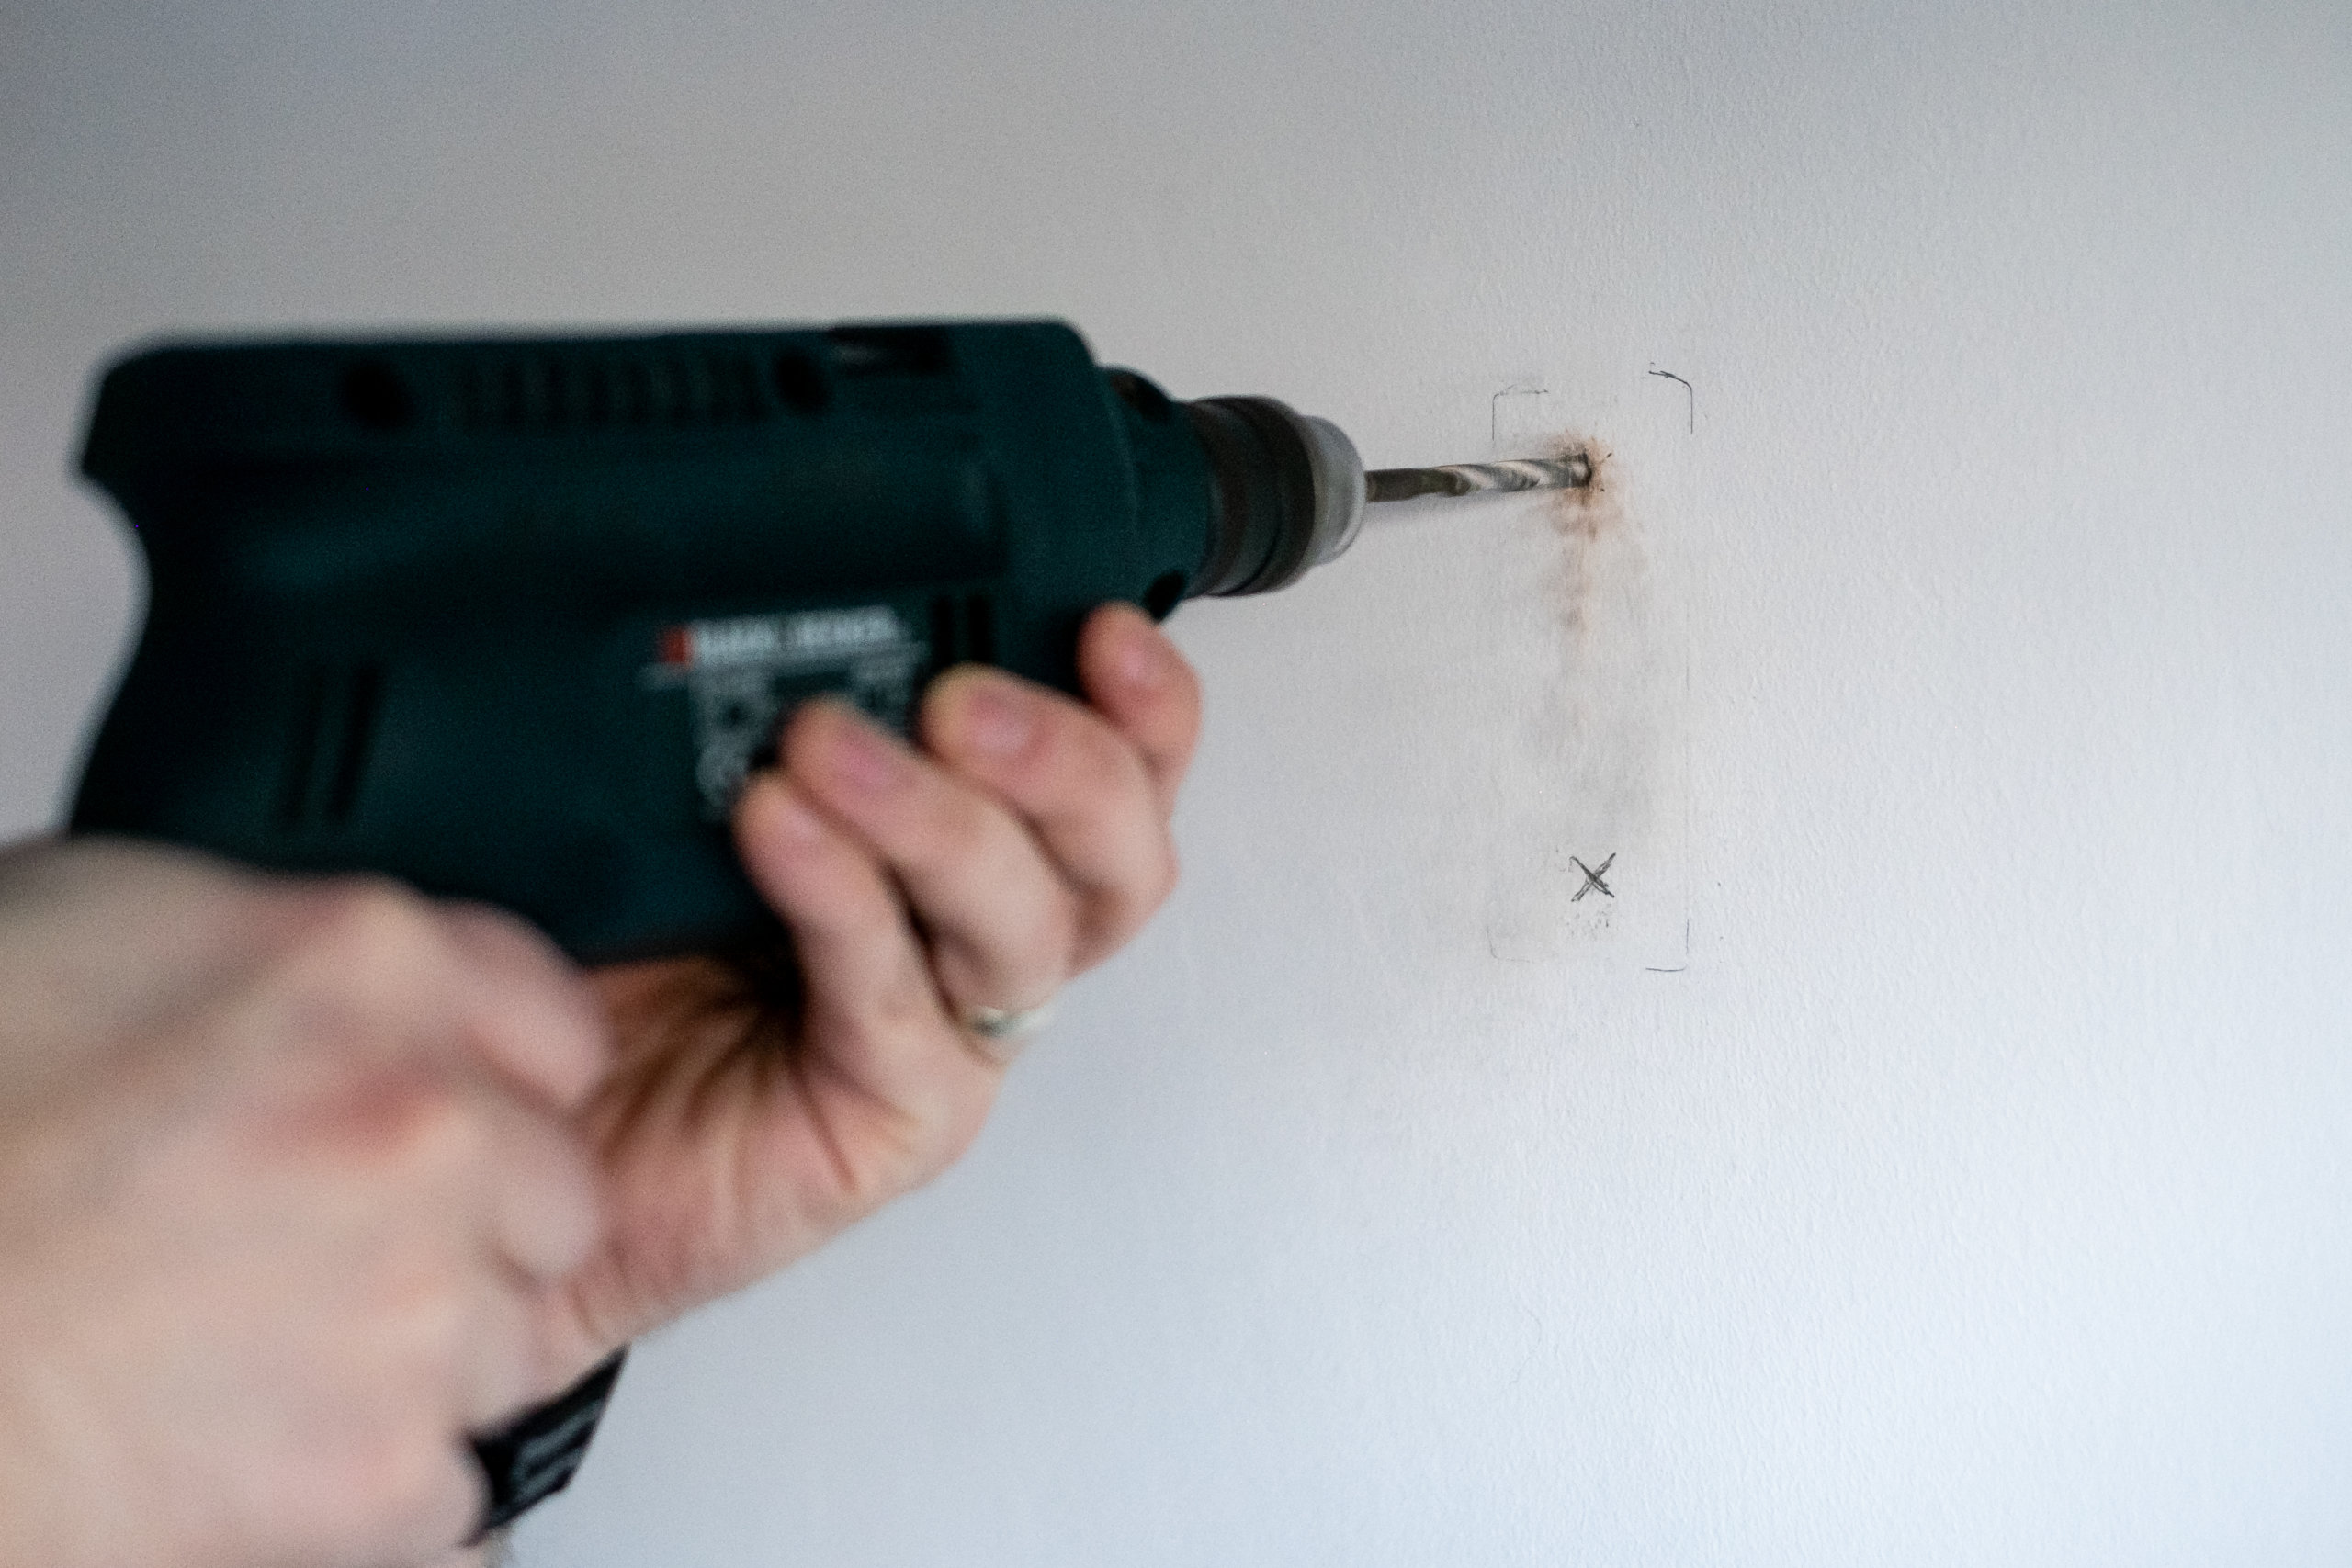
Next, select a drill bit that corresponds with the width of your plug, and drill the holes required for the screws – you don’t need to go too deep, just the depth of the plug you’re using. Once the holes are drilled, gently tap the plugs into place with a hammer – if they’re really struggling to go in, try re-drilling the hole with a slightly larger bit, but don’t try to force it as you’ll wreck the plug.
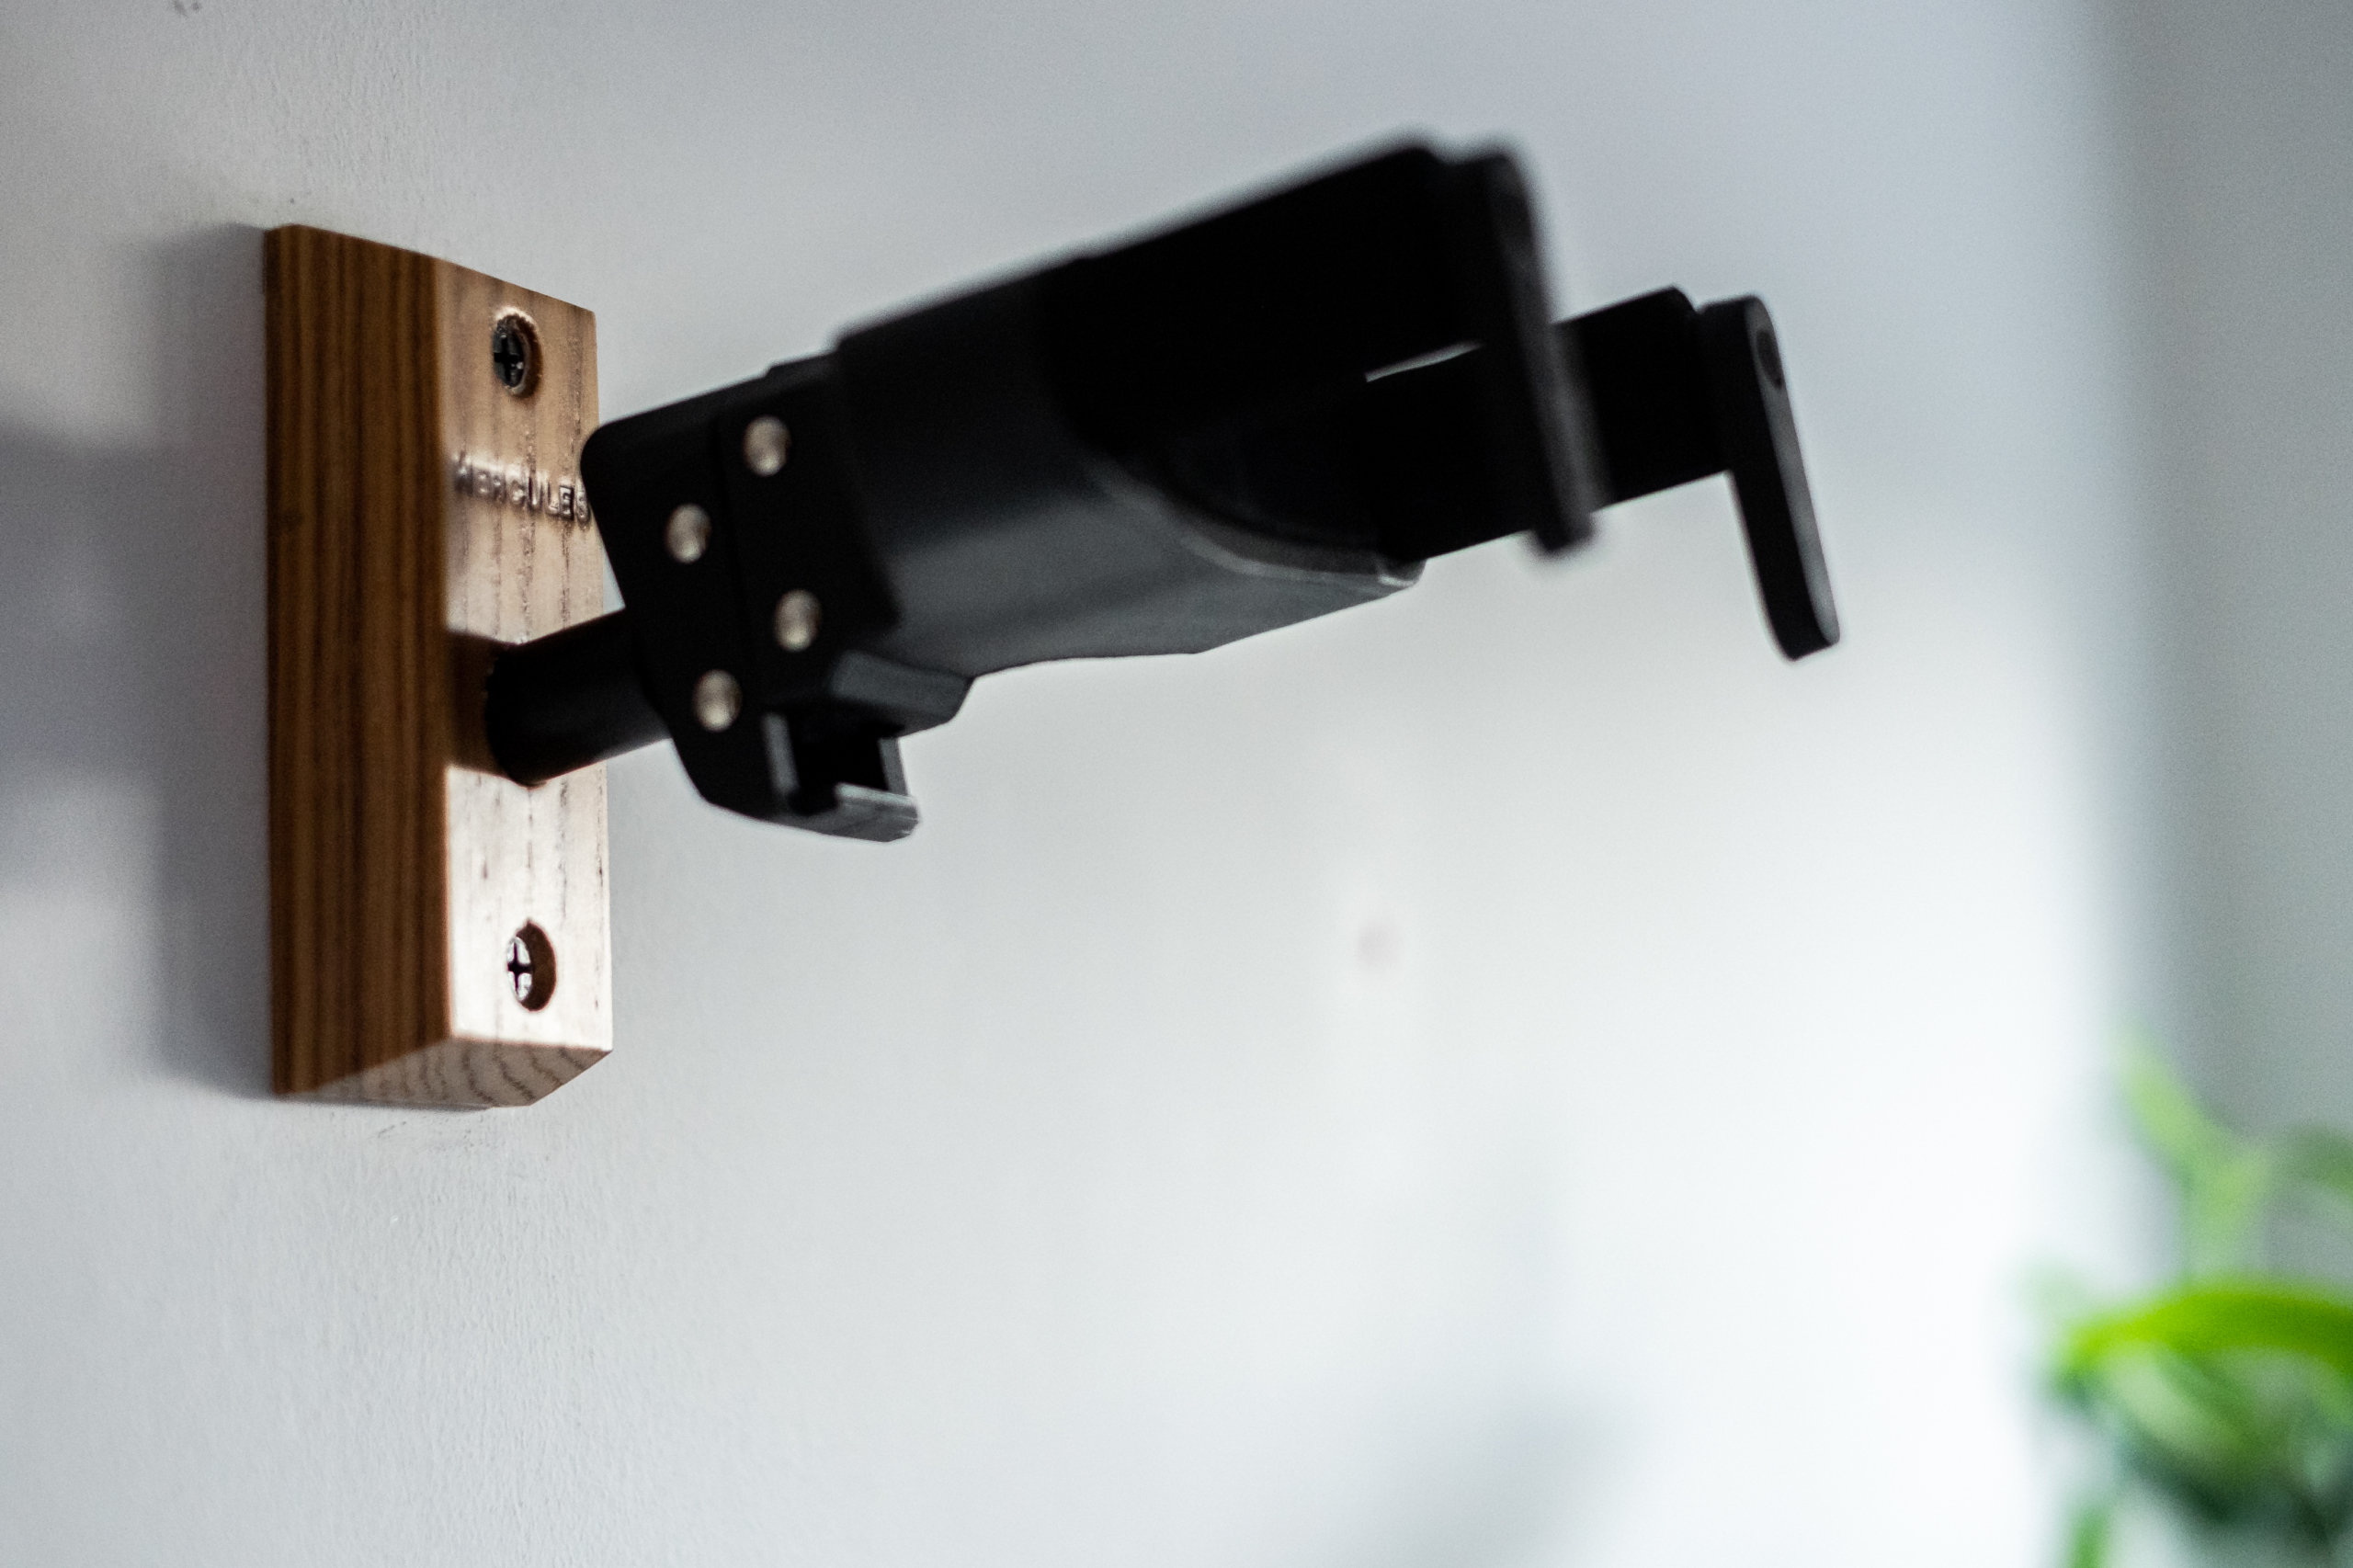
Step 5 – Let’s Get It On
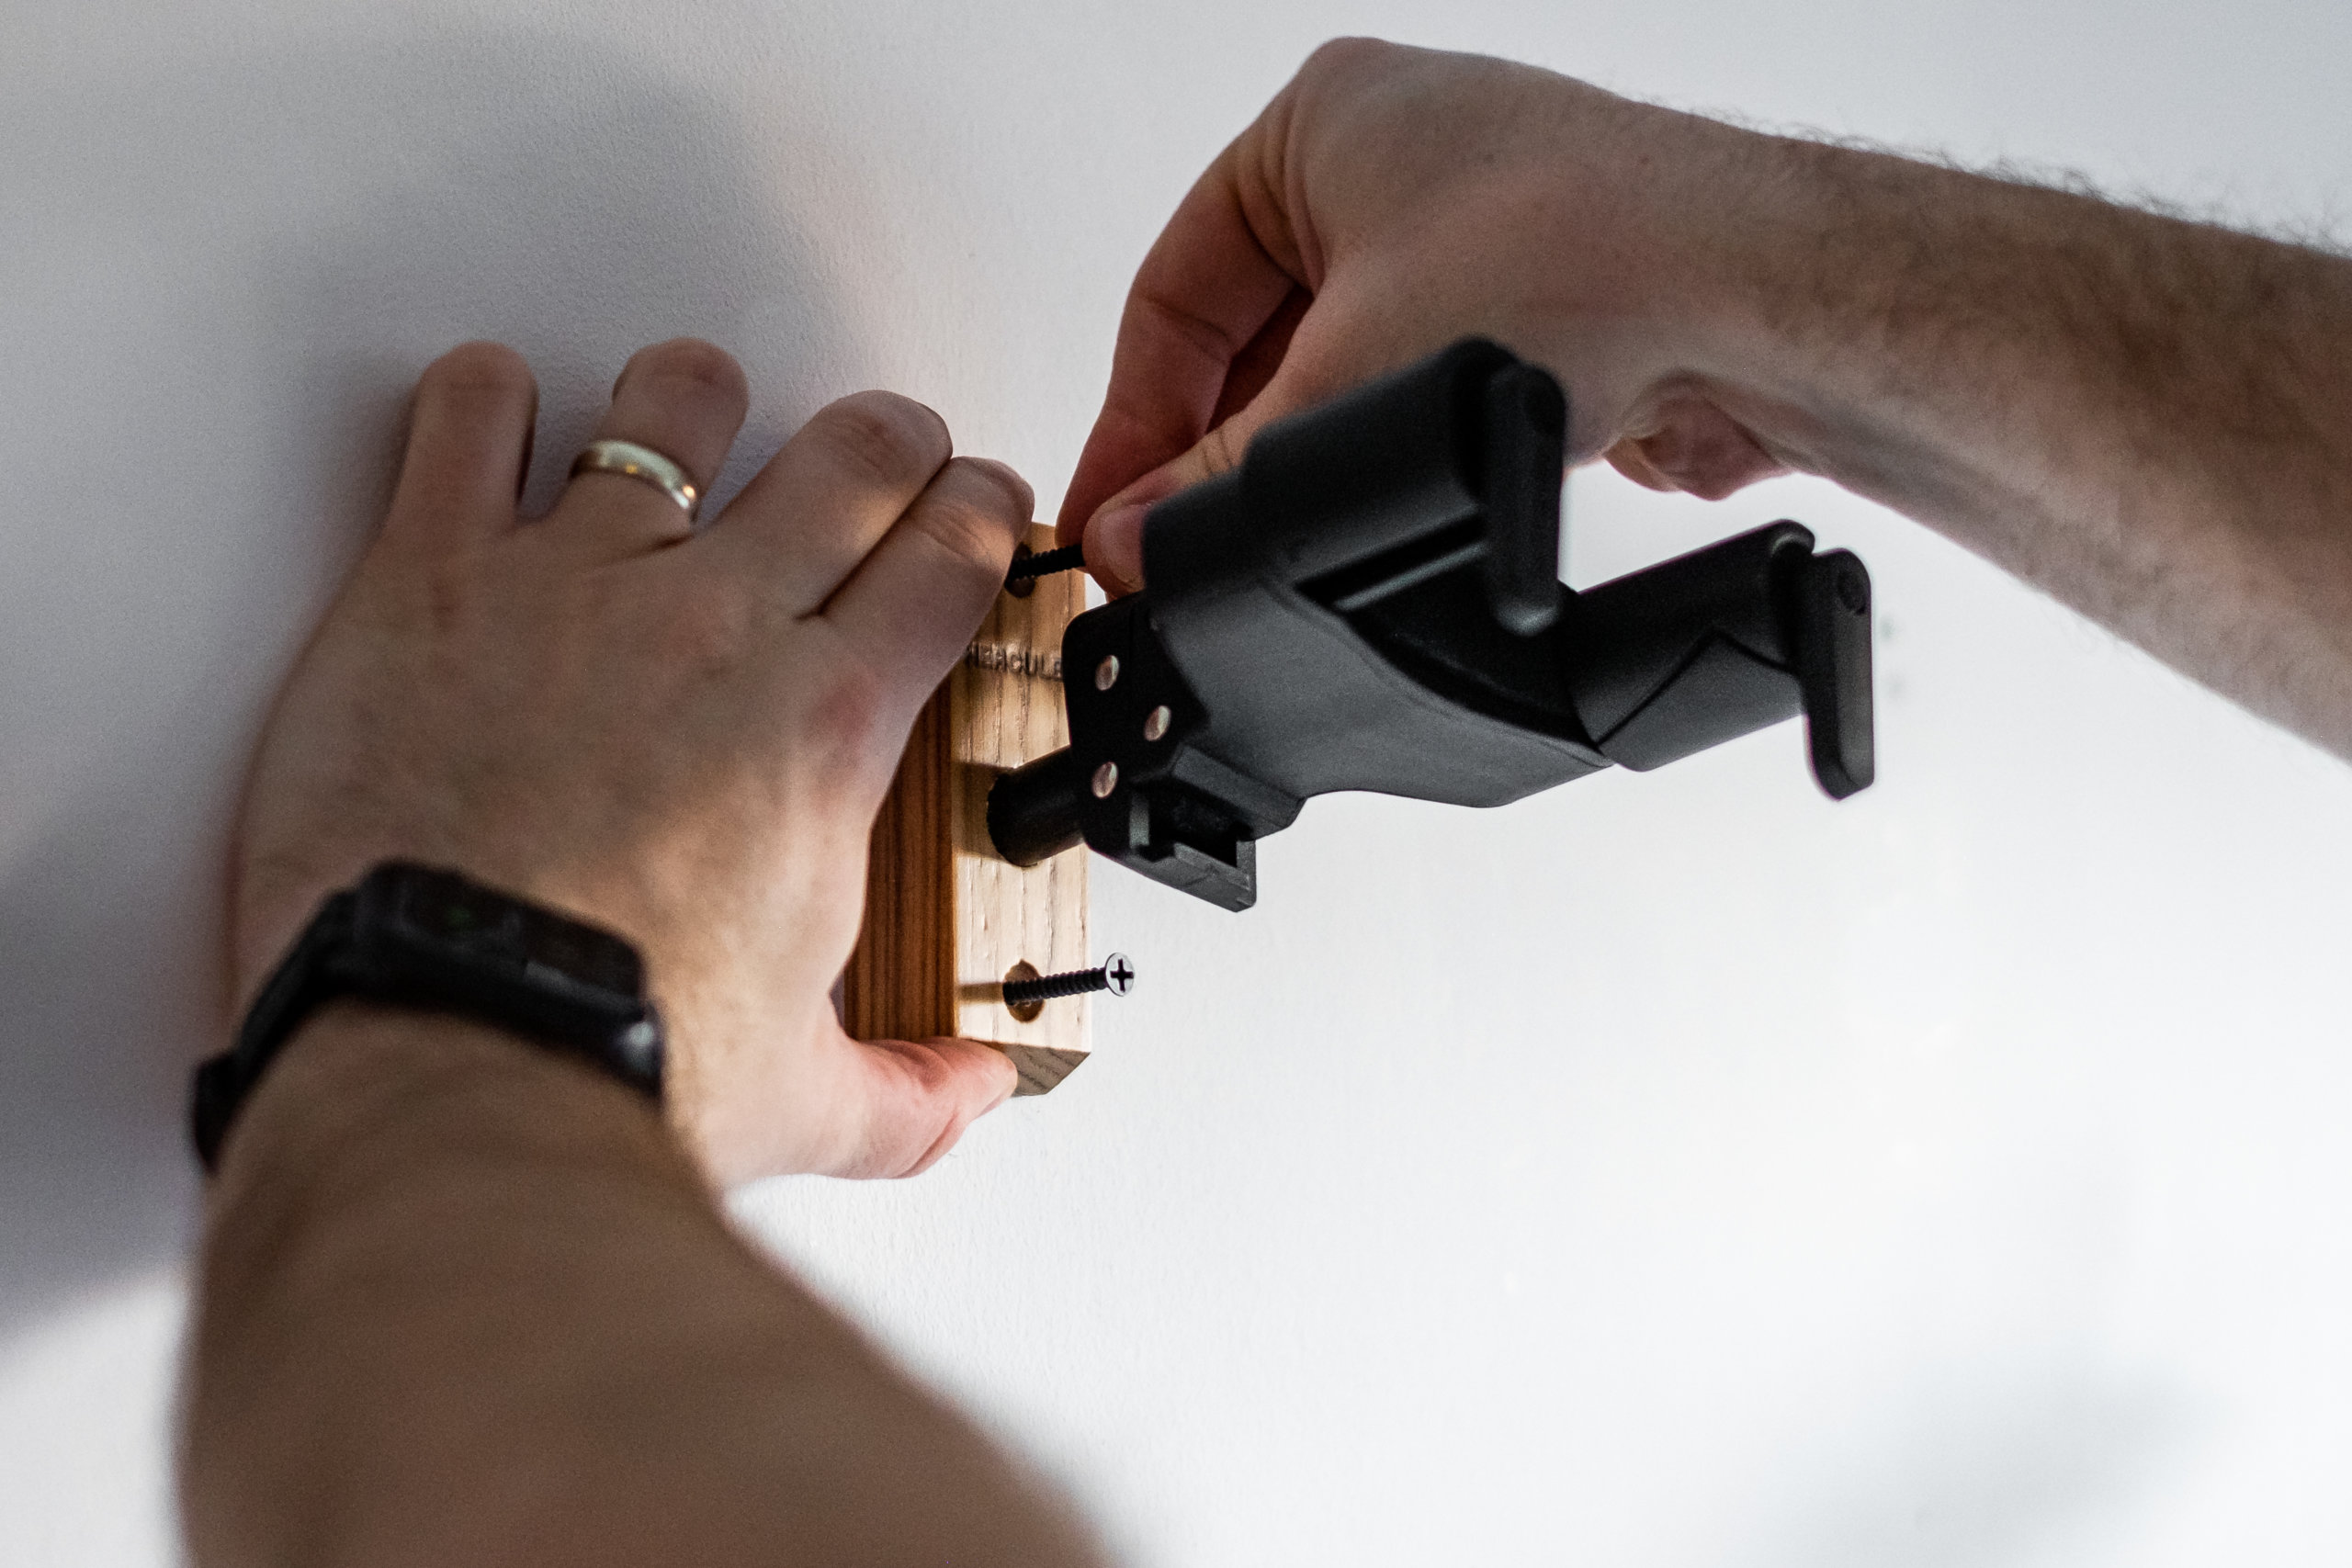
Now for the simple bit – presuming that everything has gone to plan, you just need to place the hanger in place and carefully screw it into place, ensuring that the screws go through the hanger and into the end of the plugs.
Keep tightening the screws until the hanger block is flush and tight to the wall, and once you feel you can’t go any further, give the hanger a gentle tug down to make sure that the screws and plugs are all holding firmly in place.
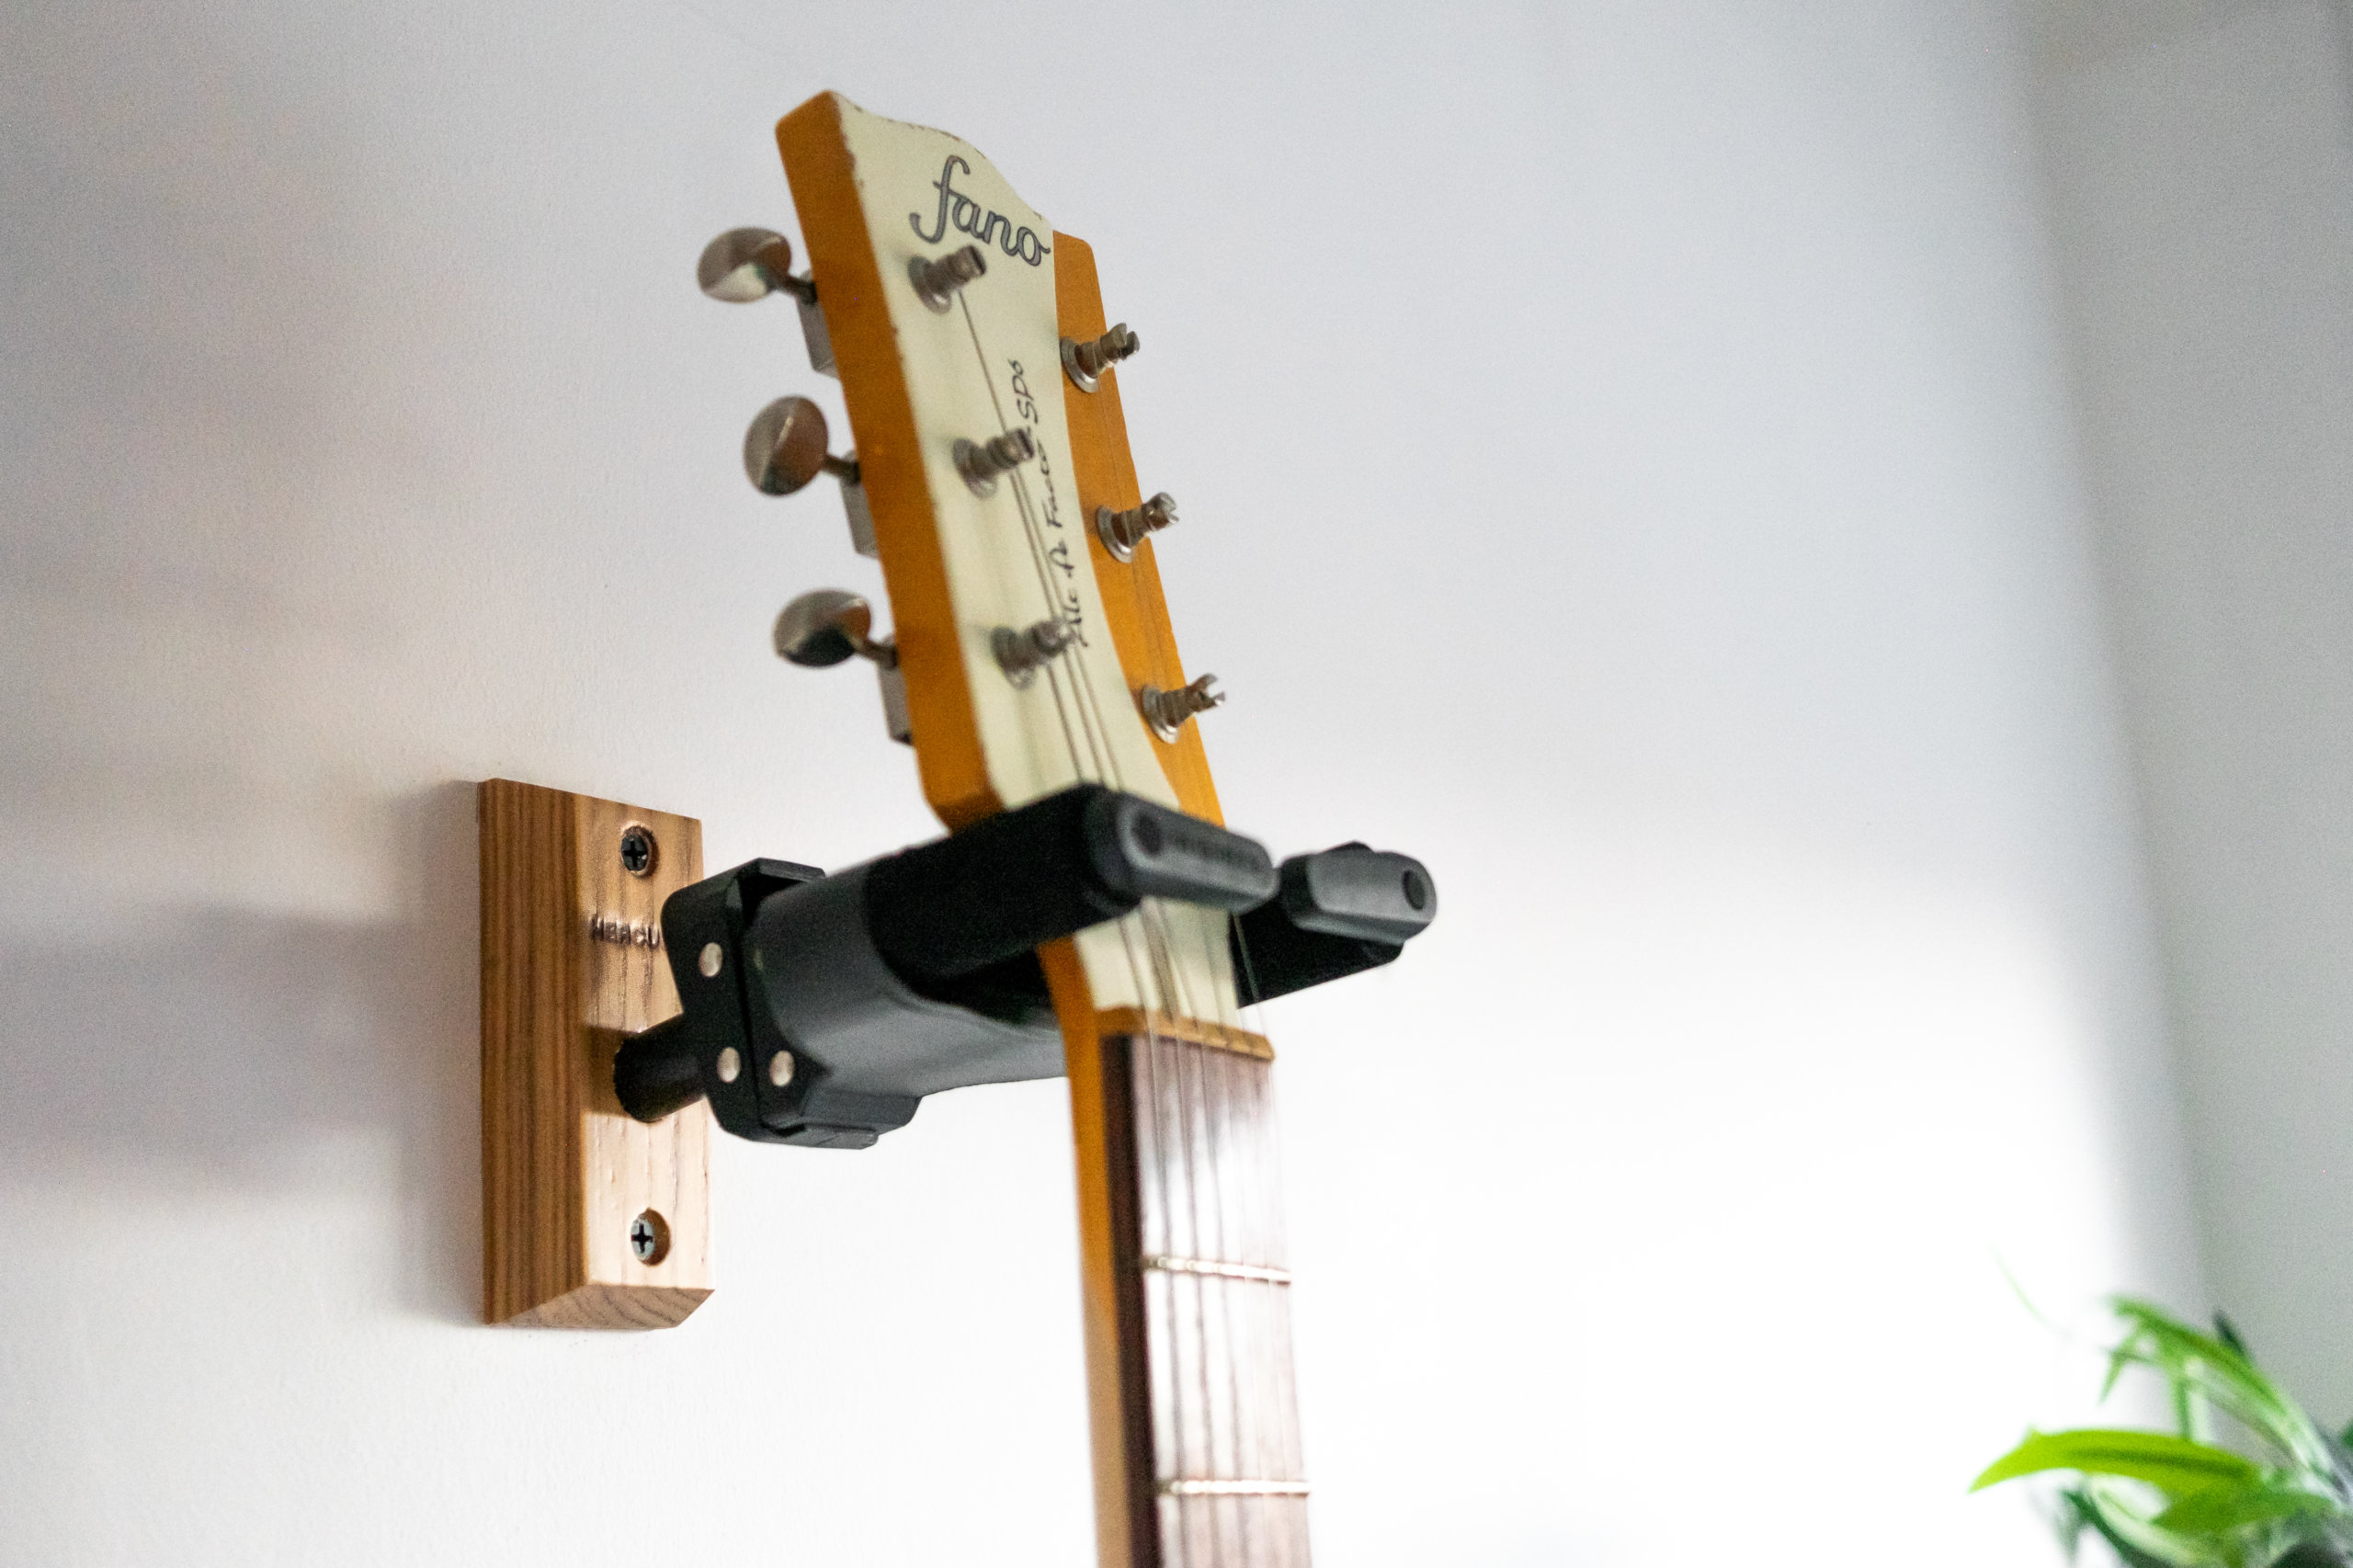
Step 6 – The Moment Of Truth
Finally, we get to the scary part – testing it out. Provided that you’ve followed all the steps properly and fixed the hanger securely, it’s time to test this thing. Take one of your guitars and pop it onto the hanger… take a deep breath, step back and if everything is as it should be, the guitar should hang securely in place.
Leave it for a minute or two and then remove the guitar again, inspect the hanger to make sure that it hasn’t come away from the wall at all and everything is still solid and sturdy – if it is, you’re done!
One thing before we leave you to admire your handiwork – some players have reported truss rod issues with guitars left on the wall for too long, so if you notice this, it might make sense to keep your in-use guitar on a stand and rotate the guitars on your wall every so often.
Equally, if like us you’ve gone for a Hercules hanger, and have kids or clumsy friends, it might also worth investing in a bit of extra peace of mind by buying the AGS Lock – an attachment that works on either stands or hangers with the AGS system that fully locks the guitar in place, meaning the guitar can’t be removed without a key.
Congratulations, you now have a place to hang your guitar on your wall – revel in the floor space that you’ve saved and the fact that you can now display your beautiful guitar like the work of art it is. It also goes without saying that Guitar.com cannot take responsibility if something goes wrong in the process – if you’re in any doubt, or anything seems wrong, stop and get a professional in. It’s not worth risking your favourite guitar if your DIY skills aren’t up to snuff!
For more guides, click here.