Related Tags
How to repair a jack lead
Before discarding faulty cables, try out this simple fix.
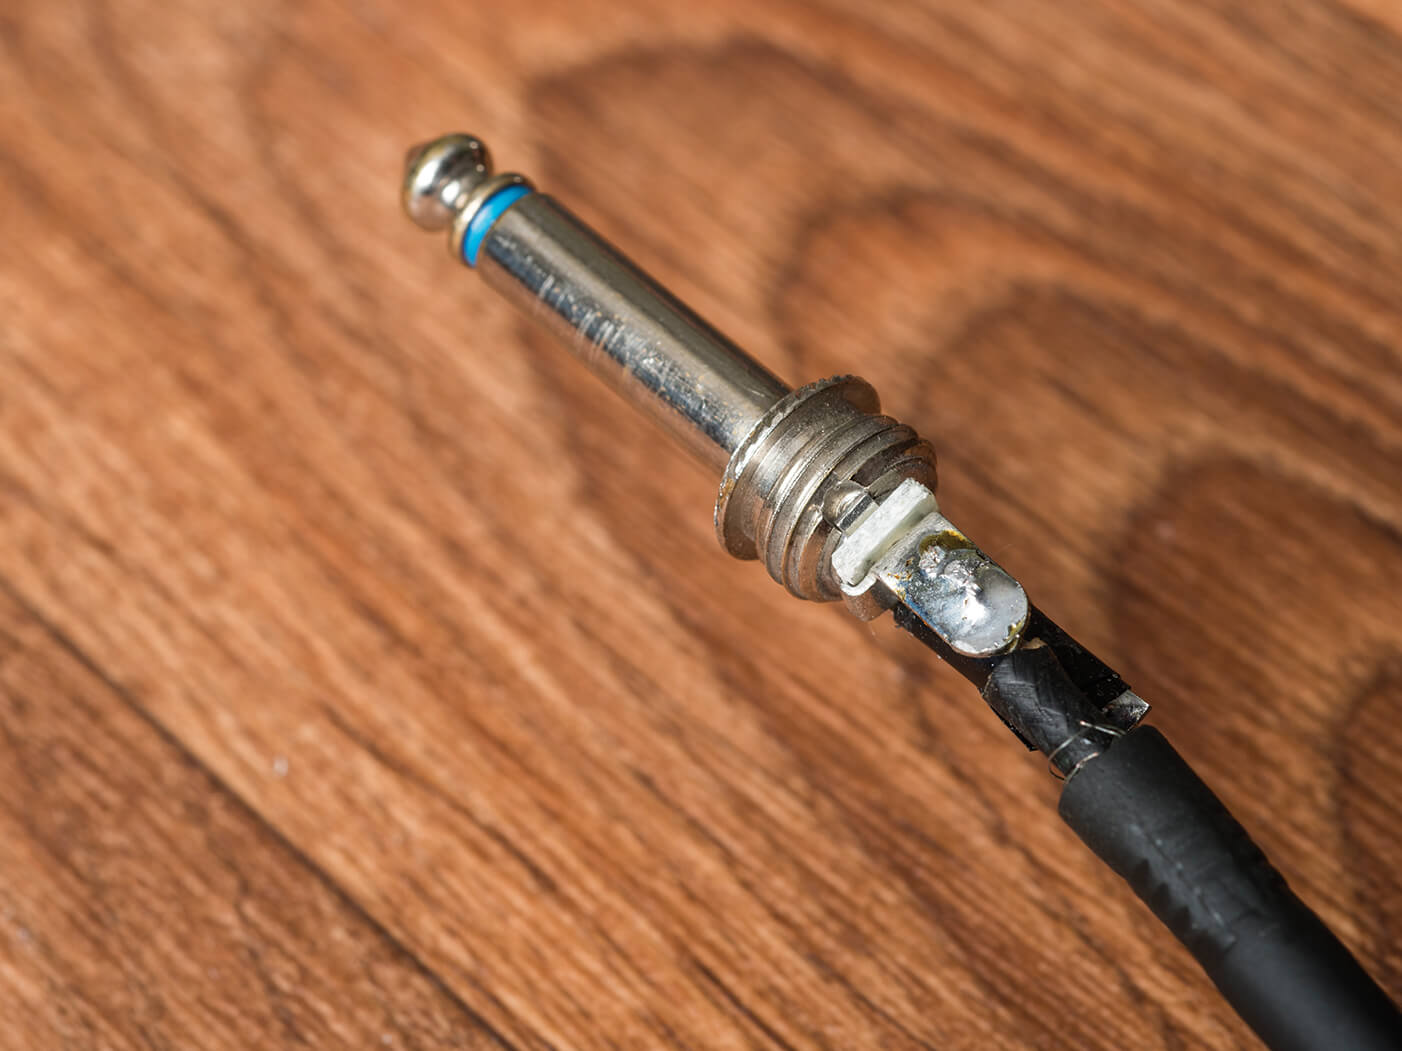
Like a jack socket, this mono jack plug has two connections – positive and negative. This is the positive
Why you need this
- Your guitar cable has stopped working
What you need
- Soldering iron
- Solder
- Multimeter
- Long-nose pliers
Even the most reliable of guitar cables will one day let us down. But before you throw that cable away and buy a new one, it’s worth trying to fix it. This is about as easy as electronic maintenance gets.
Firstly, check over the jack plugs for damage because they can fall apart. If everything looks OK, choose the continuity setting on your multimeter – it’s the one that goes ‘beep’ when you touch the test wires together. Guitar cables have an insulated centre core wire that connects to the tip of a jack plug. The centre core is wrapped in a layer of wires that’s called the screen, or shield. That screen is connected to the sleeve of the jack plug. The multimeter is used to test which connection has failed, and to do this you touch the meter’s test leads to the jack tips – one on each plug. Do the same for the two sleeves; the one that’s broken won’t beep – but it could be both that are at fault.
Unscrew the outer body of each jack plug and look at the solder joints. There will be two joints for each plug, and you will probably find one or more joints that have failed. If you’re unsure, repeat the multimeter test, this time touching the test leads onto the solder joints rather than the jack plugs.
If you can’t achieve continuity by touching the solder joints, it’s most likely that there’s a break somewhere along the length of the cable. In practical terms, that probably means it’s new cable time. However, if you can find a dodgy joint, it’s time to heat up the soldering iron and repair it.
If you have a vice to hold the plug, it’s preferable to use it. Heat from the iron will transfer through the plug and it will become too hot to handle. If you don’t have a vice, instead use some sticky tape to hold the end of the cable, and wedge the cable up to keep the jack above your work surface.
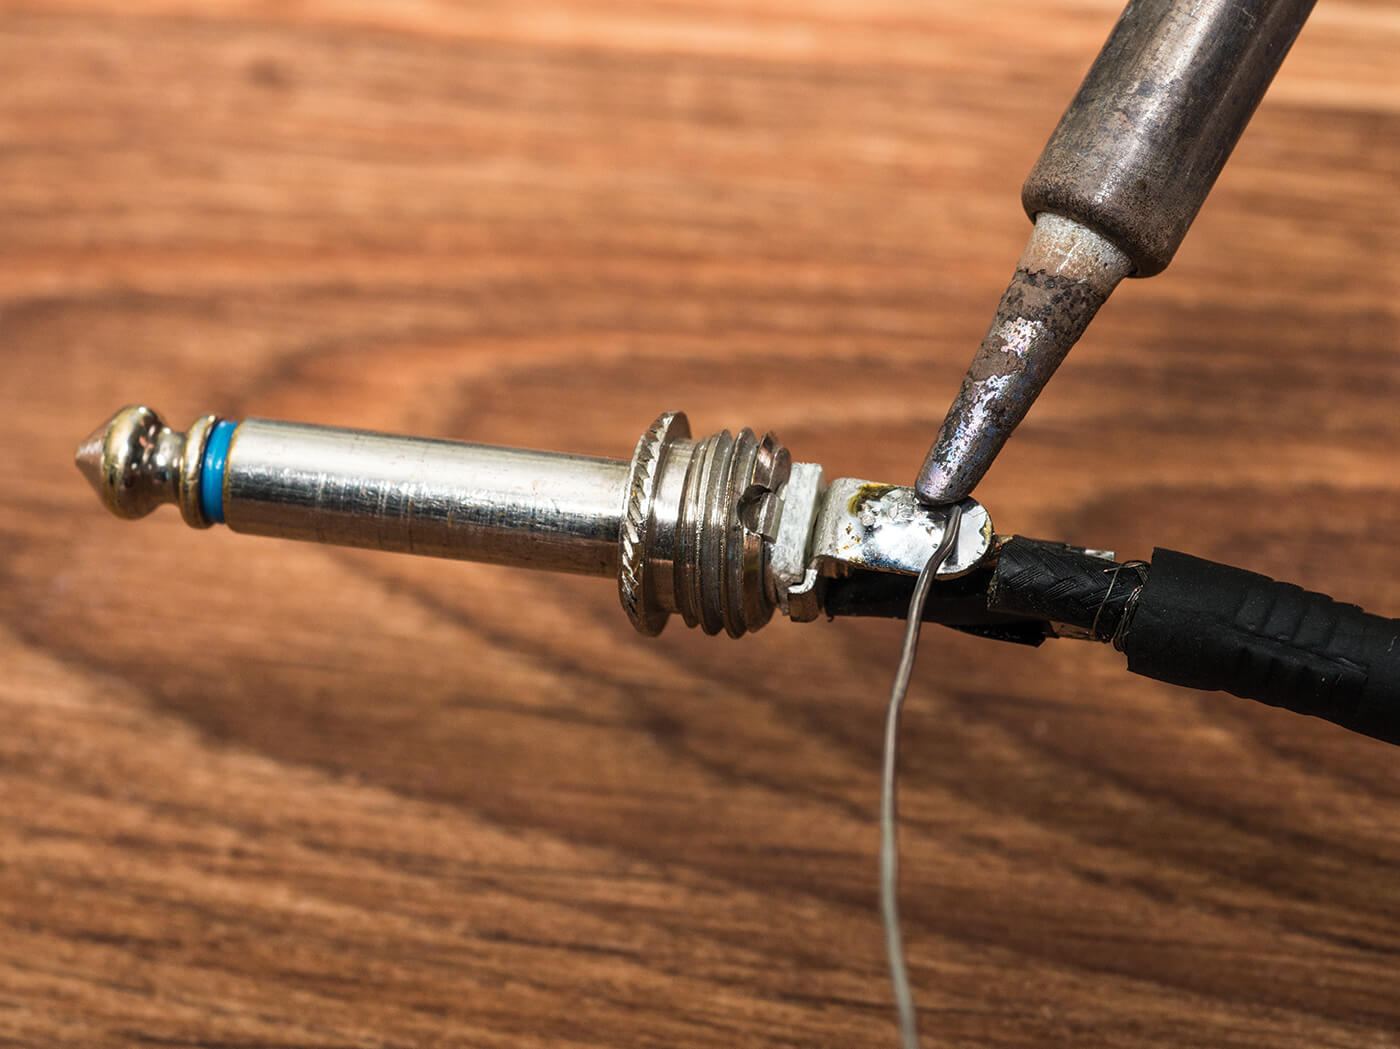
Flow fresh solder onto the exposed wires and the area of the plug where you’ll be making the joint. Using a screwdriver or long-nose pliers, press the wires over the solder joint and touch the wires with the soldering iron. As soon as the solder flows together, remove the iron and hold the wire in position as the joint cools.
Once it’s cool enough to handle, simply screw the body of the jack plug back on, test one more time for continuity and that cable should be good for a few more years.
Check out more of our DIY guides here.