Related Tags
How to replace an electric guitar potentiometer
Got a scratchy pot? Or you’re keen on trying a different value? Here’s an easy guide on how to do it yourself.

You can reach the electronics on a Tele without removing the strings. They’re mounted under a control plate held on by a screw at each end
Why you need this
- Pots get noisy and seize up
- You wish to try a different value
What you need
- Pliers
- Soldering iron
- Solder
- Needle pliers
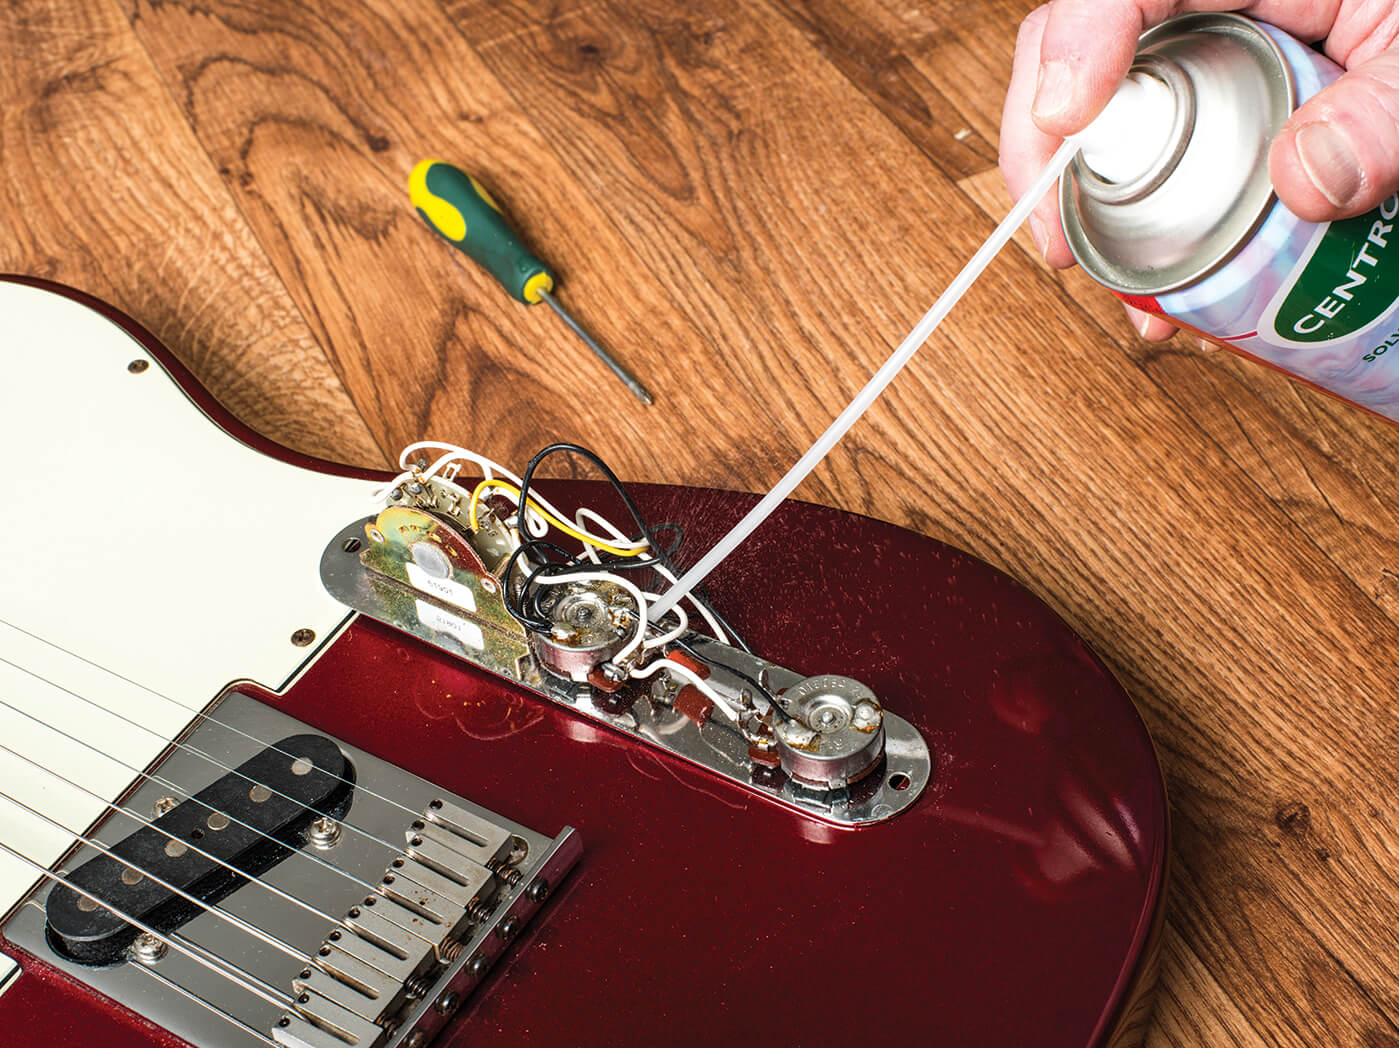
Squirting cleaner into a potentiometer usually cures noise problems, but sometimes pots are beyond saving. As well as being noisy, they can develop dead spots or even seize up completely. Even if your controls are working properly, you may want to experiment with different potentiometer values or tapers to fine-tune your tone or achieve a specific response.
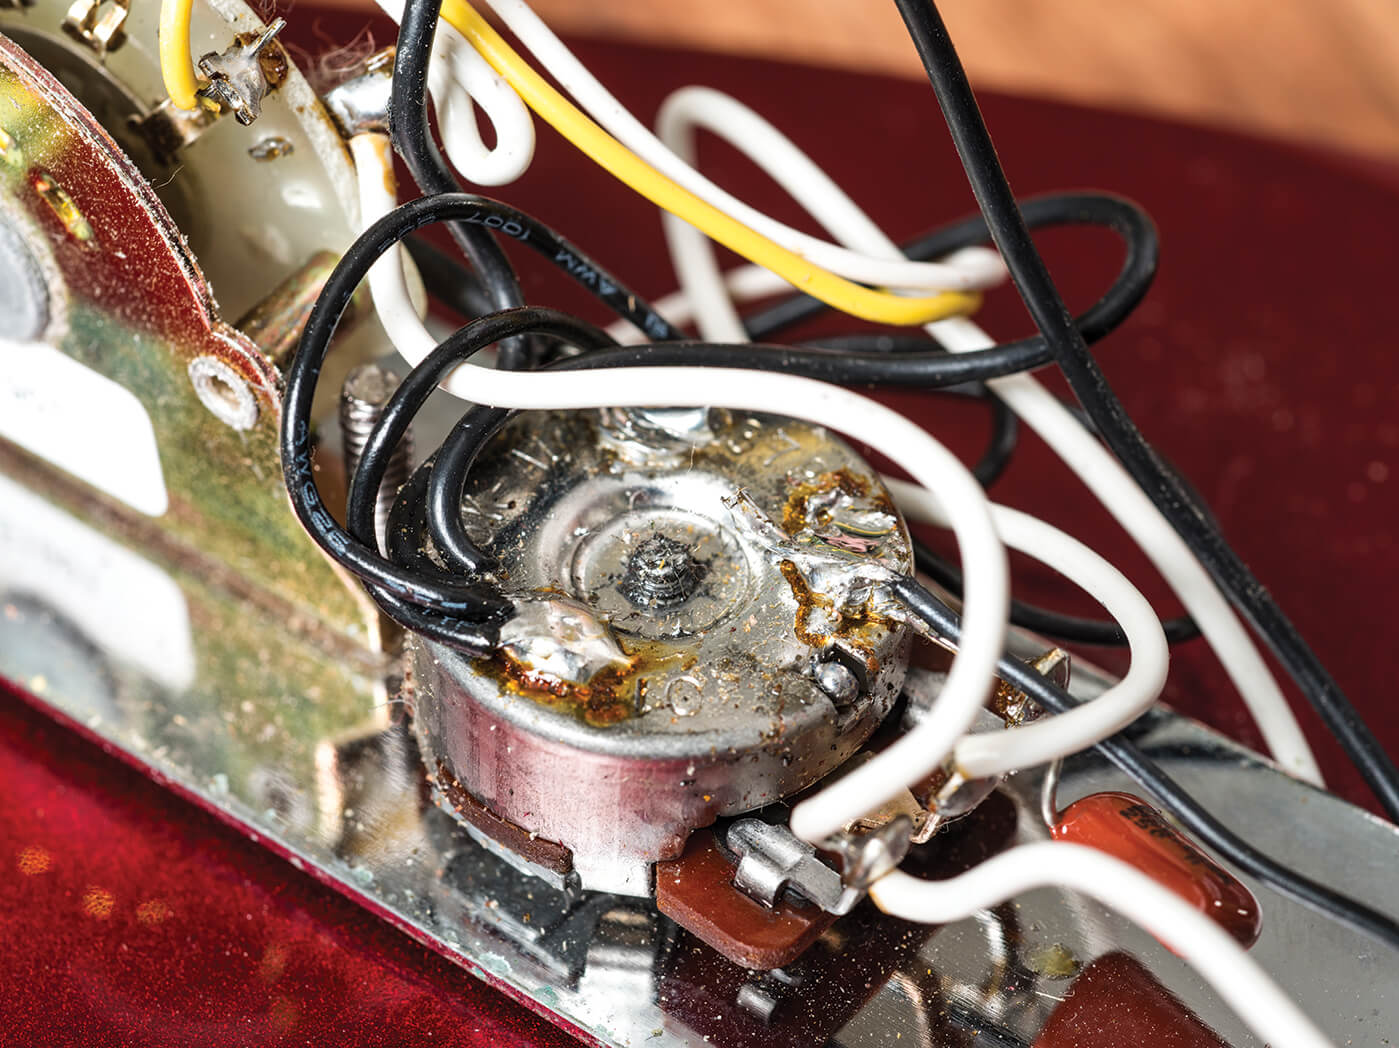
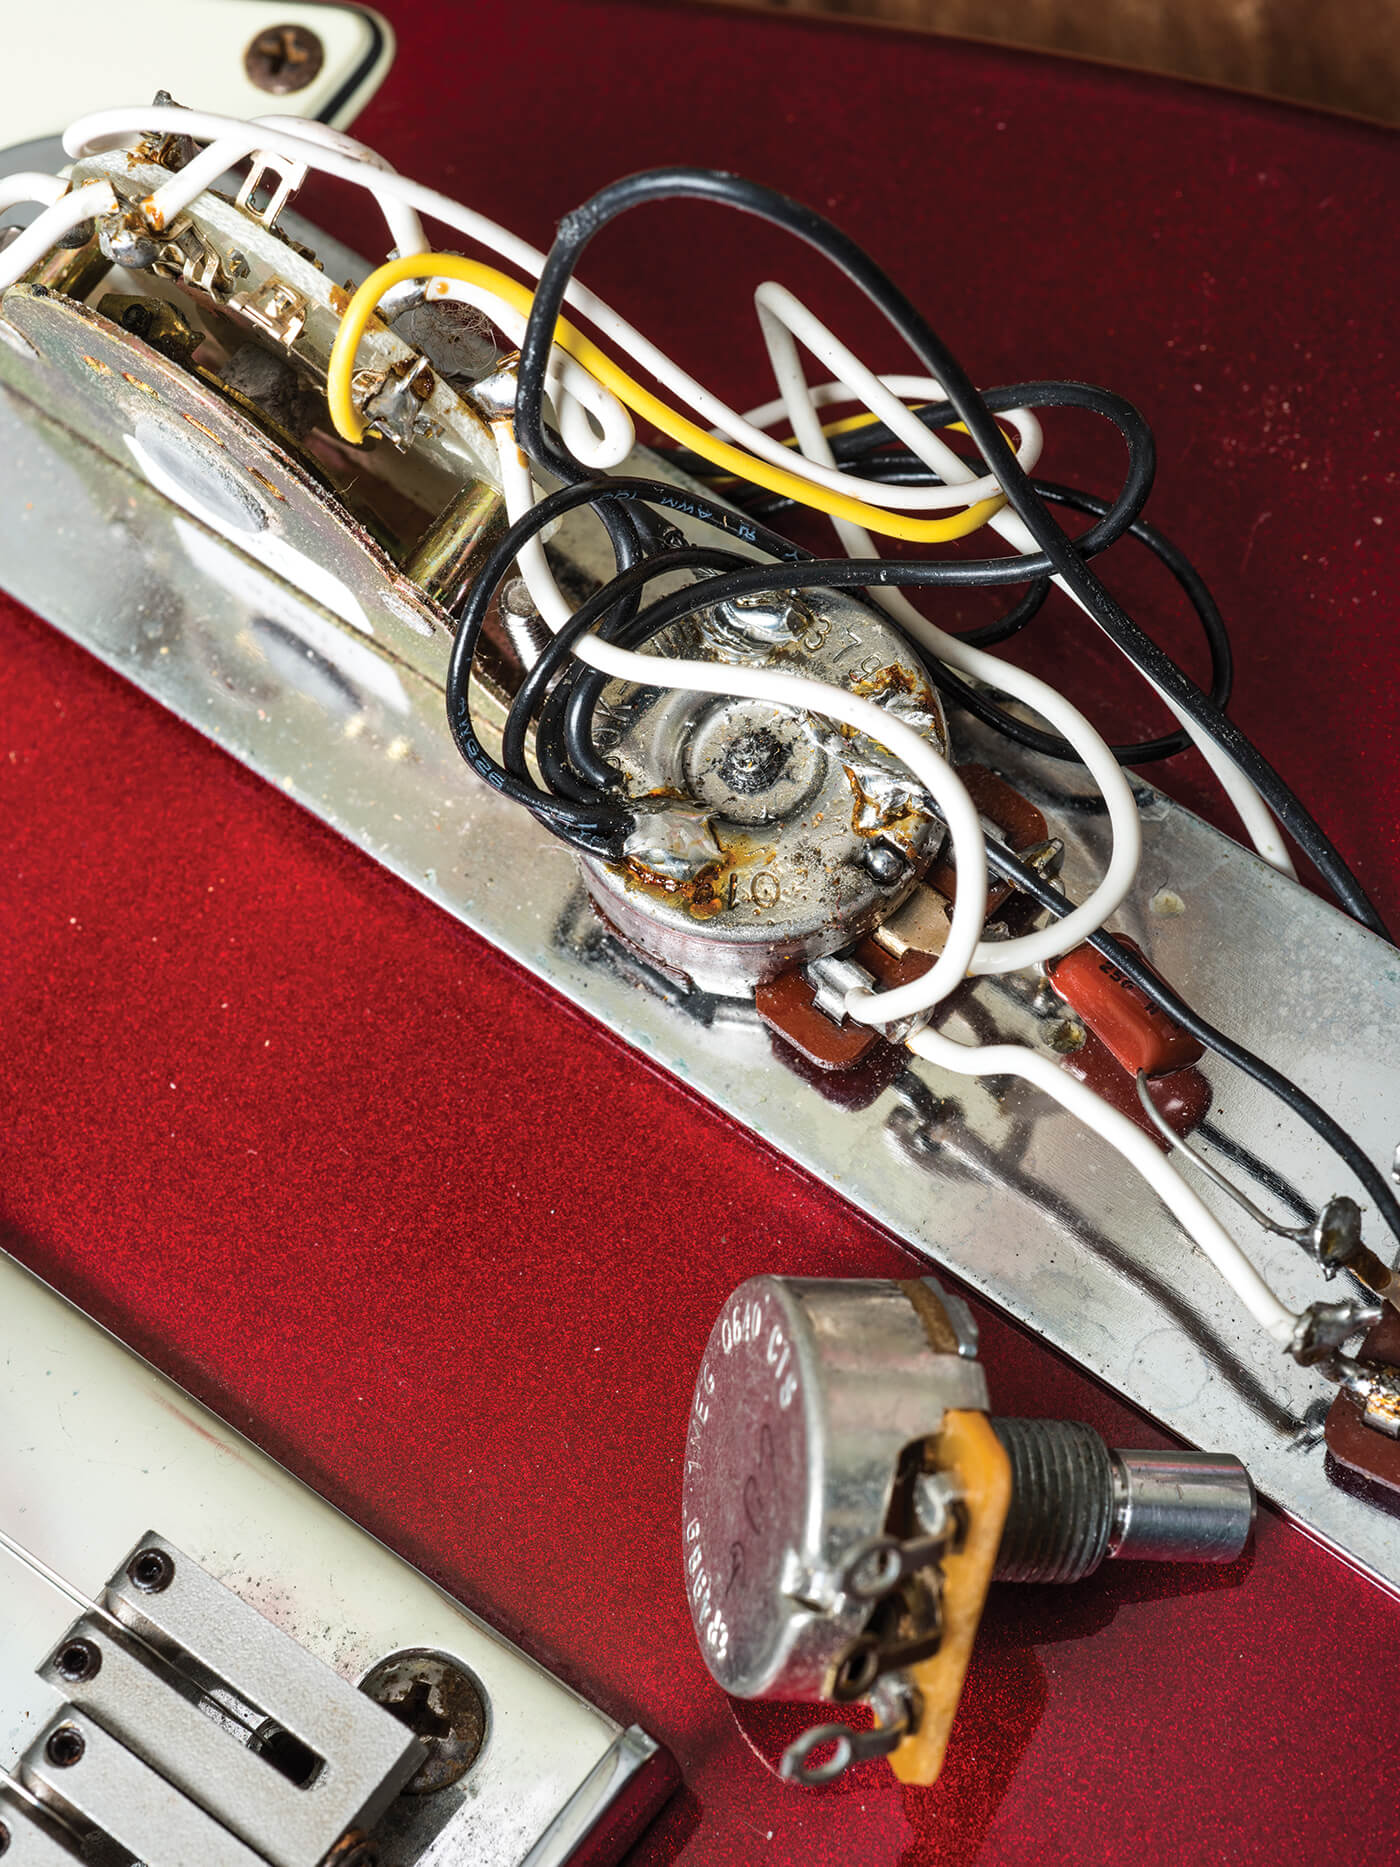
Control pots can usually be found under pickguards or control cover plates. Identify the potentiometer you wish to change and make a note of the existing connections. You can do this by drawing a diagram or taking a snapshot using a digital camera or your phone.
Remove the control knob and take a hot soldering iron to the first solder tag on the pot. As soon as the solder has melted, pull the wire away from the pot using a pair of needle pliers. You can use your fingers instead, but sooner or later you’ll burn them.
Repeat the process until the potentiometer is disconnected completely from the circuit. Using larger pliers, unscrew the nut holding the potentiometer onto the body or the pickguard and remove the pot. Fix the new potentiometer in position and solder the wires onto the solder tags, ensuring that the original connections are maintained.
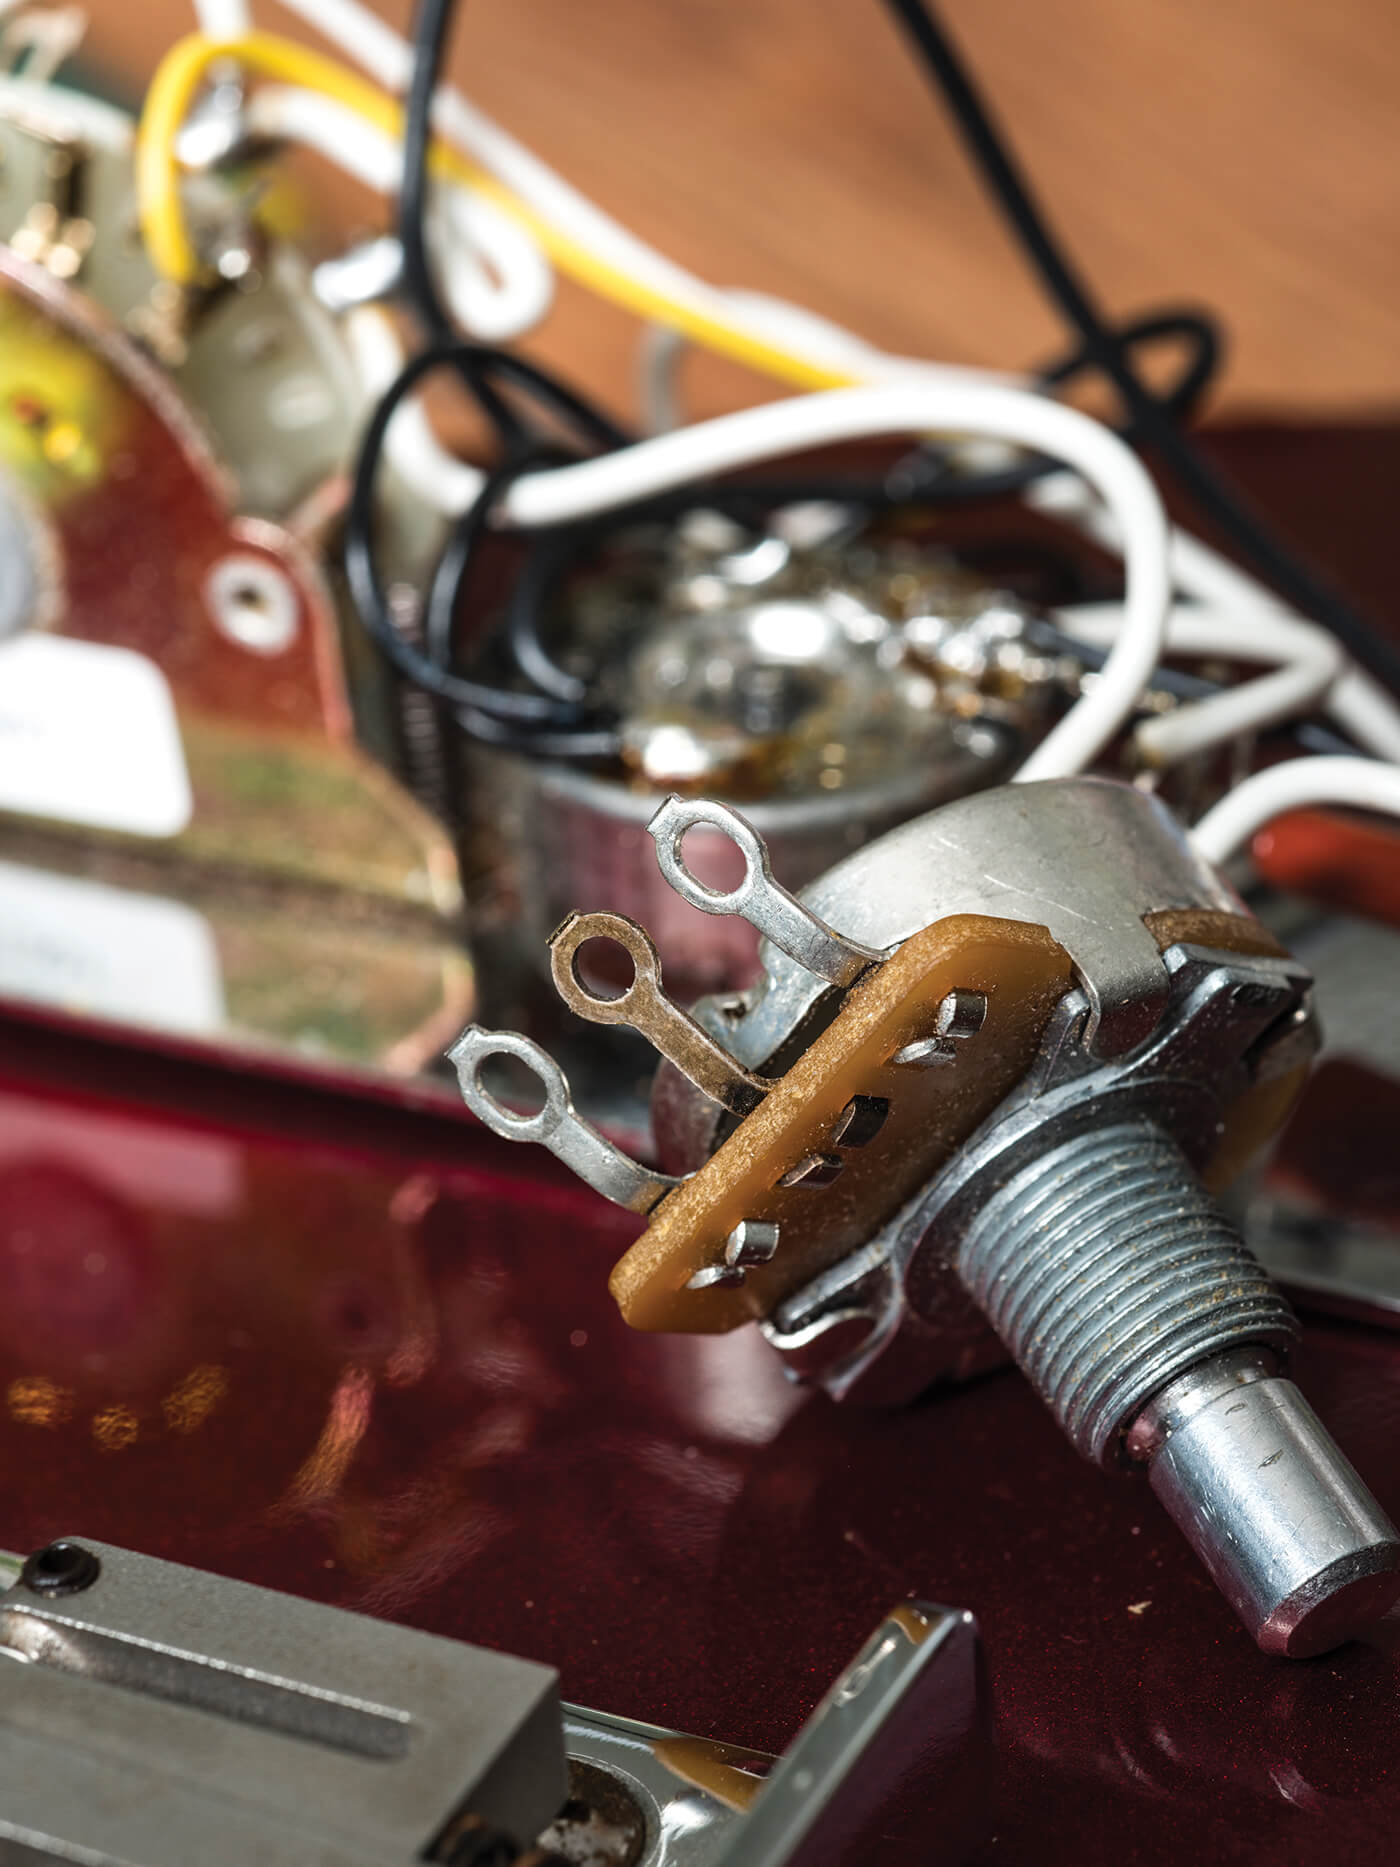
You may opt to wrap the exposed ends of the wires around the tags to achieve a secure mechanical fixing before soldering the joint. Once you’re done, reassemble, tune up and you should be good to go.
For more DIY projects you can do at home, check out this page.