Related Tags
How to replace an output socket
Here’s what you can do to fix an intermittent guitar signal.
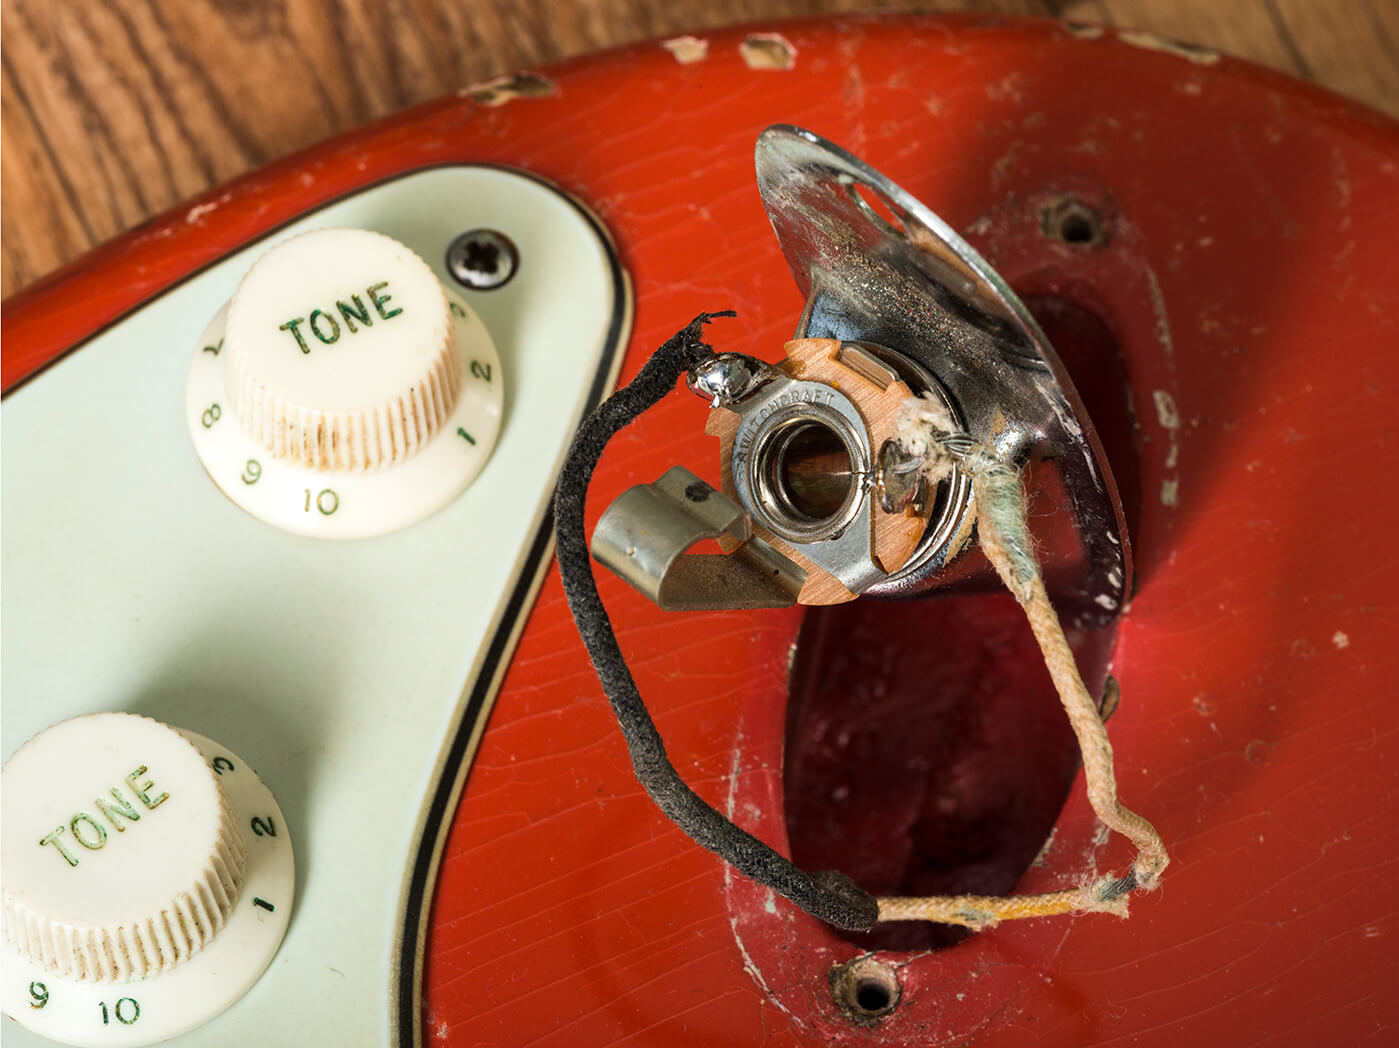
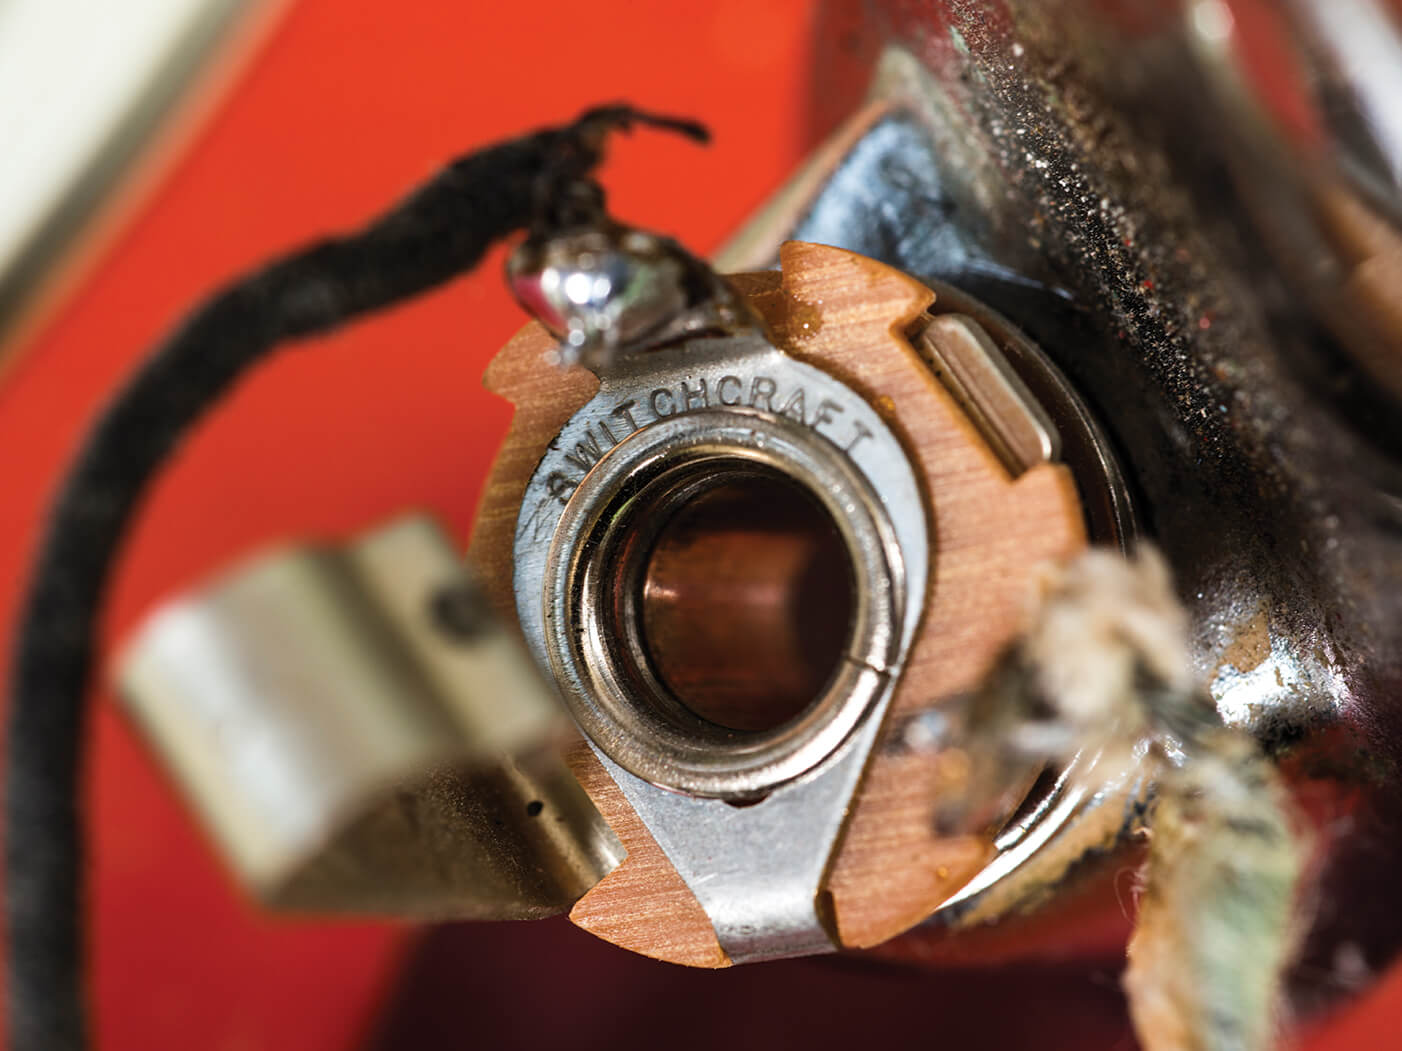
This traditional jack socket has two solder tags. The black wire is soldered to the sleeve and you can see that it’s connected to the centre of the socket. The white wire is soldered to the tip tag, and
that corresponds to the protruding section
Why you need this
- Intermittent or failed contact causing guitar signal to cut out
What you need
- Pliers
- Soldering iron
- Solder
- Needle pliers
*Before we start, it’s worth nothing that this process requires some soldering know-how. If you need a refresher, be sure to check out our A-Z guide here.
Guitar parts eventually wear out, especially mechanical parts that take a lot of use and abuse. Output sockets are a case in point and most of us will have experienced issues with our signal cutting out. Try wiggling two or more cables in the output socket.
If the signal cuts in and out with each cable, you can be pretty sure the output socket is at fault.
Assuming you’re not dealing with an original part on a vintage instrument, the sure-fire fix is to install a new output socket. In most cases, there will be just two connections. However, you may find a third wire if the bridge or trem spring claw is grounded at the jack socket, or if it’s a switching jack for active pickup systems.

Replacing an output socket is pretty straightforward with Strats or Les Paul-type guitars because it’s easy to gain access to the socket. Semi-acoustics present problems because you will probably have to pull the socket, and all the controls, out through an f-hole. As for vintage-style Tele jack cups, you’d probably be best advised to leave those to a professional.
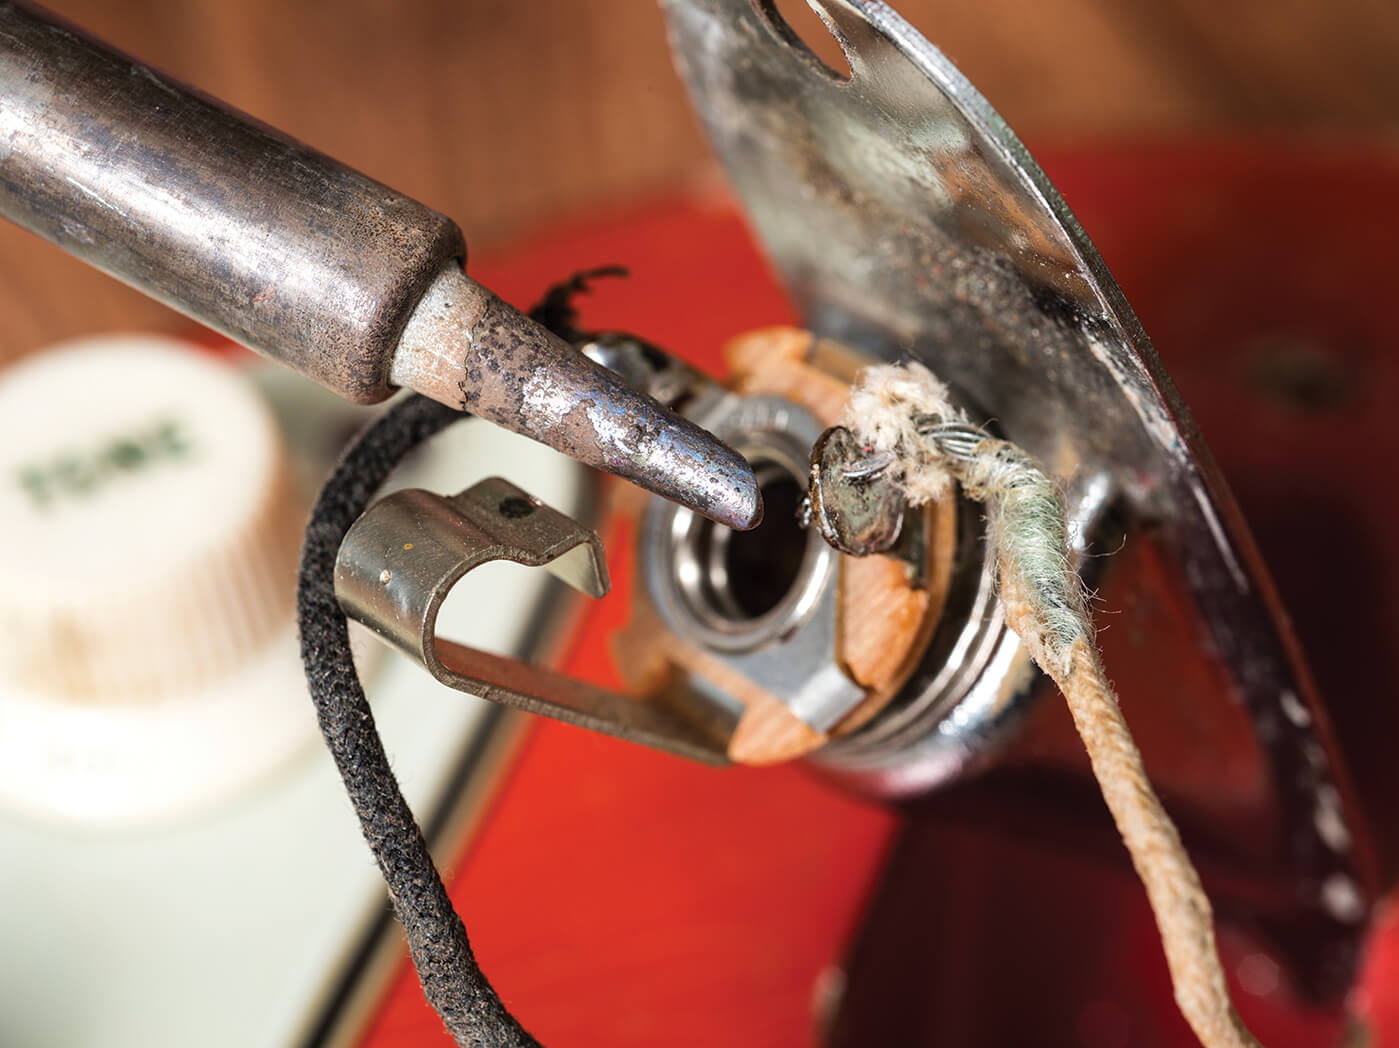
Assuming that you can get at the socket, make a note of which connection is positive and which is negative. The negative (or ground) will usually be black. Heat a joint with a soldering iron and pull the wire away as soon as the solder melts. Then do the same with the other wire.
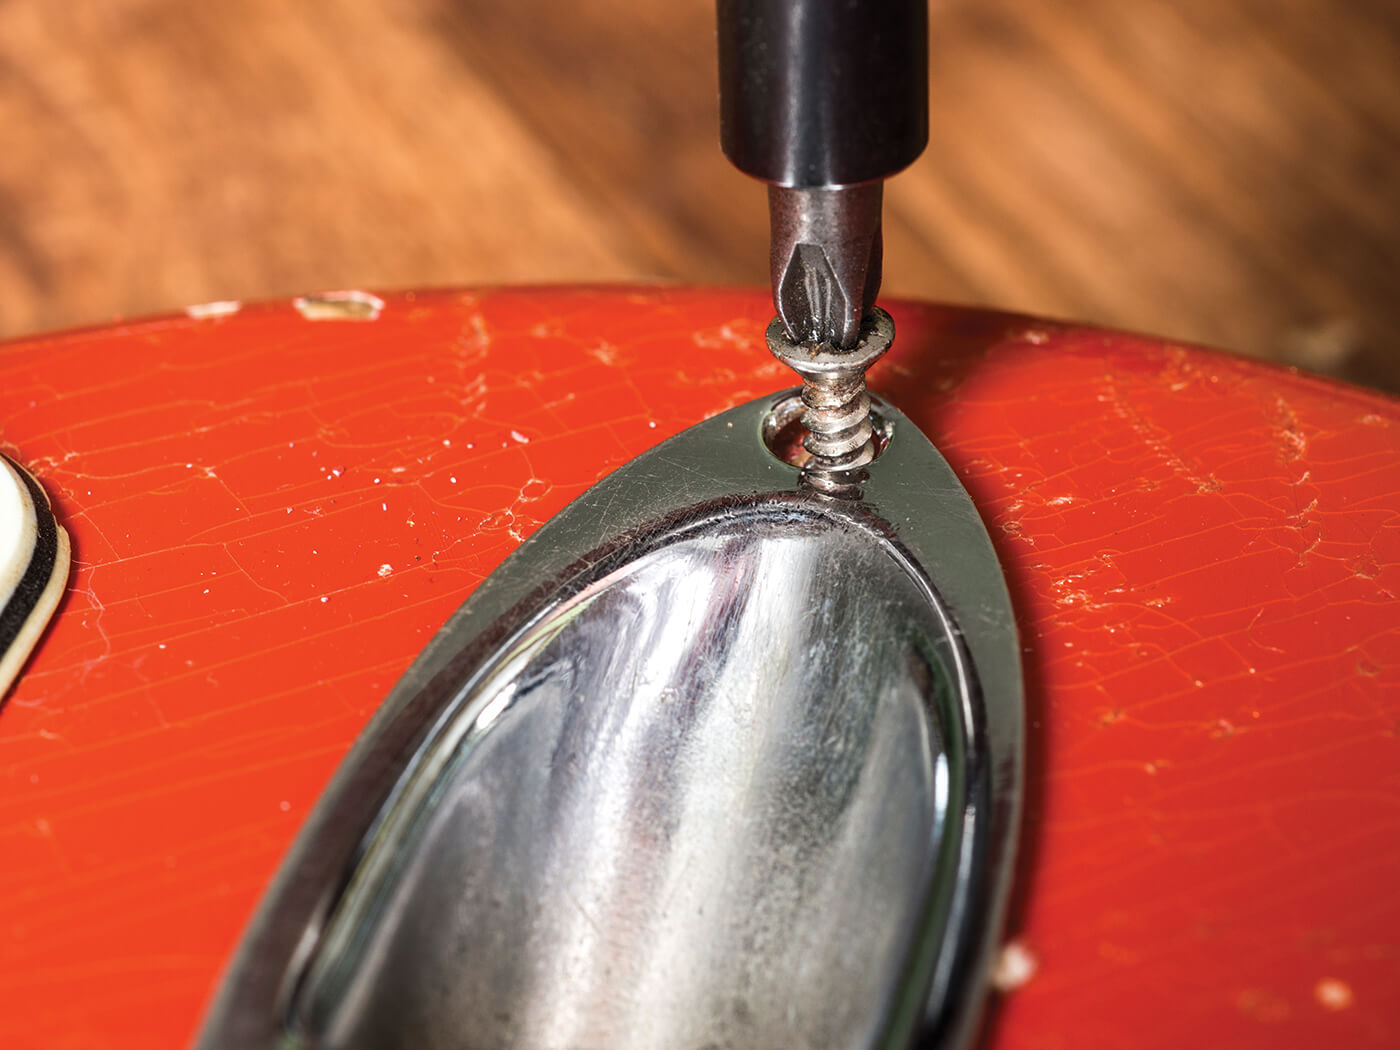
Unscrew the nut holding the socket in position and remove it, then fix the new socket to the plate or cup and solder the wires onto the new socket. Ensure the wires do not move as the molten solder is setting and never try to speed up the cooling process by blowing on a soldier joint.
Check out more of our DIY guides here.