Related Tags
Tech Talk: How to shield your guitar
Is your single-coil electric plagued by noise? We can help.
Let’s be real: a noisy guitar can ruin an otherwise good time, whether it’s playing a show (remember those?) or practicing in your bedroom. Guitarists who prefer the sound of single-coil pickups often simply grin and bear it, accepting some noise as the trade off for tone, but it doesn’t have to be as bad as all that.
Shielding your guitar can greatly reduce the interference that plagues traditional Strats, Teles, Jaguars and Jazzmasters. For this month’s column, I thought I’d walk you through my process for shielding guitars, offering some tips on getting a clean look and optimal results.
Agents of shielding
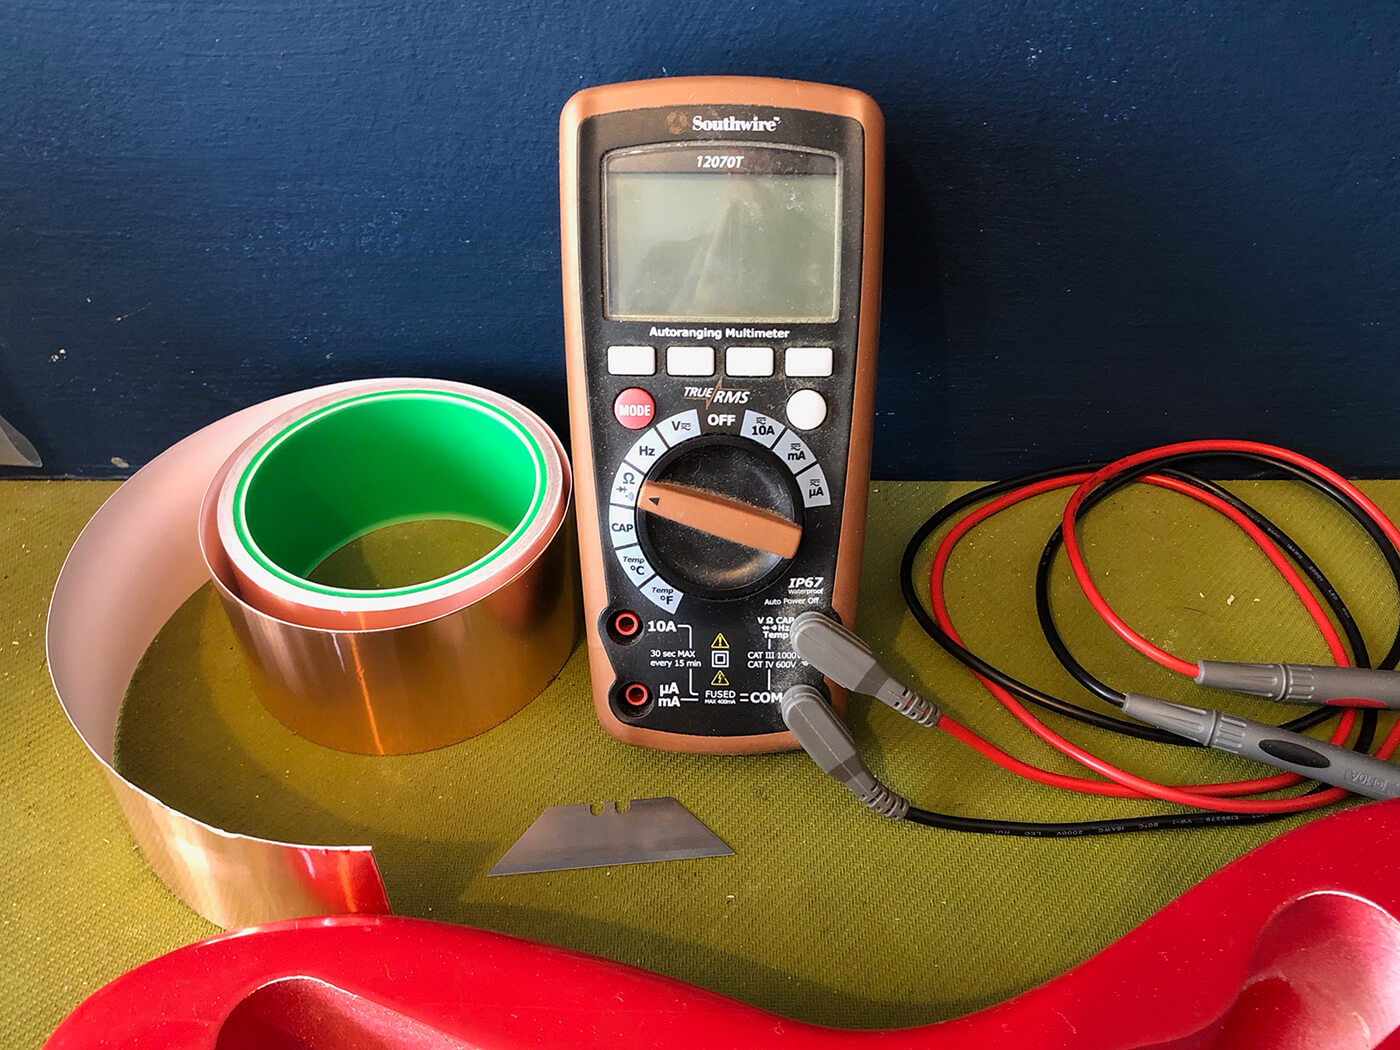
Here’s what you’ll need to get started:
- The foil tape of your choosing, most commonly copper or aluminium. While copper is indeed the better conductor, it also carries an increased price per metre. Aluminium is only slightly weaker for guitar shielding purposes, but it’s both cheaper and more plentiful. Whichever you opt for, ensure that the tape has conductive adhesive so that you don’t have to worry so much about the connection between overlapping pieces of tape.
- A fresh, sharp razor blade or hobby knife is essential for this kind of work. For one, you’ll be slicing through thin bits of metal, which will eventually dull the blade. You’ll also be cutting a lot of different shapes and curves into the tape, and a sharp edge will make that task much, much easier.
- A multimeter to check for continuity during the procedure. To do the job properly, each piece of foil you lay down must be electrically conductive with every other piece. A multimeter allows you to check this and helps you work out where changes might be needed.
- I also like to keep a piece of scrap dowel rod around to help me work out any air bubbles and lay down foil in the corners of the body routs.
Assuming you have everything I’ve mentioned, let’s get into it!
Shape shifting
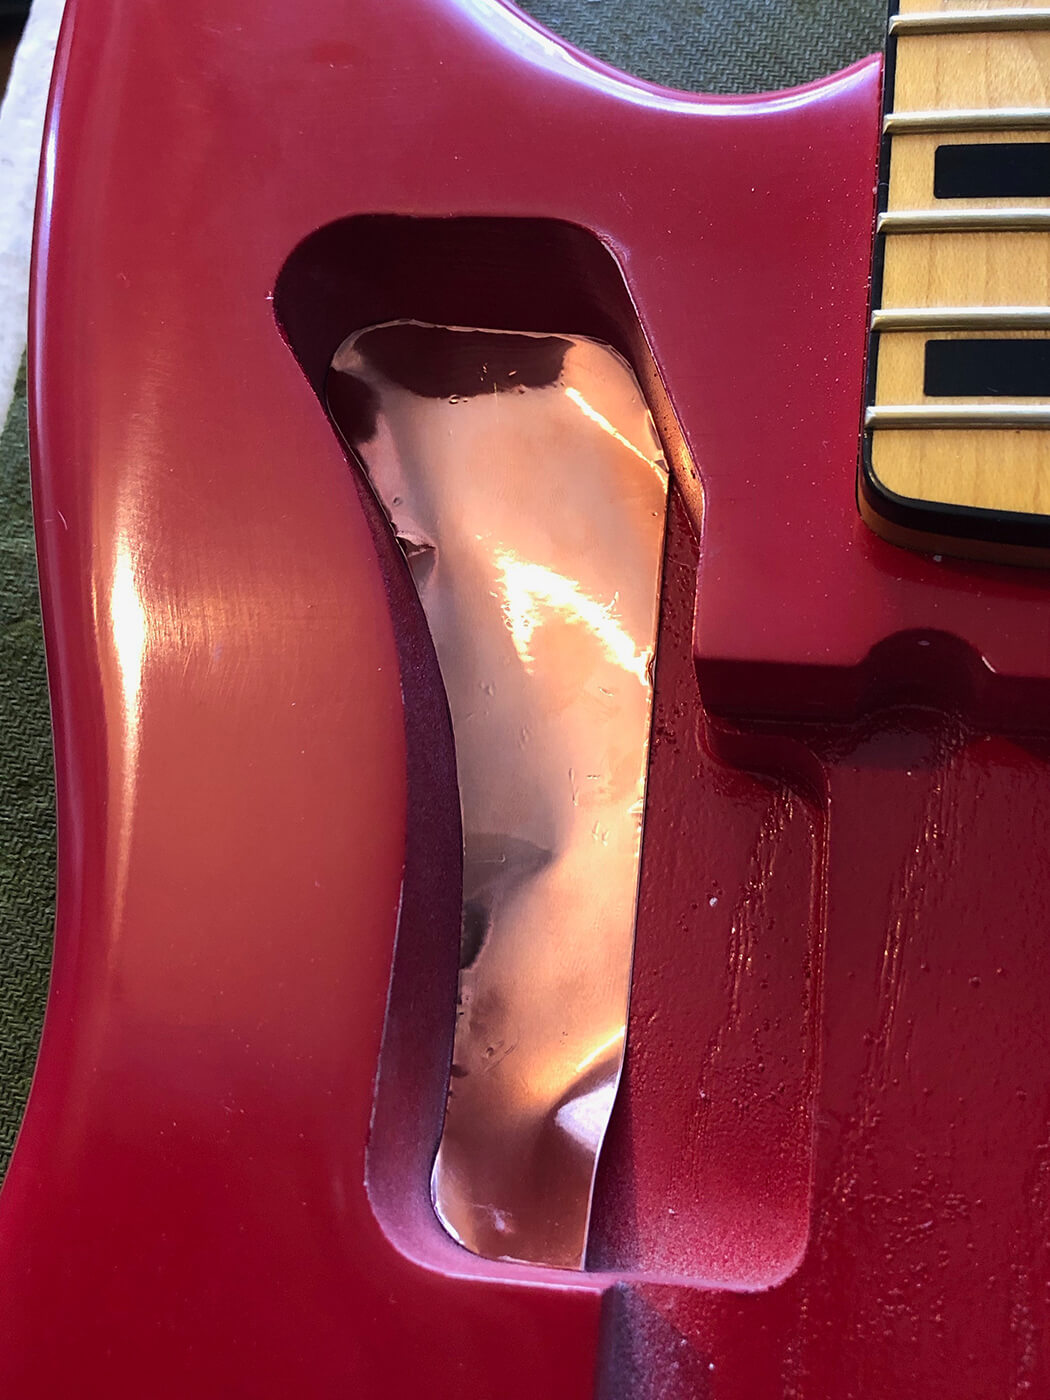
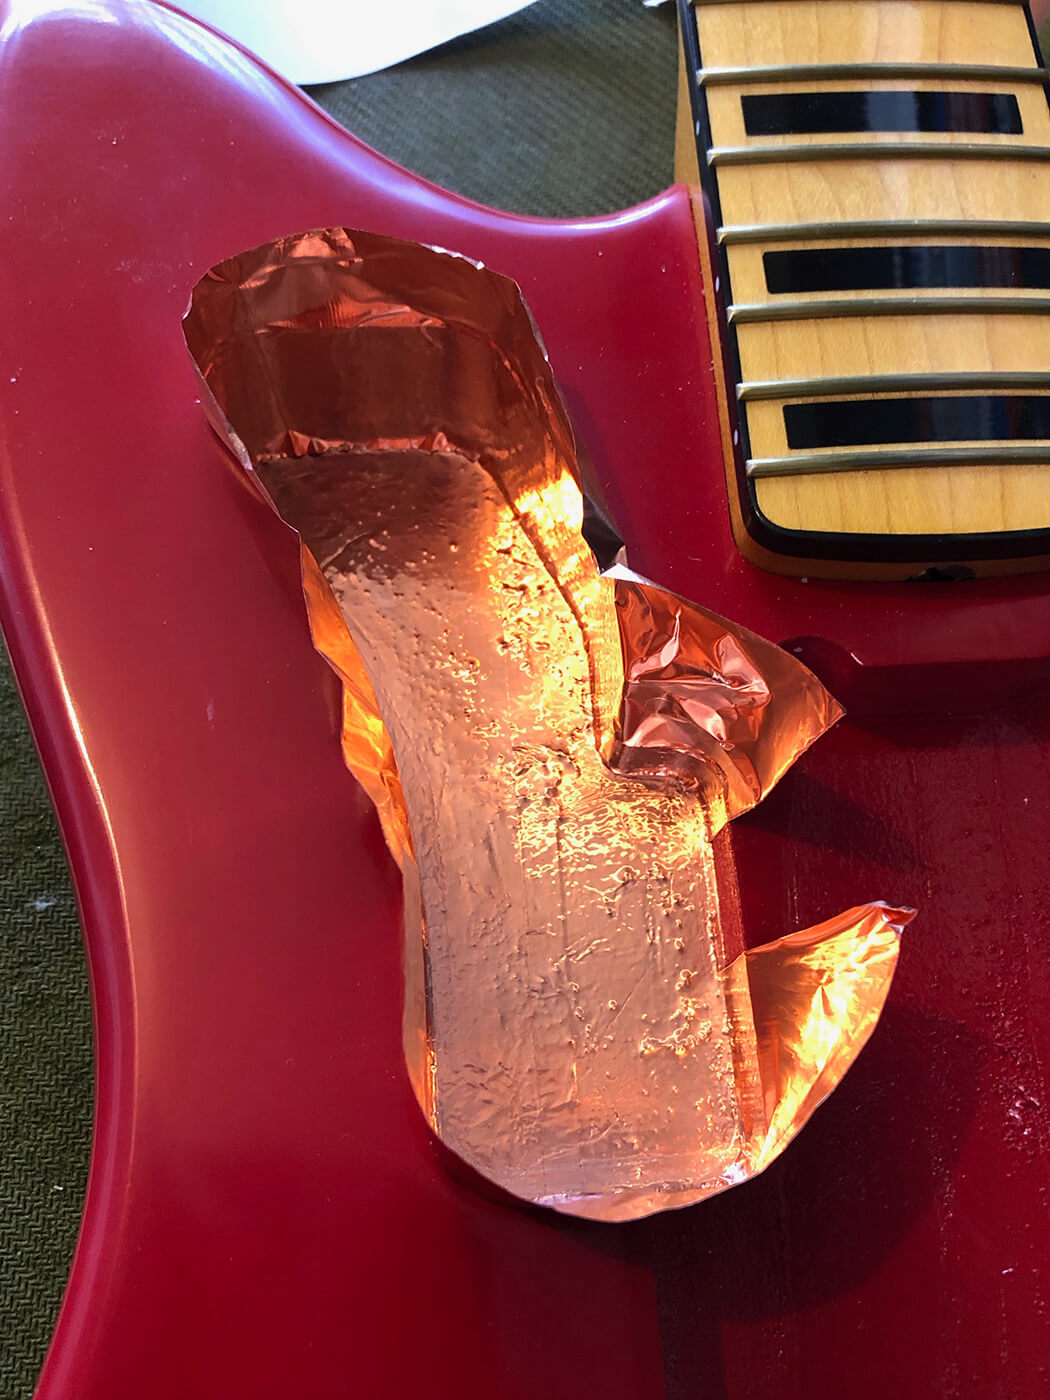
I like to begin by lining the bottoms of the body cavities first, then taking care of the walls after. First, I unroll an appropriate amount of tape and measure it against the area I’m working with, in this case the rhythm circuit rout of a Jazzmaster body. I’ll then cut it to length with my razor blade and set aside the roll.
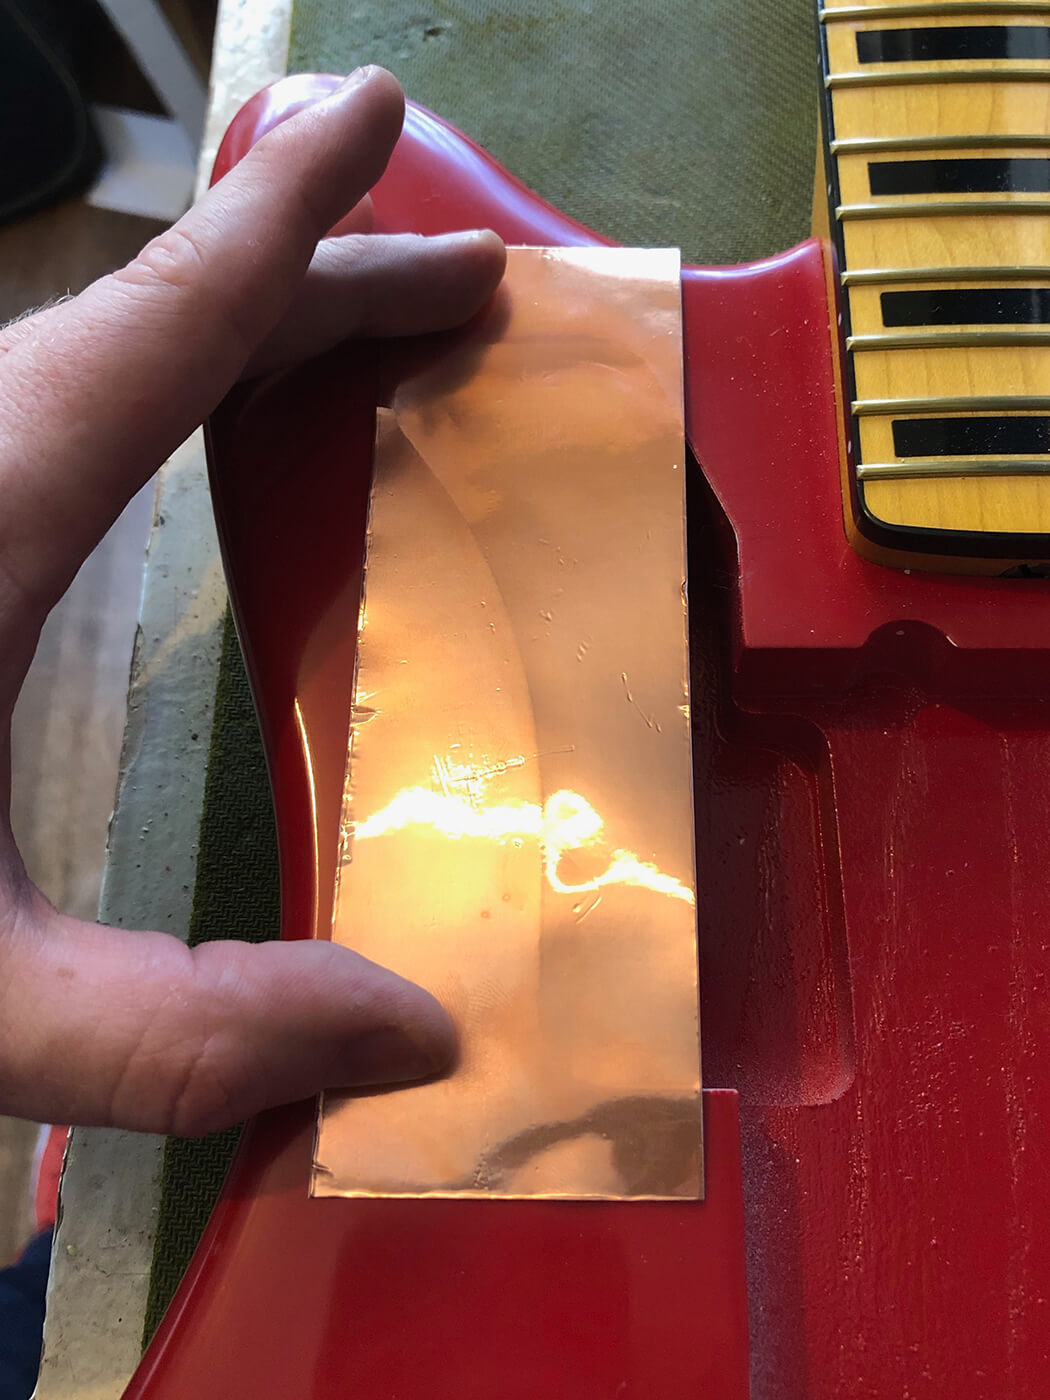
Second, I lay that piece of foil on top of the section of the body I want to cover, and gently trace the shape of the rout with the tip of my finger. It doesn’t take much pressure to leave an impression in the foil, and doing so gives me a pattern of the bottom of the rout.
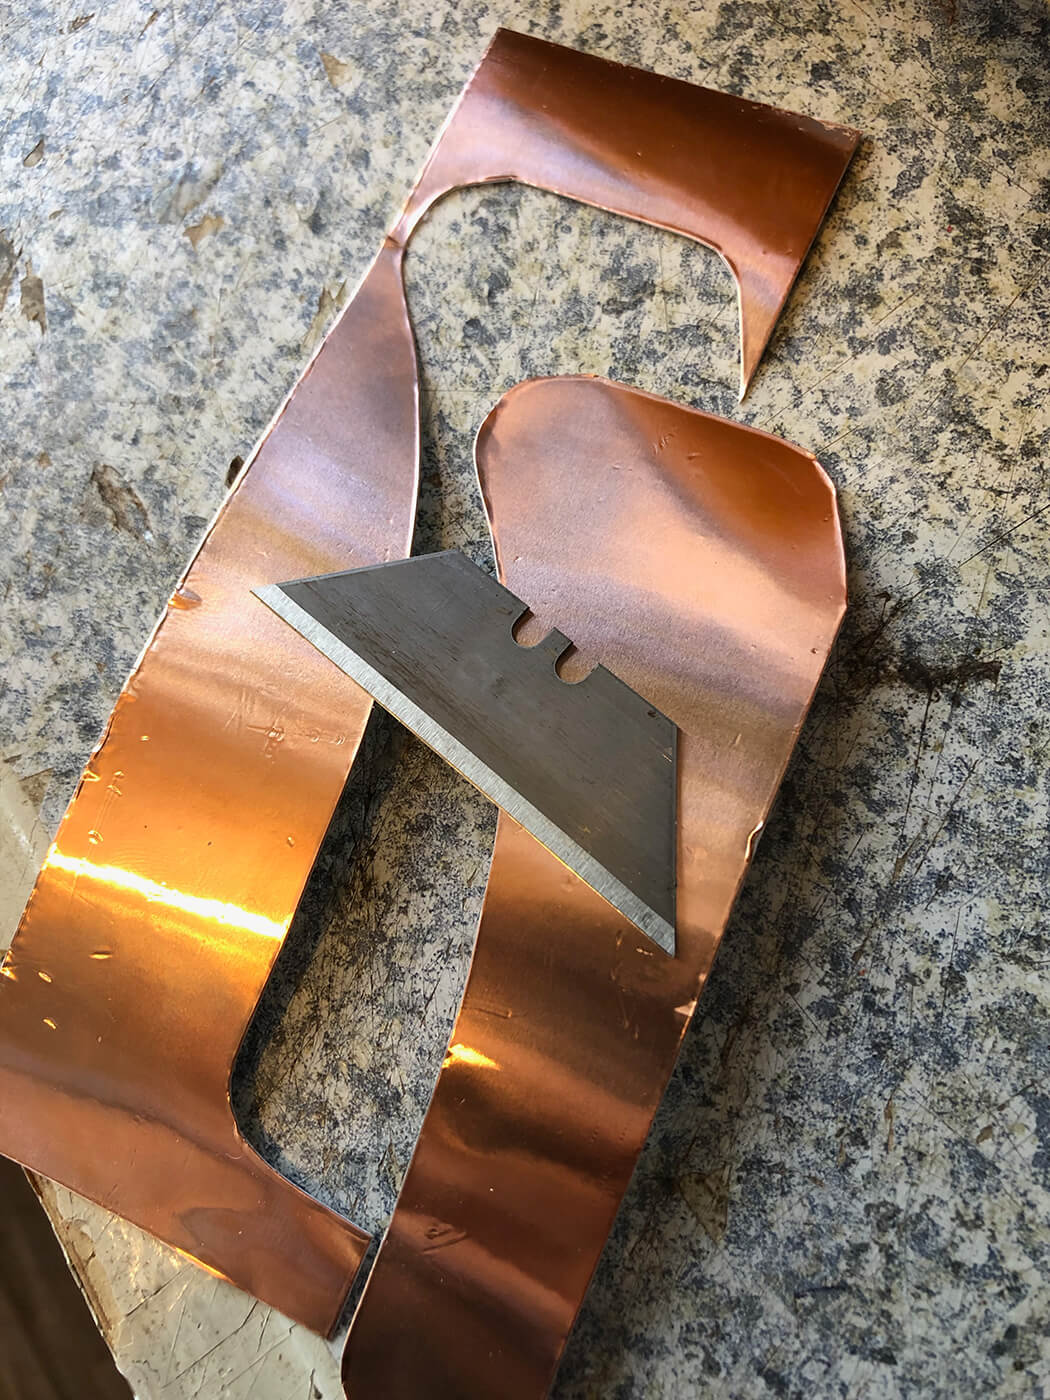
Next, I’ll use the tip of my razor blade to cut out the pattern I’ve made, making sure to trace outside the lines so that it’s just a little bit larger than necessary. It doesn’t have to be perfect, but it should adequately cover the surface of the body cavity. Take the extra time to really nail the curves for a clean fit, and as always, be careful when using any type of extremely sharp blade.
After the shape is cut out, I like to test fit while the paper backing is still on the foil. This allows me to make adjustments to the shape before committing the tape to its final position.
When you’re satisfied with the fit and placement, go ahead and peel the backing from the foil. I’ve found that peeling the backing instead of the foil prevents it from curling up, which can make things a little trickier when you’re trying to lay it down smoothly. Always try to work the backing away from the foil rather than vice versa.
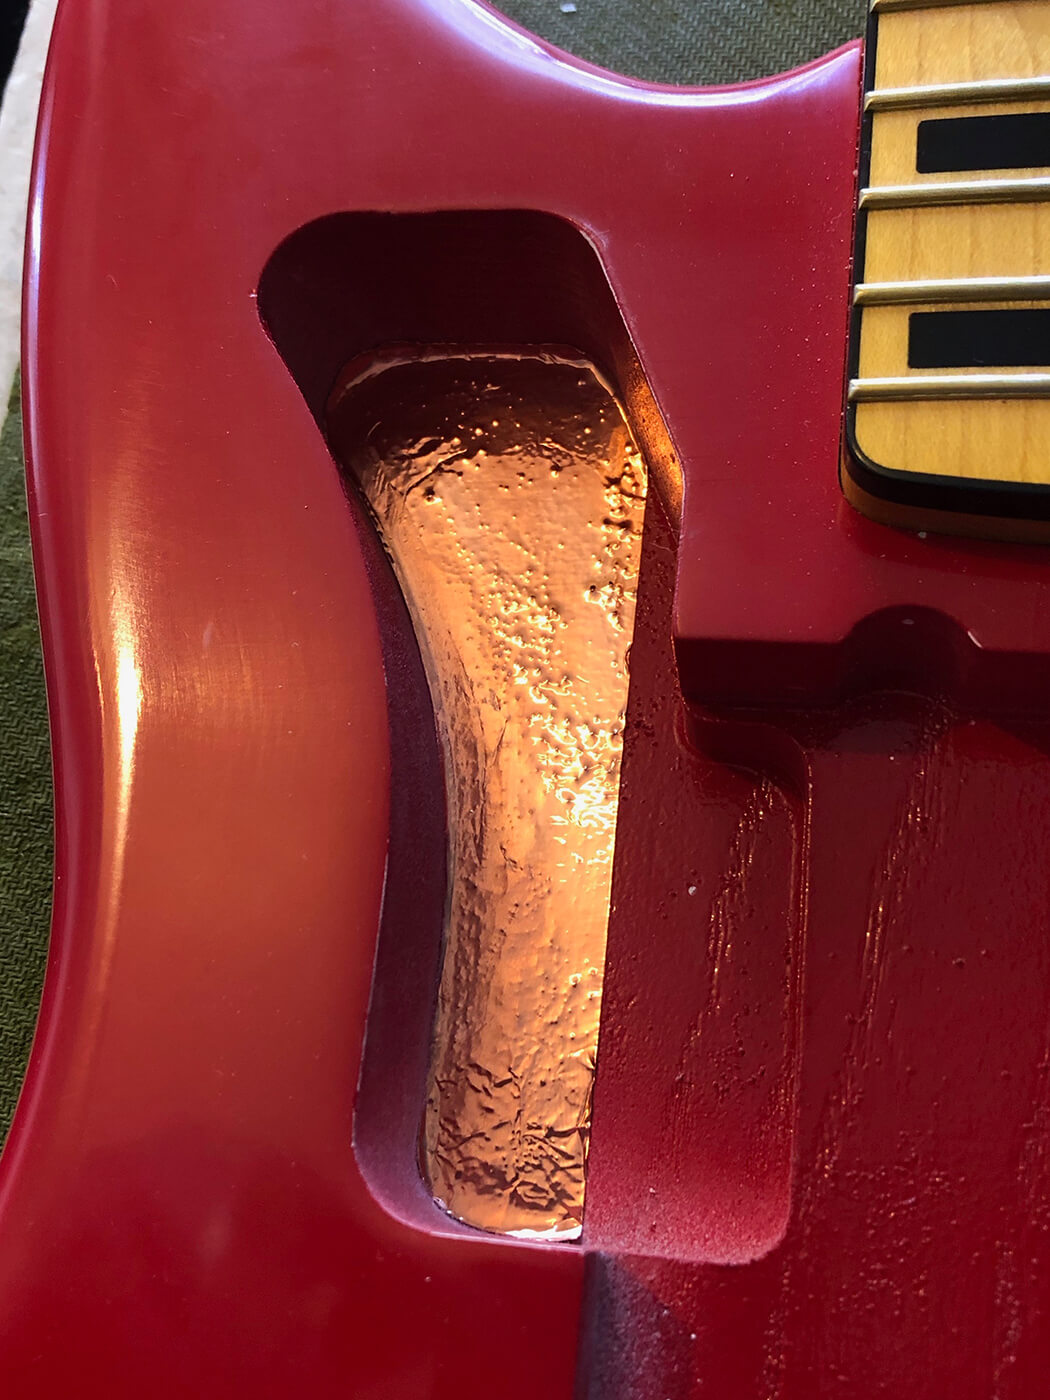
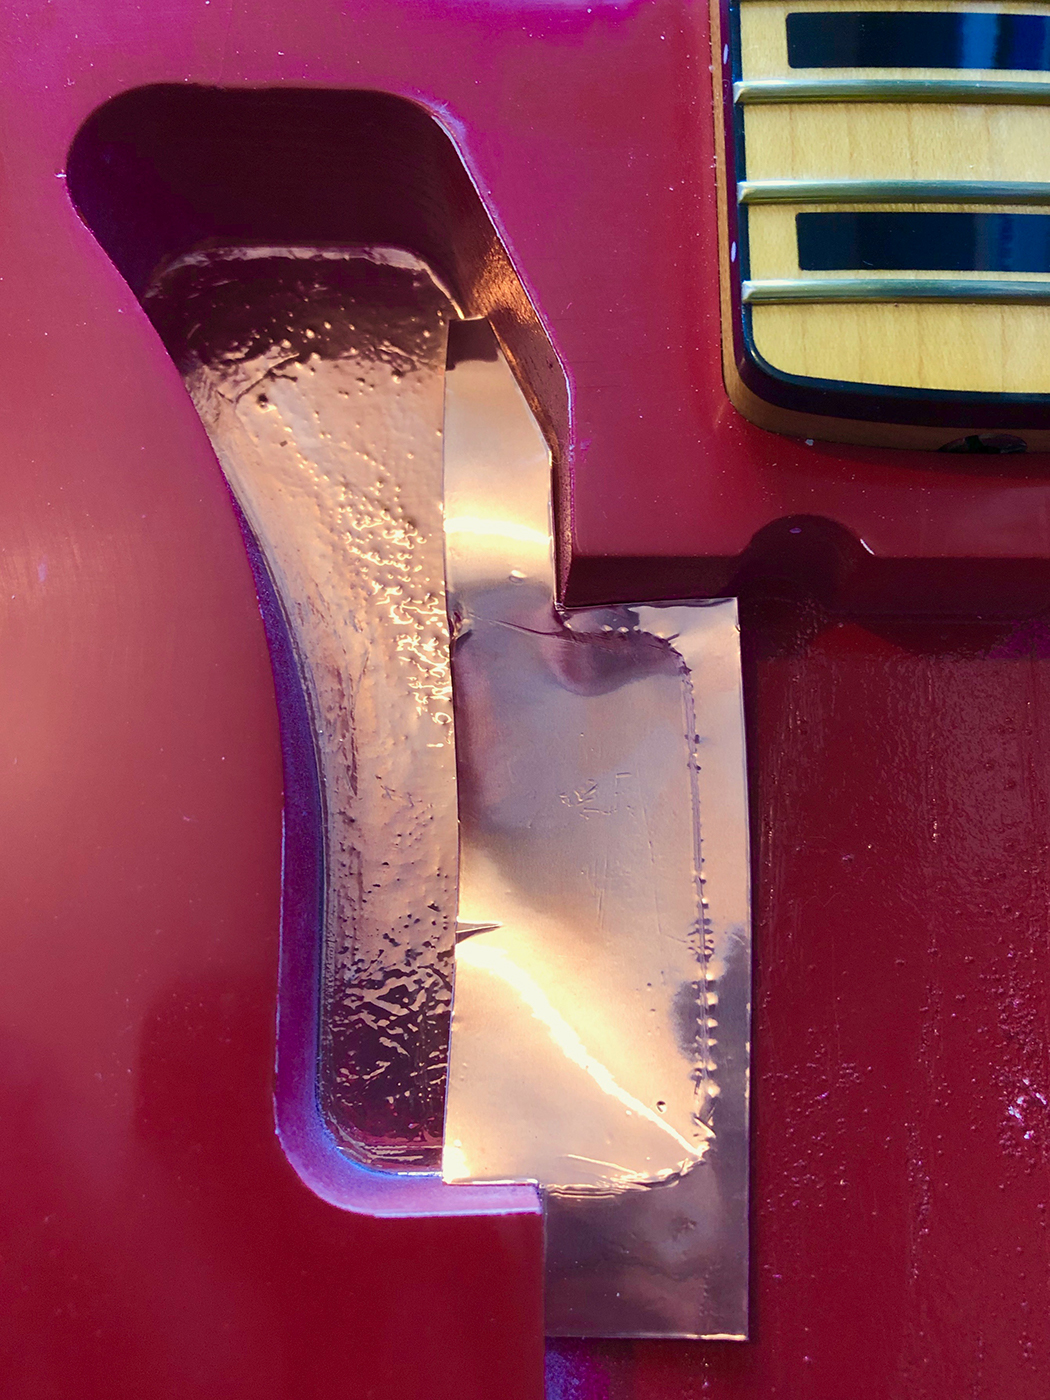
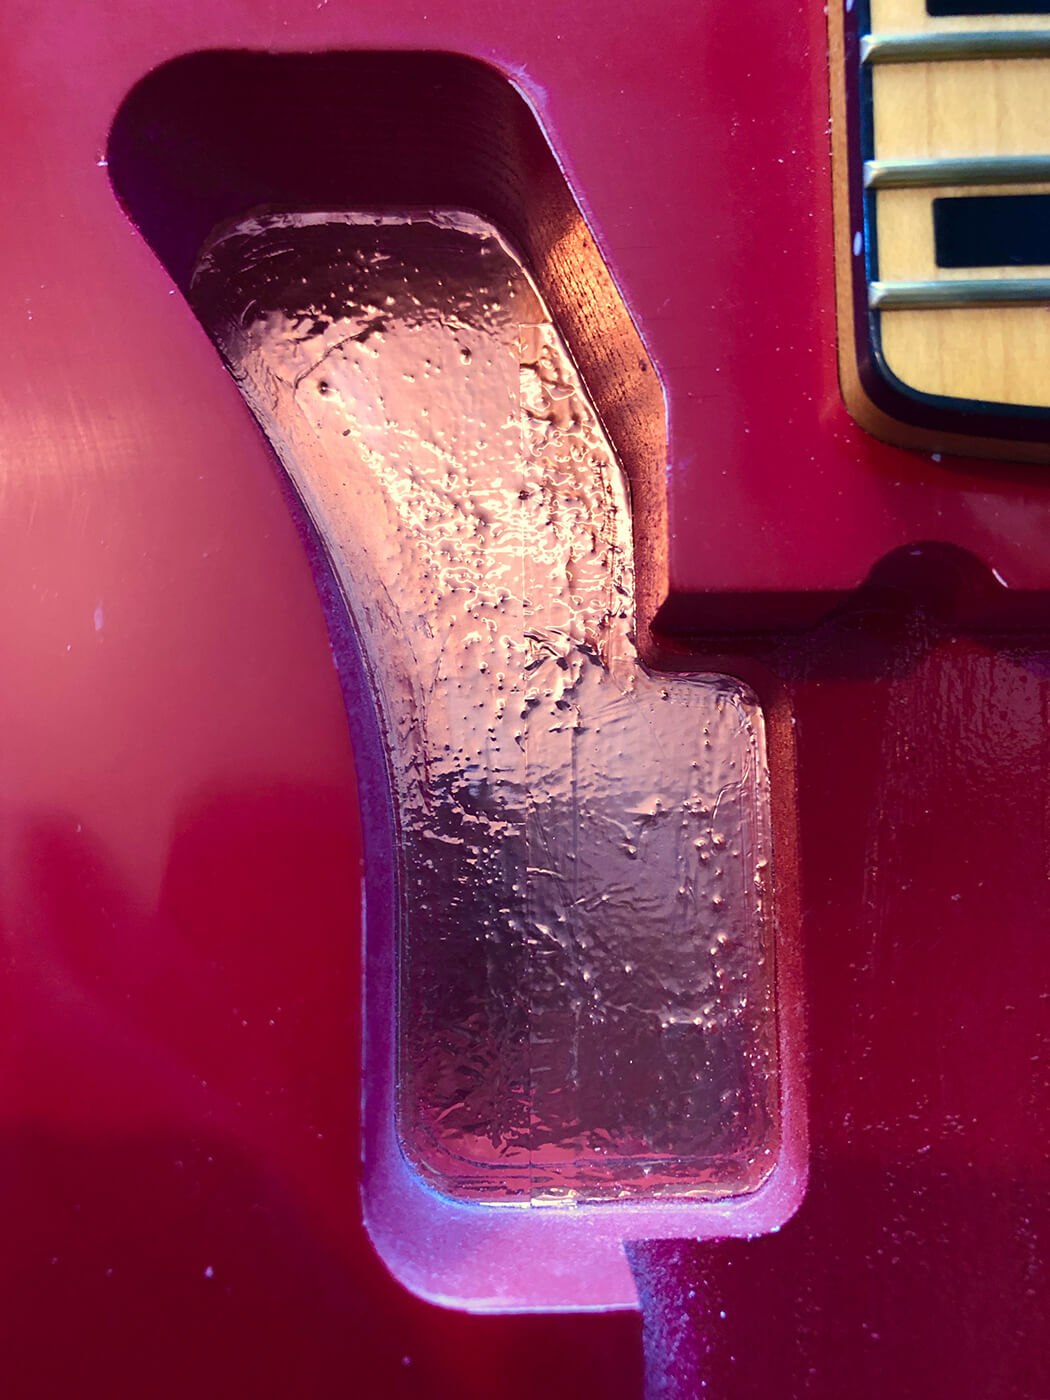
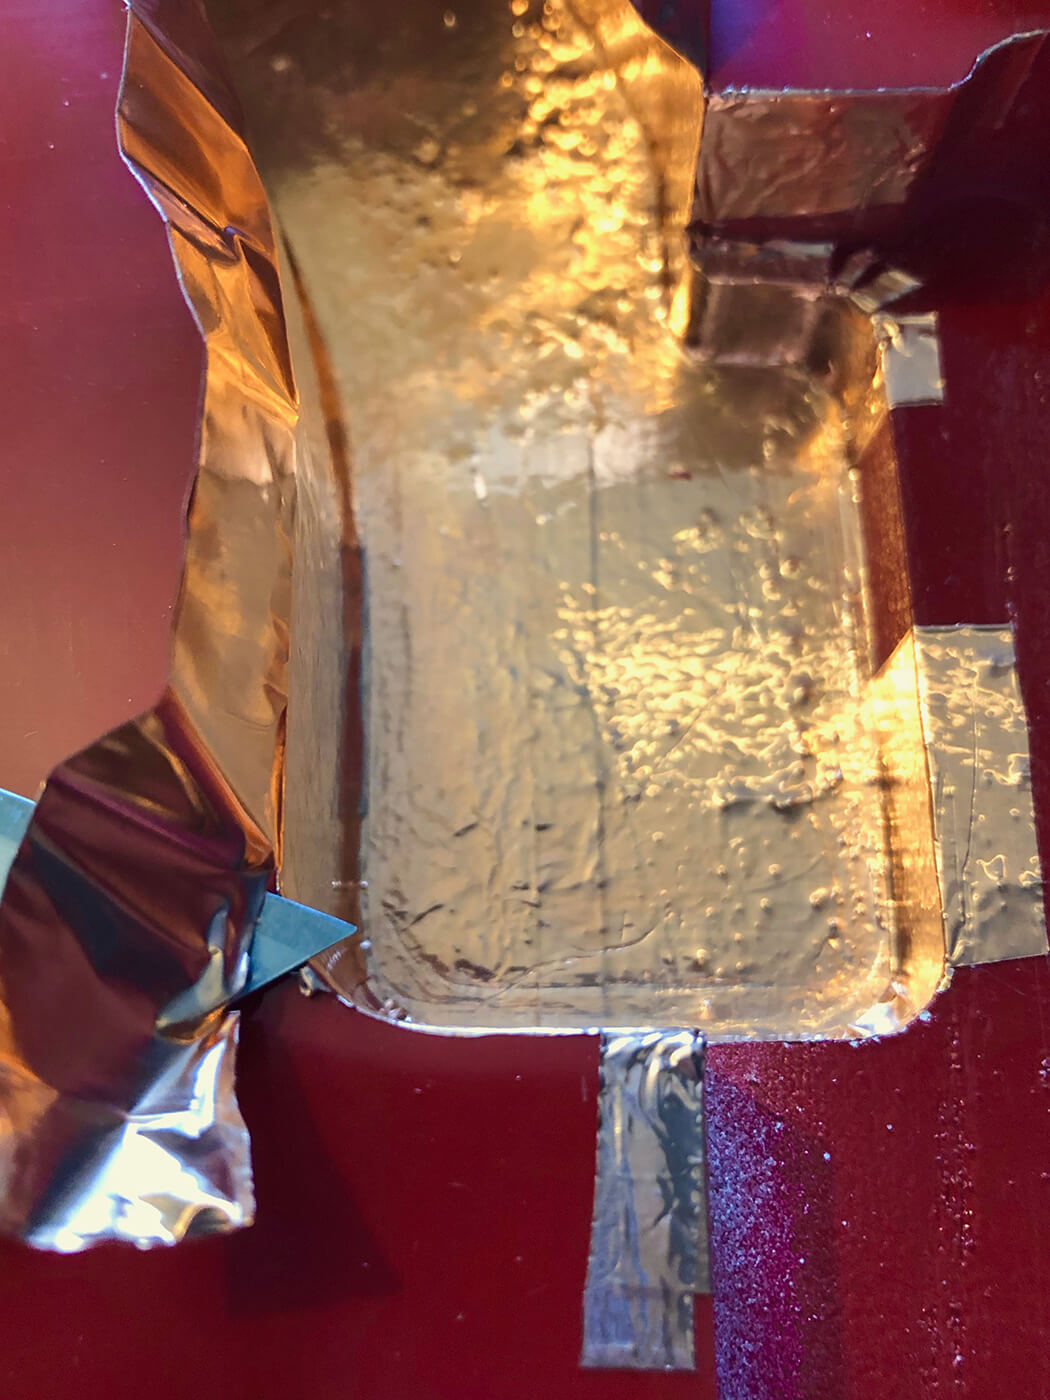
Now it’s time to carefully press the tape flat in the bottom of the cavity. I like to adhere the tape to one corner first, then work my way to the other side paying attention to any air pockets that may have formed along the way. Be mindful of any shelves or odd cutouts that may exist at the bottom of the rout that don’t quite match what you traced earlier, as is the case on this body.
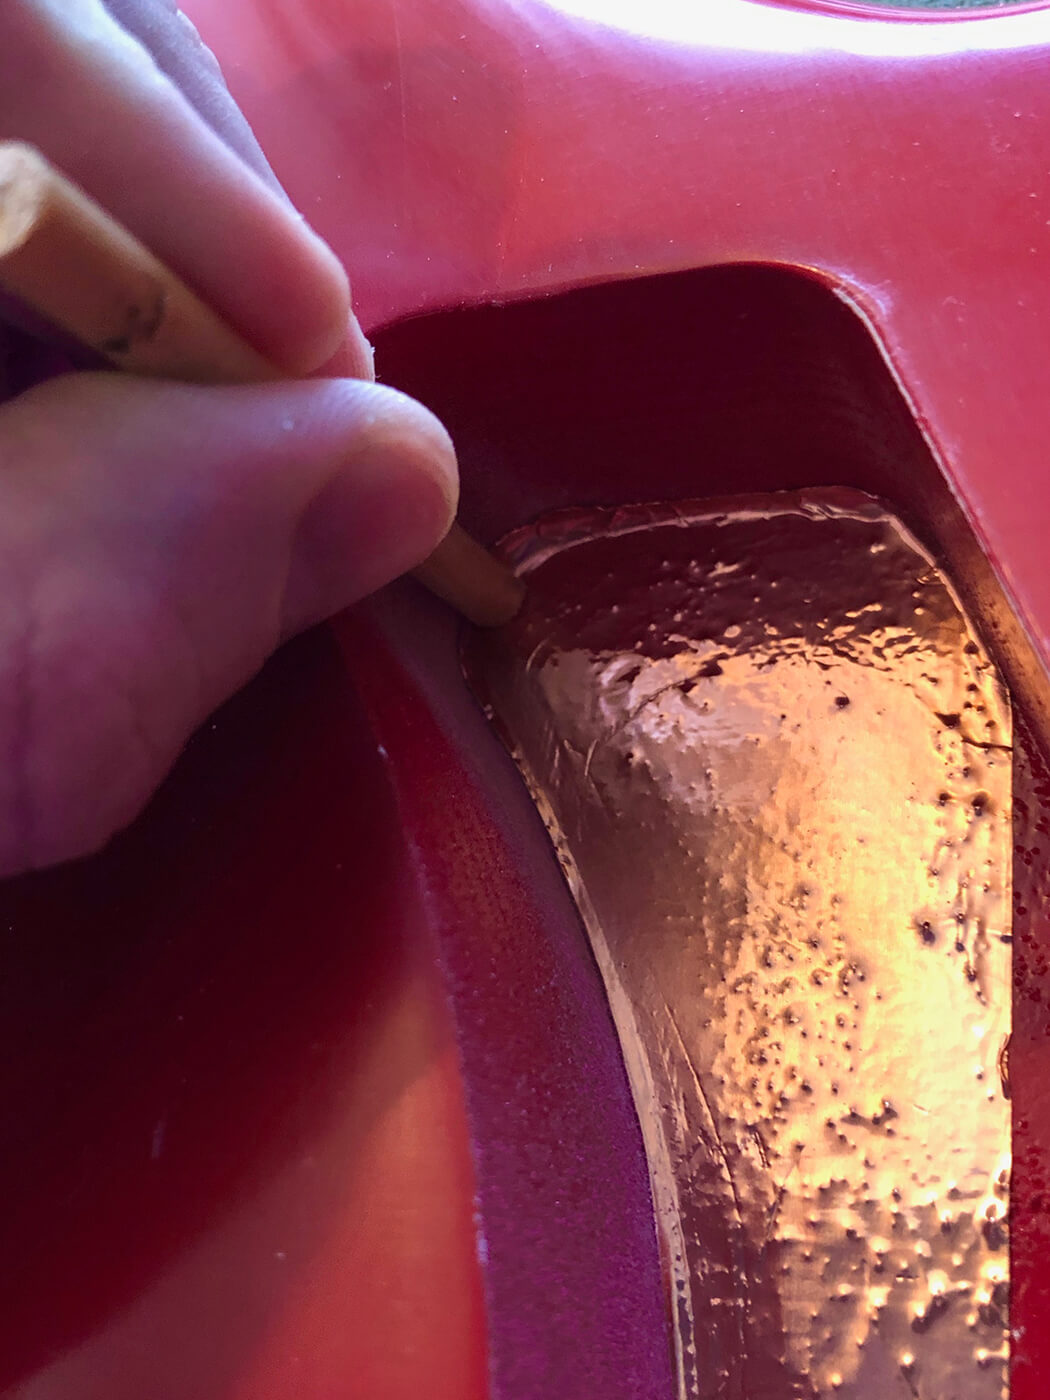
Once it’s all down and flat, I go over the edges of the cavity with my wooden dowel rod to make sure it’s pressed down neatly. It’s also a good idea to go over the entire area with the rod for a smooth, clean look.
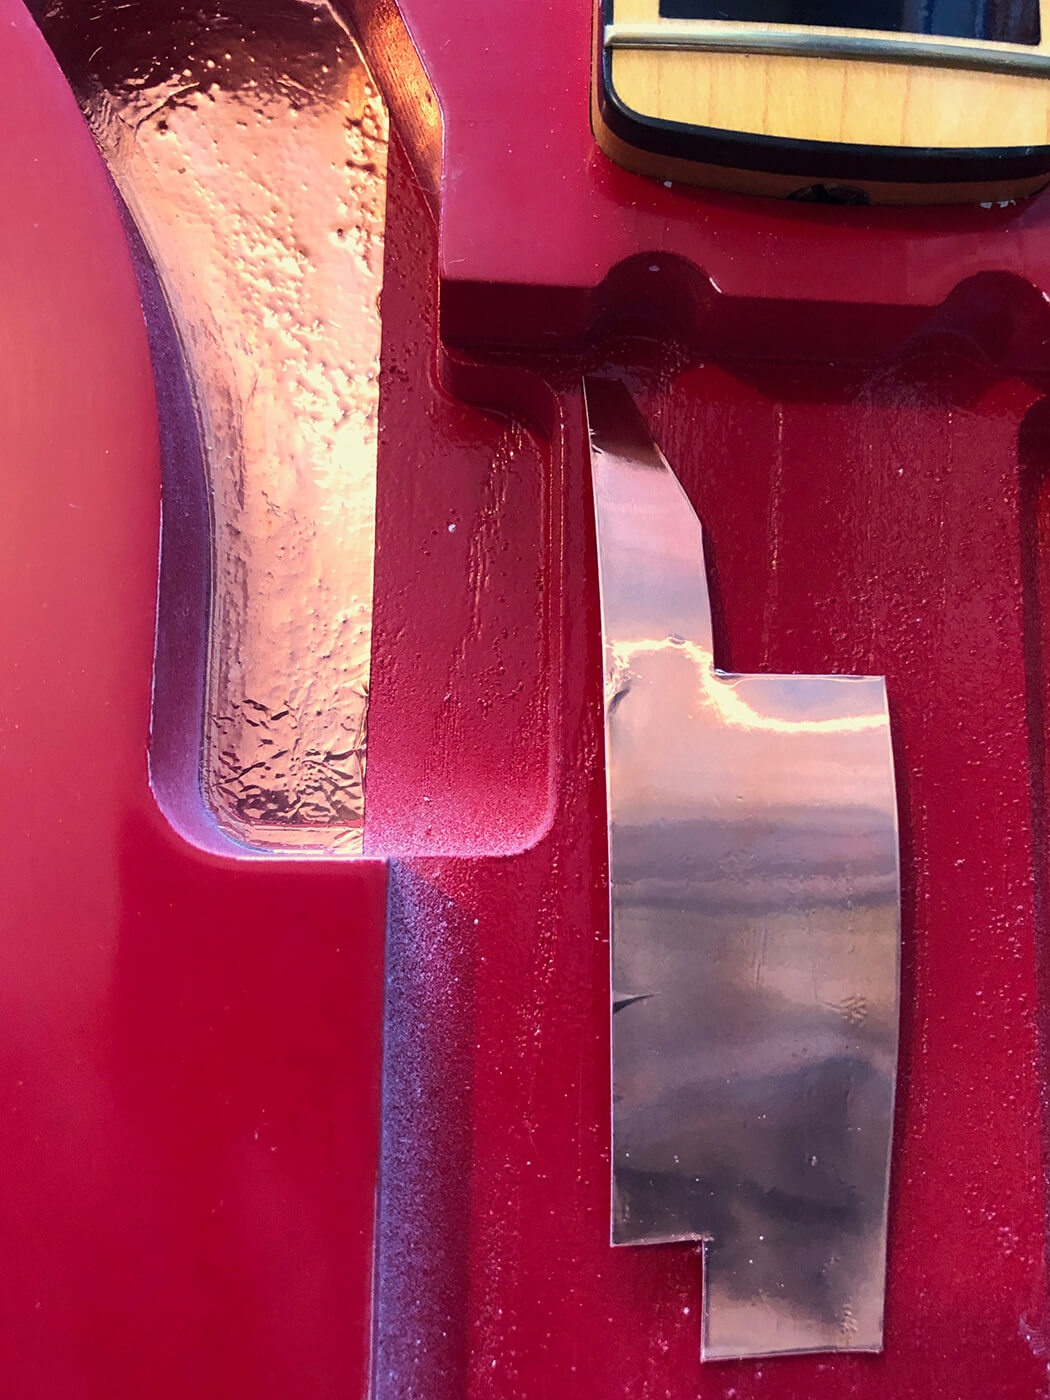
Now you’ll notice that my first piece didn’t quite cover the bottom of the rout, and that’s perfectly okay! I wasn’t convinced that a single piece would give me full coverage, so I opted to use two instead. I went through the entire process again for the next piece, making sure that the bits that overlapped with the first piece were well-secured and cleanly applied.
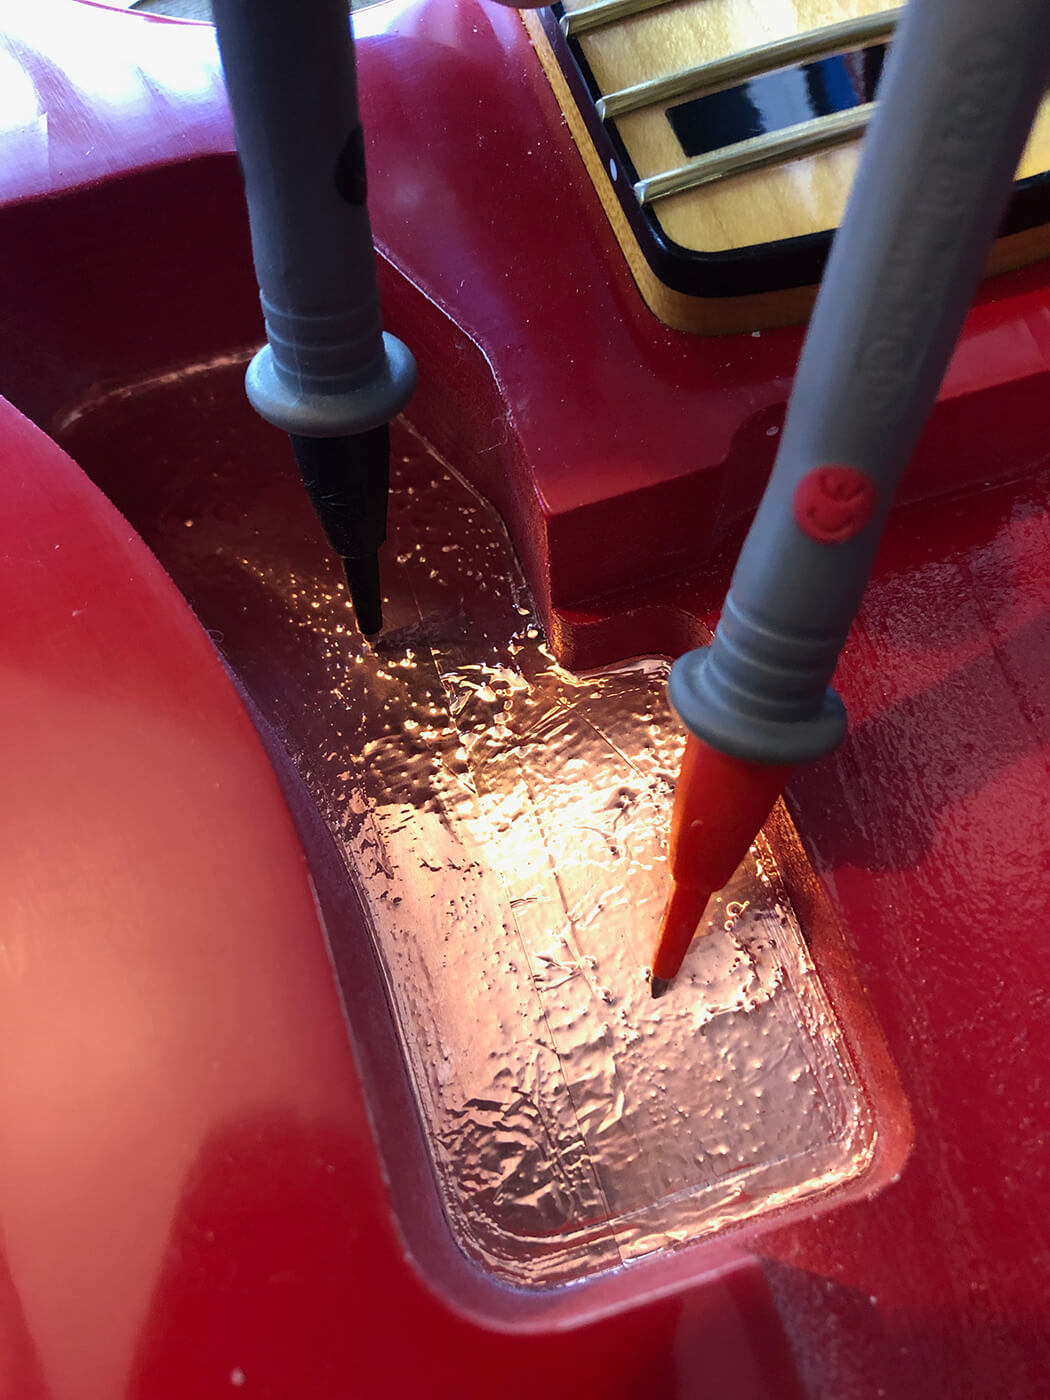
Once you have two pieces installed, it’s a good idea to take a moment to check continuity, lest you have to double back later and redo an entire previous section. For this, I turn on my multimeter and set it to continuity, which on this meter looks like a little arrow pointing to an uppercase T laying on its side.
To check continuity, take the two included probes, or ‘wands’, and place one on one piece of foil, and one on the other. Most meters will beep when they’re electrically conductive, letting you know you did the job right. If there’s no beep, you should re-check your work.

Wall crawling
Now, let’s move onto the walls of the rout. I’ll start by once again cutting out a length of tape that matches the sides of the rout. I usually try to use a single piece if I can, but realistically it’s best to use two or three to make things easier on yourself.
No matter the number of pieces, I test the fit against the rout itself, putting the tape vertically in place and gently pressing it against the wall with my finger to see how it conforms to the curves and angles present.
After test-fitting as before, I’ll peel the backing off the tape and insert the foil into the rout, and moving from one end to the other I’ll use my finger to press it into shape, making sure that the adhesive is sticking properly. Working my way around the cavity walls, I’ll slowly encourage the tape to conform to the rout. Don’t worry if the tape is too tall for the rout, we’ll be trimming that next.
Using my blade, I trace around the lip of the rout, lancing off the excess tape sticking up out of the cavity. It’s a good idea to note where the pickguard screws will be located on the body, because you’ll want to leave some foil to hang over the lip and onto the face of the body to make contact with foil placed on the back of the pickguard. I choose pickguard screw locations for this because I know there will be a tight fit.

Once again, I smooth it all out with a dowel, using the length of it to work out air bubbles that might have become trapped under the foil. Using my multimeter, I’ll check continuity between the tape on the walls and that on the bottom of the cavity. If everything’s good, I’ll move on to the next area.
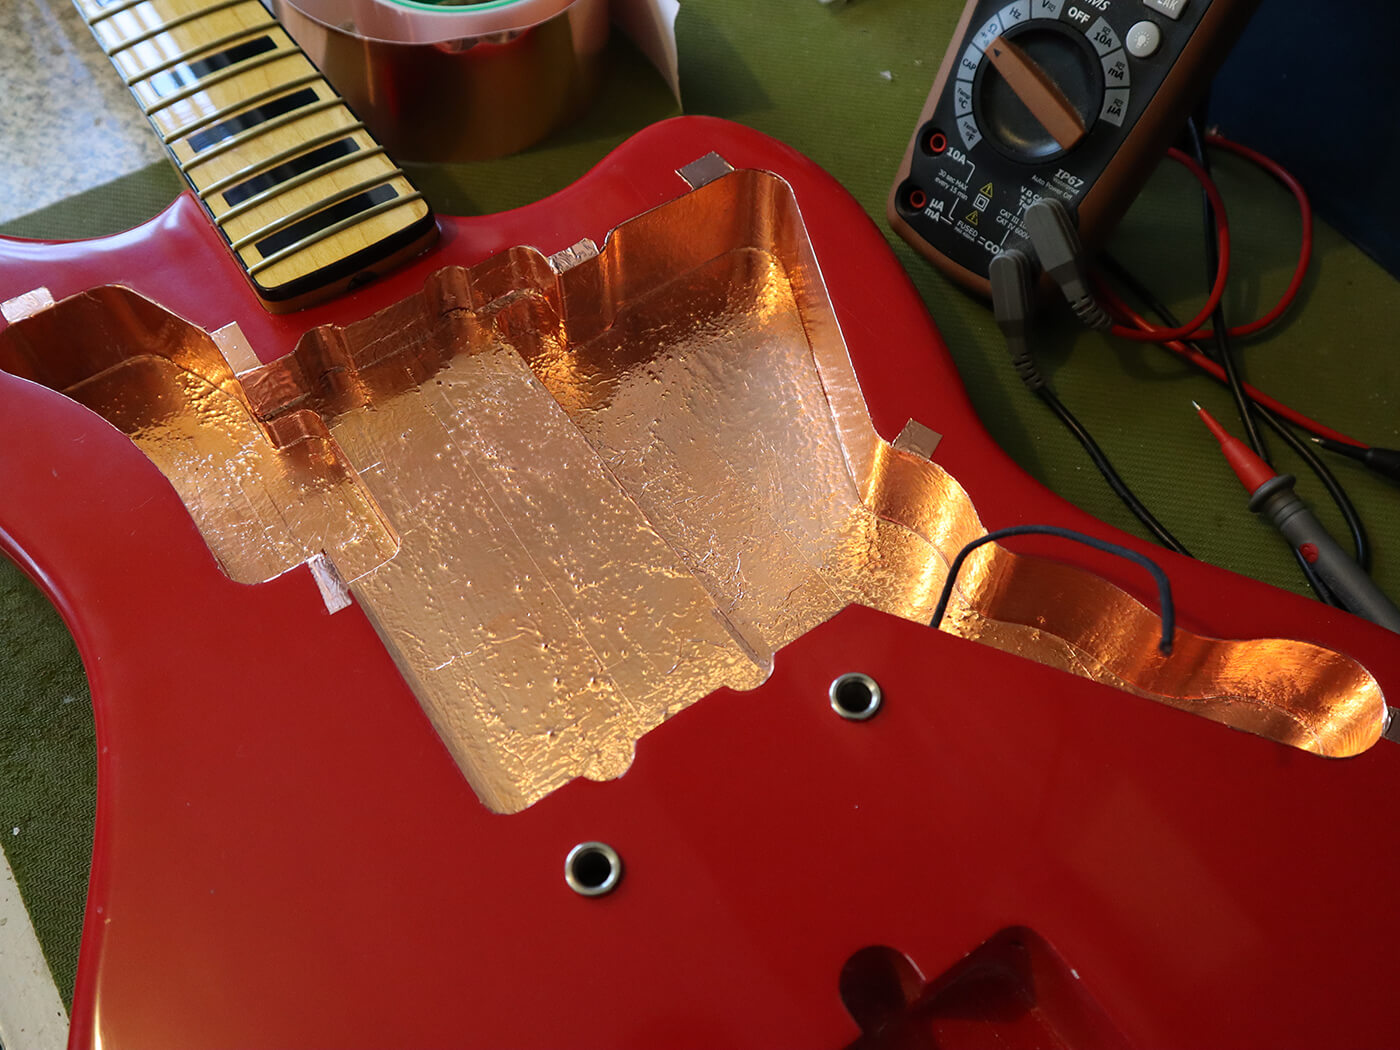
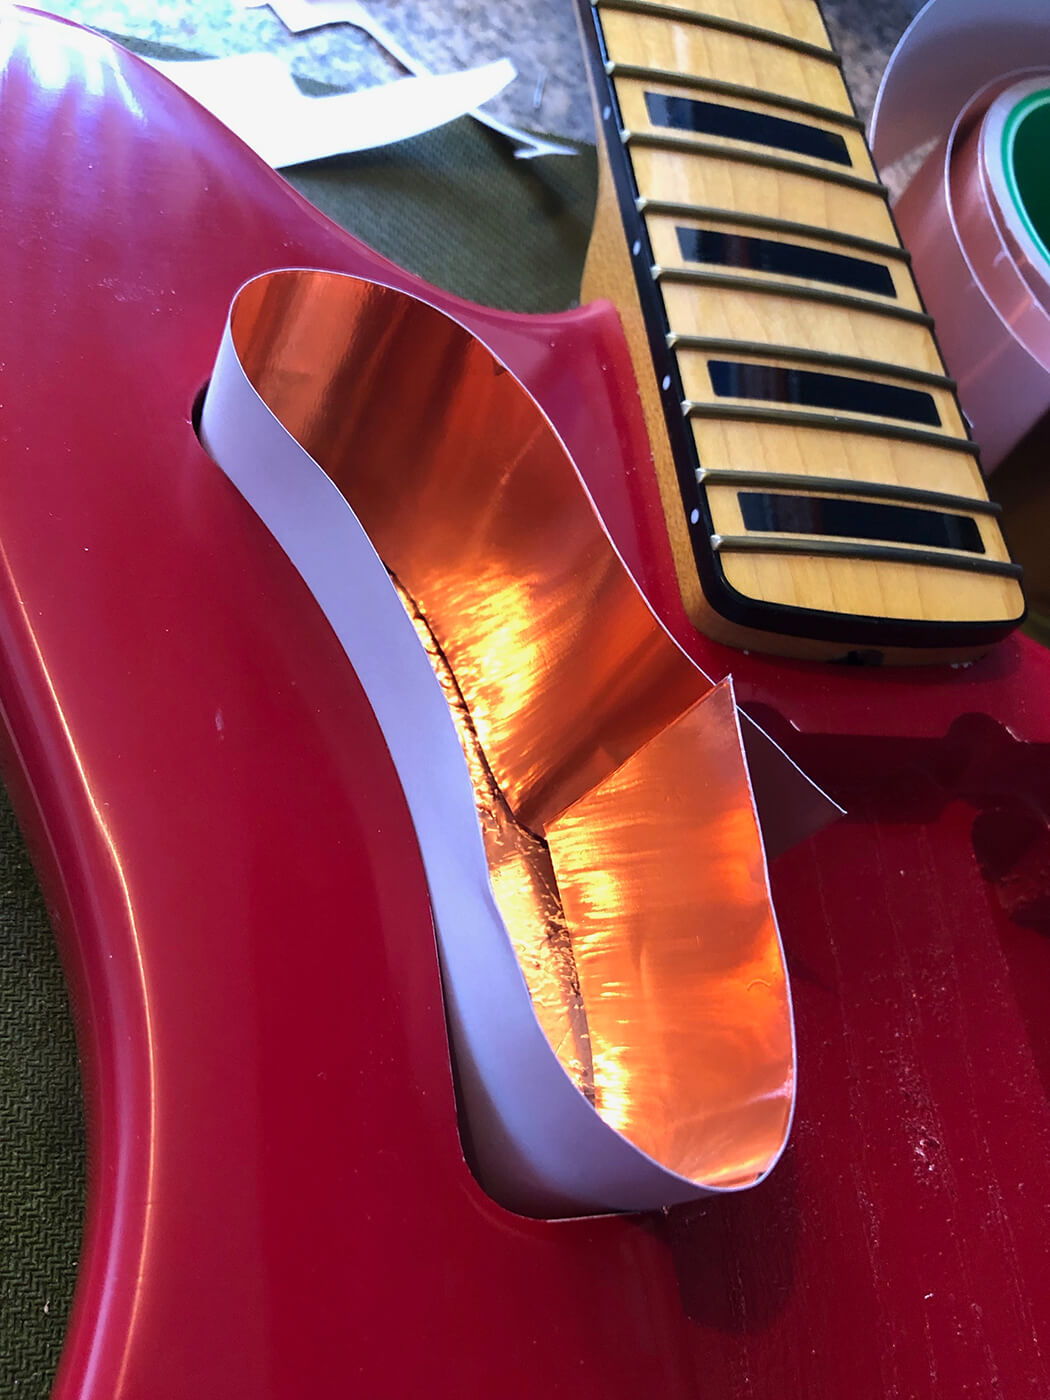
Certain routing templates are more complicated to line than others, but work slowly and carefully and I’m sure you’ll end up with a clean finish. I’ve seen far too many balled-up bits of foil shorting out pickups over the years, so if you’re taking the time to do this correctly, I applaud and thank you.
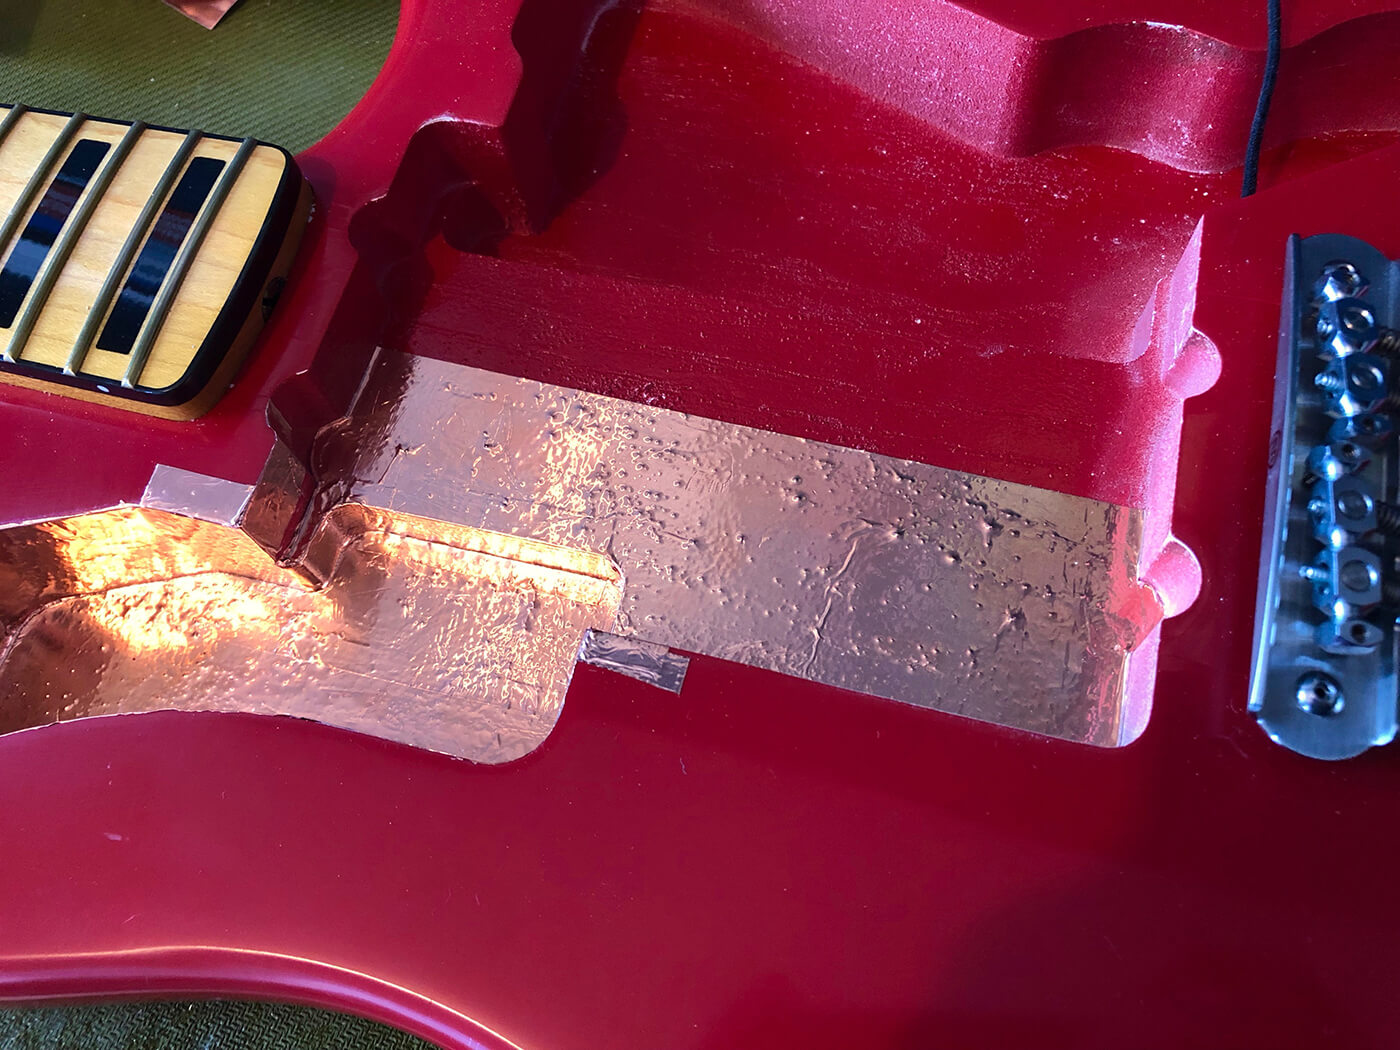
All in all, this came out great, although I did have to make some small patches for the portions of the routs that aren’t exactly standard for Jazzmasters. However, it all checks out for continuity, so I’m happy regardless.
I mentioned foil on the pickguard previously, but sadly, the guard is still in transit at the time of writing, so I can’t show you how to do that just yet. Until next time, then. Stay safe out there!
For more where this came from, follow Mike on Instagram @puisheen.