Related Tags
Tech Talk: Preparing guitars for a cross-country move
Padding, packing and protection – how to ensure your prized guitars stay safe in a big move.
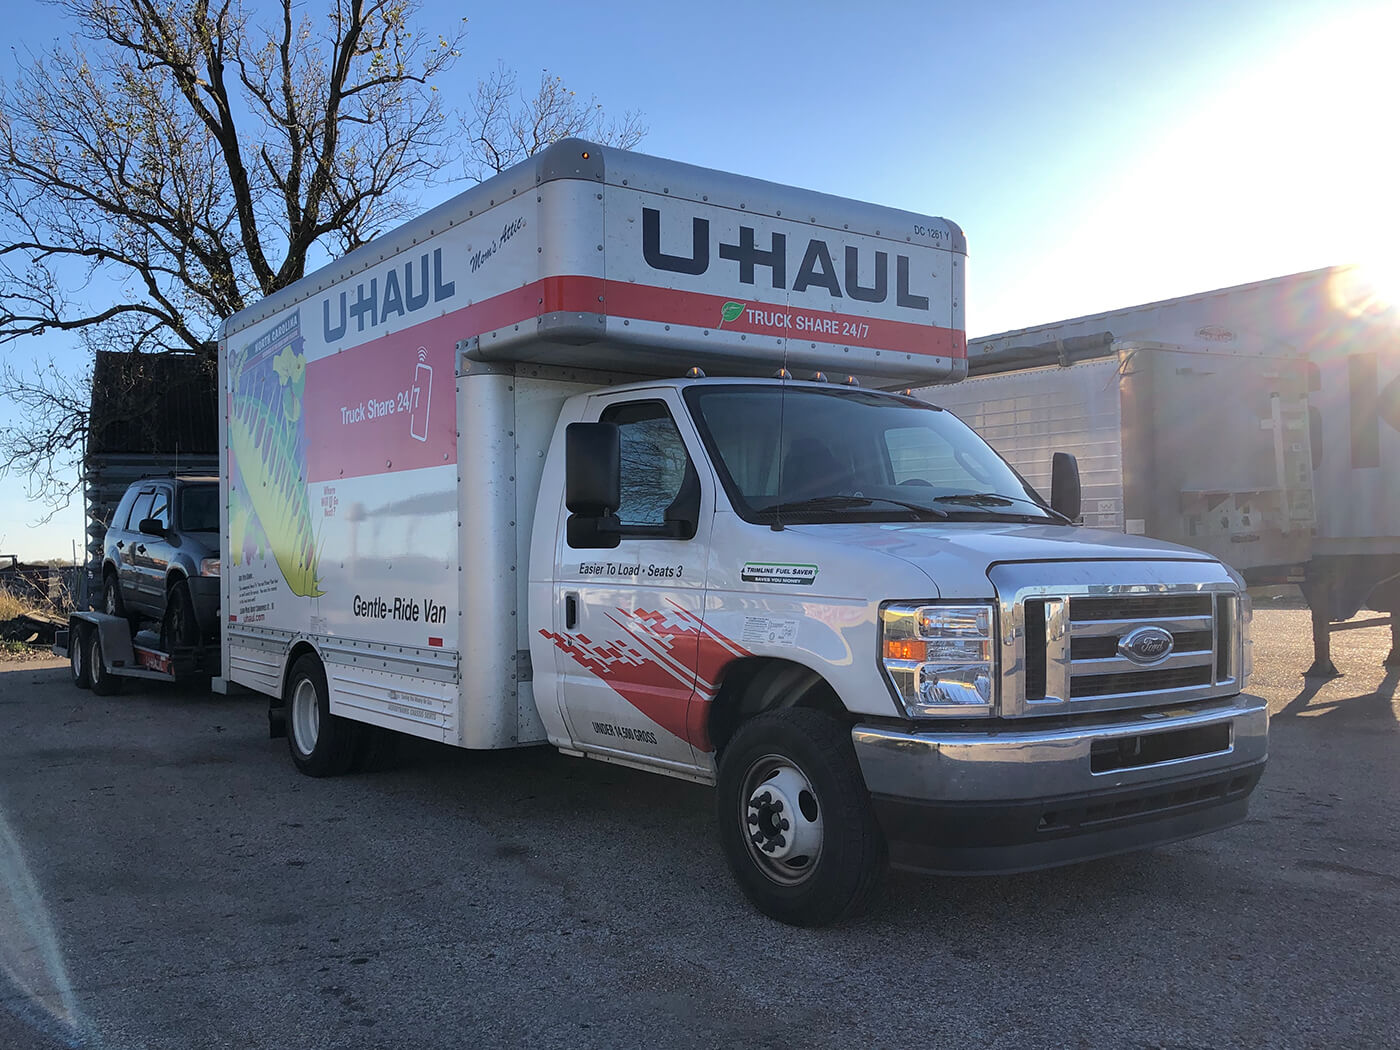
Our big, beautiful U-Haul moving truck. Note the parking job with the trailer attached. Very proud. All images: Michael James Adams
Like many other folks at the moment, my wife and have I decided to retreat from the Los Angeles area for the greener pastures – both figuratively and literally – of my Pennsylvania hometown. More than 40 hours of driving later, here I am, writing from the colder climes of York (the American one), enjoying safe times with my parents and with a positive outlook on the next chapter of our lives. Still, it’s a mind-boggling experience to consider just how we got here.
I bet you’re wondering what all this has to do with guitars. At last count, I own 19 of them, an overwhelming number in every sense. When I first moved to the west coast I had maybe seven, and at the time that seemed untenable, but 19! How was I ever to ferry them safely on the 2,600 miles to our destination?
This was the question at the front of my mind as I surveyed the pile of boxes, soft cases, and hard shells cluttering the floor of our Long Beach apartment the week before we left. The undertaking was daunting to say the least, but with many years’ experience shipping guitars I felt confident that no harm would come to my precious instruments. Hopefully documenting my experiences willhelp you if you ever attempt a similar move from one very different climate to another.
Preparations
My guitars are always well-kept and ready for action. They’re clean, set up to my liking, and in tune even in their cases in the event that I need to grab them and go. I suppose that’s the curse and blessing of being a guitar tech. Essentially, they’re starting in the best possible condition.
Also, Southern California is relatively stable as far as weather goes. While the colder months had just swooped during the middle of October, generally my guitars rarely need more than a slight tweak as the seasons change. If you happen to live in an area with wild swings in temperature and humidity, it’s a good idea to get them in top playing shape before your impending move, lest there be consequences.
For example, moving a neck with a drastic forward bow from one side of the country to the other could exacerbate the issue, or even encourage a twist. Plus, if something does happen in transit, you’ll be able to more easily identify a problem when you begin from a place of proper adjustment.
Packing up
The first thing I did when it came time to load up was visually inspect each instrument one last time to pinpoint any problems that I may not have noticed before. It’s kind of like renting a car, where the representative takes a walk around and notes and dings, dents, scrapes, or scratches. I kept a mental checklist all the while, and even plugged in for a moment of relaxation, but thankfully all was as expected.
Second, I detuned each instrument a full step to relieve a bit of the forward pull on the headstocks. This is something we always did at the guitar shop to ensure they’d arrive safely at their destination, minimising the chance of headstock breaks.
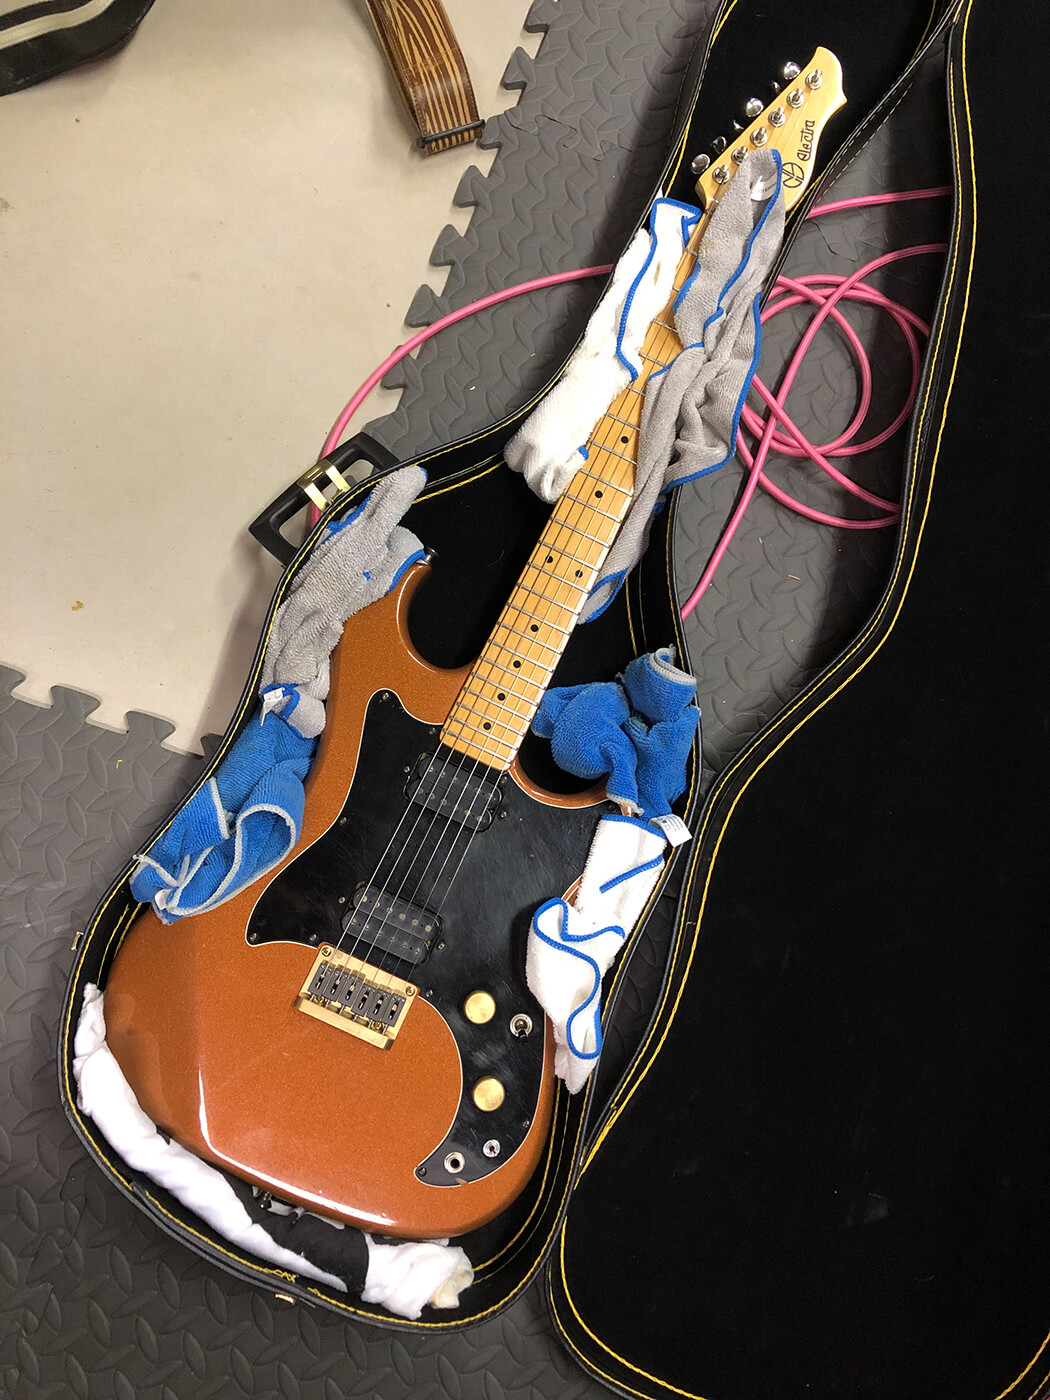
Third, I made sure each guitar was secured in place in its case, and where the fit was less than ideal, I’d fill in the gaps with clean cloths or bubble wrap. I hesitate to use packing paper as its rough texture can sometimes harm a finish – not that you’d notice on some of my more well-used instruments!

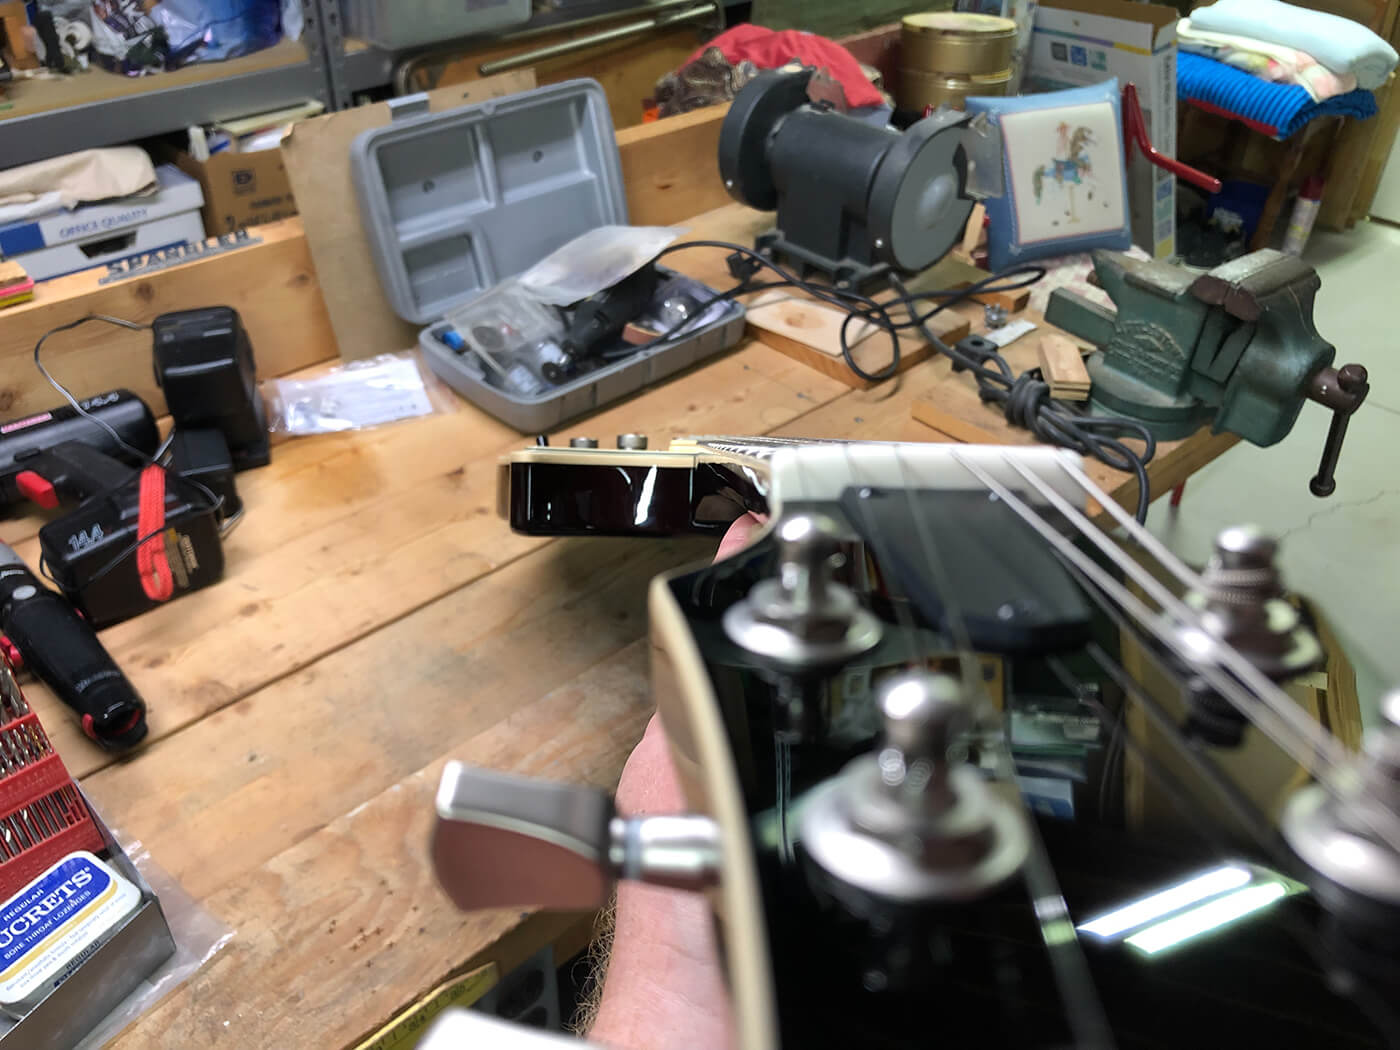
Loading the truck
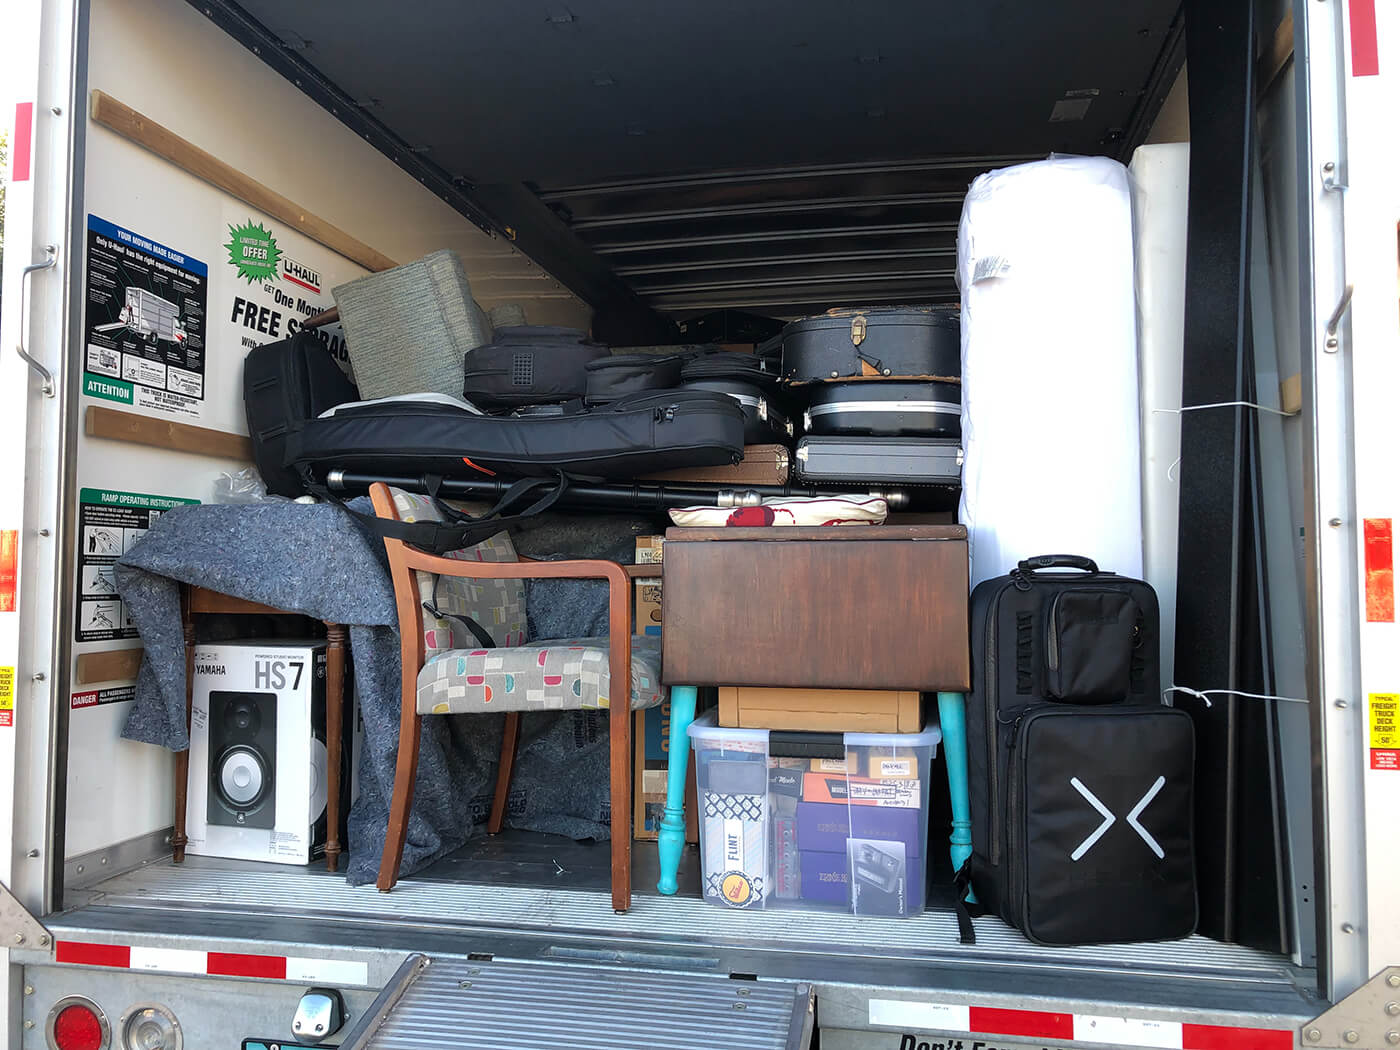
I have to admit that my plans for packing the truck flew right out the window the moment I saw the sheer amount of boxes, furniture, and appliances we were taking with us. How is it that we can accumulate so much over five short years and yet be totally unaware of it all? Did I freak out a little? Yes. Yes I did.
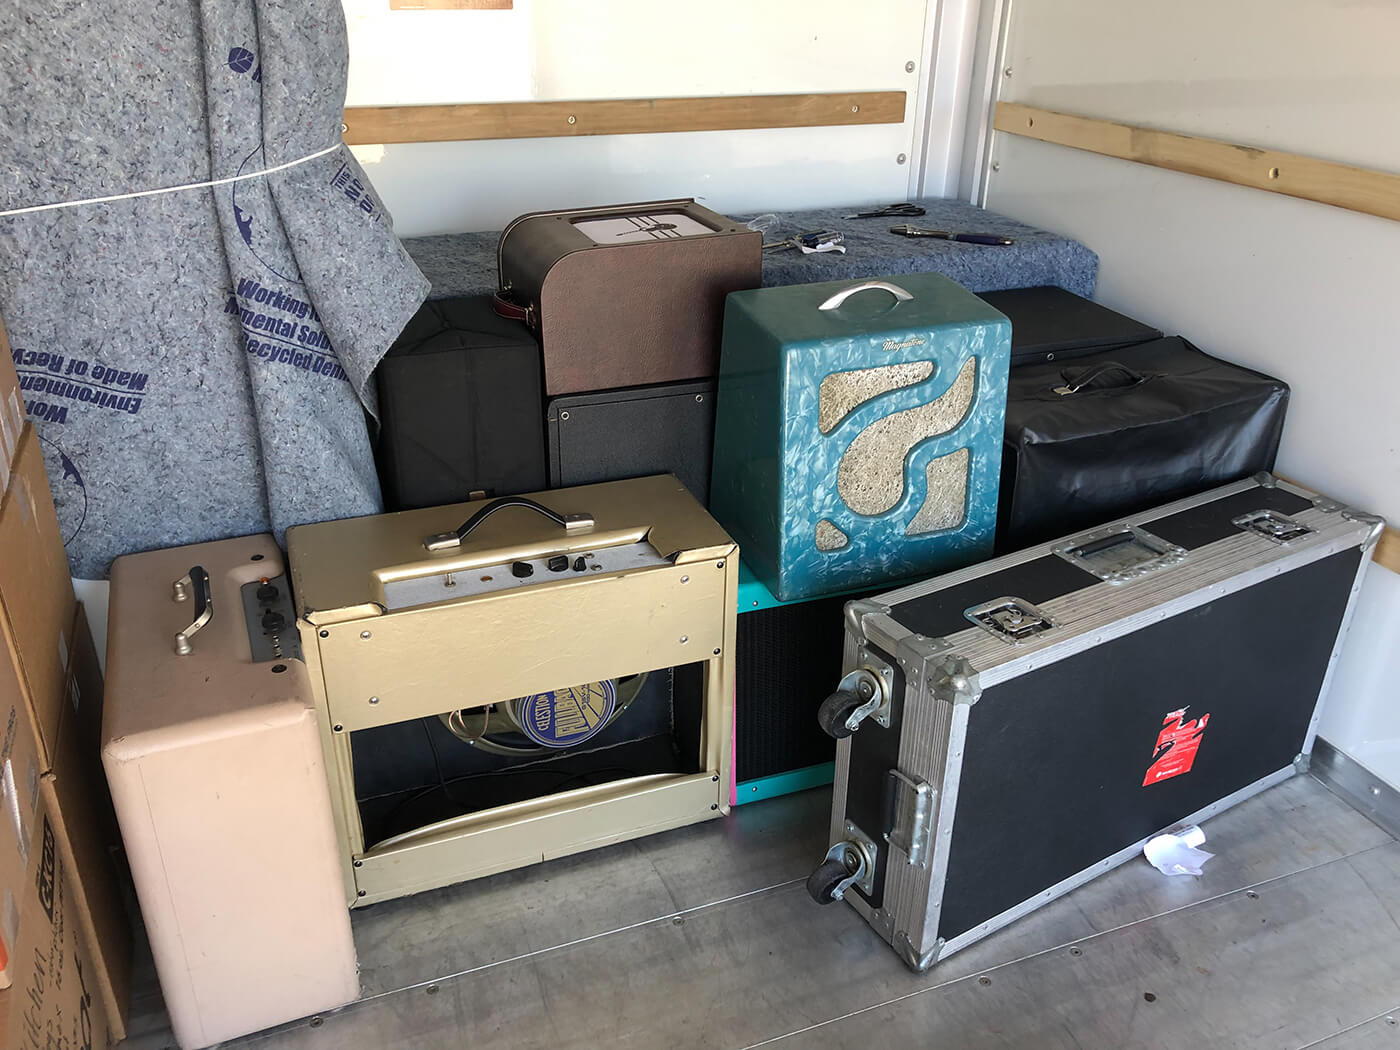
Instead of having their own secure area, the guitars went in the truck last, on top of our sewing table, pots and pans, game consoles, and clothing. And really, in the end I think that was the best place for them; after all, a sudden shift one way or the other, and my guitars could have been firewood.
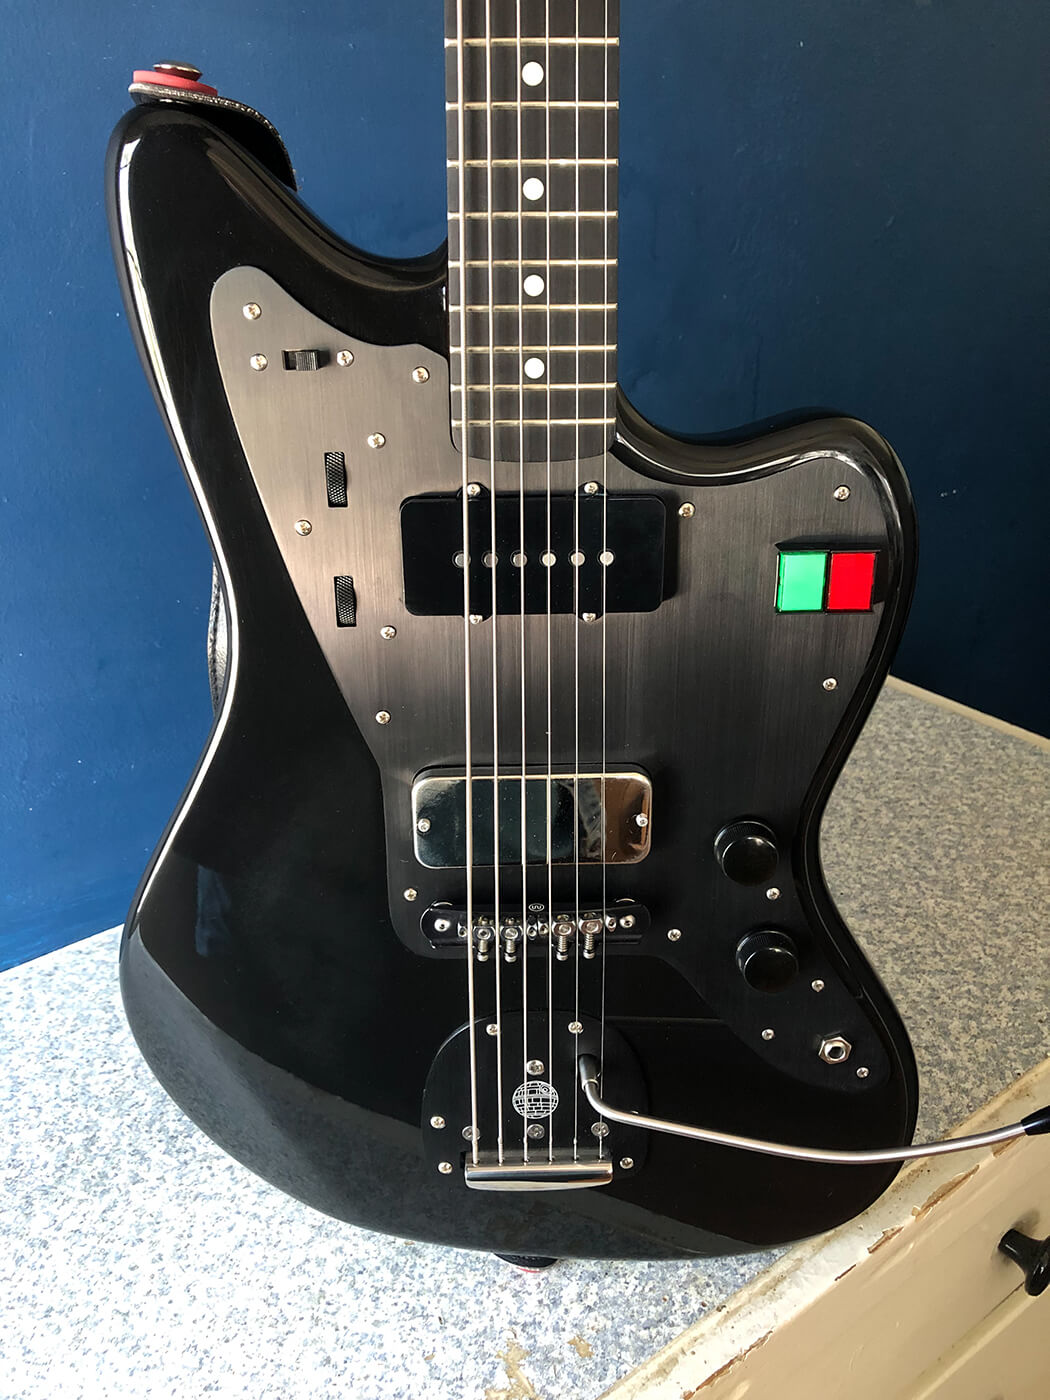
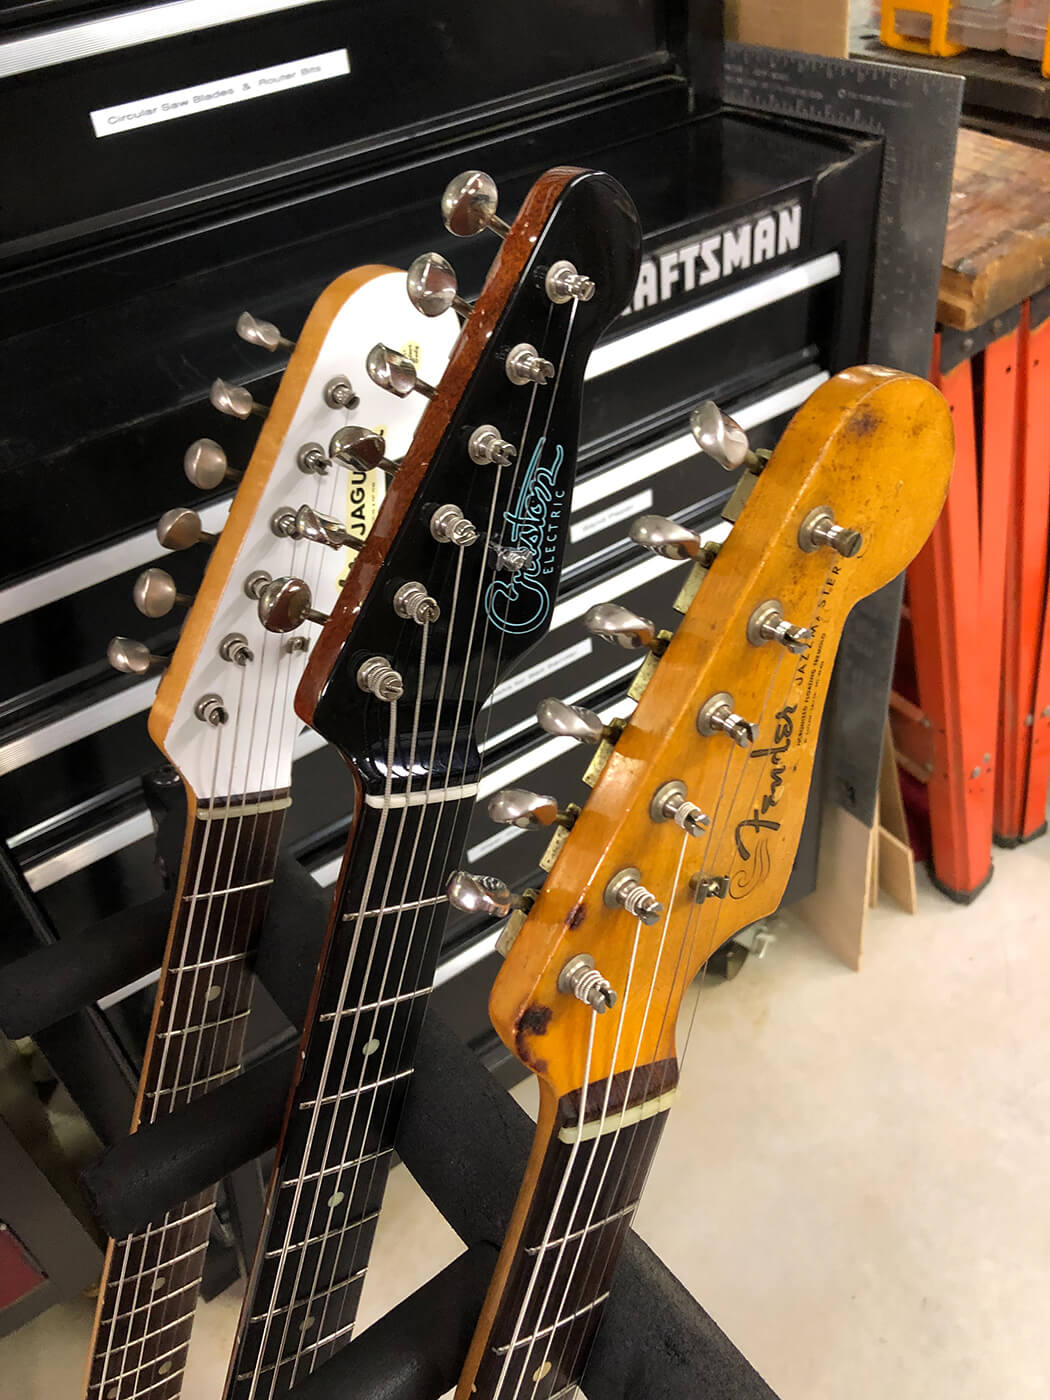
When it was time for the guitars, the solidbodies in hard cases (Fenders in G&Gs) went in first, lining the bottom of their area for both support and protection. Next were more fragile guitars in hard cases, including my Les Paul Studio and ’64 J-50, which I often think might close like a book if I look at it the wrong way. This was an instrument gently packed with polish cloths to keep the neck firmly in place.
After that layer came the electrics in gigbags: a few Mono and some less sturdy types as well. They were arranged in a single layer in head-to-toe fashion, like the interlocking teeth of a zipper. In this way, they were unable to shift around on the smooth shell of the hard cases below, and padded on each side by another soft case.
Lastly, the most fragile instruments of all sat on top of that flat layer, namely my wife’s ukulele and my Nashville-tuned Little Martin.
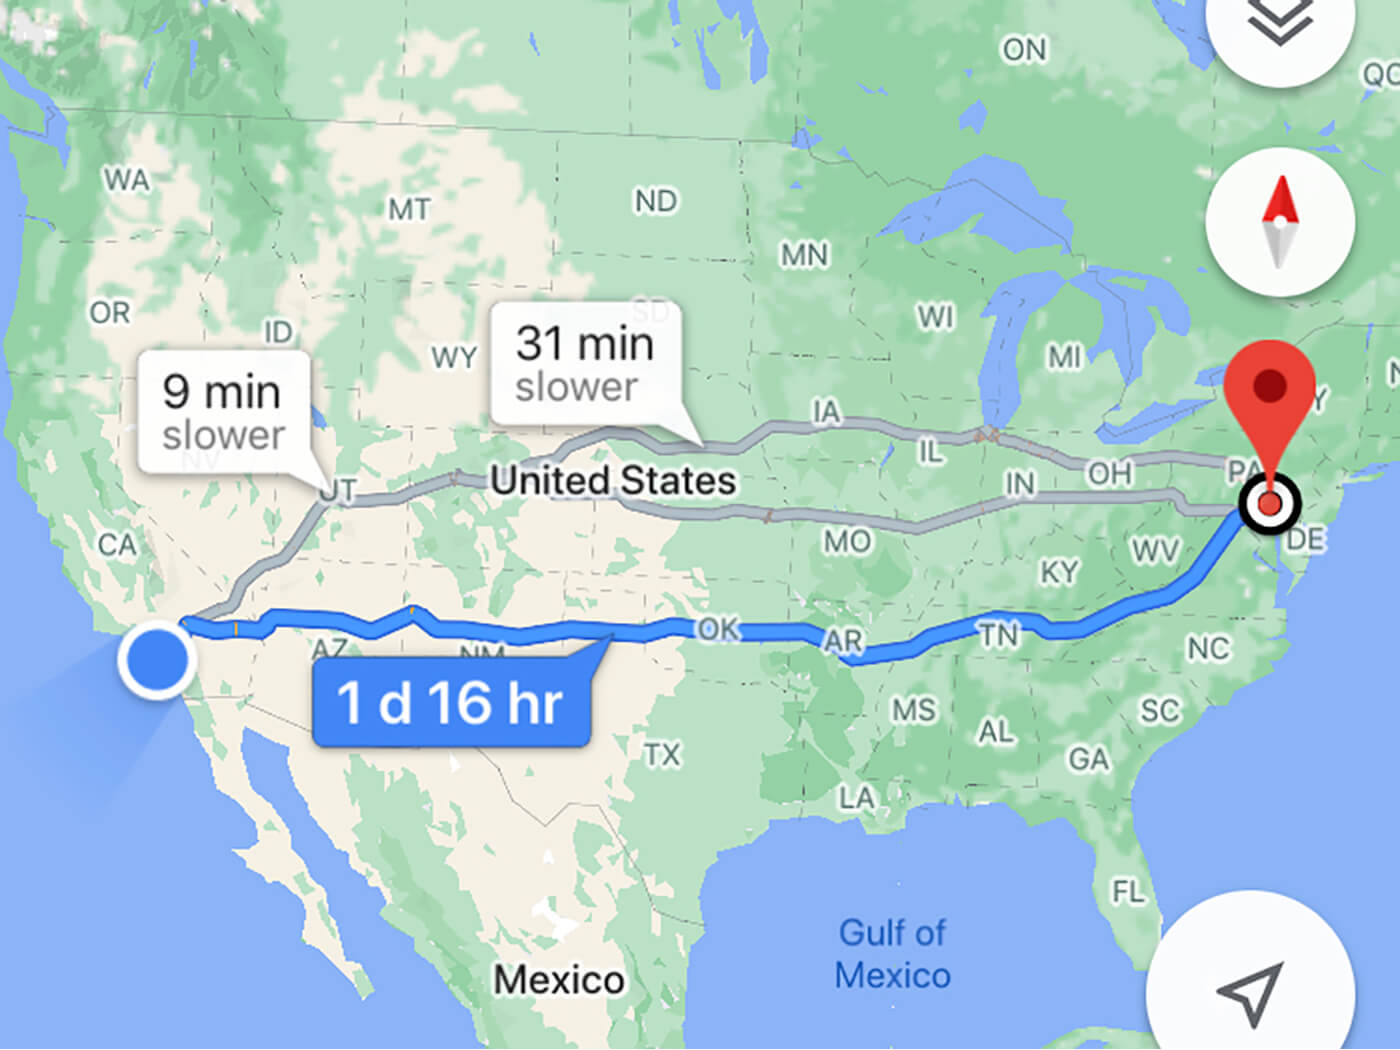
After a few more hours of cleaning and packing, down came the door and on went the lock, and we commenced our drive. We drove for 40 hours over the course of three days, catching a few hours’ rest at truck stops and highway on-ramps, and guzzling gallons of cold brew as quickly as the truck did gasoline as we waited for the next state line to pass under our feet.
Arrival
When we arrived at my parents’ home in Pennsylvania, we were greeted with the sharp sting of clean, frigid air and the quietude of our rural sanctuary. After taking a few hours away from the rumble of our truck, my first order of business was to remove the guitars from the ice box of a cargo space. Indeed, it was cold enough that bringing them straight into the house, which my mother prefers to keep toasty and dry during the winter months, wasn’t feasible.
Shocking guitars with heat from the cold or vice verse can have adverse effects on finishes, causing the cracks or ‘checks’ that we often see on vintage guitars. As most of my instruments are finished in nitrocellulose lacquer, I opted to play it safe and bring them only into the garage that evening, which tends to be a little warmer than outside but slightly cooler than inside.
After spending the night in the garage, I brought the guitars into a back room and let them acclimate, and by the next day they were all at room temperature and ready for any adjustments that might be needed.
Acclimating
Then came the process of setting up the guitars for their new East Coast lifestyle. Most are already exhibiting some excess relief, so I’ll need to go through and dial that out for optimal playability.
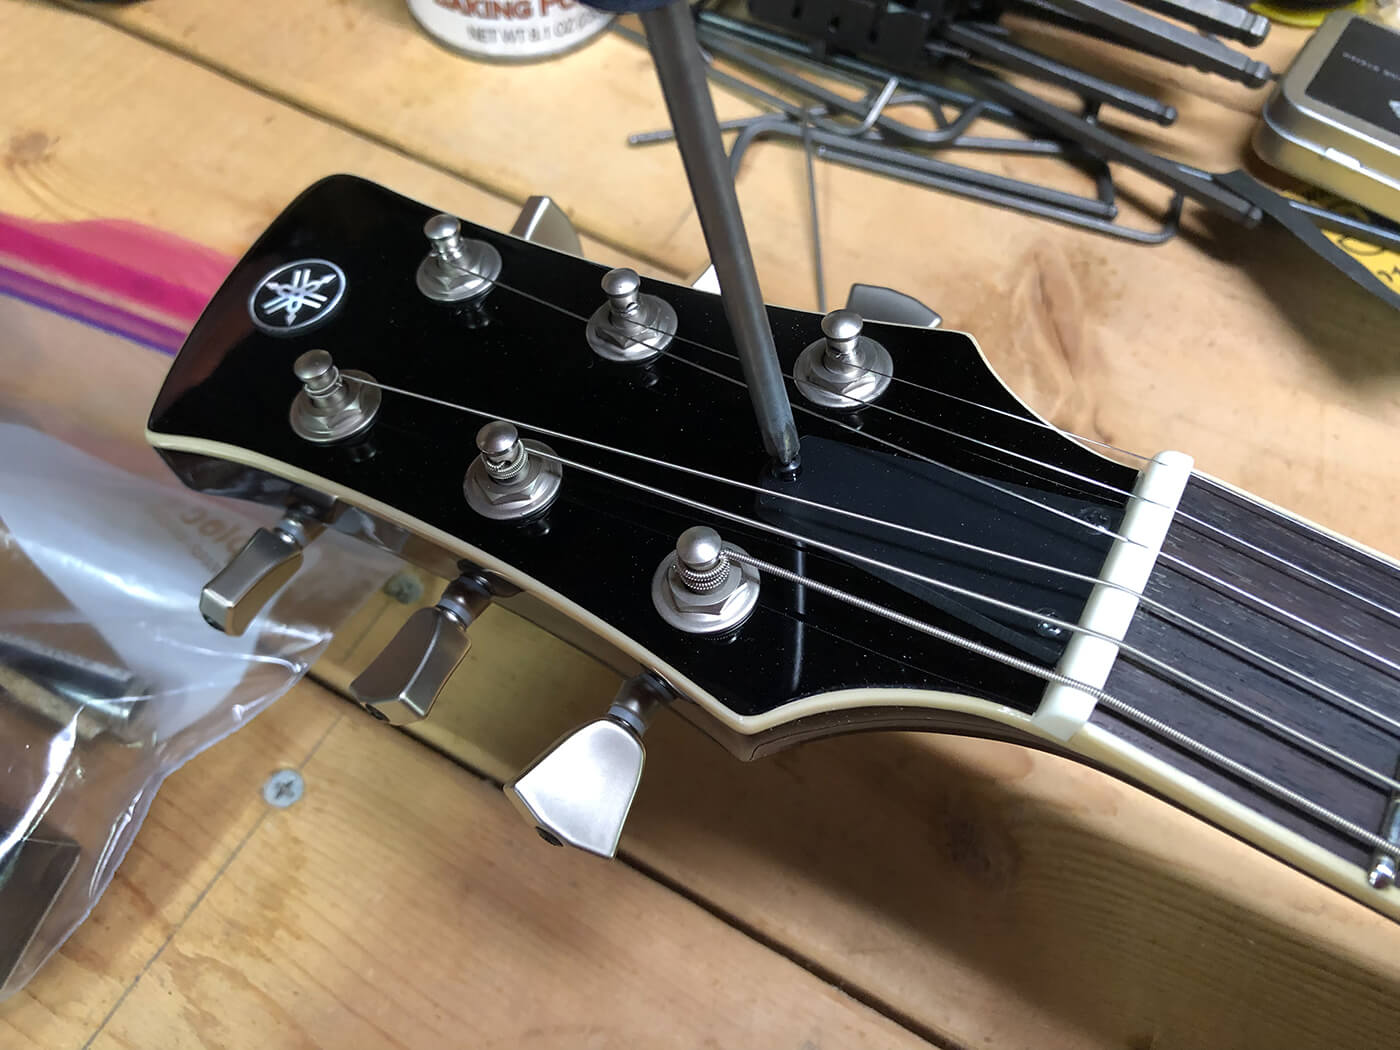
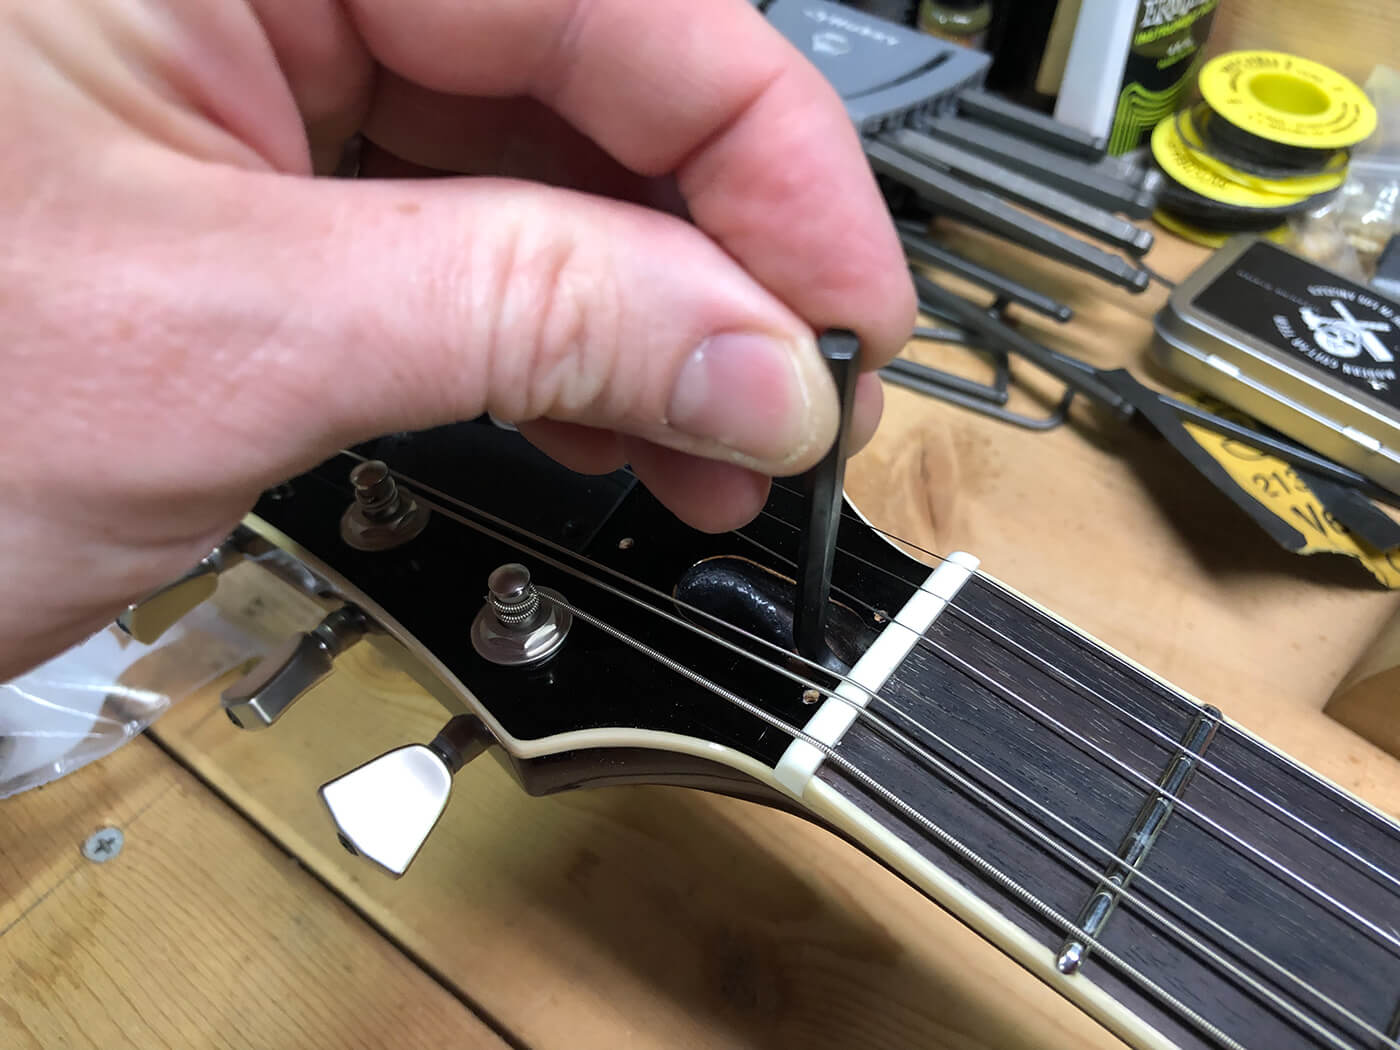
I’m going to briefly touch on adjustment here using my Yamaha Revstar as my subject, given the easy access to the truss-rod and the fact that the guitar is still very new to me. I haven’t yet decided exactly how I want it to play, so this is a bit of fun for me.

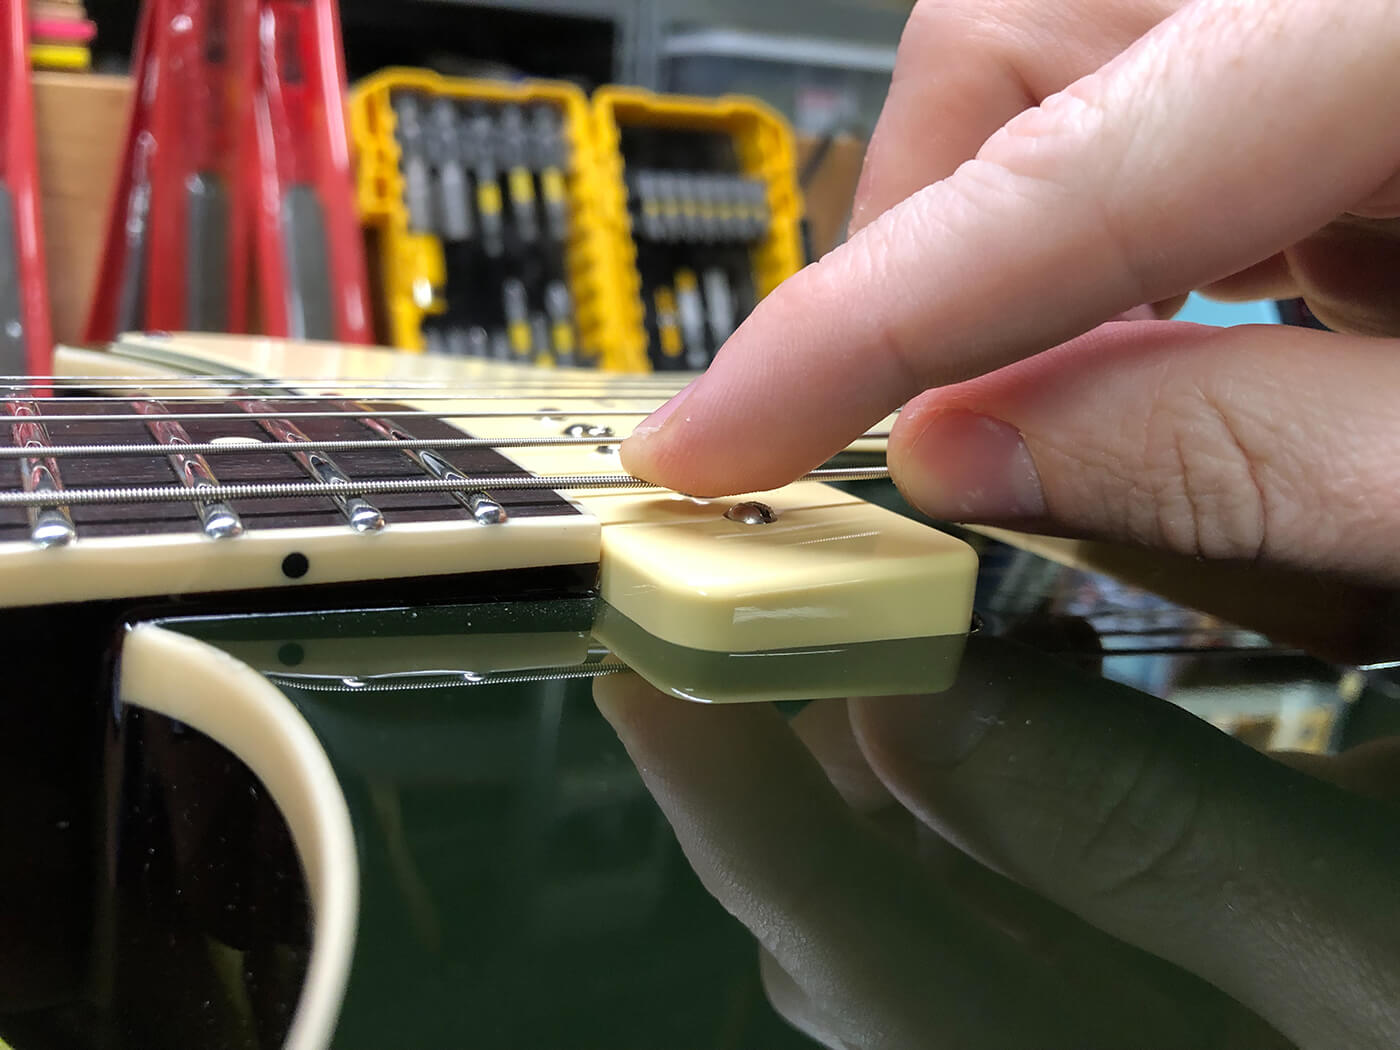
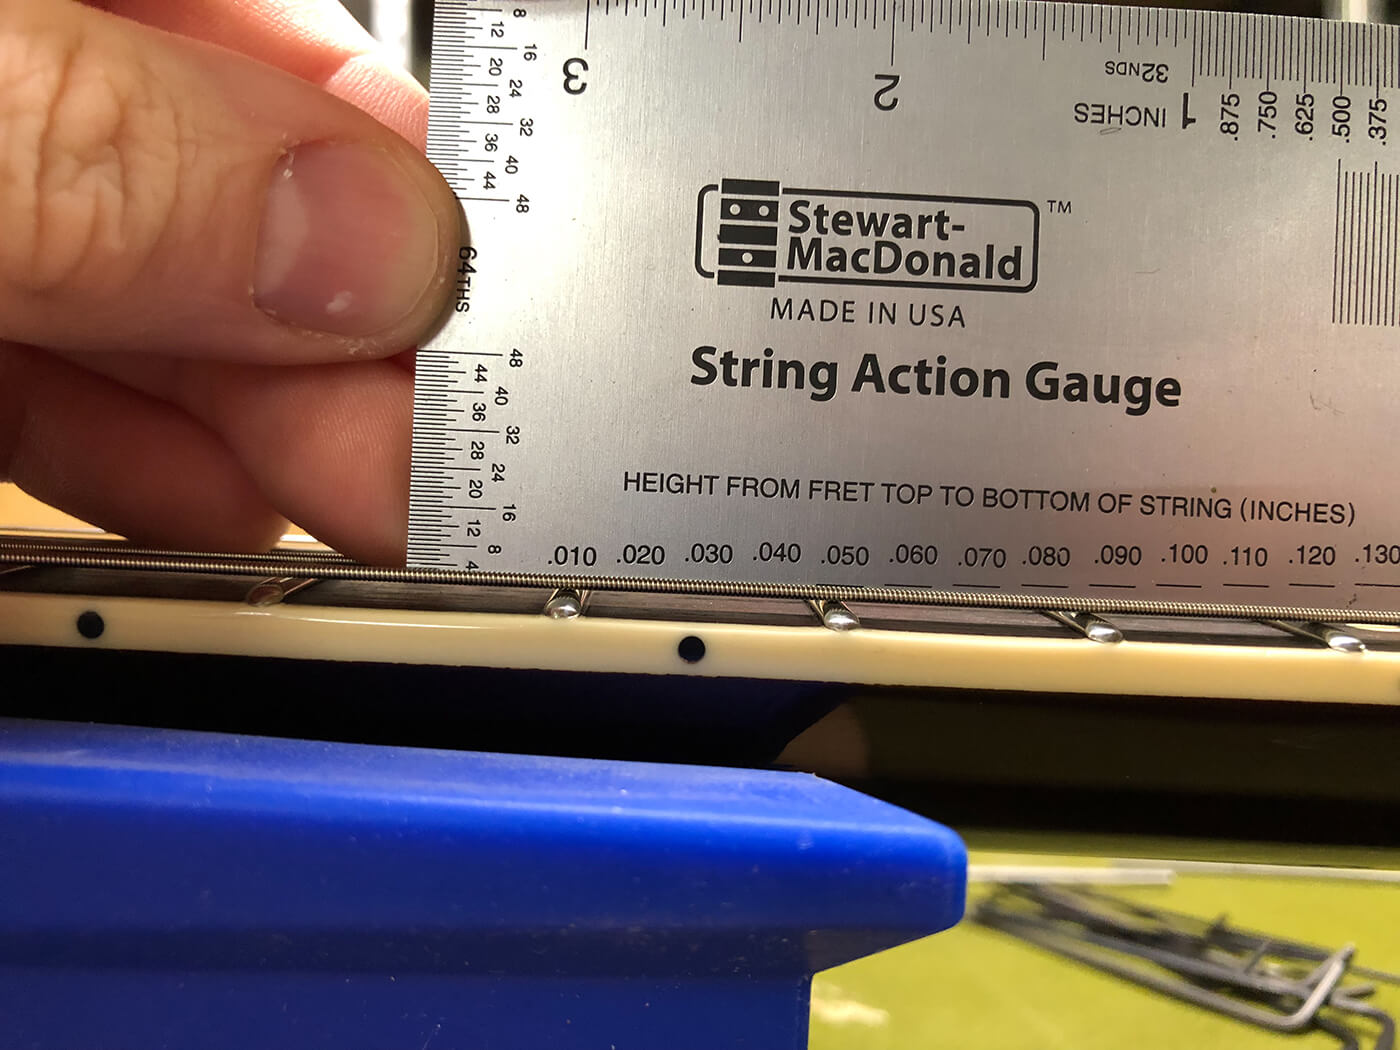
Techs often use feeler gauges to measure neck relief. I generally do this by feel alone but for the purposes of this article, I’ll try to include measurements so you can get a sense of what I’m aiming for as I work.
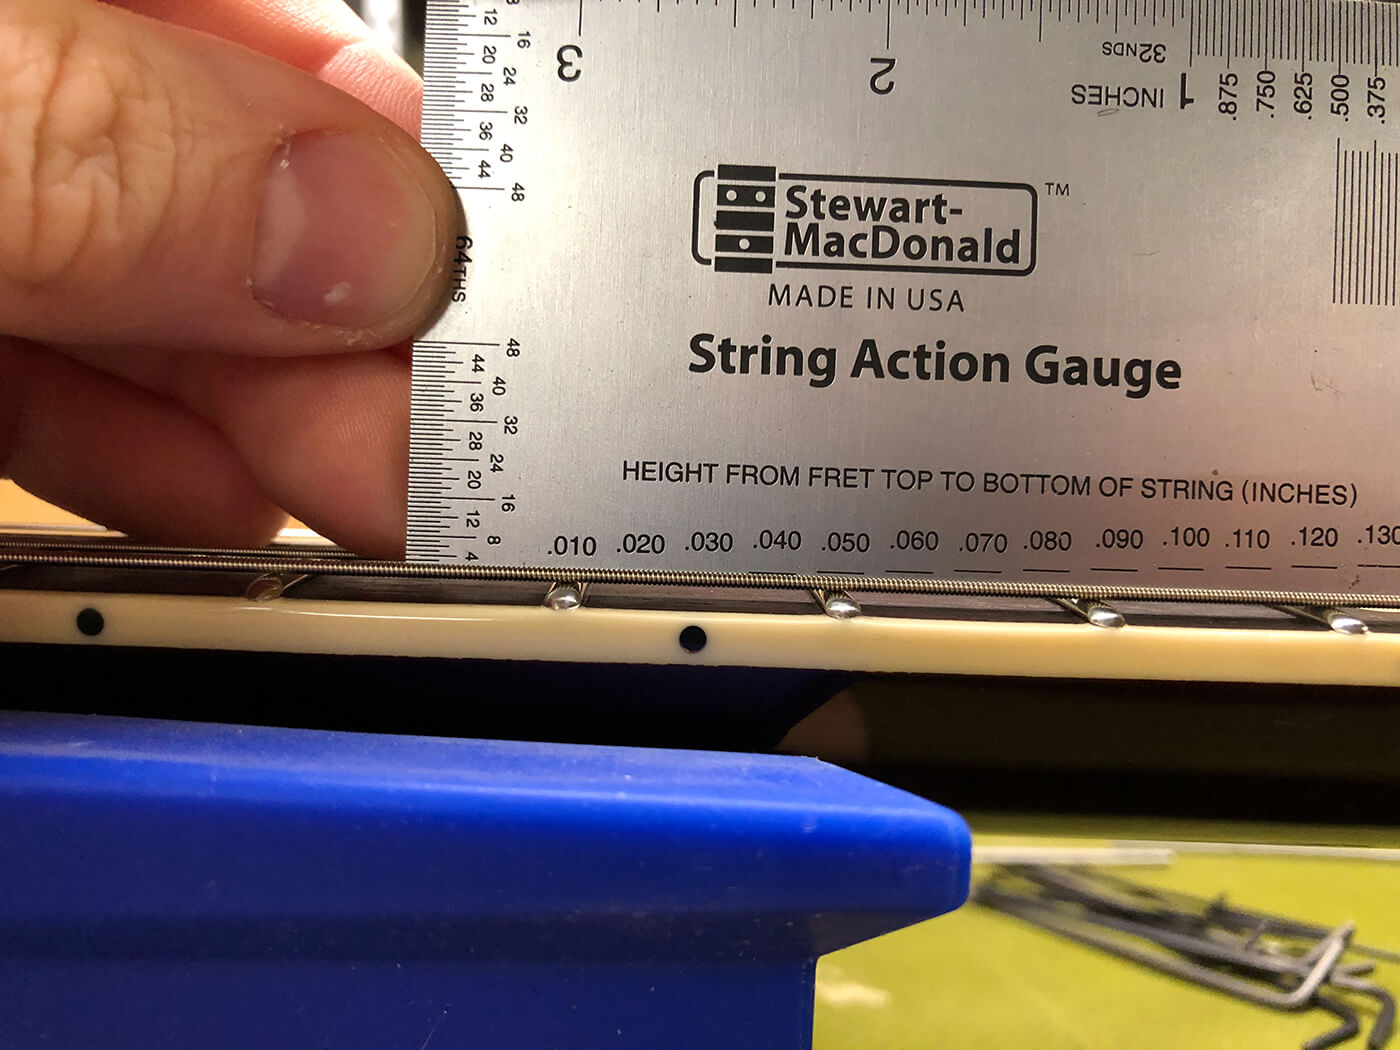
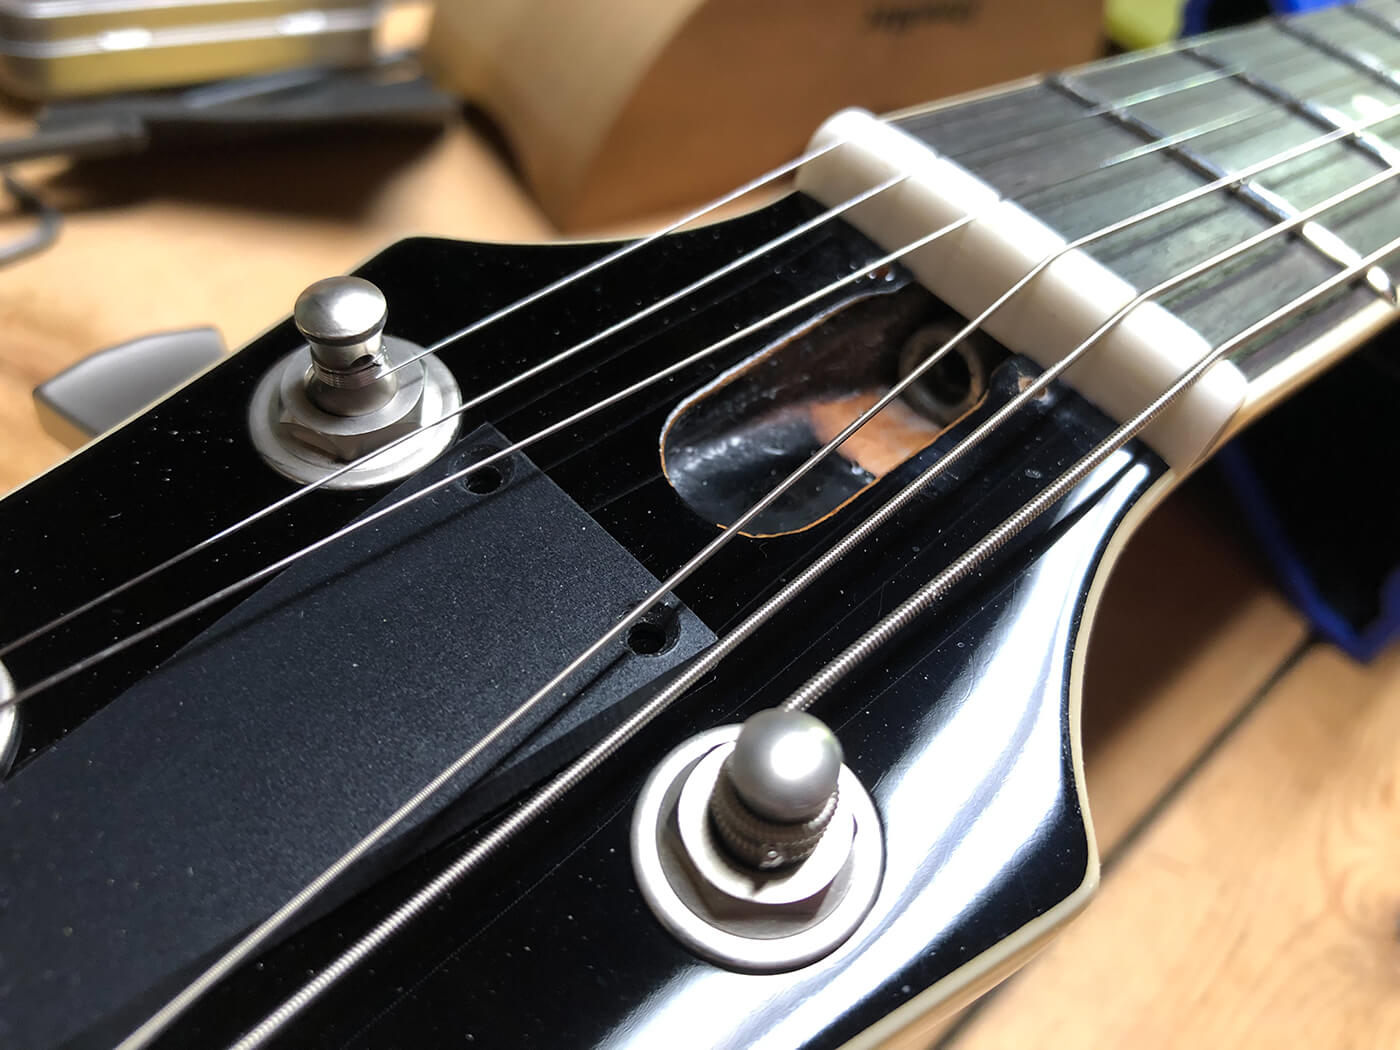
Currently the neck is pitching backward a bit in the first position, and as you can see there’s barely any relief at all in the middle of the fretboard. It’s rattling something fierce, and I want that all straightened out. With about a quarter turn of the rod using the included Allen key, you can see that some light now passes beneath the strings at the 8th fret, and I’m measuring around .01” of relief.
Many players aim for a bit more relief than I normally do and, depending on your playing style, more relief could be a boon, but I personally like to keep a relatively straight fretboard. Also, for most of my guitars I aim for the low E between .05” and .06” above the 12th fret, and the high E between .04” and .05”.
With those adjustments made, I’ll wait a while and see how the guitar continues to settle in, then revisit. Now, it’s time for another nap. Moving is rough!
Follow Mike on Instagram @puisheen.