Related Tags
Everything you need to start recording guitar at home in 2023
Tired of putting your riffs down in a voice note app? Release-ready recordings are easier to make than ever – here’s what you’ll need!
Ad Feature with Focusrite
There’s a good chance that you’ve been inspired by the countless industry-standard records made in a bedroom, and now want to go beyond making voice notes of your riffs. The good news is that making great guitar recordings at home is easier than ever – we’re here to get you started on turning those ideas into release-ready recordings without having to book time in a studio.
The audio interface
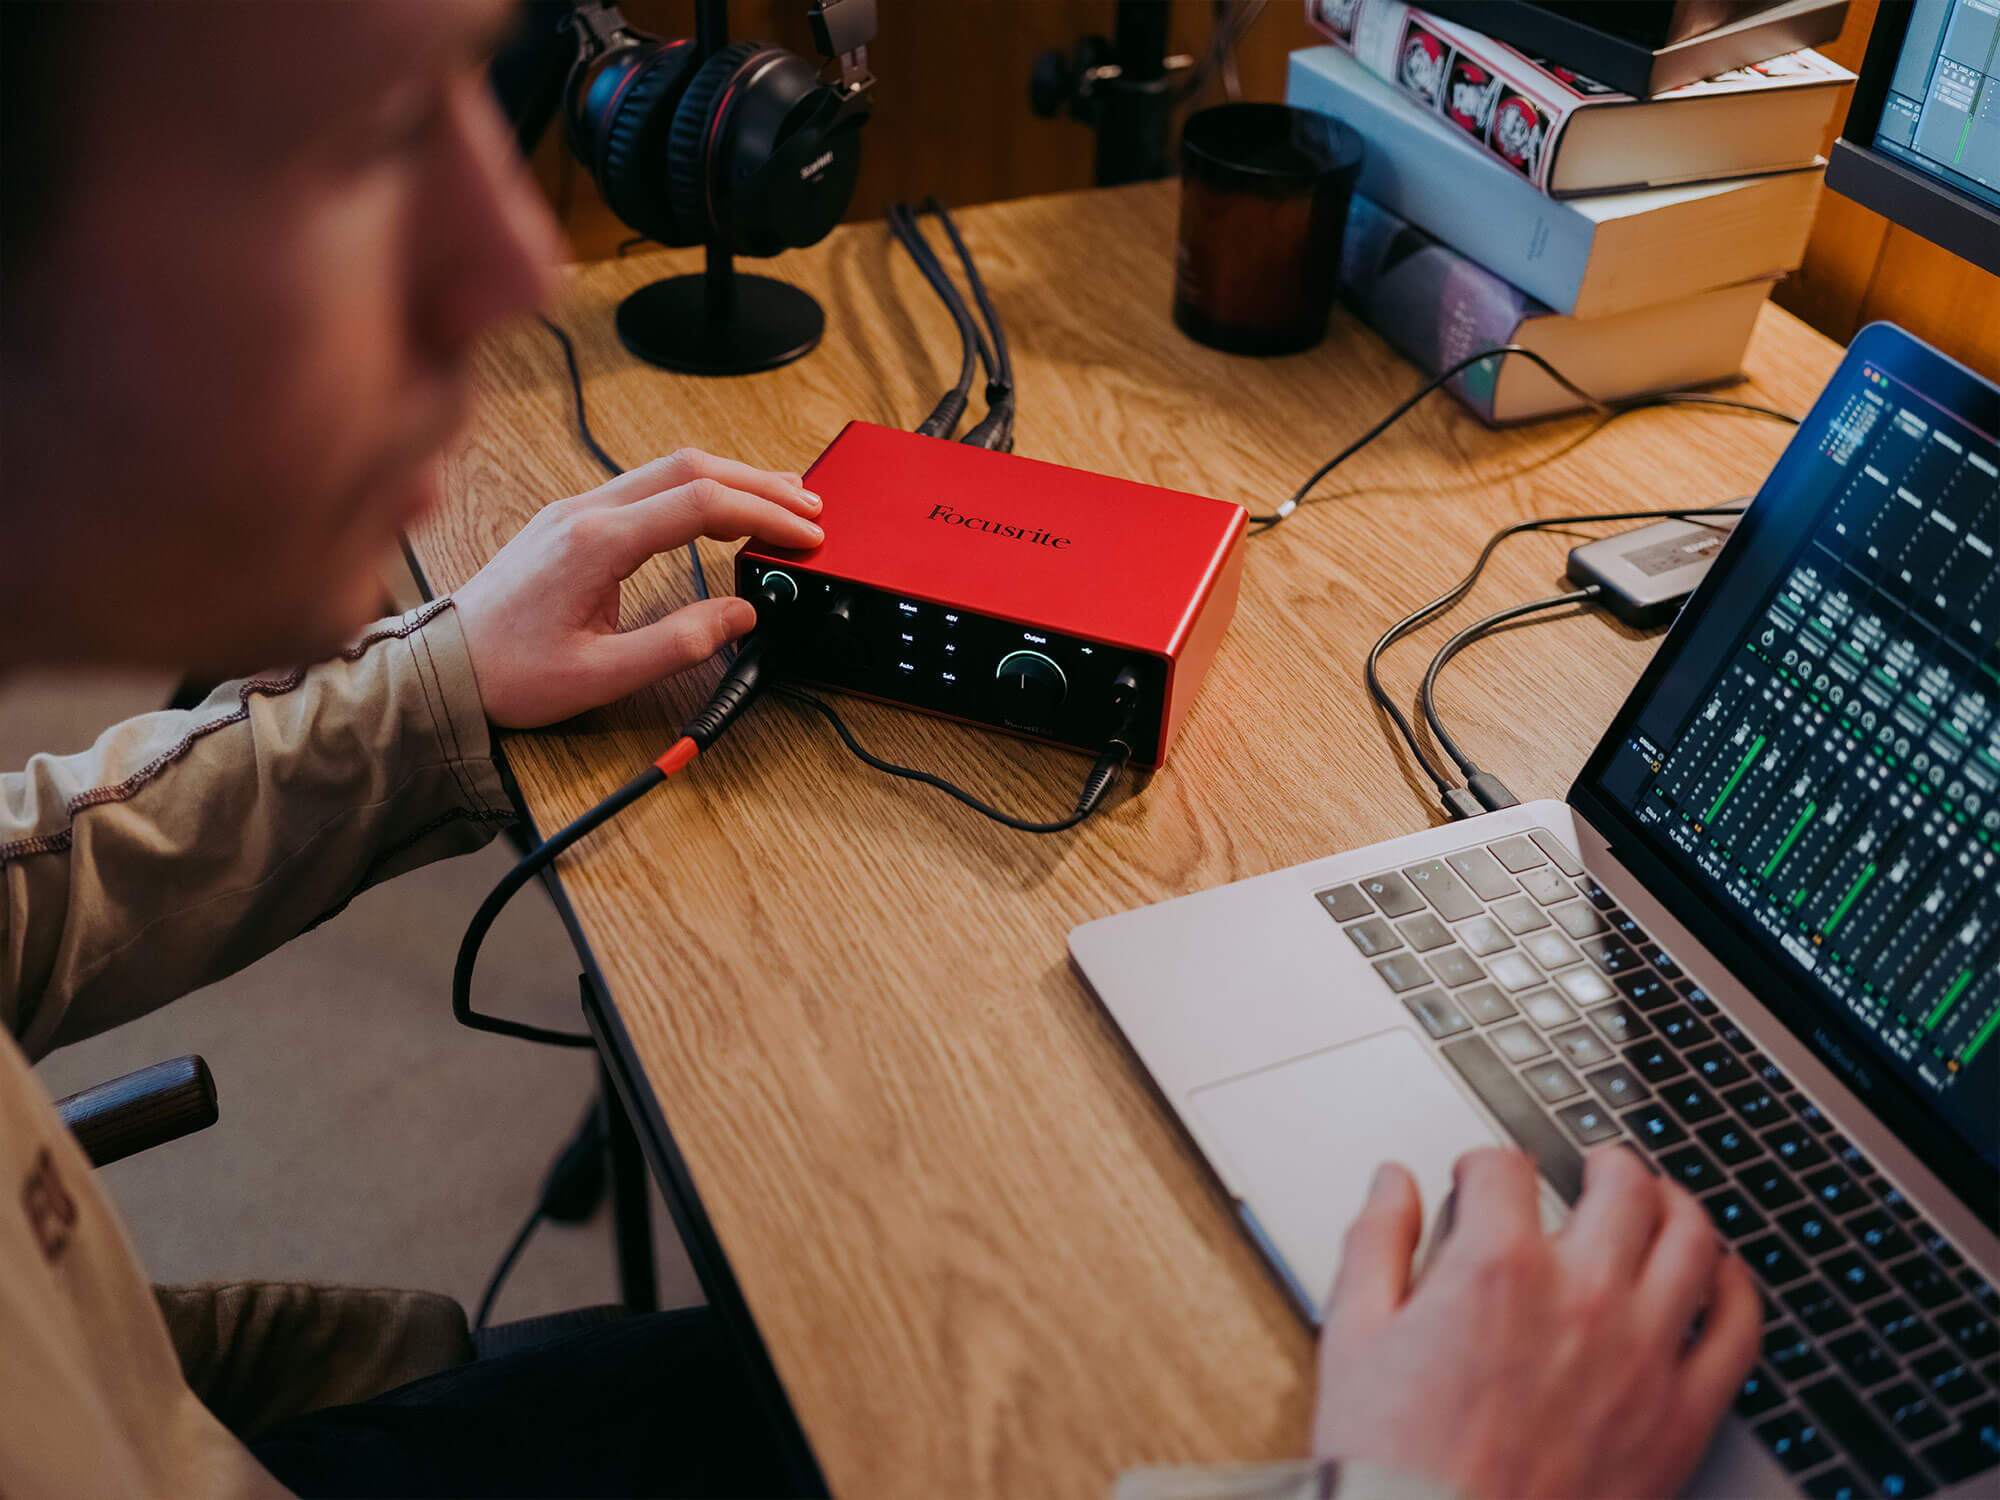
For the home guitarist, the go-to interface has long been the Focusrite Scarlett 2i2. For 2023, Focusrite has updated it to the 4th Generation, adding a bunch of upgrades that make recording an even slicker experience. These include the inclusion of new higher-end preamps and audio converters with tons of dynamic range, new headphone amps for a better listening experience, a redesigned Air mode, and the new Auto Gain and Clip Safe features.
For The Scarlett 2i2. This has two input channels, each of which has both an XLR input with a microphone preamp and a high-impedance instrument-level quarter-inch jack, meaning it’s great for recording both direct and with a microphone.
You’ll also need a DAW, or Digital Audio Workstation, for the interface to talk to. There are plenty of great options out there at any given price point, but to get you started bundled in with the Scarlett 2i2 is a copy of Ableton Live Lite, as well as a three-month trial of Pro Tools Artist. Both are excellent DAWs, used by bedroom producers and professional musicians alike.
Recording direct

If you’re recording an acoustic guitar with a pickup or an electric guitar, you have the option of recording ‘direct’. This is fairly self-explanatory: plug the output of your guitar straight into the quarter-inch input of your interface. If you hit the ‘direct’ button on your interface now, you’ll be able to monitor your guitar signal in real time.
This is normally fine for an acoustic guitar, although you might want to add a bit of ambience with a reverb plugin. For an electric, however, you’ll want to turn off direct monitoring and load up an amplifier simulation in your DAW. If you’re stuck as to which one to use, then, good news – the Scarlett Solo comes packaged with a Softube recreation of a Marshall Silver Jubilee. Handy!
Recording direct is where the Hi-Z mode matters most. The actual physics of impedance loading are for another time, but in short, high-impedance devices respond to the signals from sources like electric guitar pickups more dynamically, and with a fuller frequency range. Some interface and mixer inputs are low-impedance, but things like tube amplifiers are high-impedance. For acoustic players, if your guitar has an active preamp, what impedance setting you use matters a little less – but if you’re using a passive pickup, piezo or otherwise, you’ll definitely want to use the Hi-Z instrument input mode.
Setting up a virtual amp plugin
On the audio track you’re using for your guitar, make sure software monitoring is engaged, and the right input of your Scarlett Solo is selected. Now you should be able to hear yourself as you play back through whatever effects and virtual amps you load on to that track. If you’re getting noticeable latency, try reducing the buffer size in your DAW’s audio settings. At 44.1kHz, a buffer size of 128 samples is just under 3ms: that’s the equivalent to standing a metre away from your amp.
From here, of course, getting the sound you want is a matter of taste – there are plenty of great-sounding software amps out there from vintage tube combos to high-gain monsters, and which one you want to go for depends on what kind of music you’re making. For acoustic guitars, you can also download some great free acoustic impulse responses for use with an IR loader – these can really bring a guitar with a dull or dry-sounding pickup to life. And, of course, a touch of reverb can add back that ‘in-the-room’ feel.
Recording out loud – choosing a microphone
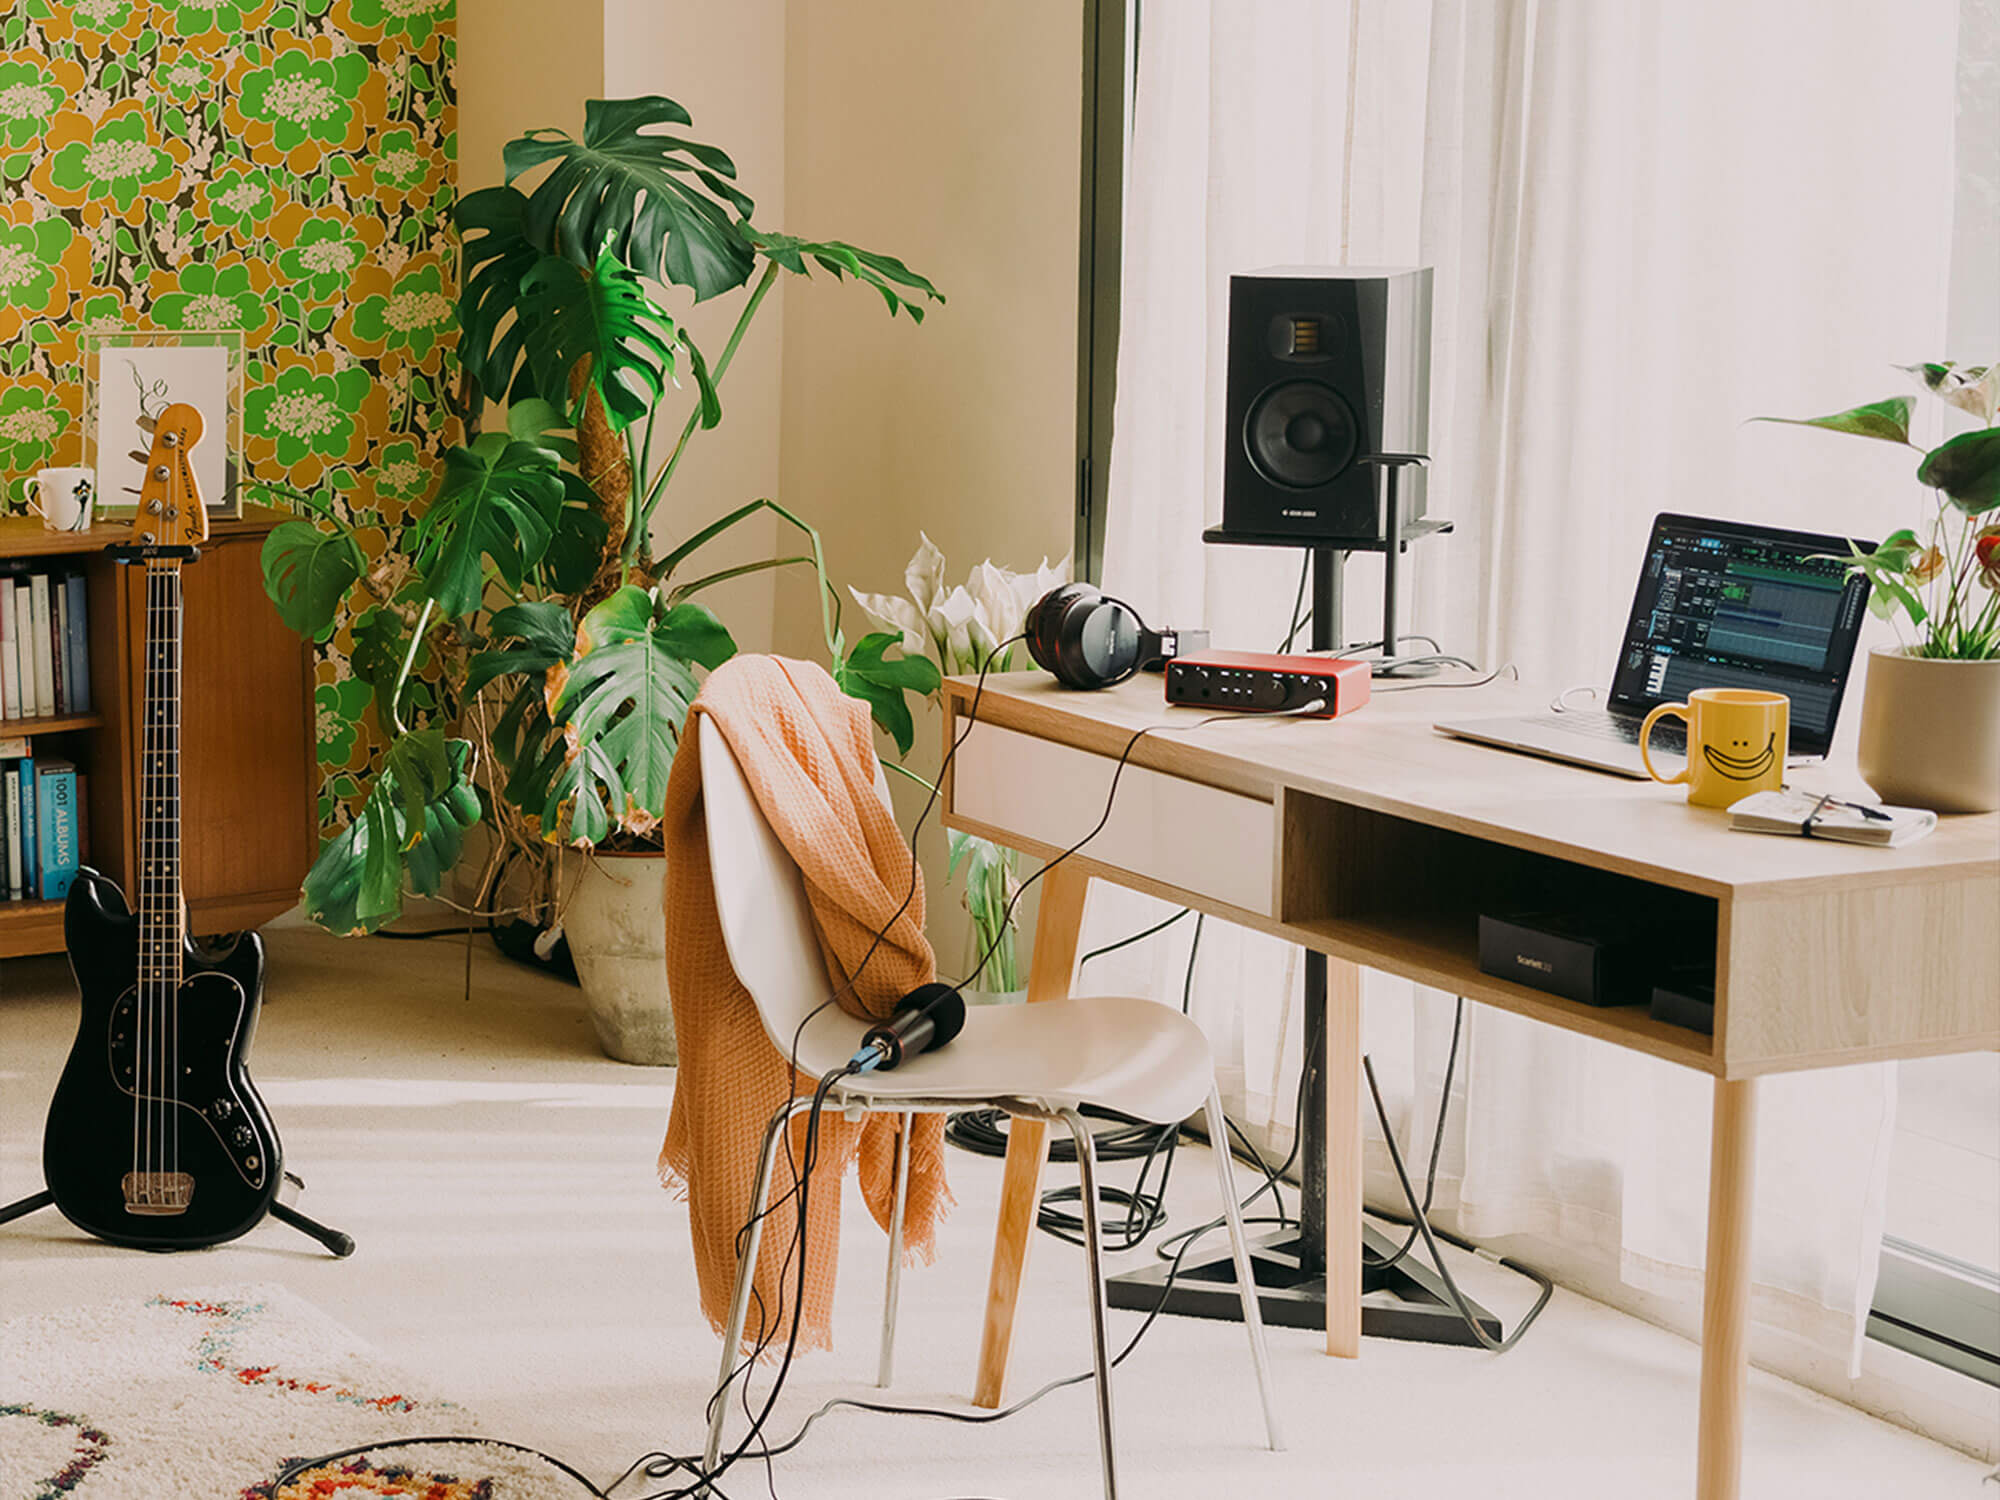
Is recording direct not for you? Well, that’s no problem – but you’ll need a microphone instead! Which one you choose will obviously have a big impact on the sound. A small-diaphragm dynamic microphone like a Shure SM57 is a tried-and-tested classic that works well on basically any sound source, but is particularly good at mic’ing up guitar amps. It works for acoustic guitars, too, but if you want a bit more ‘body’ to the sound you might want to consider a large-diaphragm condenser mic – handily, the Scarlett 2i2 is also available as part of a Recording Pack – this comes bundled with the CM25 MK2 condenser microphone, and a pair of SH-450 headphones to boot.
Mic Placement
For an amplifier, there’s no one-size fits all placement – but there are some basic rules as to how mic position will change the sound. Understanding them will make it easier to get the sound you want. First, find the centre of the speaker you want to record – depending on the grille cloth on your speaker cab/combo, this can be a little tricky. If needed, turn your phone torch on and stick that against the cloth – this’ll illuminate the inside and make the cone easy to locate. Once you know where it is, a good starting point is to place the mic a couple of inches away from the grille, aimed squarely at the centre of the speaker cone.
From here, adjusting the placement is best done by making some quick test recordings. If the sound is too bright, moving it towards the edge of the speaker will take off a bit of high-end. If it’s thin and underpowered, moving the mic closer to the speaker can bring in some extra bass. Move the mic around on these two axes until you’re bringing out the best of your amp.
For a single microphone setup on an acoustic, the best starting point is to place the mic about a foot away from the guitar, aimed at around the 12th or 14th fret depending on the size of your guitar. From here, you can aim it more towards the soundhole if you want a bit more ‘body,’ and more towards the neck if you want more finger noise and brightness.
Once your mic is placed, connect it to the XLR input of your interface. If you’re using a Scarlett interface, you might also want to engage the Air mode – this adds a little harmonic colour, similar to how analogue mixing desk preamps would have done so in days of yore.
Once you’re connected, set the gain levels so that no clipping occurs when you play the loudest you’re going to play – you can check this in software, but most interfaces will have a clipping indicator LED that’ll flash at you when you’ve gone too loud. The Scarlett range has its classic halos, which flash green around the gain control for any signal at all, orange for a signal that’s almost clipping, and red for a signal that’s hit the ceiling.
To make life even easier, the 4th Generation Scarlett 2i2 and 4i4 interfaces feature the Auto Gain and Clip Safe features. Engaging the Auto Gain mode, all you need to do is play for 10 seconds – the Scarlett 2i2 will listen to your signal and set the gain to just the right level for a good signal-to-noise ratio.
Clip Safe, when engaged, monitors your input 96,000 times a second to automatically adjust the gain and avoid clipping: meaning that even if you suddenly start hammering away on the strings twice as hard as when you set the gain, the take won’t be ruined!
Basic processing – EQ and Compression
Whether you’ve recorded out loud or direct, electric or acoustic, you should now have some great-sounding takes of your playing! You could just hit export right away, but if you want to really polish things, a little bit of processing can go a long way.
EQ and compression are the foundations of a mix, being the most powerful tools you have to shape the character and dynamics of a recording. Therefore the Focusrite Scarlett range sensibly comes bundled with the Red 2 and 3 plugins – an EQ and compressor respectively – making it easy to get started on those foundations.
Whatever plugins you’re using, though, the end goal is the same: refine and bolster the sounds you’ve just recorded. With an EQ, a gentle low-pass filter set at about 10 kHz will help reduce fizz and/or soften string noise, while a high-pass filter throwing out anything below 50-100 Hz will keep the bass frequencies under control. The latter is especially important if you’re adding drums and bass to the mix!
A little bit of compression will smooth out the dynamics in your playing, and make it feel more consistent and powerful. Any sounds above the threshold level will activate the gain reduction, which will clamp down (at a speed set by the ‘attack’ value, and an intensity set by the ‘ratio’) on the sound, and let go (at a speed set by ‘release’) once the it’s back below the threshold. A light touch is key here, as overly compressed recordings can lose the dynamics that make them feel ‘musical’: one way to have the best of both worlds is parallel compression. This means mixing in a little of the uncompressed sound with the compressed sound – the result is that the recording can retain its energy while still reaping the benefits of a compressor’s consistency.
And that’s it! You’ve successfully recorded your guitar playing, and mixed it to taste. Whether you’re now ready to record that solo acoustic EP you’ve been meaning to, or show off your shred skills on Instagram, you’ve hopefully seen just how easy it is to create release-ready guitar recordings without having to spend hundreds on studio time.
Find out more about the 4th Generation Scarlett interfaces here.