Related Tags
Tech Talk: How to set pickup heights
Many players replace their pickups before they’ve even experimented with the way their heights are set. Knowing how to do this could save you some money and unlock some authentic shoegaze tones into the bargain.
All images: Michael James Adams
Pickup height adjustment can be a frightening thing, especially when you’ve never done it before. Even tiny adjustments can have a huge effect on the overall sound and response of your guitar, from how hard it hits the amp, to the balance of bass and treble frequencies, and even how one instrument stacks up against another.
If you’ve ever felt like your guitar was missing something, had too much of something else, or generally wished to understand what can be done to improve your tonal situation, take heart! Let’s go through the important steps together and we’ll come out on the other side ready to attack any pickup height conundrum with full confidence.
What you’ll need

- Your ears! These are the most important tools for determining what pickup heights work best for the way you play. Remember: there’s no right or wrong, just what sounds best to you.
- A screwdriver that matches the height-adjustment screws on your guitar. Phillips or flat, take your pick.
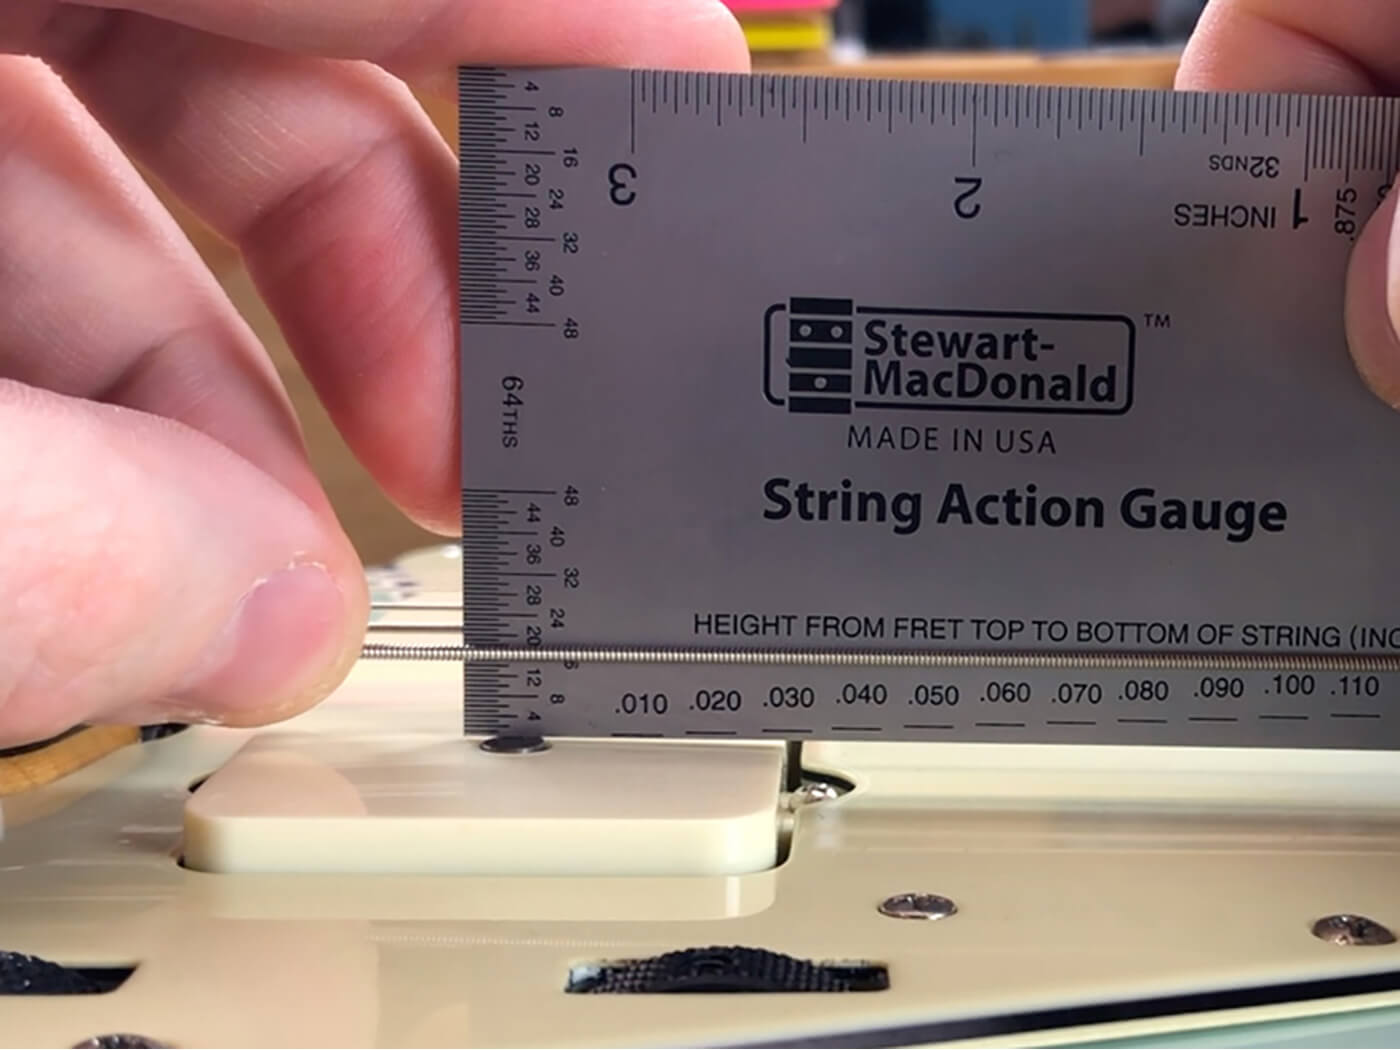
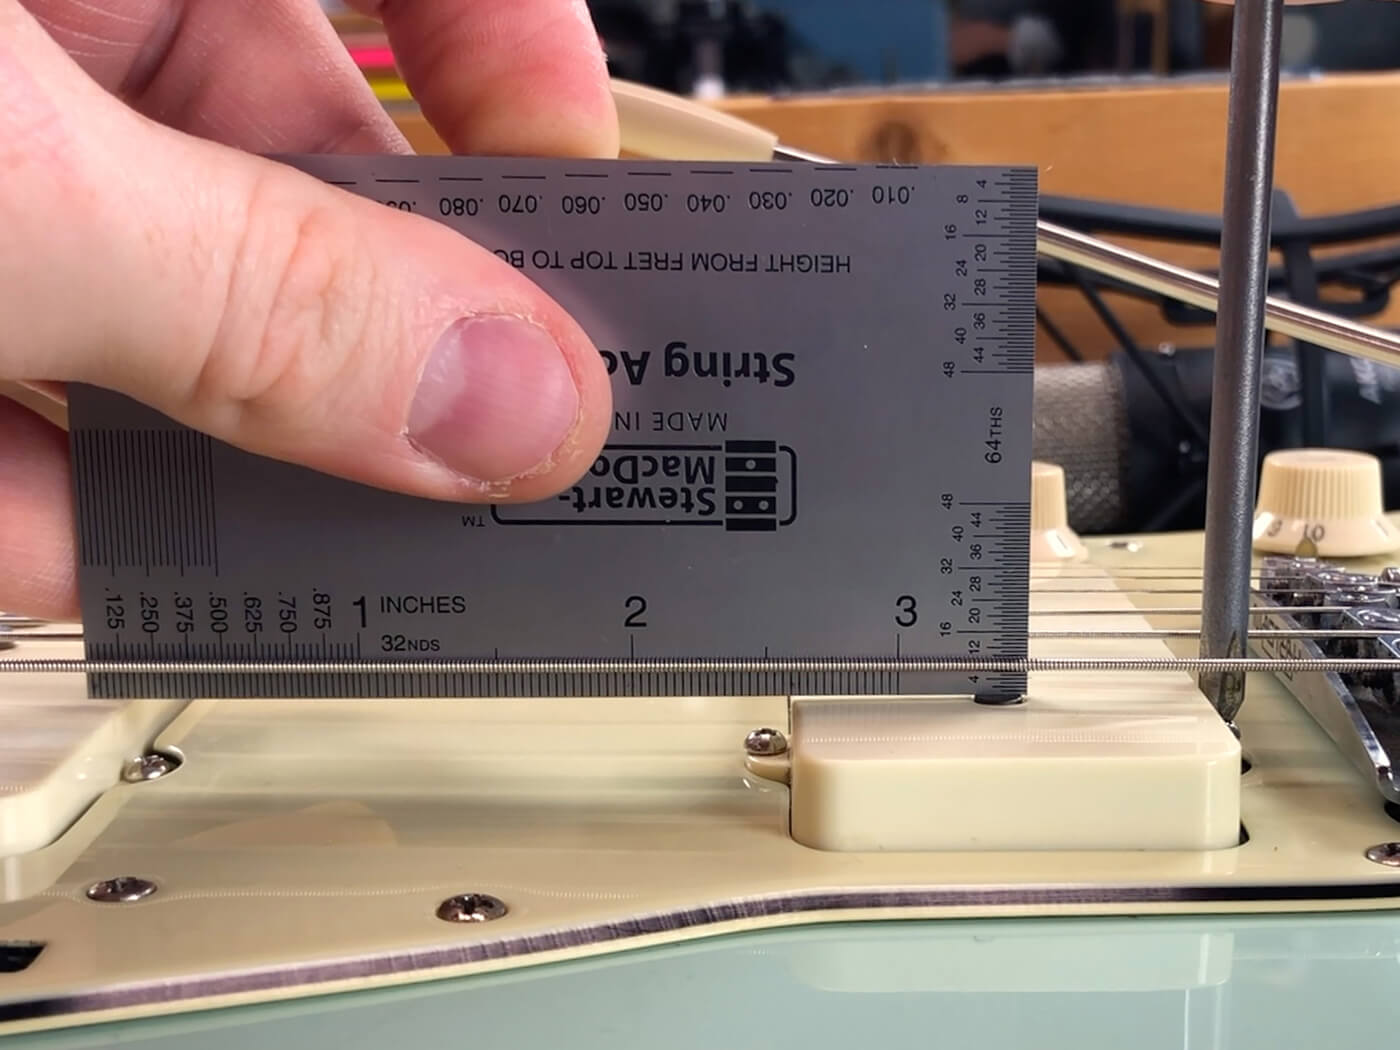
- A tool for measuring the distance between the polepieces and the strings, like my StewMac String Action Gauge which has various markers etched onto its surface, including two-way rules in 64ths of an inch –– perfect for taking pickup heights.
- A guitar. I mean, that bit should be obvious but hey, it’s good to be thorough.
- A good amplifier, ideally one that you know well and use often. Knowing an amp well can be a boon and it enables you to use your ears to understand the way the amp and pickups are playing together.
Getting started
Before you make any changes, take note of your current pickup height settings for reference, so you can see just how much of a change you made. Having this baseline measurement will also allow you to return to ‘normal’ if you end up spiralling out of control, vacillating from higher to lower over and over again until you’ve utterly lost the plot. Believe me, I’ve been there before.
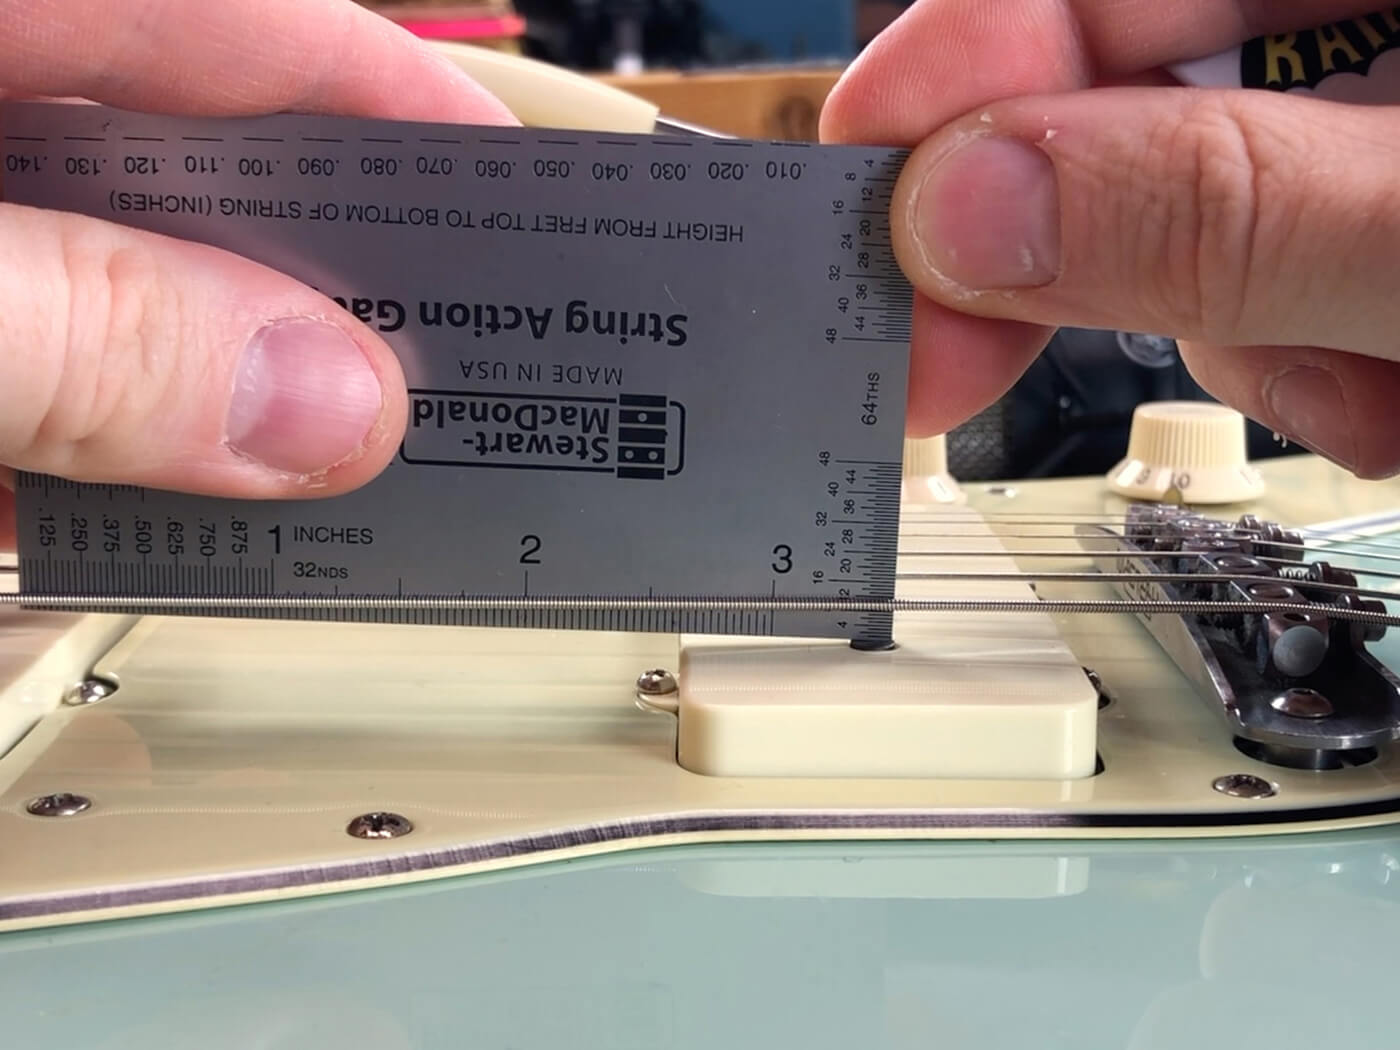
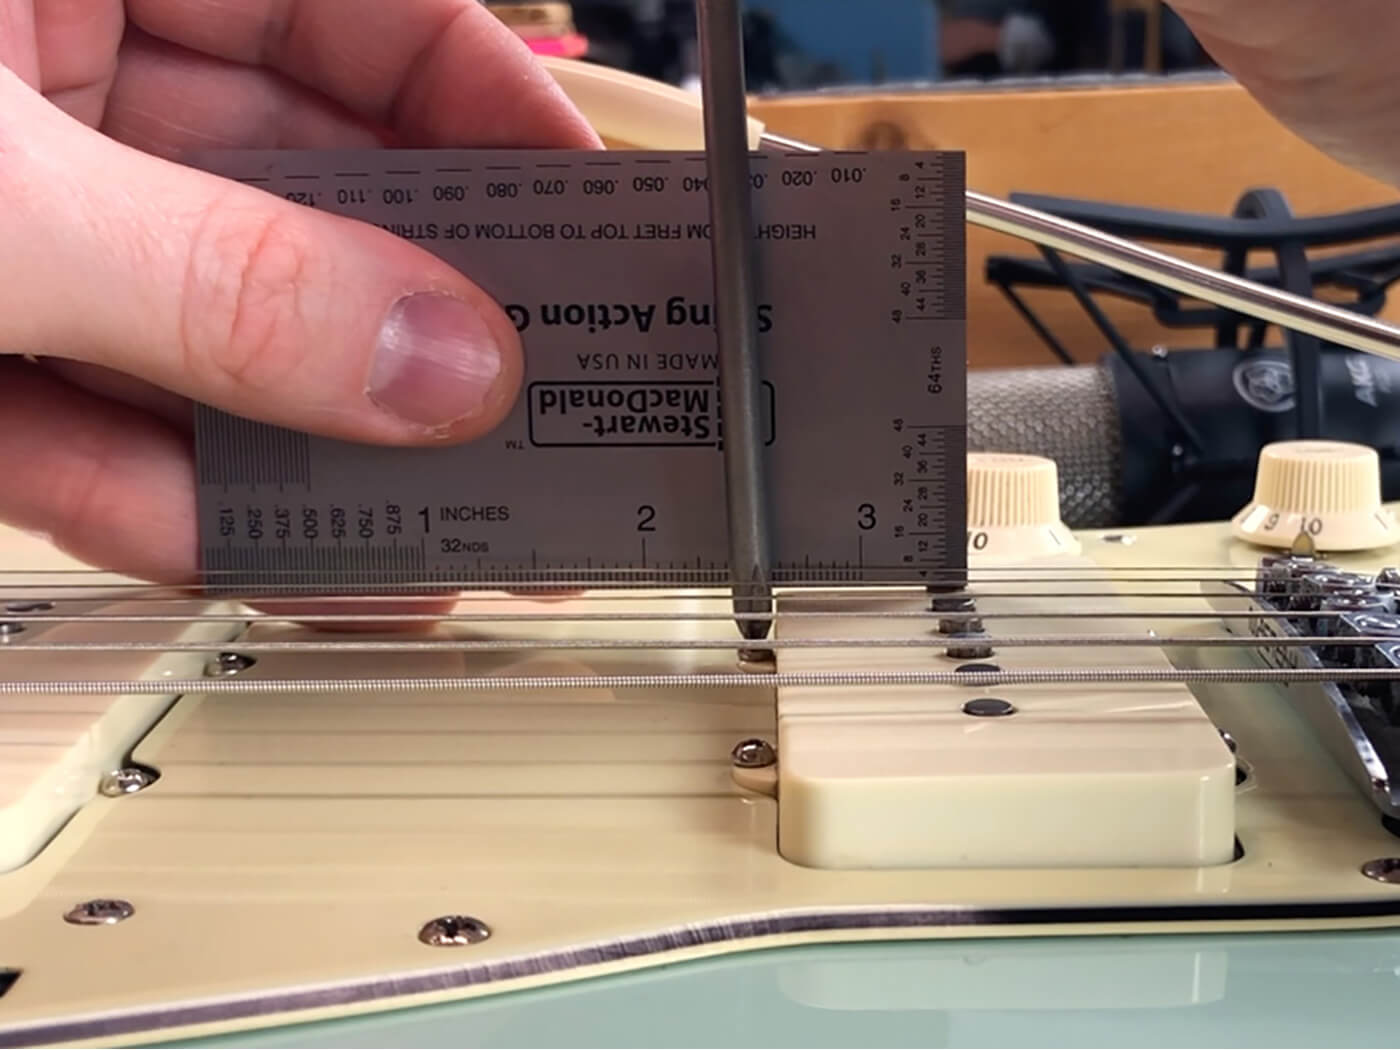
Measuring pickup heights is all about the distance from the string to the pickup’s polepieces, not its height from the body. To measure, take your rule and put it directly on the polepiece, and those little lines should tell you how far away they are from one another.
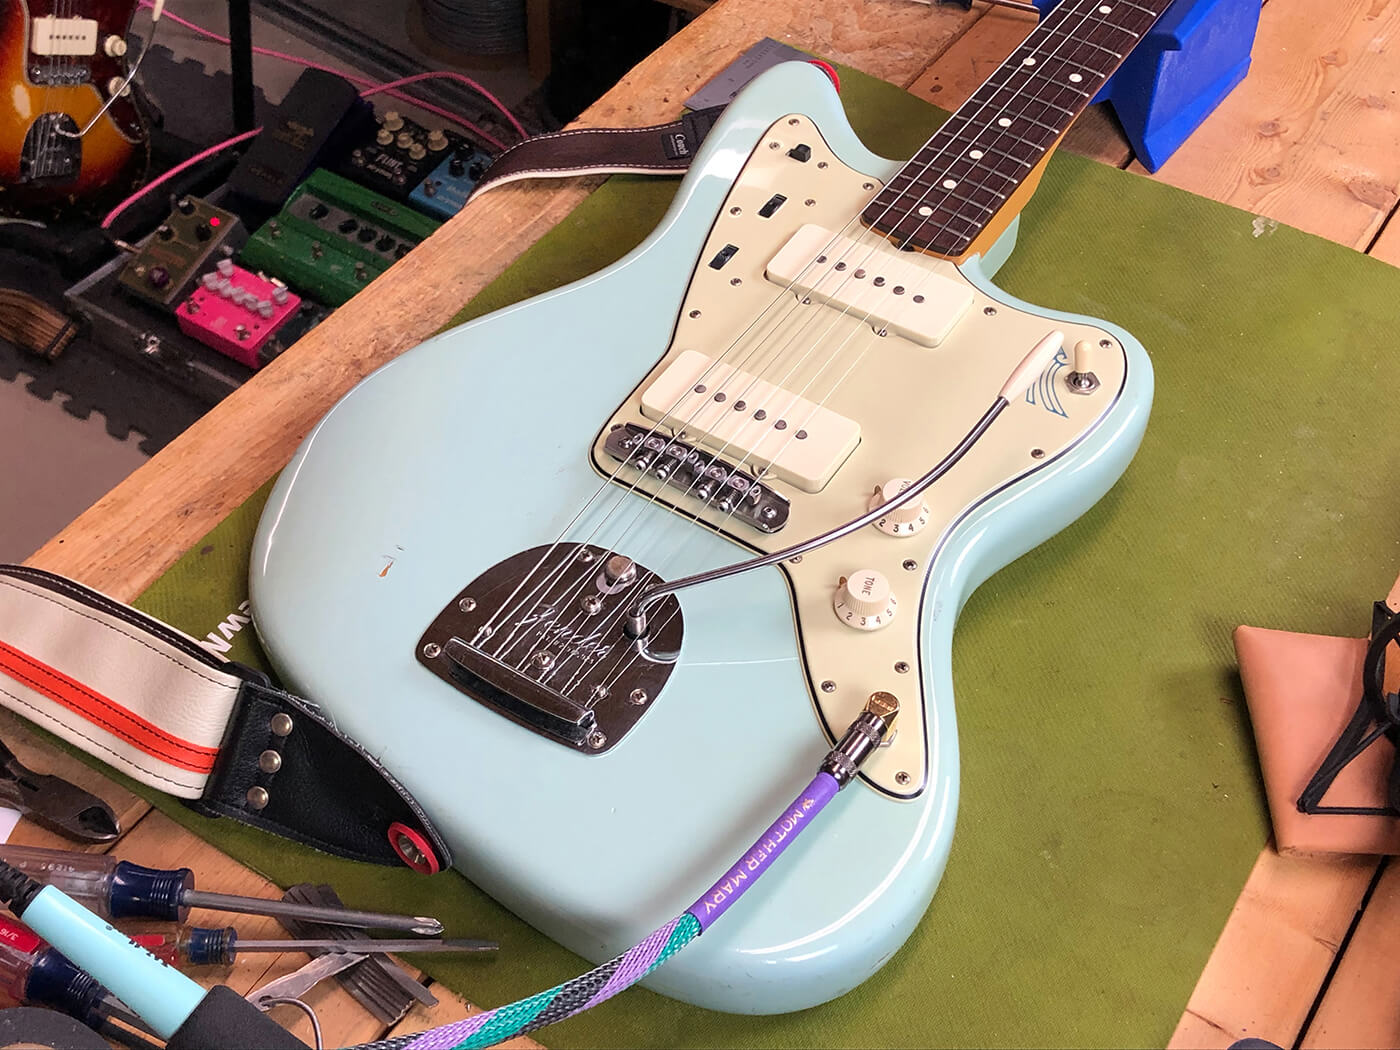
For pickups with non-adjustable poles, I generally focus my efforts on the low and high E poles, taking note of the distance from each to their strings. For adjustable poles, it can sometimes help to measure them all if there are volume balance issues from string to string. For this article, we’ll stick with the pickups on my Jazzmaster, which has flat slug poles.
Fender factory specs for ‘vintage single coils’ – which I believe means Strat pickups as I could not find specifics for Jazzmasters – is 6/64” on the low E and 5/64” on the high. My Lollar bridge pickup is 8/64” (1/8”) from the low E and 7/64” from the high E, a bit lower than factory spec but it sounds best to me. That slight angle is there so that the low and high E have the same volume, something that I generally do with all of the pickups on the guitars in my collection.
If I raise my pickup to factory specs, the sound is louder overall, with a little bump in the lows and more spiky on the highs. The extra power might be nice, but tonally I just don’t like it at all. Lower feels more balanced, a bit warmer, and has an ample degree of clarity that makes those more aggressive high frequencies unnecessary.
This is why using your ears is so important: what’s ‘correct’ may actually not be beneficial for your needs as a player, and that’s okay! More output and snap might be great for another player, but for me it just doesn’t work. My ears tell me everything I need to know and help me zero in on the correct height for me.
Now let’s move on to the neck pickup. Due to their positioning, neck pickups sound boomier in the low end than bridge units, but it’s important to consider the full range of sound rather than the loud, low bass frequencies. Try to key in on the brightness of the low strings rather than the roundness, otherwise you may be tricked into believing the pickups are balanced when they are not.
I have my neck pickup set to 12/64” on the low E and 9/64” on the high E and it’s just a tad quieter than the bridge unit. This is another personal preference of mine, as I’m primarily bridge-pickup player, but it also sweetens the middle position. With both pickups on, the neck being slightly lower reduces bass and emphasises upper mids in a way I really like.
Every pickup’s magnetic field has a window where it best senses the string, and that’s likely where the factories are coming from when they determine those specs. Let’s talk about when having the pickup height way out of spec can work out great for a certain genre.
Shoegaze bands, with their fondness for volume and blazing, spaced-out fuzz tones have had a huge effect on music as well as myself personally, and what I’ve noticed from working on so many offset guitars for shoegaze bands is that some players (of course not all) prefer to have their pickups adjusted low in the body. This puts the pickups way out of spec, but doing so is actually a key ingredient in their sounds.
I think this idiosyncrasy may actually be the result of the deteriorated pickup foam that often plagues all-original vintage Fender Jazzmasters and Jaguars. With enough time and exposure to sweat, the foam beneath the pickups and on the Jaguar mute plate eventually turns to a thick, hard goop that instantly stains anything it touches.
If you’ve never had the displeasure, these bits of old foam compress and as such are completely useless. And because they no longer spring back, the pickups sink deeper into the body, leading many to believe that the pickups were simply meant to be that low.
What I think happened is that at the inception of the genre, the foam was already going bad, so when shoegaze players gravitated toward vintage offset guitars, they didn’t question those pickup specs. Instead, they found a sound that worked out great for them.
Let’s try it
With my bridge pickup set to 13/64” bass and 12/64” treble and my neck to 15/64” bass and 3/16” treble, the guitar lacks a lot of the output that I expect. The pickups are unbalanced, with a much louder neck pickup and a somewhat anaemic bridge, but I have to admit that plugging in with the middle position selected and my Keeley Loomer engaged, all of a sudden something clicks for me.
I felt like I was inside my favorite shoegaze records, and the power of the middle position was really incredible. Having the pickups so far out of adjustment really allows you to tailor the frequencies cancelled out, along with the hum of the parallel middle position. Truly, I was floored. If I ever find myself in another glide guitar situation, I’m going to slam my pickups straight down into the body.
So when you’re experimenting with your own pickup heights, try starting with your factory recommended specs and lowering them until you’re happy. Use your ears, try not to take the numbers as gospel, and remember: when you’re crafting your guitar sound, ‘wrong’ can be very, very right.
Follow Mike on Instagram @puisheen.