Related Tags
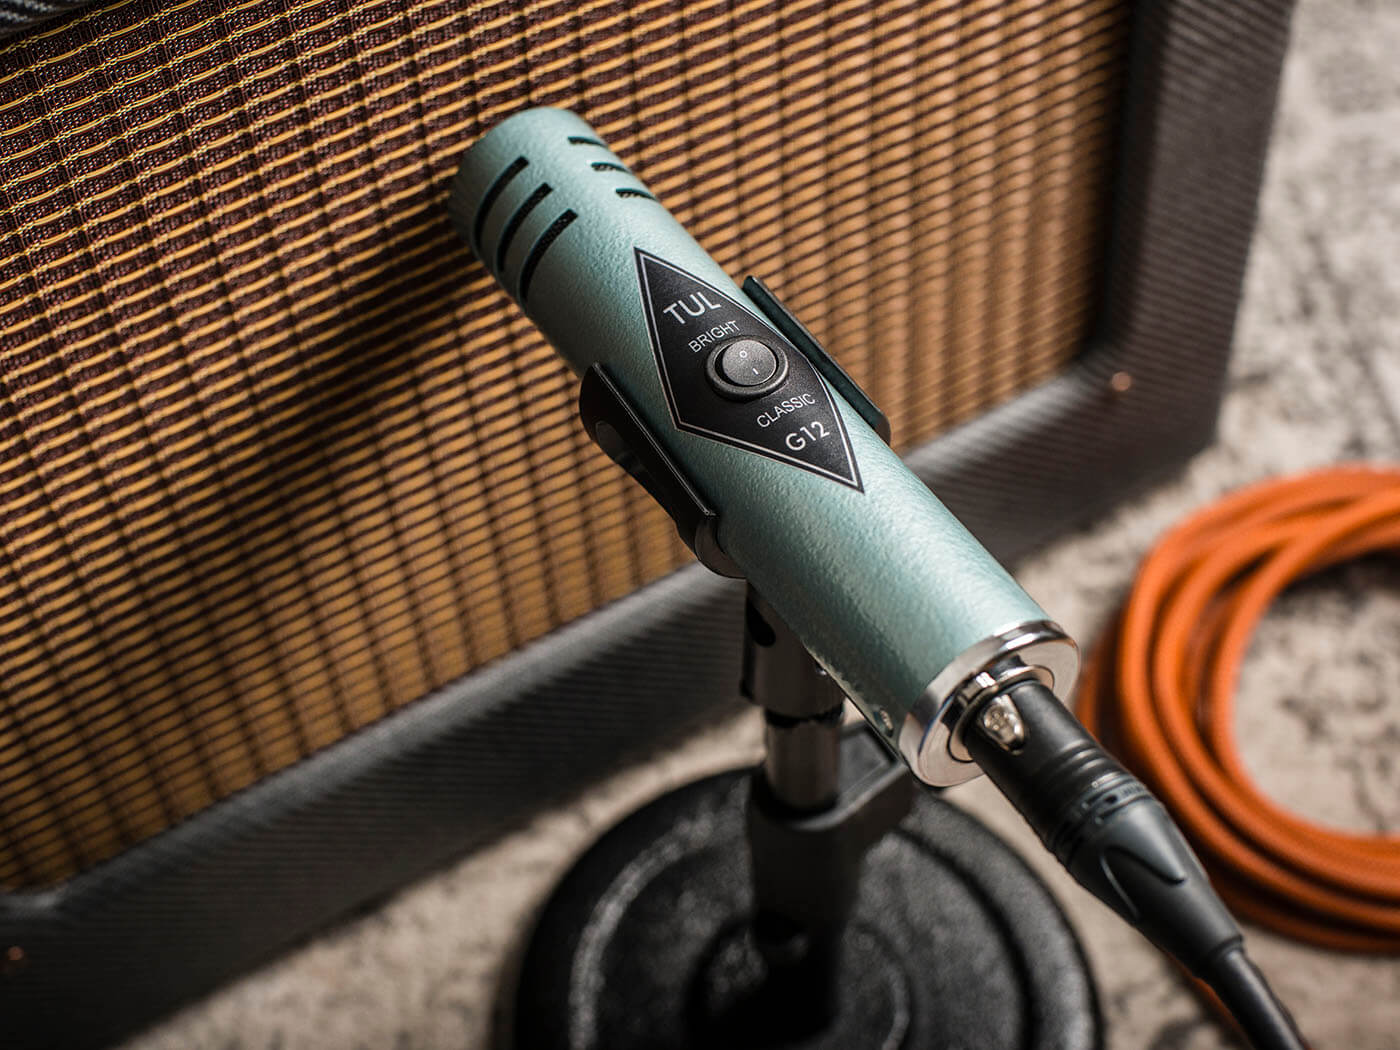
Guitar Recording FAQ: How to capture the sound of the amp in the room
Mic’ing guitar amplifiers may be a dying art but nothing sounds quite as vivid as an amp in a room – if you can successfully capture it.
How can I make the electric guitar sounds I’m recording sound more like the amp in the room?
– Brian, Portland
This question touches on one of the fundamental issues of recording. Almost every musician will have experienced some degree of shock when first hearing themselves played back through monitor speakers because it never quite sounds as we imagine.
Part of the problem can be unrealistic expectations. Standing in a room with a cranked-up guitar amp and hearing the sound bouncing off the walls is a very different experience to hearing the same amp through a small set of hifi speakers, at regular listening levels in an acoustically dry room. You can’t totally overcome that, but there are some recording tricks that might close that gap.
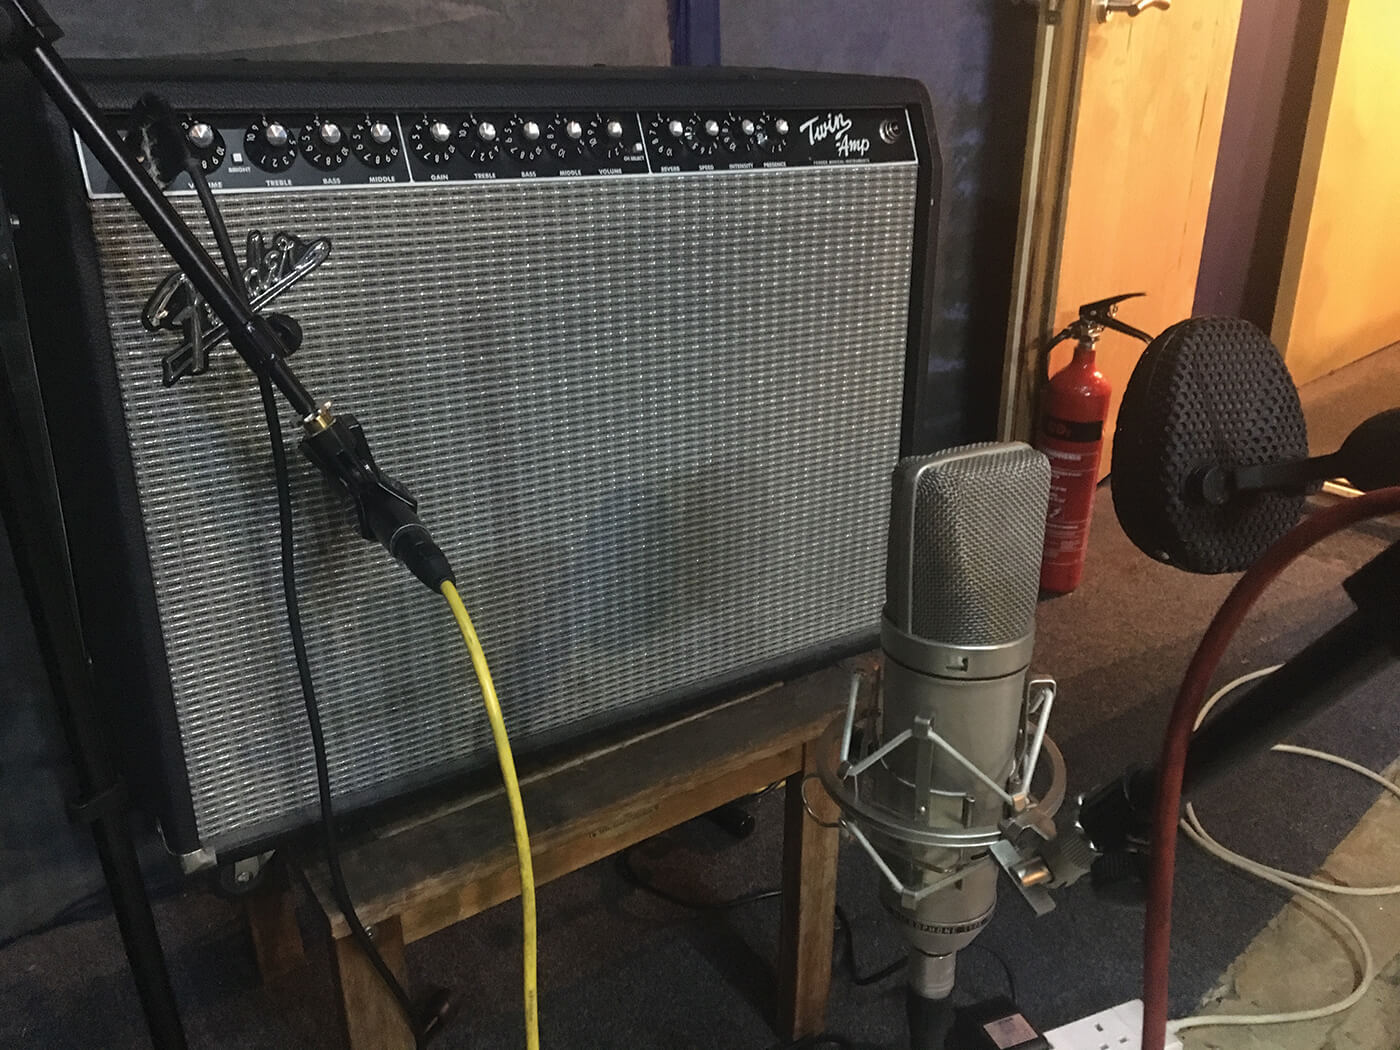
Microphone positioning
Whether you’re recording guitar amps, drums or vocals, most studio engineers default to close mic’ing. In situations where they’re trying to minimise spillage between instruments it makes sense, but when you’re overdubbing and separation isn’t an issue, there’s nothing forcing you to adopt that approach.
Many prefer a close mic’d ‘in your face’ guitar sound with no audible room ambience. For aggressive rock tones, anything different can sound odd these days. But for earthier and more natural tones, consider this: when you listening to your amp, are you in the habit of sticking your ear up against the speaker cloth? Assuming you’re not, it’s clearly unreasonable to expect the microphone to capture anything that resembles the sound you’re used to hearing, if the placement of that microphone is so far removed from your listening position.
There’s no law that says you have to close-mic. Some microphones are specifically designed for close mic’ing – the Shure SM57 being an obvious example. But (theoretically) flat-response moving coil and condenser microphones can sound boomy when they’re placed too close due to the proximity effect. Ribbon microphones exhibit the proximity effect too, and placing them very close to a loud guitar speaker can damage or even break the ribbon.
Condensers and ribbons are ideal, therefore, if you want to try recording with a bit more distance between the speaker and the microphone. The closer the mic, the drier and more aggressive the sound. Moving the mic further away softens the tone and allows more room ambience into the mix.
If you can get someone to help, try slowly moving the microphone away from the speaker and listen to the way the tone changes. You will hear areas where the guitar will sound full and clear. You’ll also hear the sound get thinner and less distinct.
The idea is to find a sweet spot with a full tone and a balance of directness and ambience that works with the track. Most ribbon mics have a bi-directional – aka figure-eight – pickup pattern, so they ‘hear’ from the front and back. That makes them ideal for this style of mic’ing.
Another trick is to maintain a fairly close microphone placement, but alter the pickup pattern to allow more ambience into the sound. If you’re using a multi-pattern condenser, try switching it a notch or two away from cardioid towards omnidirectional. Also try figure-eight and omni if those options are available and remember that there’s no proximity effect with omni mics.
Rear microphone
Speaker cones move forwards and backwards, so if your speaker cabinet has an open back, it generates sound waves from the rear and the front. When you listen to that cabinet you’re hearing the total sound, but a microphone close to the front speaker will only capture half of it.
The solution is simple: place a microphone on the back of the cab as well as the front. Remember they’ll most likely be 180 degrees out of phase, so you’ll need to check that when you mix the microphone signals. Try flipping the polarity switch on one of the microphone preamps and check how the sound changes.
The setting that sounds fattest and loudest is the one that’s in-phase. Simply balance the two signals to achieve the sound you like best. You can combine them onto one track when you’re recording, or record them separately and balance them up later when you’re mixing.
Near and far
Rather than try and get the close/ambient balance right using a single microphone, you can take the pressure off yourself by using two microphones – one placed close and the other further away from the cabinet. It’s a best-of-both-worlds solution that gives you complete control of the eventual sound.
You may need to do some experimenting to find the best location for your distant microphone because they can sound a bit underwhelming. Placing a mic two metres or so away from a cab results in the microphone detecting soundwaves travelling directly from the speaker along with soundwaves that are reflected off floors, walls and ceilings.
Timing differences between the direct and reflected soundwaves result in phase issues, with some frequencies being cancelled out while others are reinforced. To make effective use of an ambient microphone – preferably set to omnidirectional mode – you need to find the sweet spot where the direct and reflected soundwaves combine to create a pleasing effect. Again, it helps if you have an assistant who can move the microphone as you listen to the sound change.
Alternatively, try putting sound absorbing materials on the floor between the amp and microphone to minimise reflections – sofa cushions, acoustic foam, duvets and pillows are effective. Also try placing an omni microphone adjacent to the floor where it will be less susceptible to phase issues.
Shifting the audio region of the ambient microphone forwards and backwards relative to the close mic is another trick. It effectively changes the sonic character of the room to create different reverb and ambience effects. In Logic this is easily done in the event list window, and a few milliseconds can make a lot of difference. Any DAW should allow you to do this.
For more features, click here.